
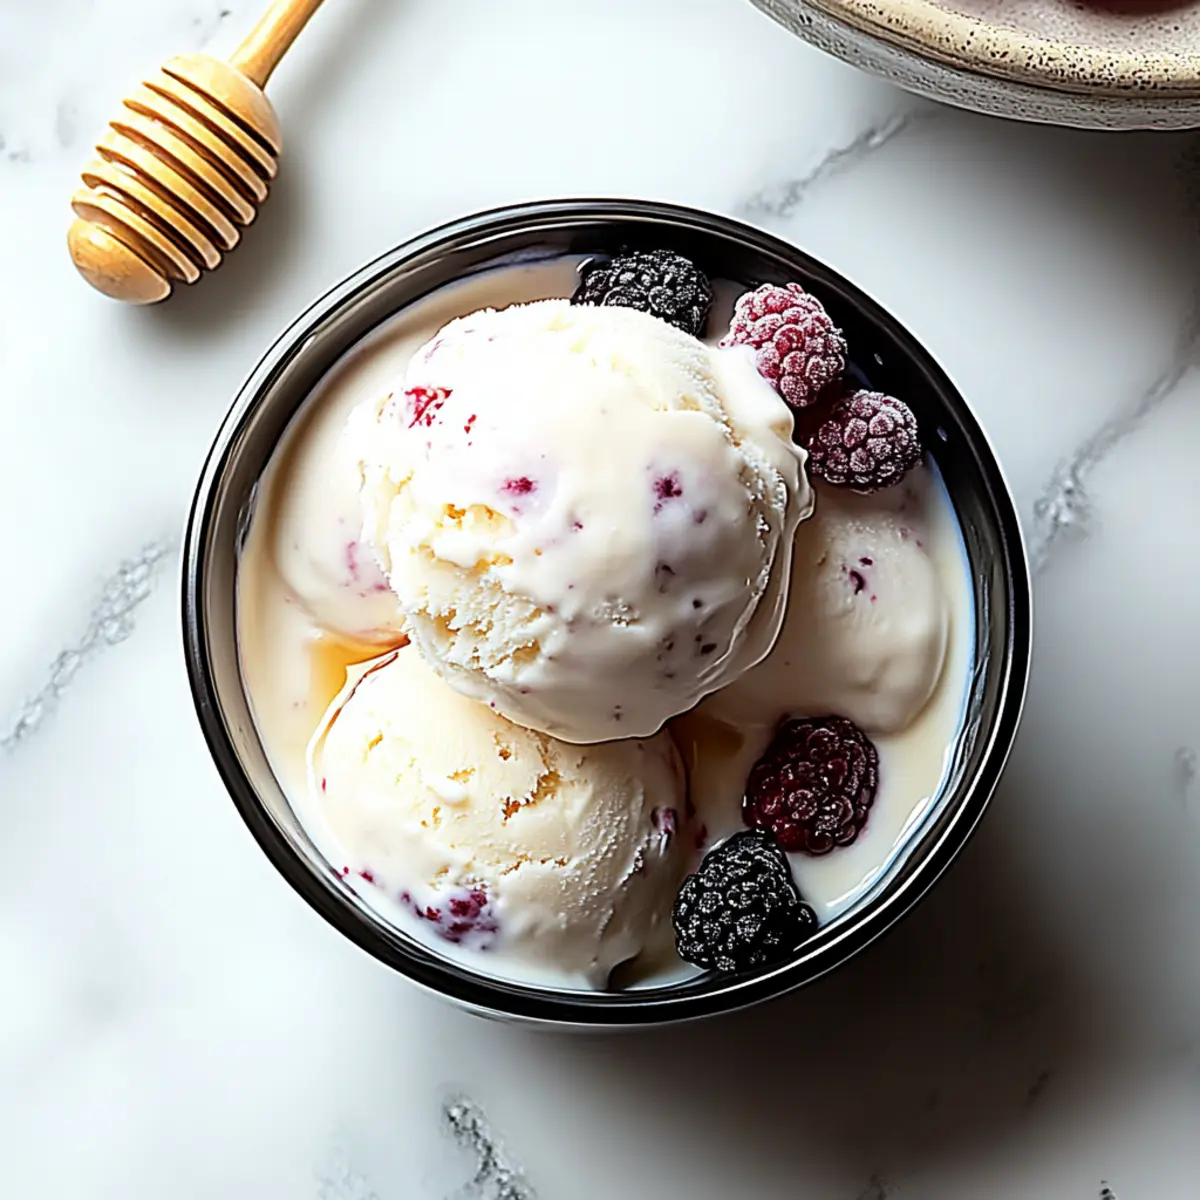
On a scorching summer afternoon, nothing hits the spot quite like a scoop of something cool and creamy. This is where my Homemade Greek Yogurt Ice Cream comes into play, bringing together the tangy goodness of Greek yogurt and the sweet embrace of honey for a delightful treat. What I love most about this recipe is its simplicity—using basic ingredients, you can whip up a refreshing dessert that’s perfect for impressing family and friends. Plus, it’s easily customizable with various toppings and sweeteners, making it a fun project in the kitchen. Whether you’re craving something indulgent or searching for a healthier sweet treat, this ice cream satisfies both arguments. Curious about how to make this dreamy delight? Let’s dive into the recipe!
Why is Homemade Greek Yogurt Ice Cream Amazing?
Creamy Perfection: This homemade Greek yogurt ice cream delivers a luscious texture that’s both creamy and indulgent, creating a delightful mouthfeel.
Healthful Twist: By using Greek yogurt, you’re not only treating yourself to a delicious dessert but also adding protein and beneficial probiotics.
Endless Customization: Whether you prefer honey, maple syrup, or fresh fruit toppings, this recipe offers the flexibility to cater to everyone’s taste.
Quick to Make: With simple ingredients and minimal prep time, you can whip up this irresistible treat in no time.
Satisfying and Guilt-Free: Enjoy a sweet dessert that’s on the healthier side, making it a fantastic option for summer gatherings or a cozy night in.
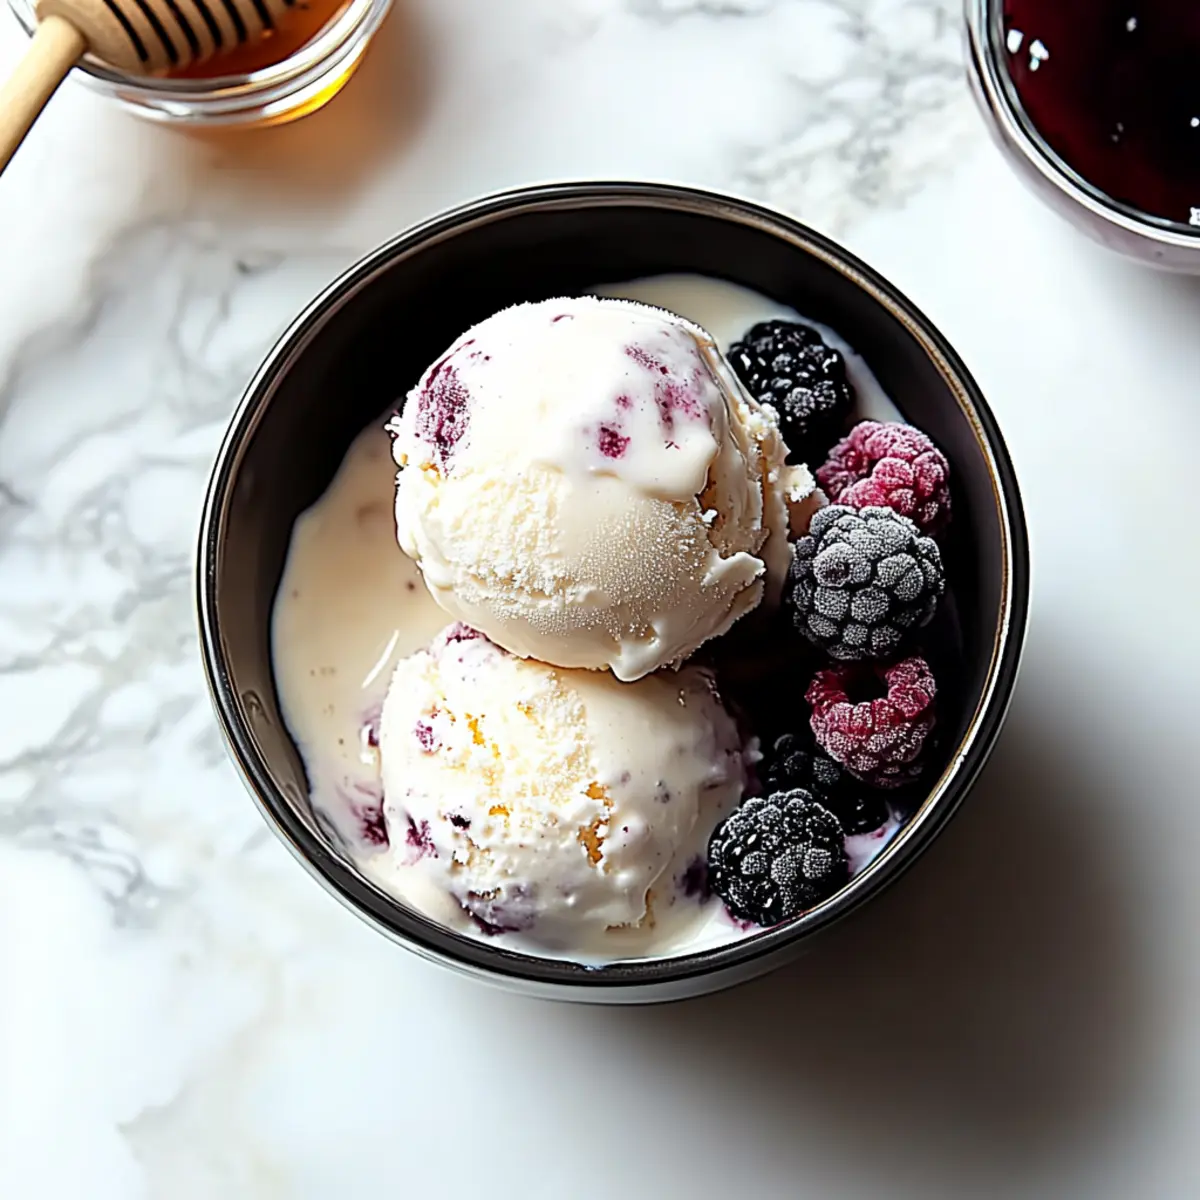
Dive into the world of flavor by adding Sweet Coconut Cream or even drizzle some saved honey over your scoop for an extra touch of sweetness!
Homemade Greek Yogurt Ice Cream Ingredients
Get ready to make something delicious!
For the Ice Cream Base
- Greek Yogurt – Adds that tangy taste and creamy texture you crave; don’t hesitate to use low-fat yogurt for a lighter option.
- Heavy Cream – Ensures a rich, velvety consistency; always go for full-fat for the best results.
- Whole Milk – Balances the mixture, giving it a smooth finish; almond milk works if you prefer a lighter take.
- Honey – Naturally sweetens the ice cream while elevating flavors; try maple syrup or agave for a delightful twist.
- Vanilla Extract – Infuses warmth and aroma; opt for pure vanilla to truly enhance the flavor.
- Lemon Juice – Brightens the mixture with a refreshing lift; it elevates that Greek yogurt tang beautifully.
Feel free to experiment with different toppings and sweeteners to make your Homemade Greek Yogurt Ice Cream your own!
Step‑by‑Step Instructions for Homemade Greek Yogurt Ice Cream
Step 1: Prepare the Base
In a medium bowl, whisk together 2 cups of Greek yogurt, 1 cup of heavy cream, and 1 cup of whole milk until the mixture is smooth and creamy, about 2–3 minutes. Aim for a homogenous blend without any lumps, as this will ensure your Homemade Greek Yogurt Ice Cream has a silky texture.
Step 2: Add Sweetness
Stir in ½ cup of honey until it’s fully dissolved, which should take another 1–2 minutes. Make sure to taste the mixture for sweetness and adjust as needed—this ice cream is all about balancing that delightful tang with just the right amount of sweetness to complement the Greek yogurt.
Step 3: Infuse Flavor
Next, mix in 1 teaspoon of pure vanilla extract and 1 tablespoon of lemon juice, stirring for an additional minute until completely combined. The vanilla will provide warmth, while the lemon juice brightens the entire flavor profile of your ice cream, enhancing the tanginess that makes this treat special.
Step 4: Chill the Mixture
Transfer the mixture into a lidded container and refrigerate for at least 1 hour. This chilling step is crucial, as it helps the flavors meld and prepares the base for churning, ensuring a creamy consistency in your Homemade Greek Yogurt Ice Cream.
Step 5: Churn the Ice Cream
Pour the chilled mixture into your ice cream maker and churn according to the manufacturer’s instructions, typically for about 20–25 minutes. You’ll know it’s ready when the texture resembles soft-serve ice cream, thick enough to hold its shape but still creamy and smooth.
Step 6: Freeze for Firmness
Scoop the churned ice cream into an airtight container, smoothing the top to minimize air pockets, and freeze it for a minimum of 4 hours until firm. Proper freezing ensures your Homemade Greek Yogurt Ice Cream is scoopable and easy to serve, perfect for hot summer days.
Step 7: Serve and Enjoy
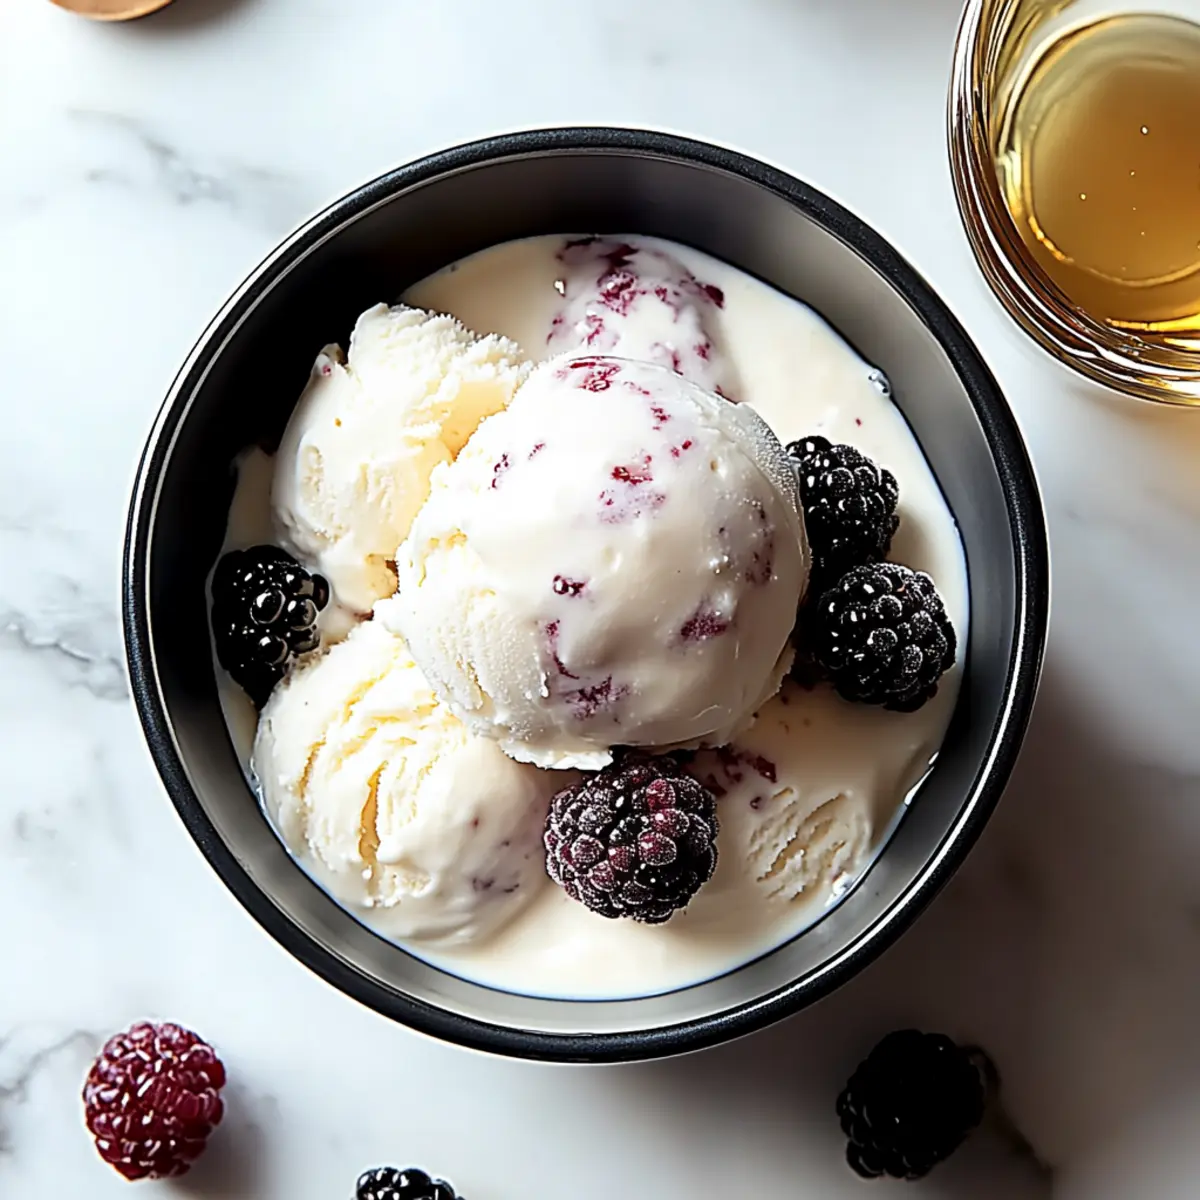
When it’s time to indulge, scoop out servings of your homemade goodness into bowls or cones. Feel free to top with fresh fruit, crushed nuts, or an extra drizzle of honey to elevate your ice cream experience. Each bite is a refreshing taste of summer bliss!
Expert Tips for Homemade Greek Yogurt Ice Cream
-
Chill First: Always chill the ice cream mixture for at least an hour before churning. This enhances the flavors and ensures a smoother texture for your homemade Greek yogurt ice cream.
-
Avoid Ice Crystals: To prevent unwanted ice crystals, store your ice cream in an airtight container and cover the surface with plastic wrap before sealing.
-
Adjust Sweetness: Taste the mixture after adding honey and adjust according to your preference. Remember that the cold temperature will dull sweetness slightly, so taste-testing is key!
-
Dairy-Free Option: If you’re making a dairy-free version, substitute the heavy cream and milk with coconut cream and almond milk. This will maintain the creamy texture and flavor.
-
Mix Flavors: Get creative by adding crushed fruits or chocolate chips right before freezing. This customization gives a delightful twist to your homemade Greek yogurt ice cream!
-
Storage Life: For the best flavor and texture, consume the ice cream within 2-3 weeks. After longer storage, it might become harder and lose its creaminess.
Homemade Greek Yogurt Ice Cream Variations
Feel free to let your creativity shine by customizing this delicious ice cream recipe with these fun variations!
-
Dairy-Free: Swap heavy cream and whole milk for coconut cream and almond milk to create a luscious dairy-free delight. Your taste buds will thank you!
-
Natural Sweeteners: Replace honey with maple syrup or agave for an alternative sweet twist. Each option offers a unique flavor profile—experiment to find your favorite!
-
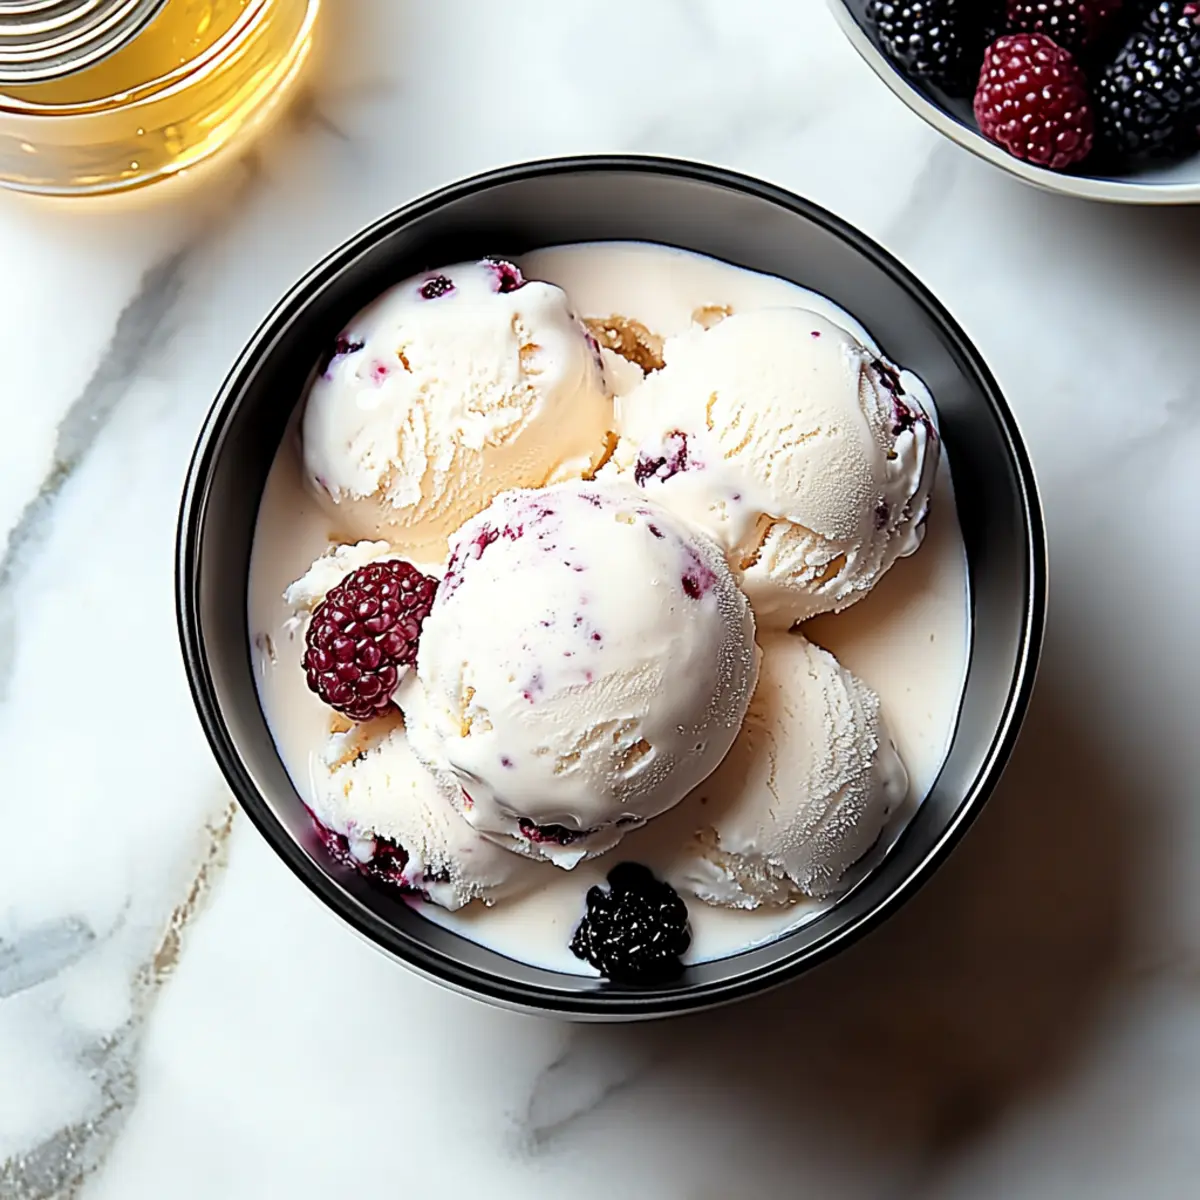
Fruit Elements: Add crushed berries or fruit purees directly into the base before freezing. This will create delightful fruity swirls and deliver an extra burst of flavor in each scoop.
-
Chocolate Indulgence: Stir in chocolate chips or cocoa powder for a rich, decadent twist. Imagine the creamy chocolate mingling with the tangy yogurt—pure bliss!
-
Nutty Crunch: Toss in chopped nuts such as almonds or walnuts right before freezing to add a satisfying crunch. This not only elevates the texture but also enhances the flavor.
-
Savory Spice: Experiment with a pinch of cinnamon or nutmeg for a warm, aromatic twist. These spices can create a delightful contrast with the tanginess of the yogurt.
-
Extra Creamy Version: For an even creamier texture, replace Greek yogurt with a blend of mascarpone cheese and Greek yogurt. It’s an indulgent treat that tastes like a gelato!
After you’ve created your base, don’t forget to top your ice cream with fresh berries or a drizzle of honey, enhancing the experience even further. Happy scooping!
Make Ahead Options
These Homemade Greek Yogurt Ice Cream preparations are ideal for busy home cooks looking to save time! You can whisk together the Greek yogurt, heavy cream, whole milk, honey, vanilla extract, and lemon juice up to 24 hours in advance, storing the mixture in an airtight container in the refrigerator. Chilling allows the flavors to meld beautifully. When ready to indulge, simply pour the chilled mixture into your ice cream maker and churn according to the manufacturer’s instructions. Freezing the churned ice cream for at least four hours ensures a delightful texture that remains just as delicious, making your homemade ice cream a refreshing treat ready to serve whenever you please!
How to Store and Freeze Homemade Greek Yogurt Ice Cream
-
Fridge: Store your homemade Greek yogurt ice cream in the fridge for a quick treat, but it’s best used within 1-2 days for optimal freshness and texture.
-
Freezer: For longer storage, keep your ice cream in an airtight container in the freezer, where it will maintain its quality for up to 2-3 weeks.
-
Cover: To prevent ice crystals from forming, press a piece of plastic wrap directly against the surface of the ice cream before sealing the container.
-
Reheating: If your ice cream becomes too hard, let it sit at room temperature for about 10-15 minutes to soften slightly before scooping, ensuring every bite is as creamy as can be!
What to Serve with Creamy Homemade Greek Yogurt Ice Cream?
Indulging in a scoop of creamy goodness opens a world of delightful pairings that can take your dessert experience to new heights.
-
Fresh Berries: Their tartness balances the sweetness of the ice cream, adding a burst of color and freshness to every scoop.
-
Crushed Nuts: Almonds or walnuts add a delightful crunch, enhancing the creamy texture while providing a nutty flavor that complements the ice cream beautifully.
-
Chocolate Sauce: A rich drizzle elevates your homemade Greek yogurt ice cream with indulgent sweetness, creating a heavenly taste experience.
-
Caramel Sauce: This adds a warm, buttery contrast to the cool ice cream, making each bite a harmonious blend of flavors.
-
Mint Leaves: Garnishing with fresh mint introduces a refreshing burst, cutting through the sweetness and enhancing the overall dessert experience.
-
Coconut Flakes: Their chewy texture and tropical flavor create a delightful contrast against the creamy ice cream, evoking a sense of summer joy.
-
Almond Milkshake: For a drink pairing, a light almond milkshake complements the creamy nature of the dessert without overwhelming your palate.
-
Shortbread Cookies: These buttery cookies add a delightful crunch and are perfect for scooping up the ice cream, making it a fun combo for dessert lovers.
-
Lemon Sorbet: A scoop of refreshing sorbet introduces a zesty element, perfectly contrasting with the richness of the ice cream while refreshing your palate.
-
Coffee: A warm cup of coffee balances the creamy texture, creating a comforting pairing for a delightful after-dinner treat.
Homemade Greek Yogurt Ice Cream Recipe FAQs
How do I select ripe ingredients for my homemade Greek yogurt ice cream?
Absolutely! When choosing Greek yogurt, look for one that has a thick, creamy consistency without any excess liquid on top. For heavy cream, opt for full-fat versions with no additives to ensure richness. If you’re using whole milk, ensure it’s fresh and has no off-flavors. If opting for fruits as toppings, pick fruits that are bright and firm—avoid any with dark spots or mushy areas.
How should I store homemade Greek yogurt ice cream, and how long does it last?
To maintain the delicious texture of your homemade Greek yogurt ice cream, store it in an airtight container in the freezer. It typically stays fresh for about 2-3 weeks. For best results, cover the surface with plastic wrap before sealing to prevent ice crystals from forming, ensuring each scoop remains creamy and delightful!
Can I freeze homemade Greek yogurt ice cream?
Yes, you can! After churning, transfer your ice cream to an airtight container and freeze it for at least 4 hours for it to firm up properly. For optimal storage, it’s best consumed within 2-3 weeks, as prolonged exposure to the freezer can lead to texture changes. You can also pre-scoop portions into individual containers for convenient serving.
What are some common troubleshooting tips for homemade Greek yogurt ice cream?
If your ice cream is too icy, consider using full-fat Greek yogurt instead of non-fat varieties, as they tend to yield a creamier texture. If your mixture isn’t sweet enough, remember to taste it before freezing—adjust with additional honey or your sweetener of choice. If you notice ice crystals forming, make sure to store it properly in an airtight container and cover it well with plastic wrap.
Are there any dietary considerations for homemade Greek yogurt ice cream, like allergies or for pets?
Definitely, it’s important to be aware! For allergens, ensure your chosen yogurt and other ingredients are free from any unwanted additives. If making this treat for kids or those with dairy sensitivities, you can substitute Greek yogurt with dairy-free alternatives like coconut yogurt, and replace milk and cream with almond or other plant-based milks. As for pets, always keep ice cream and other human desserts away from them, as many ingredients, like chocolate or sweeteners like xylitol, can be harmful.
How can I customize my homemade Greek yogurt ice cream?
The beauty of this recipe lies in its customization! You can easily switch out sweeteners based on your preferences—maple syrup or agave nectar work beautifully instead of honey. Also, feel free to add in your favorite fruits or even a swirl of peanut butter or chocolate before freezing for a fun twist! Let your creativity shine with toppings like fresh berries, crushed nuts, or granola!
Creamy Homemade Greek Yogurt Ice Cream You Can Customize
Ingredients
Equipment
Method
- In a medium bowl, whisk together 2 cups of Greek yogurt, 1 cup of heavy cream, and 1 cup of whole milk until smooth and creamy, about 2–3 minutes.
- Stir in ½ cup of honey until fully dissolved, tasting for sweetness as needed.
- Mix in 1 teaspoon of pure vanilla extract and 1 tablespoon of lemon juice, stirring for an additional minute.
- Transfer the mixture into a lidded container and refrigerate for at least 1 hour.
- Pour the chilled mixture into your ice cream maker and churn according to the manufacturer’s instructions for about 20–25 minutes.
- Scoop the churned ice cream into an airtight container, smoothing the top, and freeze for a minimum of 4 hours.
- Scoop out servings into bowls or cones and add toppings like fresh fruit or crushed nuts.
Leave a Reply