
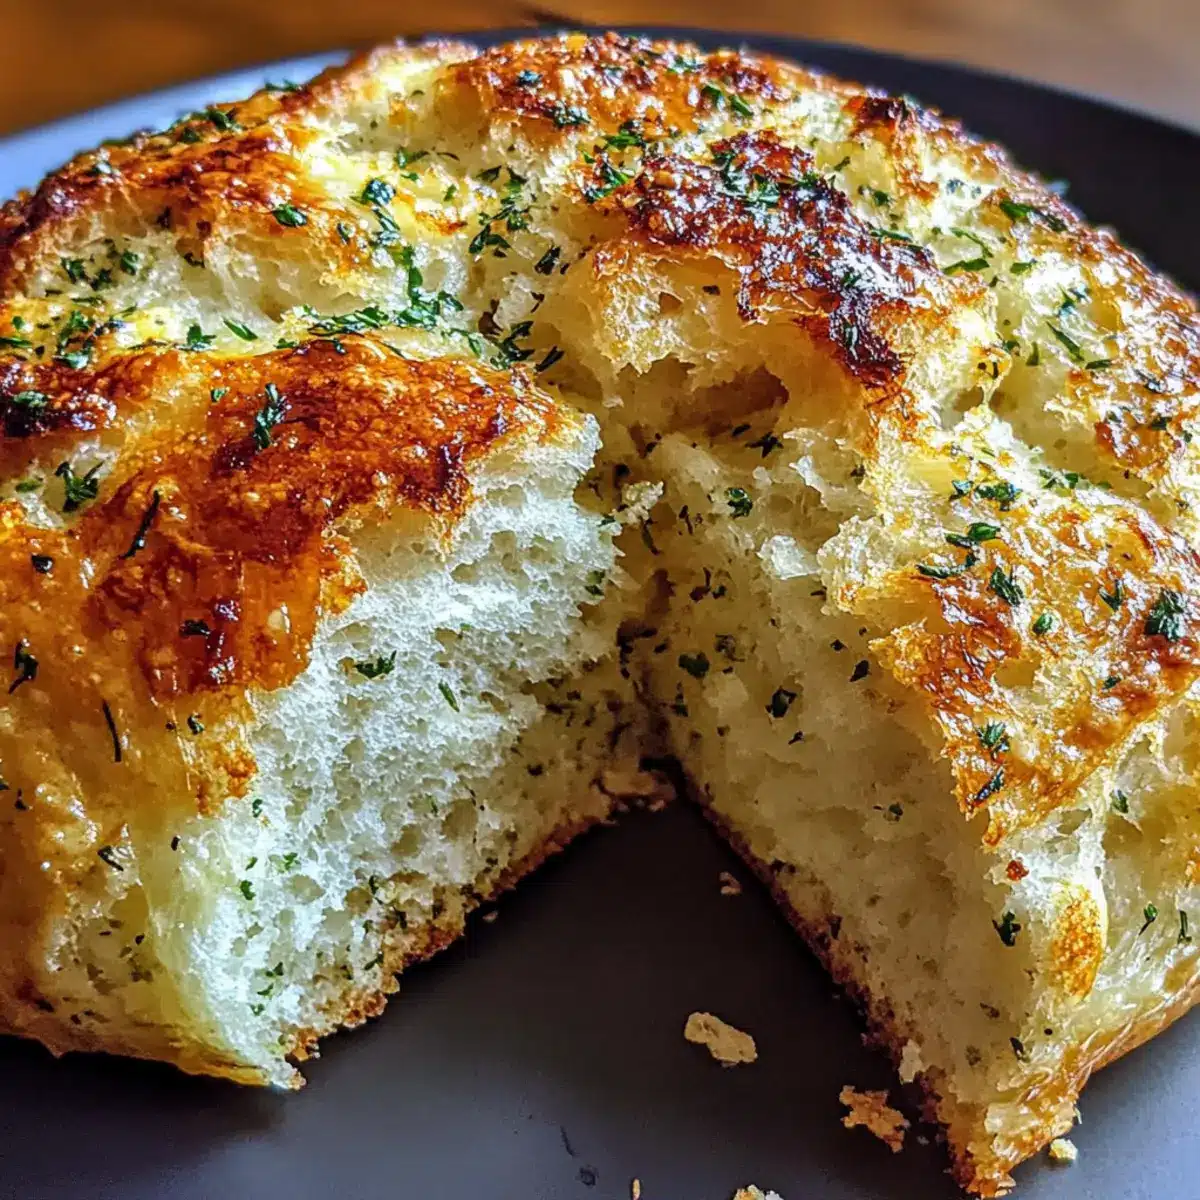
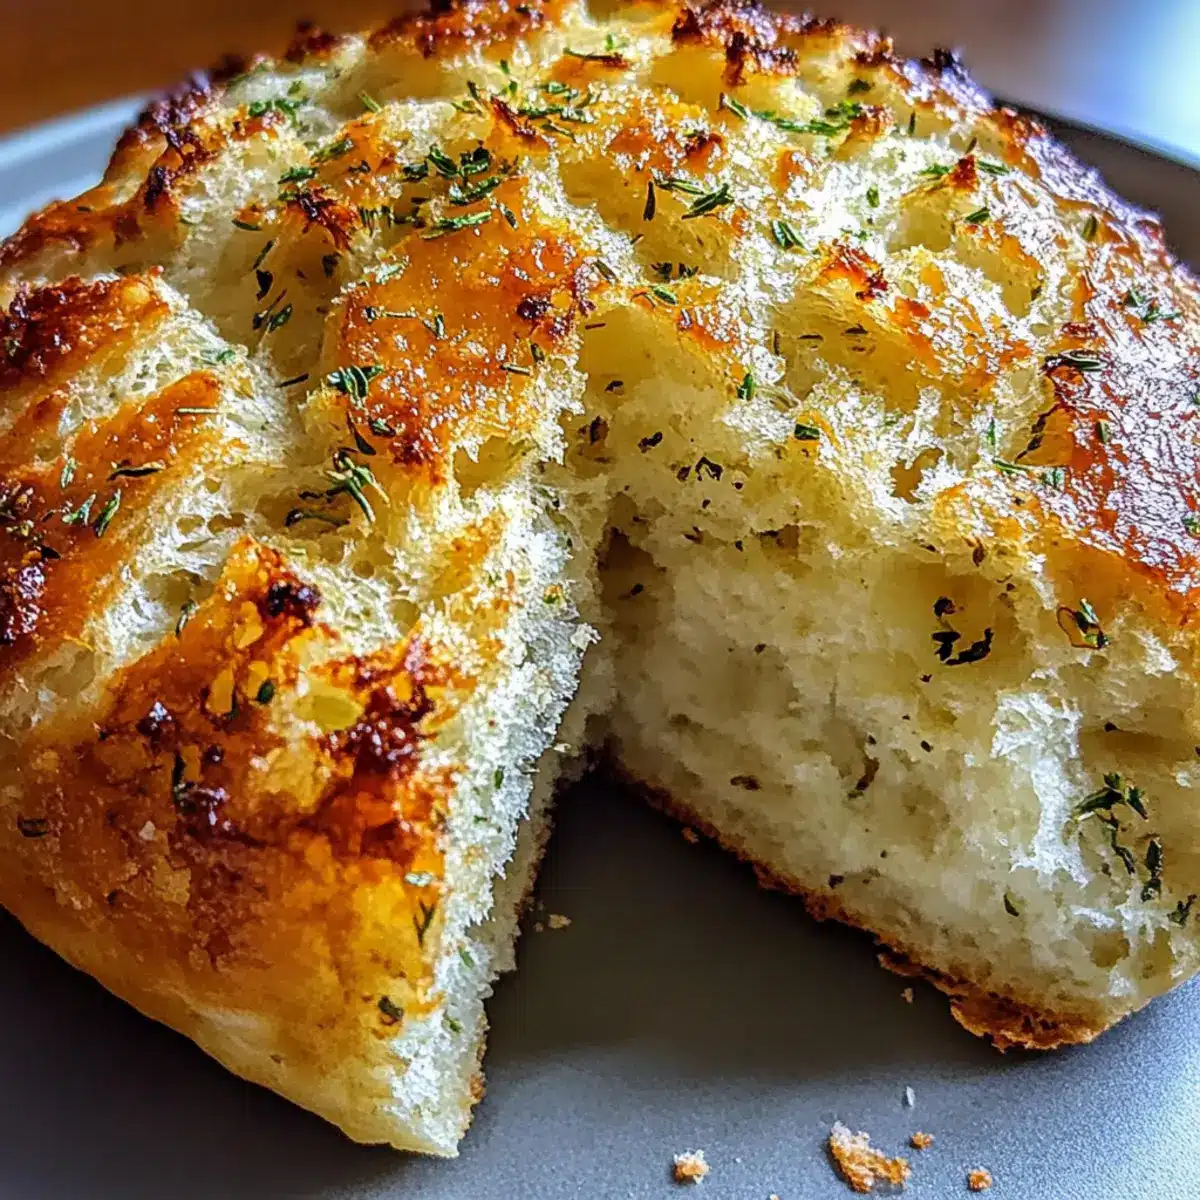
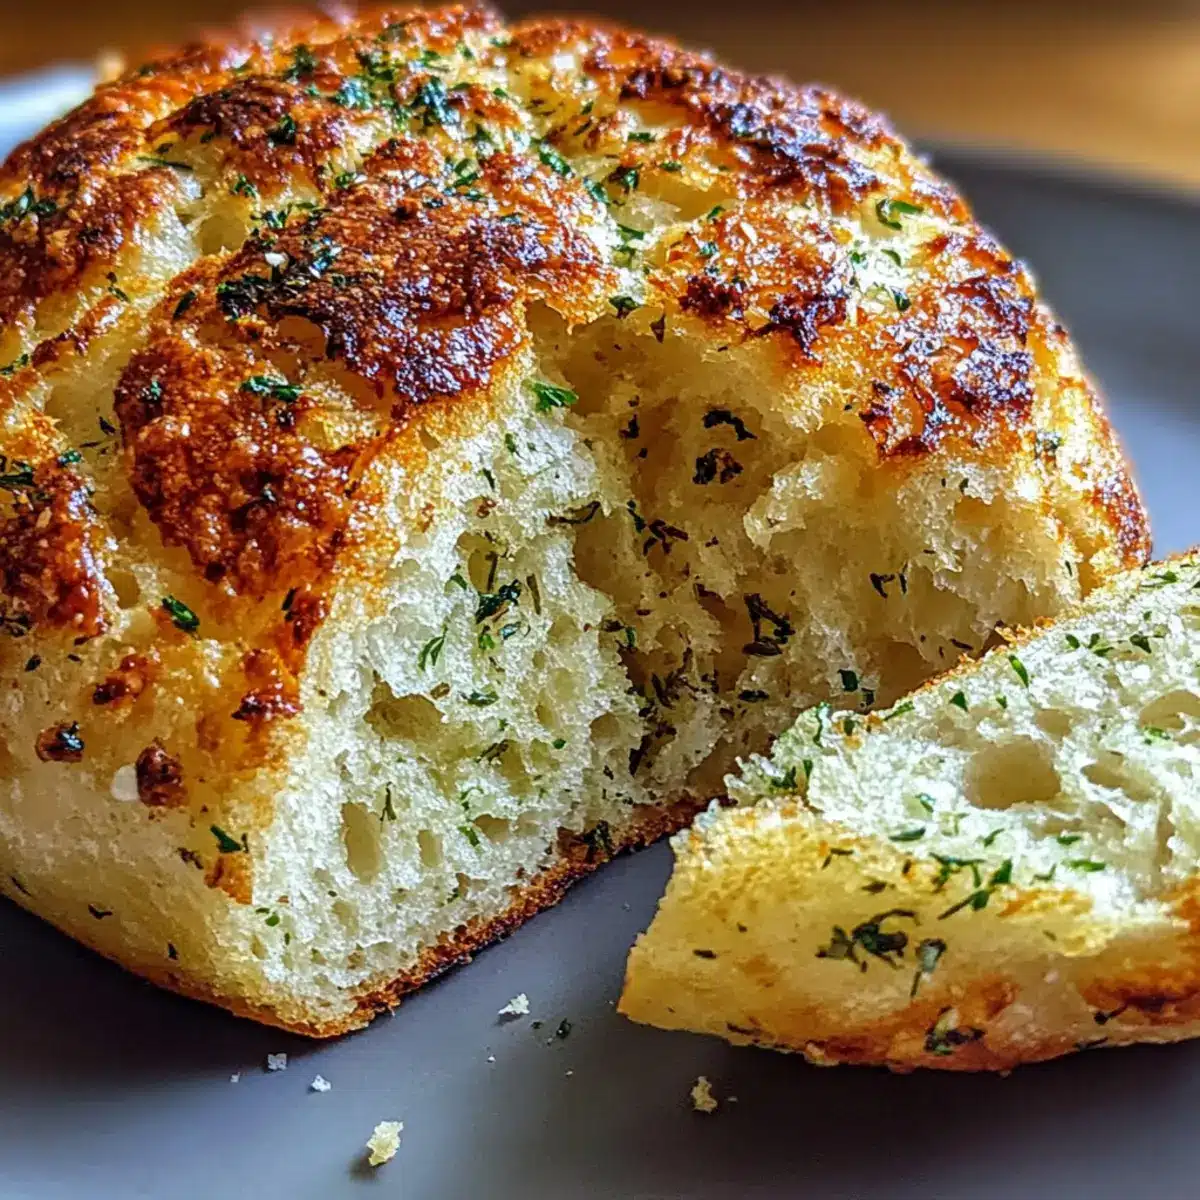
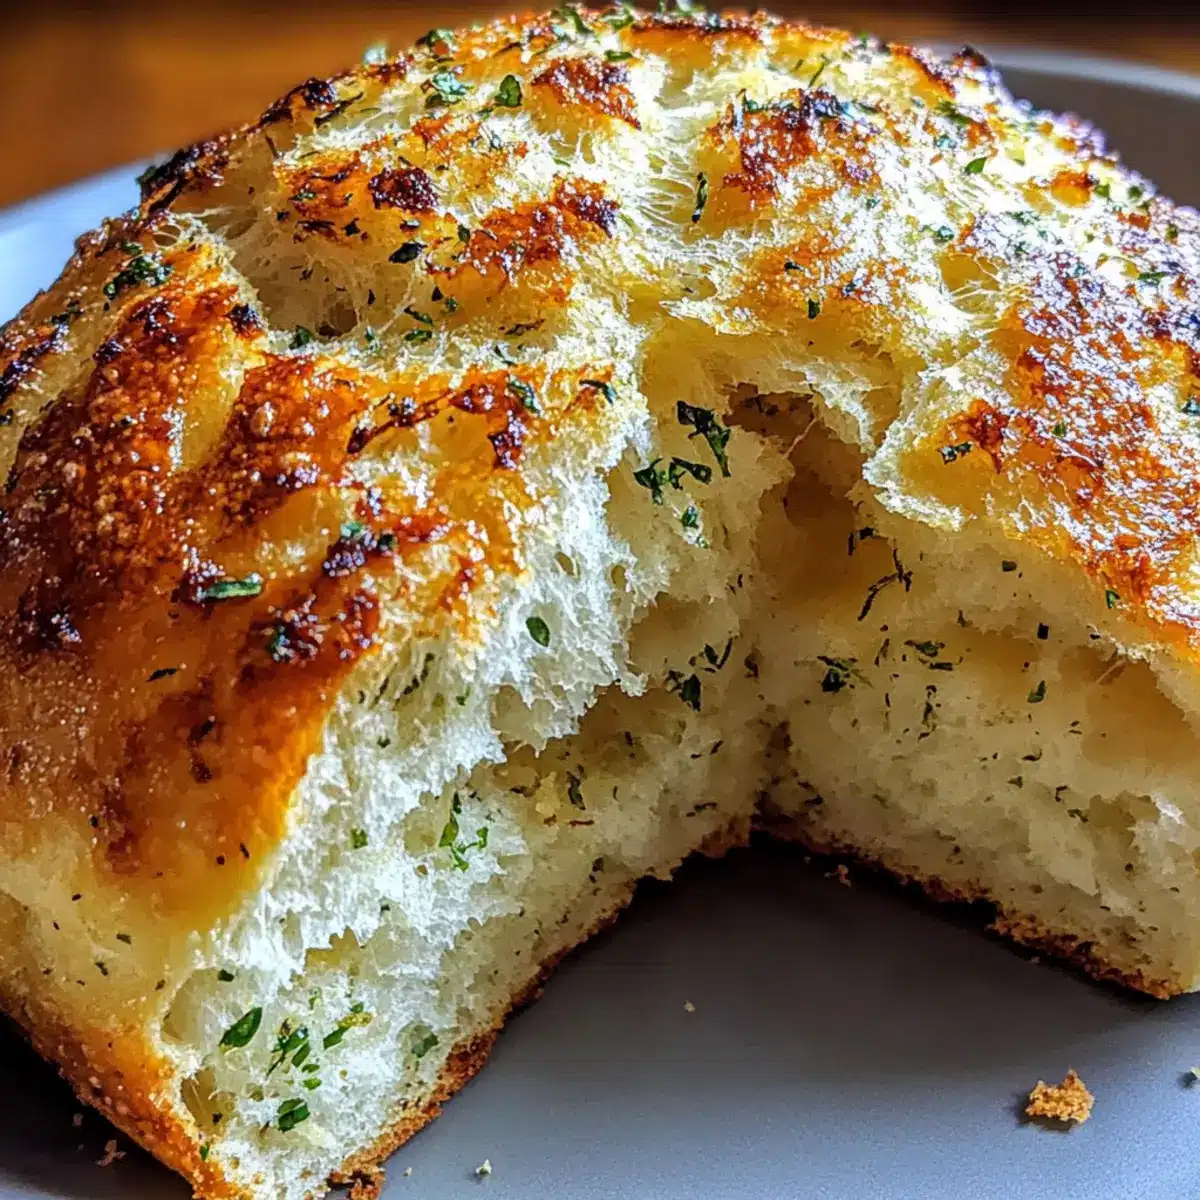
As the sun dipped below the horizon, I was captivated by the warm, inviting aroma of freshly baked bread wafting through my kitchen. It was the perfect moment to unveil my Irresistibly Soft and Crusty Garlic Herb Dutch Oven Bread. This artisan-style loaf is not just a crowd-pleaser; it offers an incredible sense of accomplishment, transforming simple ingredients into a golden marvel. With every bite, you’ll experience a delightful crunch on the outside that gives way to a fluffy, herb-scented interior, thanks to a preheated Dutch oven that captures steam beautifully. Plus, it’s a straightforward recipe, making it perfect for both novice and experienced bakers. Who wouldn’t want this comforting bread as a delightful side to their favorite meals? Ready to learn the secrets to crafting this exceptional loaf? Let’s dive in!
Why Is This Bread So Irresistible?
Impressive Flavor: The blend of garlic and fresh herbs permeates every bite, creating a rich, savory experience.
Effortless Artisan Touch: Baking in a Dutch oven traps steam, resulting in a beautifully crusty exterior and a tender interior, paying homage to artisanal bread-making.
Time-Saving Simplification: With just a few basic ingredients, this recipe effortlessly combines flavor and ease, perfect for all home cooks looking to elevate their meals.
Versatile Use: Pair it with olive oil and balsamic vinegar, or enjoy alongside a comforting soup or salad to impress friends and family. You might also love serving it with my Garlic Smothered Chicken for an exquisite meal!
High Crowd Appeal: Bring this loaf to gatherings and watch it vanish—its delightful aroma and taste will leave everyone asking for more.
Crusty Garlic Herb Dutch Oven Bread Ingredients
• Prepare to savor this homemade bread!
For the Dough
- All-Purpose Flour – Provides structure and body to create that signature crusty texture; consider using bread flour for an even chewier bite.
- Salt – Enhances the overall flavor; it’s crucial for the fermentation process, so don’t skip this essential ingredient!
- Instant Yeast – Activates the dough for rising; can be replaced with active dry yeast (use 25% more), but it will need proofing first.
- Warm Water (about 110°F or 43°C) – This hydrates the flour and helps activate the yeast; make sure it’s comfortably warm—hot water can adversely affect the yeast.
- Olive Oil – Adds richness and flavor; it’s great for both greasing your pot and enriching the dough itself, but you could substitute it with melted butter if desired.
For the Flavoring
- Garlic (minced) – Infuses each slice with a robust, savory flavor; try using roasted garlic for a sweeter, subtler taste.
- Fresh Rosemary – Delivers a fragrant herb aroma; dried rosemary is a convenient substitute—just use 1 teaspoon for this recipe.
- Fresh Thyme – Adds earthy depth; dried thyme works too—just use 1 teaspoon dried for every tablespoon fresh.
- Dried Oregano – Complements the garlic and herbs beautifully; optional, but it lends a warm, layered flavor.
- Black Pepper – Provides a gentle bite; feel free to adjust according to your taste preferences.
For Finishing Touches
- Optional Herbs for Topping – Fresh herbs or a sprinkle of sea salt enhances flavors and presentation; feel free to get creative!
Now you’re ready to gather your ingredients and start making this Crusty Garlic Herb Dutch Oven Bread that will wow your family and friends!
Step‑by‑Step Instructions for Crusty Garlic Herb Dutch Oven Bread
Step 1: Mix the Dry Ingredients
In a large mixing bowl, combine 3 cups of all-purpose flour, 1.5 teaspoons of salt, and 1 packet of instant yeast. Use a whisk to evenly distribute the ingredients, ensuring that the salt and yeast mingle well with the flour. This is crucial as it lays the foundation for your delicious Crusty Garlic Herb Dutch Oven Bread.
Step 2: Prepare the Wet Ingredients
In a separate bowl, whisk together 1.5 cups of warm water (around 110°F or 43°C), 1 tablespoon of olive oil, 4 cloves of minced garlic, 1 tablespoon of chopped fresh rosemary, 1 tablespoon of fresh thyme leaves, 1 teaspoon of dried oregano, and 1/2 teaspoon of black pepper. The mixture should be fragrant and inviting; this rich blend will impart flavor throughout the dough.
Step 3: Combine Wet and Dry Ingredients
Pour the wet mixture into the bowl of dry ingredients. Using a wooden spoon or spatula, stir until a shaggy dough forms—this should take about 1-2 minutes. The dough will be sticky and uneven, but don’t worry; it will come together as it rests. Cover the bowl tightly with plastic wrap or a clean towel to trap the warmth.
Step 4: Let the Dough Rise
Allow the dough to rise at room temperature for 12 to 18 hours, until it has doubled in size and is bubbly on the surface. The longer rise time develops the gluten and flavor, resulting in an irresistible Crusty Garlic Herb Dutch Oven Bread. You’ll know it’s ready when the surface is bubbly and the volume has noticeably increased.
Step 5: Shape the Dough
Once the dough has risen, turn it out onto a well-floured surface. Gently stretch and shape it into a round boule, being careful not to deflate it too much. Dust the dough lightly with flour to prevent sticking, and let it rest for about 1 hour. This allows the gluten to relax before baking and makes shaping easier.
Step 6: Preheat the Oven and Dutch Oven
While the shaped loaf rests, preheat your oven to 450°F (232°C). Place your Dutch oven (with the lid on) in the oven to heat for 30 minutes, crucial for achieving that perfect crust. The high temperature and steam from the Dutch oven will ensure your Crusty Garlic Herb Dutch Oven Bread develops an irresistible, crispy exterior.
Step 7: Transfer Dough to Dutch Oven
Once the Dutch oven is hot, carefully remove it using oven mitts to avoid burns. Drizzle the remaining tablespoon of olive oil inside the pot, swirling to coat. Gently place the shaped dough inside, seam-side down. This step helps create a beautiful crust while providing additional flavor from the oil.
Step 8: Bake the Bread
Cover the Dutch oven with its lid and bake for 30 minutes. Afterward, remove the lid and bake for an additional 15 to 20 minutes, or until the bread reaches a stunning golden-brown color and has a crackly crust. You’ll know it’s done when it sounds hollow when tapped on the bottom.
Step 9: Cool Before Slicing
Carefully remove the bread from the Dutch oven and transfer it to a wire rack. Allow it to cool for at least 30 minutes before slicing; this helps set the crumb and improves texture. You’ll be tempted to dig in sooner, but patience rewards you with beautifully fluffy Crusty Garlic Herb Dutch Oven Bread that’s perfect for sharing.
Make Ahead Options
These Crusty Garlic Herb Dutch Oven Bread loaves are ideal for meal prep, allowing you to enjoy fresh bread without the last-minute rush! You can mix the dry ingredients (flour, salt, and yeast) and store them in an airtight container for up to 3 days. The wet ingredients can also be prepared and combined the night before, allowing them to sit overnight (about 12-18 hours) for maximum flavor development. When you’re ready to bake, simply mix the wet and dry ingredients, shape the dough, and let it rest for about an hour. Just remember to preheat your Dutch oven to ensure that the crust remains beautifully crispy. This way, you can enjoy warm, homemade artisan bread with minimal effort on busy weeknights!
Storage Tips for Crusty Garlic Herb Dutch Oven Bread
-
Room Temperature: Store leftover bread in a cool, dry place wrapped in a clean kitchen towel or in a paper bag for up to 3 days to maintain its crust.
-
Fridge: Avoid refrigeration, as it tends to dry out the bread and alters its texture. Instead, keep it in a well-sealed container at room temperature.
-
Freezer: For longer storage, slice the Crusty Garlic Herb Dutch Oven Bread and freeze it in an airtight container or resealable bag for up to 3 months. Thaw slices at room temperature or toast them straight from the freezer.
-
Reheating: To revive stale bread, preheat your oven to 350°F (175°C), wrap the bread in foil, and heat for about 10-15 minutes, restoring its crispy exterior and soft crumb.
Expert Tips for Crusty Garlic Herb Dutch Oven Bread
-
Preheat is Key: Ensure your Dutch oven is fully preheated before adding the dough; this crucial step creates the steam needed for a crisp crust.
-
Dough Consistency: If your dough feels too sticky, flour your work surface generously when shaping; this helps form a workable loaf without compromising texture.
-
Patience Pays Off: Allowing the bread to cool completely before slicing is essential. Cutting too early can lead to a gummy texture rather than a light, fluffy crumb.
-
Flavor Variations: Don’t hesitate to experiment! Adding cheeses like parmesan or even sun-dried tomatoes can elevate your crusty garlic herb Dutch oven bread to new heights.
-
Proper Storage: Store leftover bread in an airtight container at room temperature for up to three days, or freeze slices for longer freshness.
Crusty Garlic Herb Dutch Oven Bread Variations
Feel free to personalize your bread experience with these tempting twists!
- Herb Medley: Substitute fresh thyme and rosemary with a mix of your favorite herbs—basil and parsley add a delightful twist.
- Cheesy Indulgence: Fold in shredded cheese, like parmesan or mozzarella, into the dough for a savory surprise in each bite. The crust will wrap around that melty goodness perfectly.
- Olive Lovers: Mix in chopped olives or sun-dried tomatoes for a Mediterranean flair that elevates this bread into something extraordinary.
- Spicy Kick: Add a pinch of red pepper flakes for a subtle heat, enhancing the aromatic garlic flavor. This simple tweak will awaken the taste buds!
- Seeded Crust: Top the dough with sesame or poppy seeds before baking for a delightful crunch and nutty flavor, giving a delightful visual appeal.
- Sweet Dimensions: Incorporate a tablespoon of honey and a dash of cinnamon for a hint of sweetness that pairs wonderfully with savory dishes.
- Whole Wheat Twist: Swap half of the all-purpose flour with whole wheat flour for a heartier texture and more complex flavors.
- Veggie Boost: Stir in finely chopped cooked vegetables like spinach or roasted bell peppers for added nutrition and color in every bite.
By experimenting with these variations, you can craft a unique loaf each time you bake! For instance, pairing this bread with my delightful Garlic Parmesan Crockpot Chicken and Potatoes creates a memorable meal that everyone will love.
What to Serve with Irresistibly Soft and Crusty Garlic Herb Dutch Oven Bread
Aromatic and warm, this crusty bread is perfect for crafting a delightful meal experience.
-
Creamy Tomato Soup: The tangy notes of tomato and smooth texture create a delightful contrast, making every bite a comforting affair. Dipping this bread into the soup turns a simple meal into pure pleasure.
-
Garden Salad: A fresh mix of greens, cherry tomatoes, and a light vinaigrette balances the rich flavors of the bread, adding a delightful crunch and a burst of freshness to your plate.
-
Savory Olive Tapenade: This briny spread enhances the garlic herb bread with Mediterranean flavors, turning your loaf into a gourmet appetizer that will impress your guests.
-
Roasted Vegetables: The caramelized sweetness of roasted veggies pairs beautifully with the bread’s crusty exterior. Their diverse textures complement the soft, fluffy interior, creating a satisfying mix.
-
Cheesy Garlic Butter Pasta: The buttery, cheesy flavors of the pasta harmonize beautifully with the savory notes of the garlic herb bread. It’s a comforting combination that feels like a warm embrace.
-
Homemade Hummus: Creamy and rich, hummus offers a nutritious dip that brings out the herbaceous tones of the bread. Perfect for sharing, it invites everyone to gather around the table.
-
Herbed Olive Oil Dipping Sauce: Combine olive oil, balsamic, and herbs for an exquisite dip that elevates your bread into a classy appetizer, promising to awaken your senses.
-
Chardonnay: This crisp white wine enhances the savory herb profile of the bread while its acidity balances the richness of any accompanying dishes.
-
Berry Tart: A light dessert like a berry tart brings a sweet finish to your meal, the crispness and fruitiness juxtaposing perfectly with the warm, herb-scented bread.
Crusty Garlic Herb Dutch Oven Bread Recipe FAQs
What type of flour should I use for this bread?
Absolutely! You can use all-purpose flour for a versatile option. If you prefer a chewier texture, I recommend substituting with bread flour. Both will yield delicious results, just with slightly different textures.
How should I store leftover bread?
For optimal freshness, store any leftover Crusty Garlic Herb Dutch Oven Bread in a cool, dry place wrapped in a clean kitchen towel or a paper bag, which will maintain its crust for up to 3 days. Avoid refrigeration to prevent drying.
Can I freeze this bread?
Yes, you can! Slice the bread and store it in an airtight container or resealable bag for up to 3 months. To enjoy, simply thaw slices at room temperature or toast directly from the freezer for a quick snack or side.
What should I do if my dough doesn’t rise properly?
If your dough isn’t rising, it might be due to inactive yeast. Ensure your yeast is fresh and activate it by proofing in warm water with a bit of sugar for 5-10 minutes before mixing. Additionally, check that your water temperature is around 110°F (43°C), as water that is too hot or too cold can affect yeast performance.
Can I add other herbs or ingredients to the recipe?
Very much so! This recipe is incredibly flexible. You can substitute or add herbs like sage, thyme, or Italian seasoning based on your preference. If you’re feeling adventurous, mix in cheeses like parmesan or toss in sun-dried tomatoes for a unique twist. Just be mindful not to overload the dough, as it needs structure to rise beautifully.
Is this bread safe for pets or those with allergies?
While the Crusty Garlic Herb Dutch Oven Bread is safe for most humans, it’s not suitable for pets, as bread can be hard for them to digest. For those with allergies, check the labels of all ingredients, especially the flour and any herbs used, to avoid allergens like gluten or specific herbs that may cause reactions.
Crusty Garlic Herb Dutch Oven Bread That Will Wow You
Ingredients
Equipment
Method
- In a large bowl, combine 3 cups of all-purpose flour, 1.5 teaspoons of salt, and 1 packet of instant yeast.
- In a separate bowl, whisk together 1.5 cups of warm water, 1 tablespoon of olive oil, 4 cloves of minced garlic, 1 tablespoon of chopped fresh rosemary, 1 tablespoon of fresh thyme leaves, 1 teaspoon of dried oregano, and 1/2 teaspoon of black pepper.
- Pour the wet mixture into the bowl of dry ingredients and stir until a shaggy dough forms.
- Cover the bowl tightly with plastic wrap or a clean towel and let the dough rise at room temperature for 12 to 18 hours.
- Turn the risen dough onto a floured surface and shape it into a round boule, then let it rest for about 1 hour.
- Preheat your oven to 450°F (232°C) and place the Dutch oven inside to heat for 30 minutes.
- Carefully remove the Dutch oven, drizzle olive oil inside, and place the shaped dough seam-side down.
- Cover the Dutch oven and bake for 30 minutes, then remove the lid and bake for an additional 15 to 20 minutes.
- Remove the bread from the Dutch oven and let it cool on a wire rack for at least 30 minutes before slicing.
Leave a Reply