
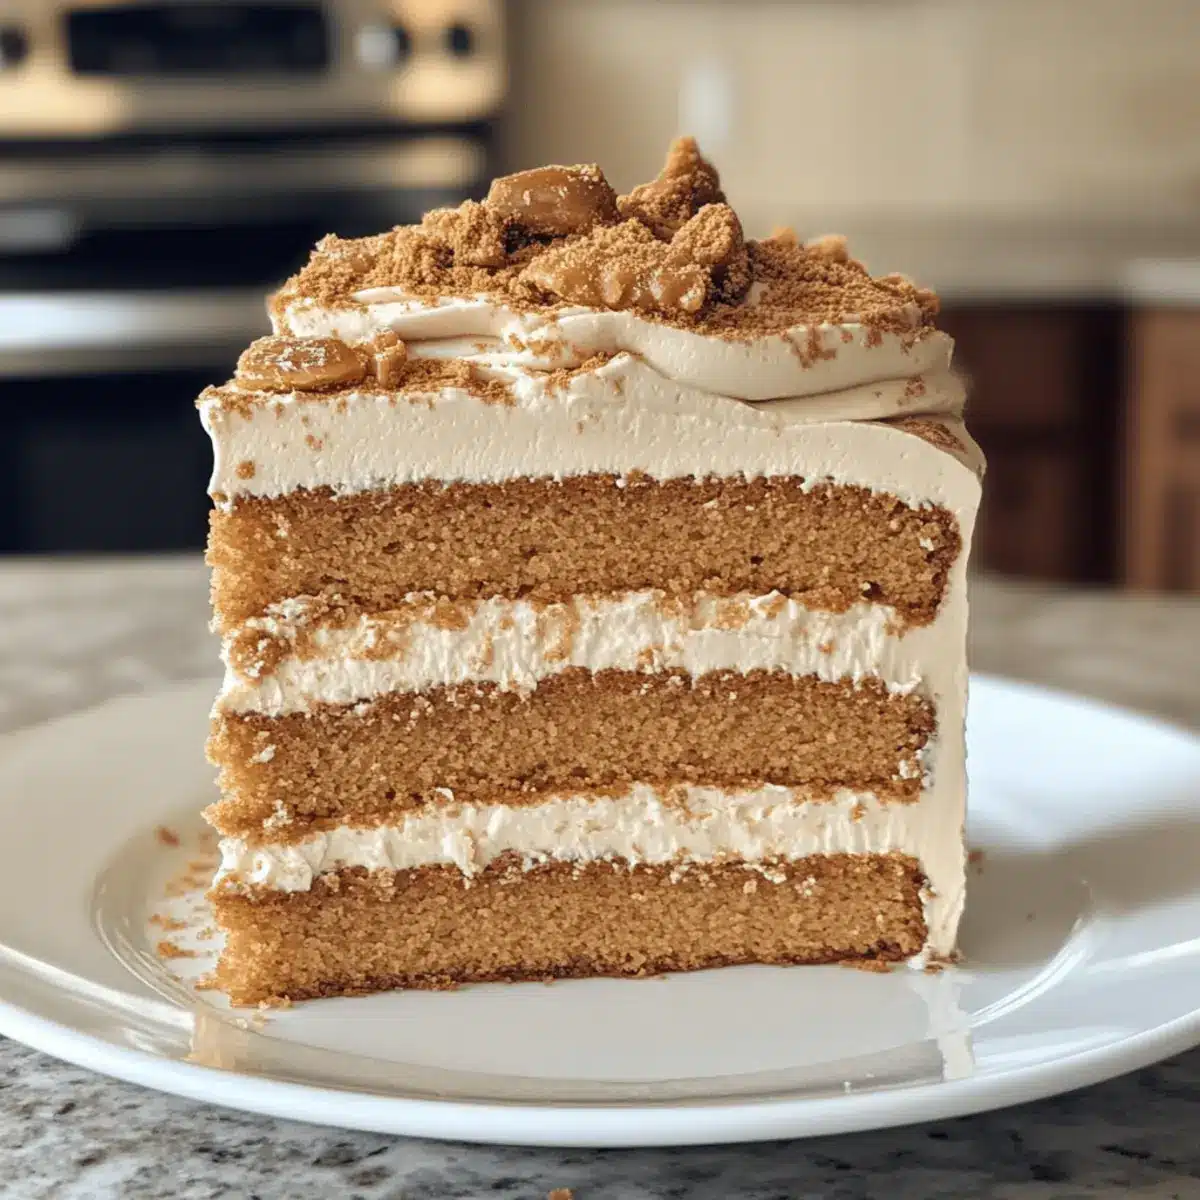
As I sift through my pantry, I unexpectedly stumble upon a jar of Biscoff spread, and suddenly, the idea for a luscious Lotus Biscoff Cake comes to life. This delightful dessert marries the warm, spiced flavors of Biscoff cookies with a moist cake base, layered generously with creamy buttercream frosting. What makes this Biscoff Cake a true standout is its perfect balance—not overly sweet, it allows the distinct, caramelized notes of cookie butter to shine through. Not only is it an impressive centerpiece for gatherings, but its simple preparation makes it a fantastic everyday indulgence for any baking lover. Ready to take your taste buds on a flavorful journey? Let’s dive into this delicious recipe!
Why is Biscoff Cake a Must-Try?
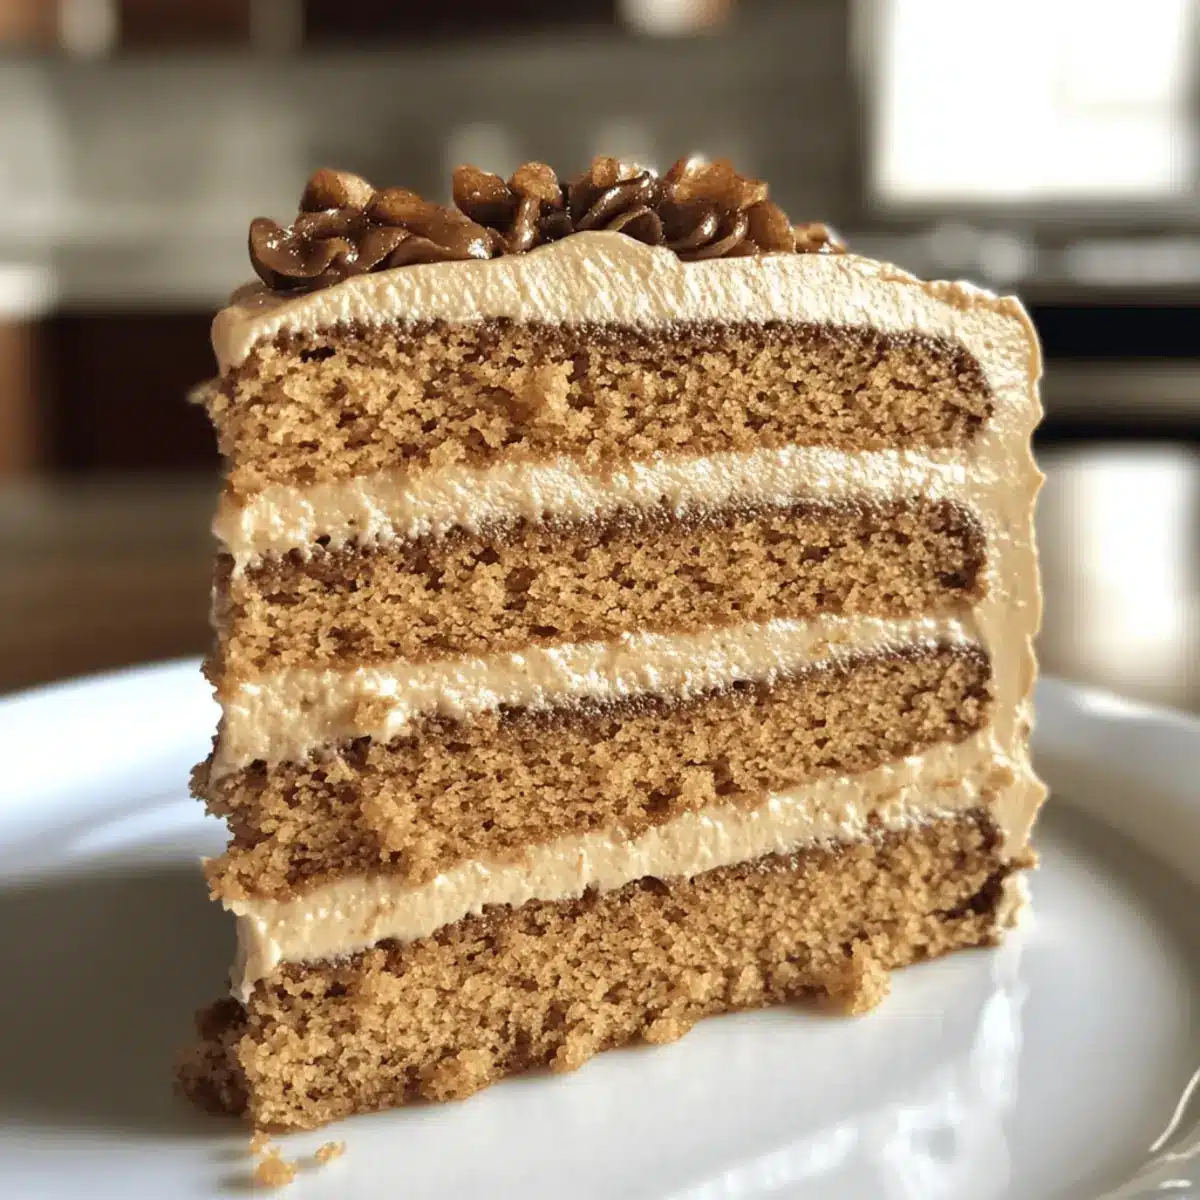
Irresistible Flavor: The Lotus Biscoff Cake showcases the unique, caramelized taste of Biscoff cookies, offering a delightful escape from traditional desserts.
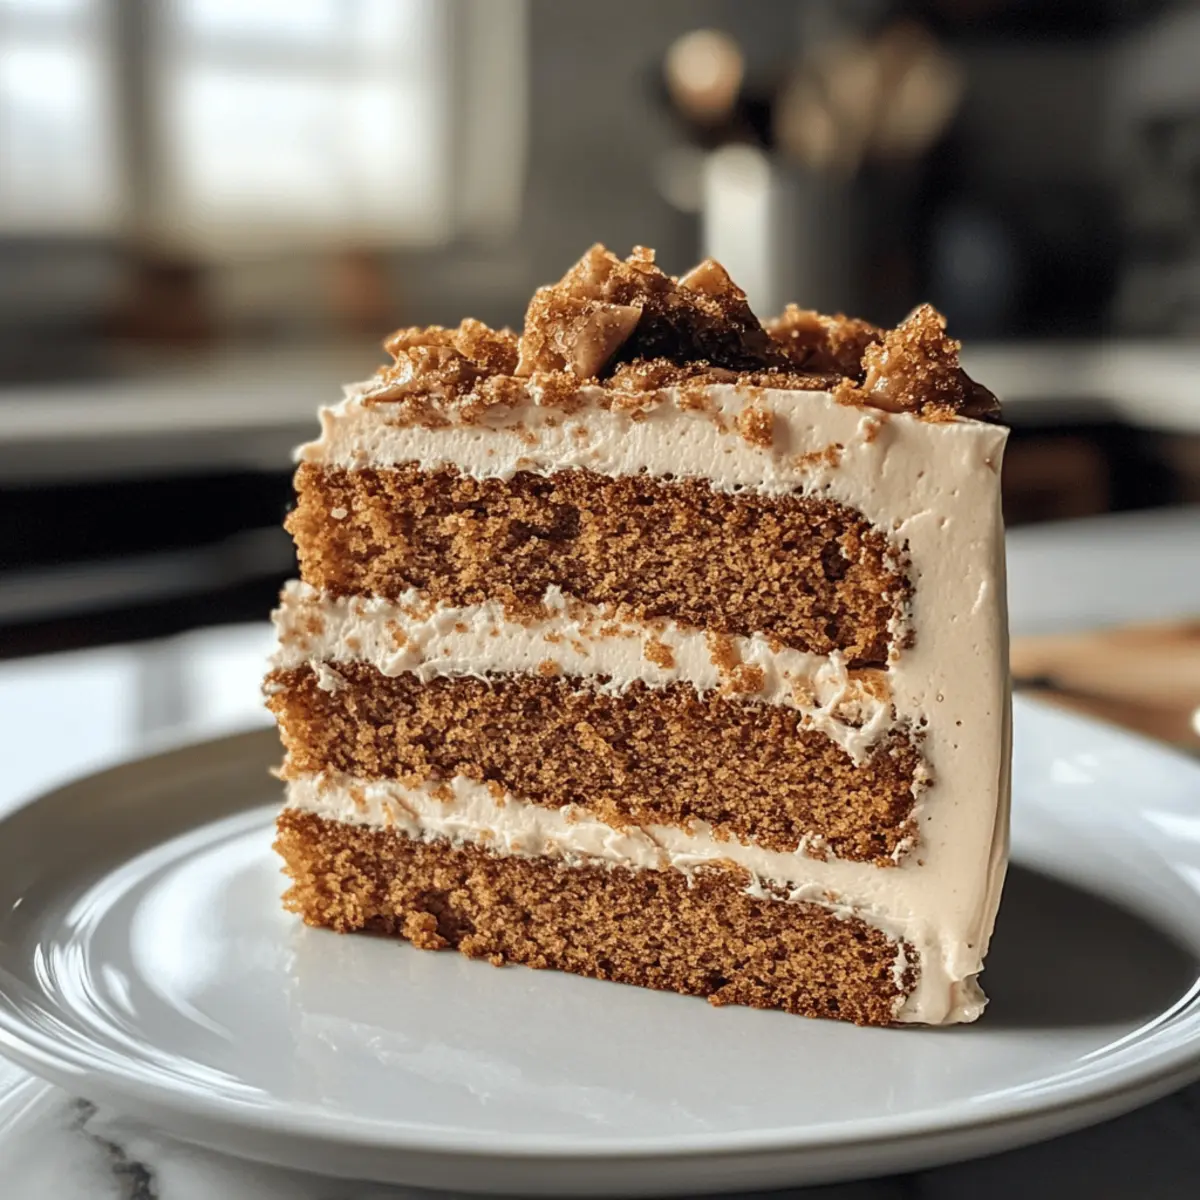
Moist and Soft: With a super moist cake base and fluffy buttercream frosting, every bite melts in your mouth, providing pure enjoyment.
Easy to Make: This recipe is friendly for all skill levels, making it a perfect choice for both seasoned bakers and newbies alike.
Versatile Treat: Whether for a special occasion or just because, this cake impresses guests and satisfies daily cravings—just as delightful as a Carrot Cake Moist or a Birthday Cake Overnight.
Not Overly Sweet: It’s balanced beautifully, ensuring that you can savor every layer without feeling overwhelmed, making it suitable for all palates.
Biscoff Cake Ingredients
• Get ready to create a delicious Biscoff cake!
For the Cake Base
- All-Purpose Flour – A sturdy base; opt for cake flour for added lightness.
- Cornstarch – Helps tenderize the cake; can be omitted for a denser texture.
- Baking Powder & Baking Soda – Essential for leavening; check freshness for best rise.
- Salt – Enhances the flavor; skip if using salted butter.
- Ground Cinnamon – Adds a warm spice note; pumpkin spice makes a great alternative.
- Unsalted Butter – Richness at its best; room temperature butter mixes effortlessly.
- Vegetable Oil – Keeps the cake moist; melted coconut oil is a delightful substitute.
- Light Brown Sugar – Sweetness that deepens flavor; dark brown sugar elevates the caramel tones.
- Eggs – Holds moisture and structure; for a vegan version, replace with flaxseed mixture.
- Biscoff Spread – The star ingredient that brings moisture and flavor; use smooth for easier spreading.
- Vanilla Extract – Boosts flavor; almond extract adds a nice twist.
- Buttermilk – A kiss of acidity for tenderness; vinegar in regular milk works great as a substitute.
- Biscoff Cookies – Crunchy bits for delightful texture; feel free to use favorite flavors.
For the Buttercream Frosting
- Powdered Sugar – Sweetness and texture are key; sift for a silky smooth finish.
- Milk or Heavy Cream – Adjusts frosting consistency; almond or oat milk works perfectly for dairy-free options.
Now that you have your ingredients, you’re one step closer to creating this delectable Biscoff cake that’s bound to wow anyone who takes a bite!
Step‑by‑Step Instructions for Biscoff Cake
Step 1: Preheat and Prepare the Pans
Preheat your oven to 180°C (350°F) while you prepare two 8-inch round cake tins. Grease each tin with butter or cooking spray and line the bottoms with parchment paper for easy removal. This will ensure your Biscoff cake layers bake evenly and come out perfectly without sticking.
Step 2: Sift Dry Ingredients
In a large mixing bowl, sift together 2 cups of all-purpose flour, 1/2 cup of cornstarch, 2 teaspoons of baking powder, 1 teaspoon of baking soda, 1/2 teaspoon of salt, and 1 teaspoon of ground cinnamon. Whisk these ingredients gently until well combined, then set this dry mixture aside as it will form the base of your delicious Biscoff cake.
Step 3: Cream Butter and Sugar
In another large bowl, use a hand or stand mixer on medium speed to cream together 1 cup of room temperature unsalted butter and 1 cup of light brown sugar until the mixture is light and fluffy, about 3-4 minutes. Gradually add in 1/4 cup of vegetable oil and mix until it’s fully incorporated, creating a smooth, creamy texture.
Step 4: Incorporate Eggs and Flavors
Add 3 large eggs to the butter mixture, one at a time, beating well after each addition. Once combined, mix in 1 cup of Biscoff spread and 2 teaspoons of vanilla extract, ensuring everything is mixed thoroughly, creating a rich batter that embodies the essence of the Biscoff cake.
Step 5: Combine Dry and Wet Ingredients
Gradually fold the sifted dry ingredients into the wet mixture, alternating with 1 cup of buttermilk. Start and end with the dry ingredients, mixing gently until just combined. This helps maintain the moisture and fluffiness of your Biscoff cake, making sure not to overmix to avoid a dense texture.
Step 6: Add Cookie Crunch
Break up about 6-8 Biscoff cookies into chunky pieces and carefully fold them into the batter with a spatula. This addition brings delightful texture and bursts of flavor, which are signature notes of the Biscoff cake, enhancing each mouthful with a little crunch.
Step 7: Bake the Cakes
Divide the batter evenly between the prepared cake tins, smoothing the tops with a spatula. Bake in the preheated oven for 37-40 minutes, or until a toothpick inserted into the center comes out clean. The cakes should be golden brown and spring back when lightly pressed, ensuring they are perfectly baked.
Step 8: Cool the Cakes
Once baked, allow the cakes to cool in the tins for about 20 minutes. Afterward, carefully remove them from the tins, peeling off the parchment, and transfer the cakes to a wire rack to cool completely. This step is crucial to prevent any sogginess, giving your Biscoff cake layers a firm structure.
Step 9: Prepare the Buttercream
For the buttercream, beat 1 cup of softened unsalted butter in a bowl until smooth. Gradually add 4 cups of sifted powdered sugar, then mix in 2 tablespoons of milk or heavy cream, 1 teaspoon of vanilla extract, and 1/2 cup of Biscoff spread. Whip until light and creamy, achieving the ideal frosting consistency for your cake.
Step 10: Assemble the Cake
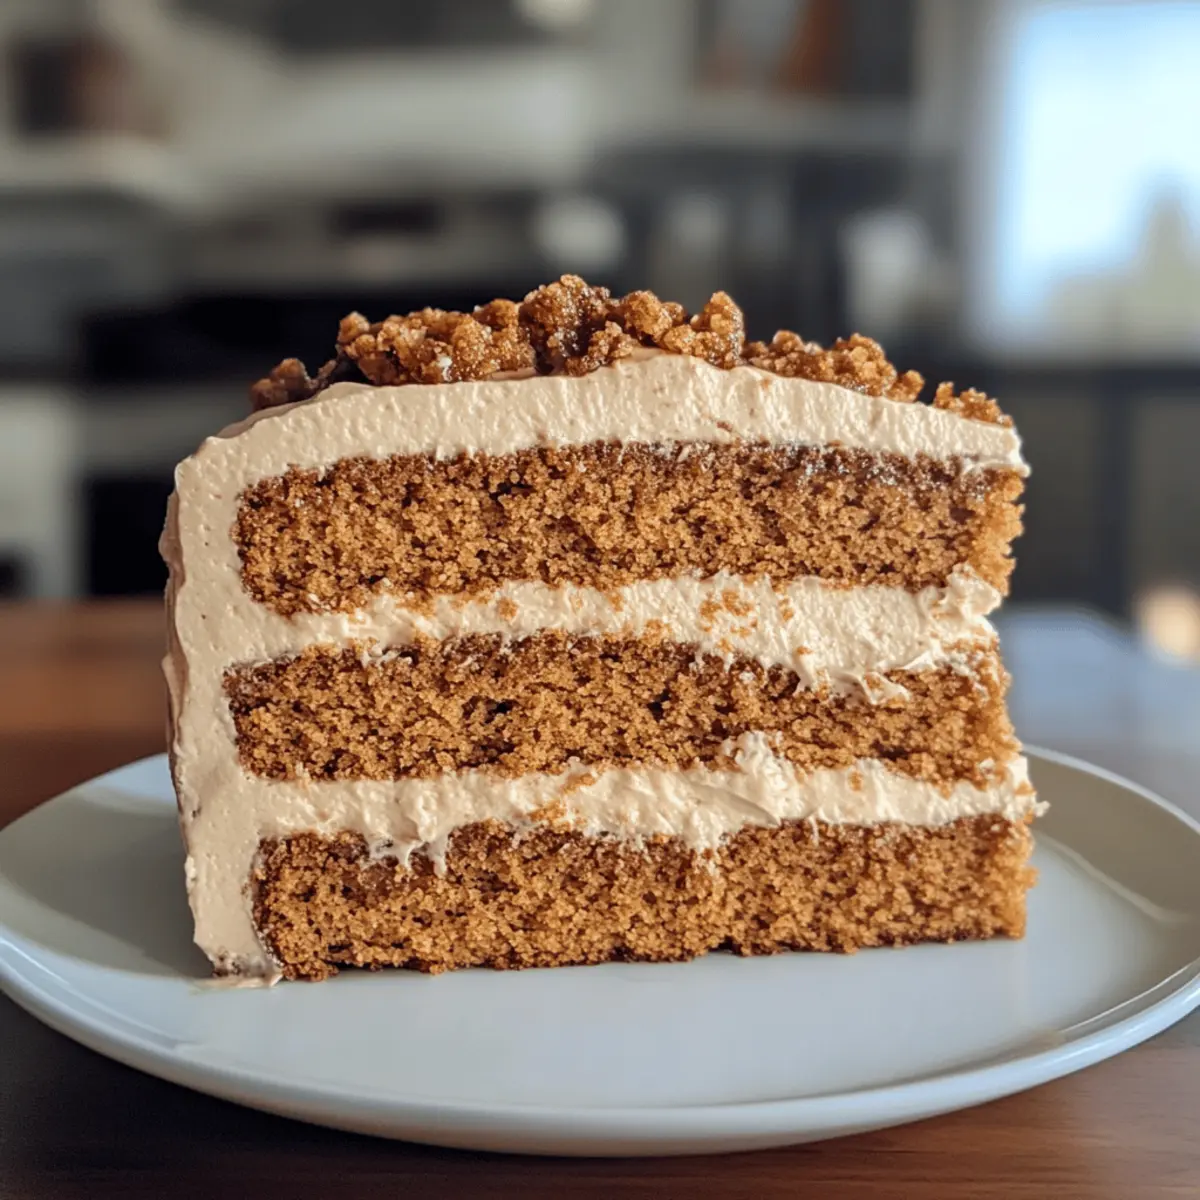
Once cooled, level each cake layer with a serrated knife for even stacking. Place one layer on a serving plate, spreading a layer of the creamy buttercream and a generous swirl of Biscoff spread between the layers. Repeat with the second layer, then frost the top and sides of the entire cake, showcasing the delightful flavors of the Biscoff cake.
Step 11: Decorate the Cake
To add an extra touch, decorate the frosted Biscoff cake with additional Biscoff cookies or cookie crumbs on top, creating an eye-catching look. Allow the cake to set in the refrigerator for about 30 minutes before slicing to serve, enhancing the flavors even further and making it an unforgettable indulgence.
Expert Tips for Biscoff Cake
- Room Temperature Ingredients: Make sure all your ingredients, especially butter and eggs, are at room temperature for better mixing and texture.
- Gentle Mixing: Avoid overmixing the batter to keep the Biscoff cake light and airy; fold in flour until just combined.
- Check Doneness: Use a toothpick to ensure the cake is fully baked; it should come out clean from the center.
- Smooth Buttercream: Allow your buttercream to come to room temperature before frosting for a silky finish.
- Storing Leftovers: Keep any leftover Biscoff cake in an airtight container at room temperature for up to 3 days to maintain moisture.
Biscoff Cake Variations & Substitutions
Feel free to explore the endless possibilities for your Biscoff Cake, adding your own special twist to this beloved dessert!
- Nutty Twist: Substitute half of the Biscoff spread with peanut butter for a delightful peanut-buttery flavor. This adds a rich and nutty dimension that enhances the original taste.
- Gluten-Free Option: Use a gluten-free baking blend instead of all-purpose flour to make this delightful cake suitable for gluten-sensitive friends. You’ll still achieve that same beautiful, moist texture.
- Vegan Delight: For an eggless version, replace each egg with 1 tablespoon of ground flaxseed mixed with 2.5 tablespoons of water. This swap ensures your cake stays deliciously moist without the need for eggs.
- Coconut Infusion: Swap vegetable oil for melted coconut oil to add a subtle tropical twist. The flavor of coconut complements the Biscoff beautifully, creating unexpected freshness.
- Spiced Alternative: Replace ground cinnamon with pumpkin spice for a seasonal flavor overhaul that’s perfect for fall gatherings. This change introduces warm, aromatic notes that give the cake a festive flair.
- Creamy Layer: Add a layer of whipped cream between each cake layer along with the buttercream for an extra indulgent element. This creaminess balances the sweetness and enriches the overall experience.
- Chocolate Variation: Fold in mini chocolate chips into the batter before baking for bursts of chocolatey goodness. This addition elevates the cake experience and helps satisfy any chocolate cravings.
- Citrus Zest: Mix in some fresh orange or lemon zest to add an unexpected citrus kick. This brings a refreshing brightness to the cake, balancing out the sweet and caramelized flavors perfectly.
By suggesting changes like these, you can keep your Biscoff Cake exciting and new every time you make it. And if you’re in the mood for more cake inspiration, check out my recipe for Caramel Dump Cake or try making a Neapolitan Cake Triple for a delightful twist!
Make Ahead Options
These Lotus Biscoff Cake layers are perfect for busy home cooks looking to save time! You can bake the cake layers up to 24 hours in advance; simply allow them to cool completely and then wrap them tightly in plastic wrap to maintain moisture. The Biscoff buttercream can also be prepared up to 3 days ahead; store it in an airtight container in the refrigerator. When you’re ready to serve, just re-whip the buttercream to restore its fluffy texture before layering it with the cake. This way, you can enjoy all the delicious flavors of the Biscoff Cake without the last-minute rush!
How to Store and Freeze Biscoff Cake
Room Temperature: Store leftover Biscoff cake in an airtight container at room temperature for up to 3 days to keep it moist and delicious.
Fridge: If you wish to keep the cake fresh for a longer time, refrigerate it for up to a week. Ensure it’s covered well to prevent drying out.
Freezer: Freeze individual slices of Biscoff cake by wrapping them tightly in plastic wrap and placing them in a freezer bag. They can be stored for up to 3 months, perfect for a sweet treat on demand.
Reheating: To enjoy frozen slices, let them thaw in the fridge overnight or bring to room temperature, and then reheat briefly in the microwave for a warm, melty experience!
What to Serve with Moist Lotus Biscoff Cake?
Indulging in a slice of Biscoff cake isn’t just a dessert; it’s an experience that pairs beautifully with various accompaniments to enhance your enjoyment.
-
Vanilla Ice Cream: The creamy, cool texture of vanilla ice cream complements the rich cake wonderfully, creating a delightful flavor contrast. Imagine a warm slice melting into a scoop of ice cream, bringing an extra layer of indulgence to your day.
-
Caramel Sauce: Drizzling warm caramel sauce over your cake adds a sweet richness that harmonizes perfectly with the caramelized notes of Biscoff. This pairing creates an exquisite balance of flavors that is hard to resist.
-
Fresh Berries: Juicy strawberries or raspberries bring a burst of freshness that cuts through the cake’s richness, making for a perfectly tart and sweet bite. Their vibrant colors also provide a stunning presentation on your dessert table.
-
Coffee: A steaming cup of coffee pairs brilliantly with the spiced flavors of your Biscoff cake, enhancing its deliciousness while providing a comforting beverage. The warm notes of coffee beautifully accentuate the caramel undertones of the cookie butter.
-
Whipped Cream: Light and airy whipped cream adds a lovely texture to your dessert, softening the cake’s richness. You can even sprinkle a little cinnamon on top to enhance the cake’s spiced flavor.
-
Milk or Almond Milk: A glass of cold milk or almond milk provides a classic, refreshing contrast to your cake, making each bite feel indulgent yet balanced. This pairing is perfect for a cozy afternoon treat.
-
Chocolate Ganache: For chocolate lovers, a drizzle of rich chocolate ganache offers a decadent layer of flavor that mingles wonderfully with the Biscoff spread. The combination of flavors will elevate your dessert to a new level of delight.
Biscoff Cake Recipe FAQs
What type of Biscoff cookies should I use in the cake?
You can use any flavor variation of Biscoff cookies for this cake! Traditional Biscoff cookies will provide that classic caramelized flavor, but feel free to experiment with other flavors like chocolate or speculoos for a unique twist. Just keep in mind that the texture and flavor will slightly change based on your choice.
How should I store my leftovers?
To keep your Biscoff cake fresh, store it in an airtight container at room temperature for up to 3 days. If you need to keep it longer, putting it in the refrigerator will extend its life to about a week. Always ensure it’s properly covered to prevent it from drying out.
Can I freeze the Biscoff cake for later?
Absolutely! To freeze your Biscoff cake, wrap individual slices tightly in plastic wrap and place them inside a freezer bag. It’s best to consume them within 3 months for optimal flavor. When you’re ready to enjoy them, just thaw in the fridge overnight or at room temperature for a delightfully sweet treat!
What should I do if my cake is too dense?
If your cake comes out denser than expected, it may be due to overmixing or incorrect measurements. When combining the dry ingredients with the wet, remember to fold gently until just combined. Additionally, ensure your leavening agents are fresh; old baking powder can affect the rise and texture, leading to a denser cake.
Can I make this cake eggless?
Yes, you can easily make an eggless version of the Biscoff cake! Simply replace each egg with a mixture of 1 tablespoon of ground flaxseed mixed with 2.5 tablespoons of water. Allow this mixture to sit for about 5 minutes to thicken before adding it to the batter. This will ensure moisture and binding, just like eggs do.
Is this cake suitable for people with gluten intolerance?
You can definitely make a gluten-free version of the Biscoff cake by substituting the all-purpose flour with a gluten-free baking blend. Make sure to check that all other ingredients, especially the Biscoff cookies and spread, are also gluten-free to ensure it’s safe for those with gluten intolerance.
Melt-in-Your-Mouth Biscoff Cake with Creamy Buttercream
Ingredients
Equipment
Method
- Preheat your oven to 180°C (350°F) and prepare two 8-inch round cake tins.
- Sift together the dry ingredients in a large mixing bowl and set aside.
- Cream together the unsalted butter and light brown sugar until light and fluffy.
- Add eggs, one at a time, and then mix in Biscoff spread and vanilla extract.
- Fold the dry ingredients alternately with buttermilk until just combined.
- Fold in pieces of Biscoff cookies gently.
- Divide the batter between the cake tins and bake for 37-40 minutes.
- Allow cakes to cool in the tins, then transfer to a wire rack to cool completely.
- Beat the ingredients for the buttercream frosting until smooth and creamy.
- Assemble the cake by frosting between layers and the top and sides.
- Decorate with additional Biscoff cookies or crumbs before chilling.
Leave a Reply