
As the aromas of sizzling garlic and fresh lime waft through my kitchen, I’m instantly transported to the vibrant streets of Thailand. This Easy Chicken Pad Thai is my go-to recipe when I crave an explosion of flavors but don’t have hours to spend in the kitchen. Ready in just 20 minutes, it combines tender rice noodles, juicy chicken, and an array of colorful vegetables, making it the perfect quick weeknight meal or gathering centerpiece. Not only is it effortlessly delicious, but it’s also a crowd-pleaser that leaves everyone asking for seconds—plus, the best part? Leftovers taste even better! Who’s ready to whip up this homemade restaurant classic?
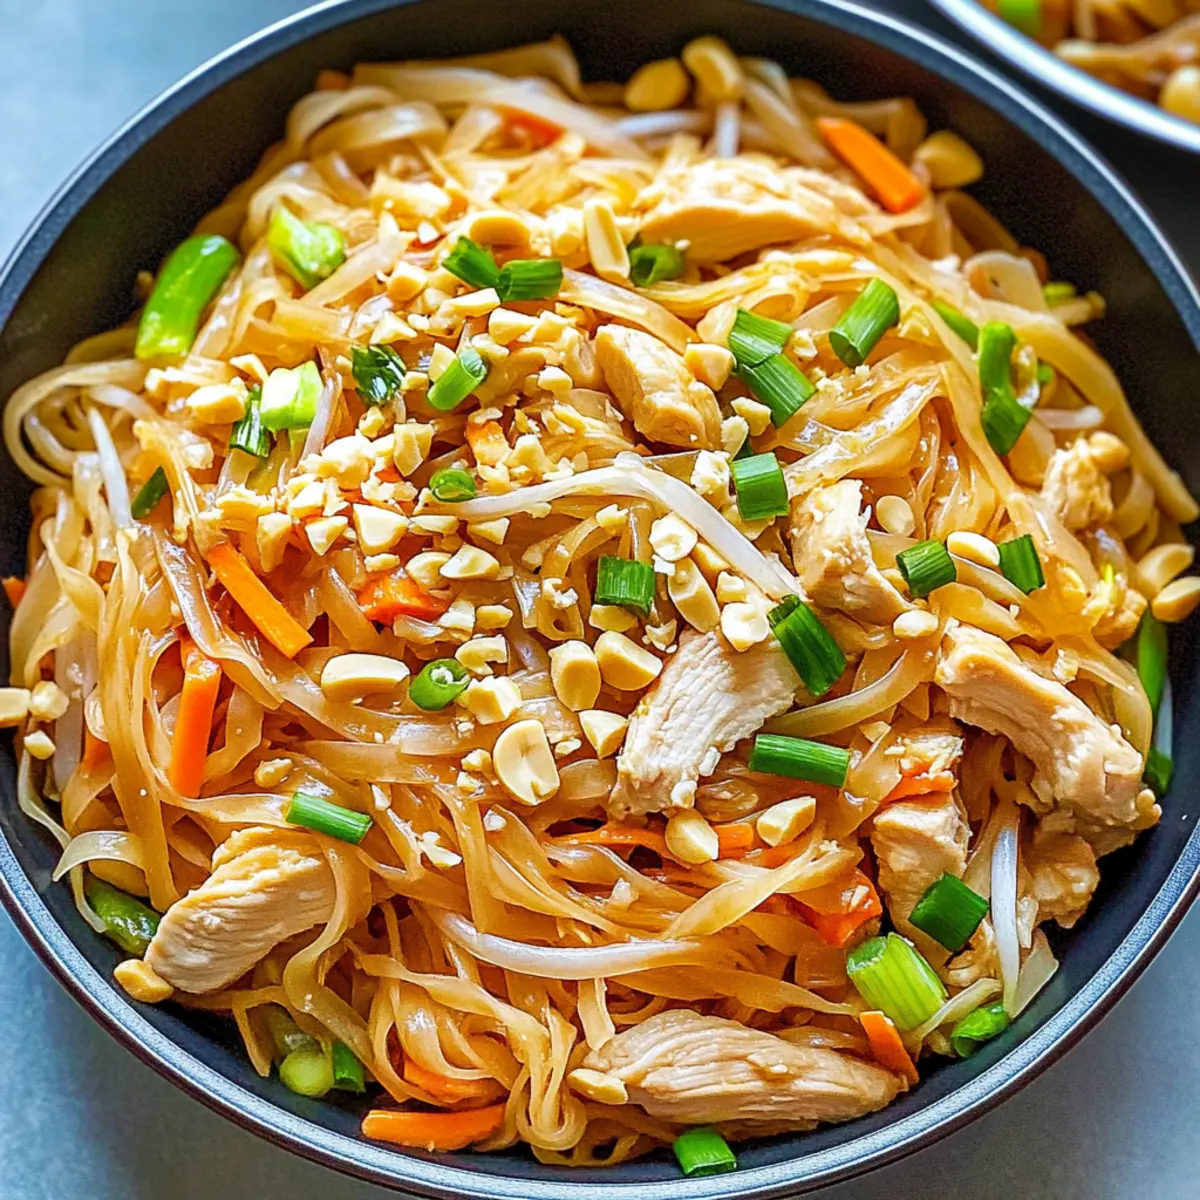
Why is Chicken Pad Thai a must-try?
Quick and Easy: This Chicken Pad Thai comes together in just 20 minutes, making it a fabulous option for busy weeknights.
Flavor-Packed: Each bite bursts with the rich umami of soy sauce and the zesty kick of lime, giving it that authentic Thai flair.
Crowd-Pleaser: With its vibrant colors and delightful textures, it’s sure to impress family and friends alike, including those who enjoy gourmet comfort food.
Versatile: Swap in shrimp or tofu for an exciting twist, or add extra veggies like bell peppers and bean sprouts for a personalized touch.
Leftover Bliss: The flavors deepen over time, meaning your meal prep will have you savoring this delicious dish for days. Why not pair it with other favorites like Thai Coconut Chicken for an enjoyable culinary journey?
Chicken Pad Thai Ingredients
• Perfect for a quick weeknight meal!
For the Noodles
- Flat rice noodles – Essential for that authentic chew and texture; don’t skip this ingredient!
For the Stir-Fry
- Toasted sesame oil – Adds a nutty depth to the dish; can be swapped with vegetable oil if needed.
- Coconut oil – Boosts flavor and richness; don’t hesitate to use any vegetable oil as a substitute.
- Medium onion – Provides aromatic depth; dice small for even cooking.
- Boneless skinless chicken breast – Your primary protein; slice thinly for quick cooking.
- Garlic – Essential for that aromatic boost; use minced or pressed for the best flavor.
- Ground ginger – Adds warmth; feel free to use fresh ginger at half the amount.
For the Vegetables
- Thinly sliced green cabbage – Contributes a satisfying crunch; you can substitute with a pre-packaged coleslaw mix.
- Shredded carrots – Adds sweetness and vibrant color; opt for pre-shredded to save some prep time.
For the Sauce
- Low-sodium soy sauce – Provides essential umami flavor; great for controlling saltiness.
- Fish sauce – Key to that authentic taste; it’s a must and should not be omitted.
- Freshly squeezed lime juice – Adds a fresh acidity; always use fresh for the best flavor.
- Honey or agave syrup – Offers a touch of sweetness; adjust to your taste preference.
For the Finishing Touches
- Large egg – Optional, but it adds richness; scramble and mix in towards the end of cooking.
- Sriracha – Perfect for heat; adjust the amount according to your spice tolerance.
- Green onions – Great for garnish; substitute with Thai basil for a fun flavor twist.
- Chopped roasted peanuts – Adds a delightful crunch and nuttiness; reduce salt if using salted peanuts.
This Chicken Pad Thai recipe is as quick as it is delicious, making it the perfect addition to your weeknight dinner lineup!
Step‑by‑Step Instructions for Chicken Pad Thai
Step 1: Cook the Noodles
Begin by cooking the flat rice noodles according to the package instructions, usually boiling for about 6-8 minutes until they are tender but still slightly chewy. Once done, drain them and rinse under cold water to stop the cooking process. Set the noodles aside, ensuring they don’t stick together, as they will be added to the Chicken Pad Thai later.
Step 2: Sauté the Onions
Heat a large skillet over medium-high heat and add a tablespoon of toasted sesame oil along with a tablespoon of coconut oil. Once hot, toss in the diced medium onion and sauté for about 5 minutes. Stir often until the onions are softened and translucent. This will form a fragrant base for your Chicken Pad Thai.
Step 3: Cook the Chicken
Add the thinly sliced boneless skinless chicken breast to the skillet with the sautéed onions. Cook for about 3 minutes, stirring constantly until the chicken is no longer pink and cooked through. The pieces should become golden brown; make sure to keep them moving in the pan for even cooking.
Step 4: Add Garlic and Ginger
Next, incorporate the minced garlic and ground ginger into the skillet. Stir and cook for about 1 minute, allowing the garlic to become fragrant but not browned. This step will infuse your Chicken Pad Thai with a delightful aroma, enhancing the overall flavor profile of the dish.
Step 5: Stir in Vegetables and Sauces
Add the thinly sliced green cabbage and shredded carrots to the skillet, mixing well. Pour in the low-sodium soy sauce, fish sauce, and freshly squeezed lime juice, stirring everything together. Cover the skillet and let it simmer for about 3 minutes until the vegetables are tender but still crisp. This is when the Chicken Pad Thai starts to take shape!
Step 6: Mix in the Noodles
Once the vegetables are cooked, add the pre-cooked rice noodles to the skillet along with a drizzle of honey or agave syrup. Toss well to combine all the ingredients, allowing the noodles to heat through and absorb the delicious sauce. The mixture should be hot and seamlessly blend together, making every bite full of flavor.
Step 7: Add Egg and Sriracha
Crack a large egg into a small bowl, scramble it lightly, and fold it into the Chicken Pad Thai at this stage. If you prefer some heat, drizzle in Sriracha according to your spice tolerance. Cook for an additional minute, stirring constantly to incorporate the egg until it is just set. The warmth from the dish will help create a creamy texture.
Step 8: Garnish and Serve
Finally, take your Chicken Pad Thai off the heat and garnish with chopped green onions and roasted peanuts for a satisfying crunch. Serve immediately, perhaps with extra lime wedges or chili flakes on the side for those who like it a bit spicier. Enjoy your homemade Chicken Pad Thai that’s better than takeout!
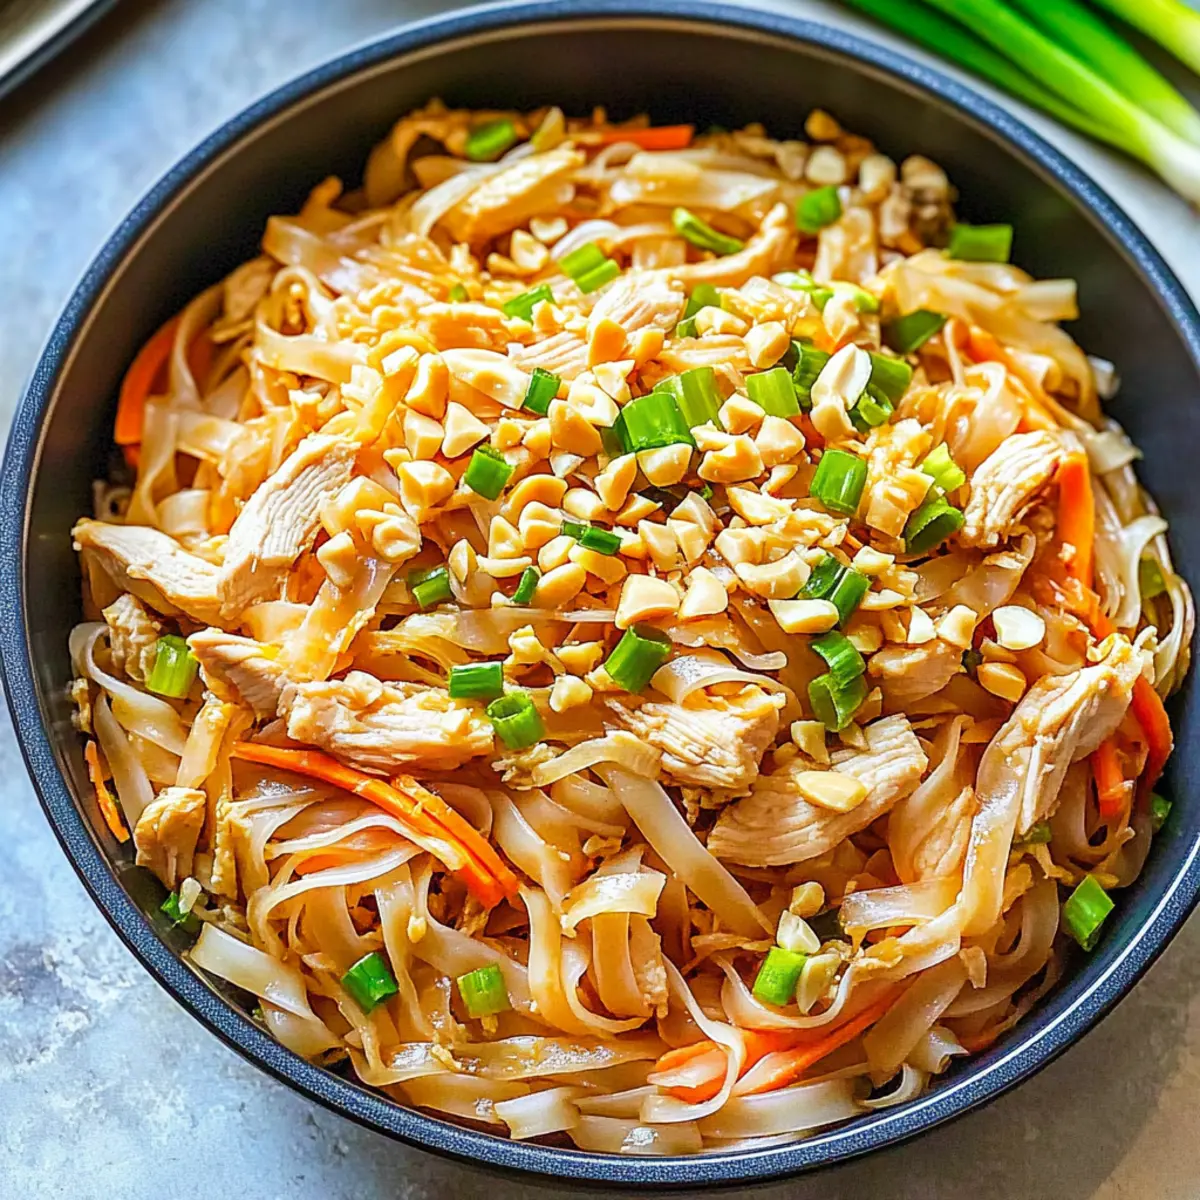
Chicken Pad Thai Variations & Substitutions
Feel free to unleash your creativity and personalize this Chicken Pad Thai to suit your taste buds!
-
Protein Swap: Swap chicken for shrimp or tofu for a delightful protein twist, making it suitable for various dietary preferences. Both options bring their unique flavor that complements the dish beautifully.
-
Veggie Boost: Add bell peppers or bean sprouts to elevate the crunch and introduce vibrant colors. These vegetables complement the comfort of the noodles and elevate the lively essence of Pad Thai.
-
Sweetness Adjustment: Vary the amount of honey or use brown sugar for a deeper, richer sweetness. Finding that balance can level up your flavor game, adding a satisfying layer to every bite.
-
Gluten-Free: Replace regular soy sauce with tamari to make this dish gluten-free without compromising on flavor. This small change ensures everyone can enjoy the deliciousness!
-
Heat Levels: Increase the spice by adding extra Sriracha or a pinch of red pepper flakes during cooking, making it just right for spice lovers. Let that fiery kick come through with every mouthful!
-
Crunch Factor: Substitute chopped roasted peanuts with cashews or sunflower seeds for a delightful crunch and a touch of uniqueness. Both options provide a fantastic texture that enhances the experience.
-
Egg-less Option: Omit the egg for a vegan-friendly version and add a bit more tofu or an extra handful of vegetables. This keeps the dish light yet satisfying without sacrificing flavor.
Why not serve it alongside other delicious dishes like Thai Fried Chicken or Cowboy Butter Chicken for an enticing spread that’s sure to impress? Dive into flavorful possibilities!
Make Ahead Options
These Chicken Pad Thai preparations are perfect for busy home cooks looking to save time during the week! You can prep the vegetables (like cabbage and carrots) and store them in an airtight container for up to 3 days in the refrigerator. Additionally, the chicken can be sliced and marinated in the sauce for up to 24 hours to deepen the flavors and ensure quick cooking later. When you’re ready to serve, simply stir-fry the chicken with onions, add in the prepped veggies, and toss in the cooked noodles. You’ll enjoy the same vibrant flavors of this Chicken Pad Thai with minimal effort—making weeknight dinners a breeze!
What to Serve with Easy Chicken Pad Thai
There’s something special about pairing dishes that harmonize beautifully, creating a meal that’s better than any takeout.
-
Fresh Spring Rolls: These light and crunchy rolls, filled with fresh vegetables and herbs, offer a refreshing contrast to the hearty Pad Thai.
-
Thai Cucumber Salad: Crisp cucumbers tossed with a tangy dressing create a cooling effect, balancing the rich flavors of the Chicken Pad Thai nicely.
-
Steamed Jasmine Rice: Fluffy jasmine rice serves as a neutral companion, perfect for soaking up any extra sauce and enhancing your meal experience.
-
Garlic Chili Edamame: These vibrant green pods are enhanced with a bit of heat, providing a delightful bite-sized pairing loaded with protein.
-
Thai Iced Tea: Creamy and slightly sweet, this refreshing beverage complements the spicy notes of the Pad Thai, making for a delightful combination.
-
Mango Sticky Rice: For dessert, this sweet dish balances the spices beautifully, delivering a creamy and fruity experience that your family will love.
-
Sriracha Limeade: An invigorating drink that enhances the flavors of the meal while adding a fun element of spice, perfect for summer afternoons.
Pairing your Easy Chicken Pad Thai with these delightful options turns a quick dinner into an unforgettable feast!
How to Store and Freeze Chicken Pad Thai
Fridge: Store any leftover Chicken Pad Thai in an airtight container for up to 5 days. This dish tastes even better after sitting for a while, allowing the flavors to meld beautifully.
Freezer: If you want to freeze Chicken Pad Thai, place it in a freezer-safe container for up to 3 months. Make sure to leave some room for expansion as it freezes.
Reheating: For best results, reheat in a skillet over medium heat, adding a splash of water or broth to evaporate and help restore moisture. Avoid the microwave to prevent rubbery noodles.
Thawing: When ready to enjoy your frozen Chicken Pad Thai, transfer it to the fridge to thaw overnight before reheating, ensuring it retains its delicious flavor and texture.
Expert Tips for Chicken Pad Thai
-
Slice Chicken Thinly: For optimal texture, slice the boneless skinless chicken breast into thin strips to ensure quick cooking without drying out.
-
Choose Flat Rice Noodles: Use flat rice noodles similar to fettuccine for an authentic Chewy Chicken Pad Thai texture that truly elevates your dish.
-
Avoid Microwave Reheating: Reheating in the microwave can make the noodles rubbery. Instead, gently reheat in a skillet for best results.
-
Fresh Ingredients Matter: Always use freshly squeezed lime juice for a bright, tangy flavor that enhances your Chicken Pad Thai and creates delicious depth.
-
Customize for Your Taste: Feel free to swap in shrimp or tofu for different proteins, and experiment with extra veggies like bell peppers for a fun twist!
-
Garnish Generously: Don’t skimp on the green onions and roasted peanuts; they add a wonderful crunch and bolster that delightful flavor profile.
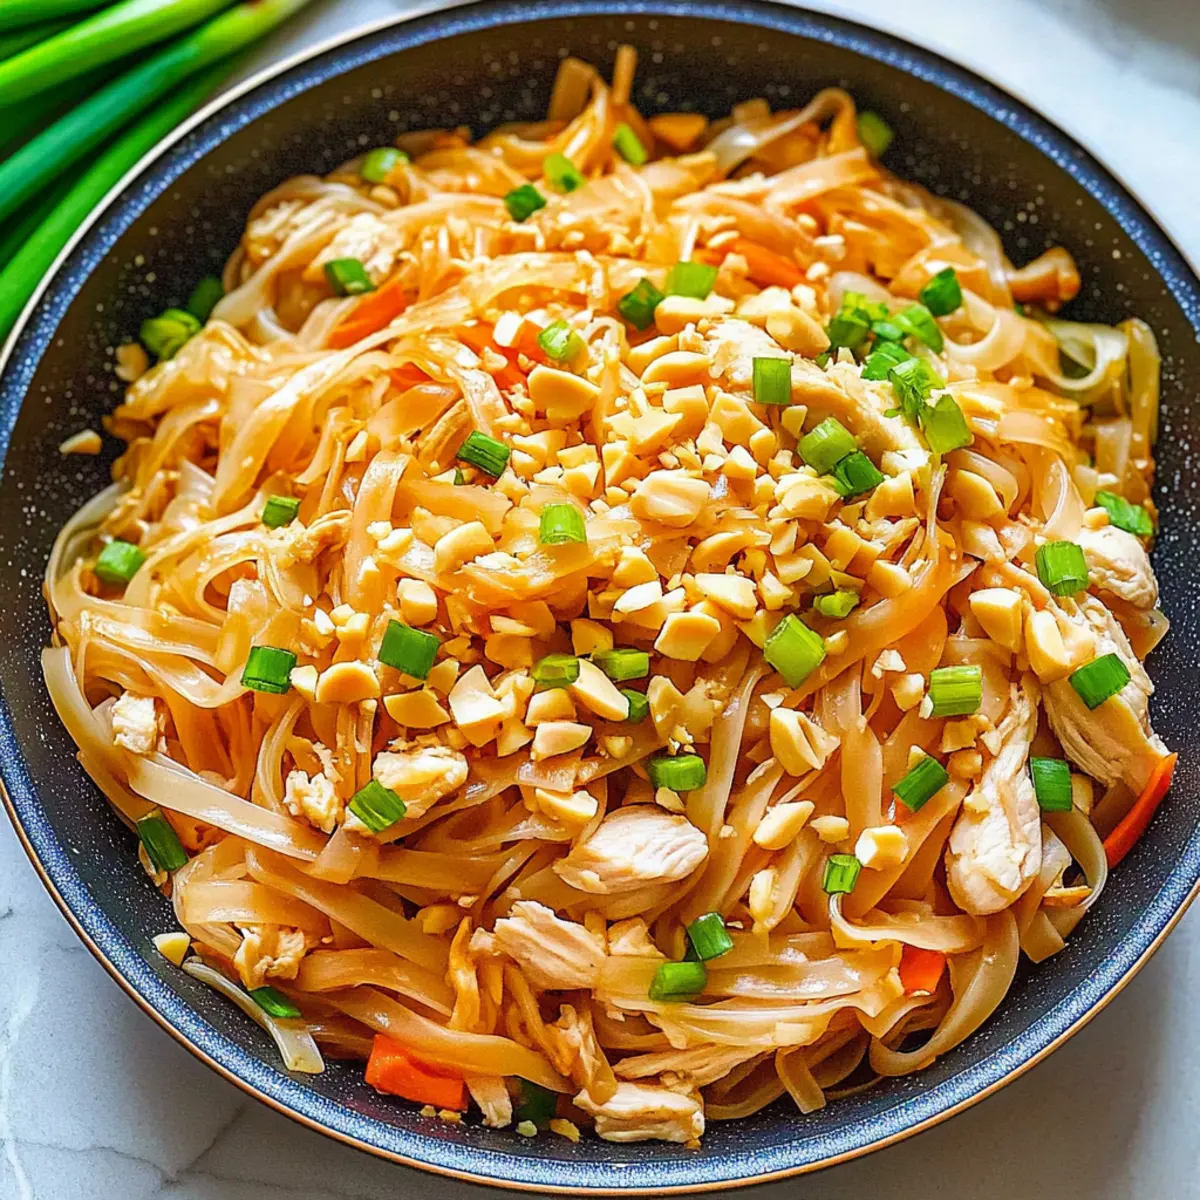
Chicken Pad Thai Recipe FAQs
What type of rice noodles should I use for Chicken Pad Thai?
I recommend using flat rice noodles, similar to fettuccine, for the best texture. These noodles provide that authentic chewiness that makes Chicken Pad Thai so delightful. Avoid using thin rice vermicelli, as they will not hold up well in this dish.
How should I store leftover Chicken Pad Thai?
Store any leftovers in an airtight container in the fridge for up to 5 days. This dish can develop even more flavor as it sits, but it’s best to consume it within that timeframe for optimal freshness.
Can I freeze Chicken Pad Thai?
Absolutely! To freeze Chicken Pad Thai, place it in a freezer-safe container with room for expansion, as the dish may swell as it freezes. It should be good for up to 3 months. When you’re ready to enjoy it, thaw overnight in the fridge and then reheat gently in a skillet to restore its delightful texture.
What’s the best way to reheat Chicken Pad Thai?
For the loveliest results, reheat Chicken Pad Thai in a skillet over medium heat with a splash of water or broth to help restore moisture. This method prevents the noodles from turning rubbery, which often happens when reheating in the microwave. Stir frequently until warmed through.
Is there a way to make Chicken Pad Thai allergy-friendly?
Yes! To make it allergy-friendly, consider omitting the fish sauce and using a soy sauce alternative if soy is an issue. You can easily swap in different proteins like shrimp or tofu for varied dietary needs. Always ensure the peanuts are safe for those with nut allergies before garnishing.
Why does my Chicken Pad Thai taste bland?
If your Chicken Pad Thai lacks flavor, double-check that you’re using fresh ingredients—particularly the lime juice and soy sauce. Additionally, make sure to season it properly with enough fish sauce and honey to balance the flavors. Adjusting the level of Sriracha can also enhance the depth of flavor, adding a nice kick!
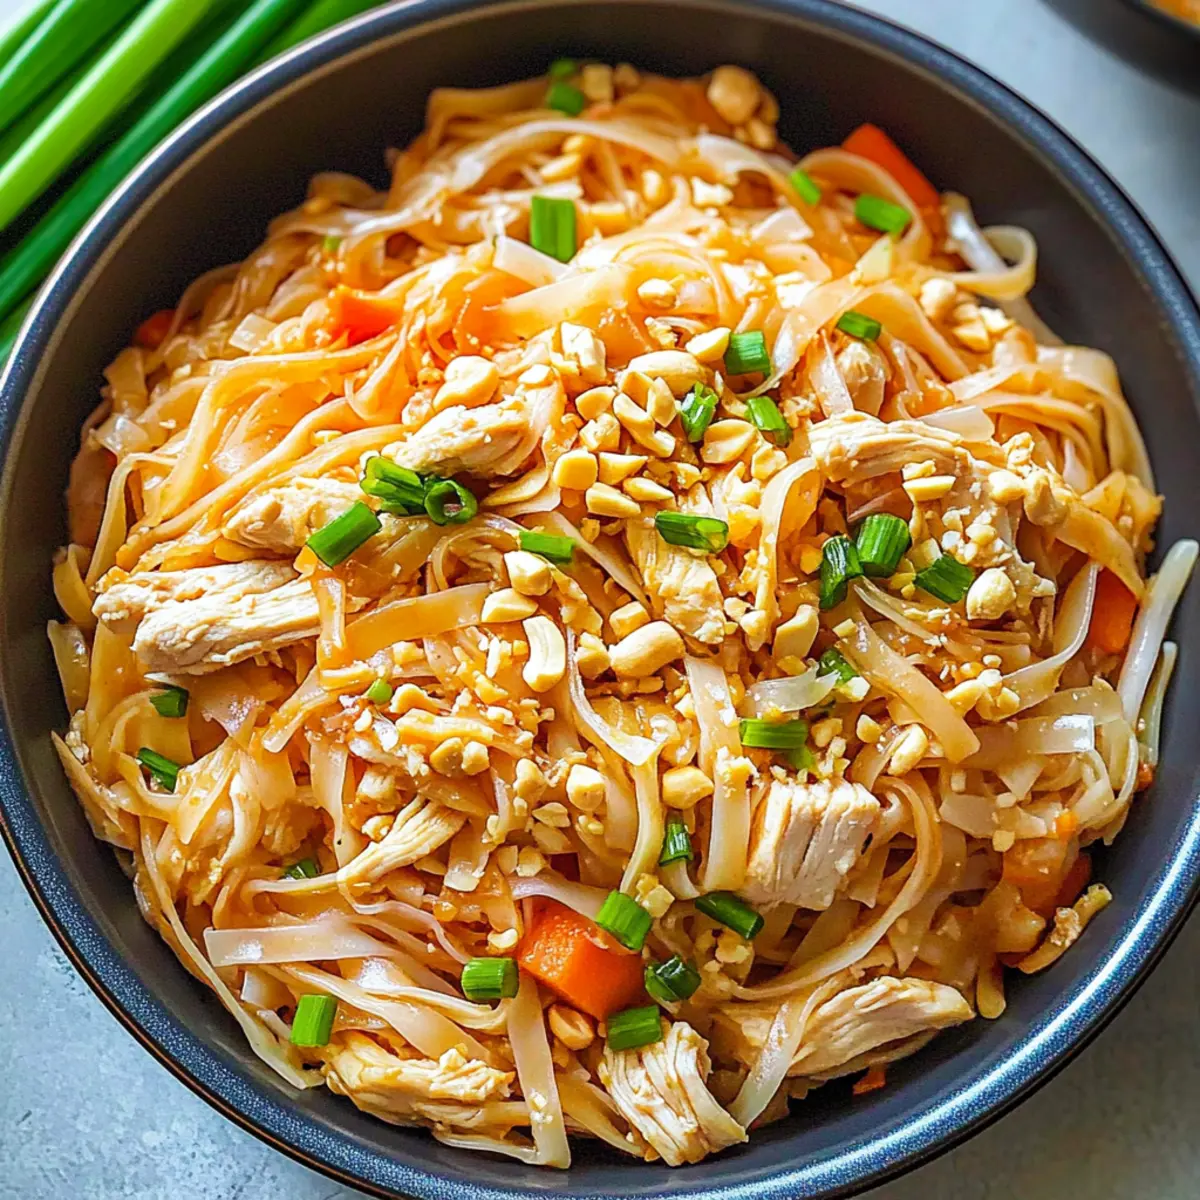
Savory Chicken Pad Thai Ready in Just 20 Minutes
Ingredients
Equipment
Method
- Cook the flat rice noodles according to the package instructions, usually boiling for about 6-8 minutes until tender. Drain and rinse under cold water.
- Heat a large skillet over medium-high heat with the toasted sesame oil and coconut oil. Sauté the diced onion for about 5 minutes until softened.
- Add the sliced chicken to the skillet and cook for about 3 minutes until golden brown.
- Incorporate the minced garlic and ground ginger. Stir and cook for about 1 minute until fragrant.
- Add the sliced cabbage and shredded carrots, then pour in the soy sauce, fish sauce, and lime juice. Cover and simmer for about 3 minutes.
- Add the pre-cooked rice noodles and a drizzle of honey or agave syrup. Toss to combine and heat through.
- Scramble the large egg and fold into the dish, adding sriracha to taste if desired. Cook for an additional minute.
- Garnish with chopped green onions and roasted peanuts. Serve immediately with lime wedges.
Leave a Reply