
As the leaves turn golden and the air fills with the scent of cinnamon, I find myself craving something cozy and comforting. That’s where my Pumpkin Queijadas, or Pumpkin Milk Tarts, come into play. These easy custardy delights bring the essence of fall right to your dessert table. With just a handful of ingredients, they’re not only quick to whip up but also a delicious way to impress friends and family during gatherings. The creamy texture, reminiscent of pumpkin pie, combined with the warm spices of autumn, creates an irresistible treat you’ll want to savor time and again. What unique twist will you add to make these tarts your own?
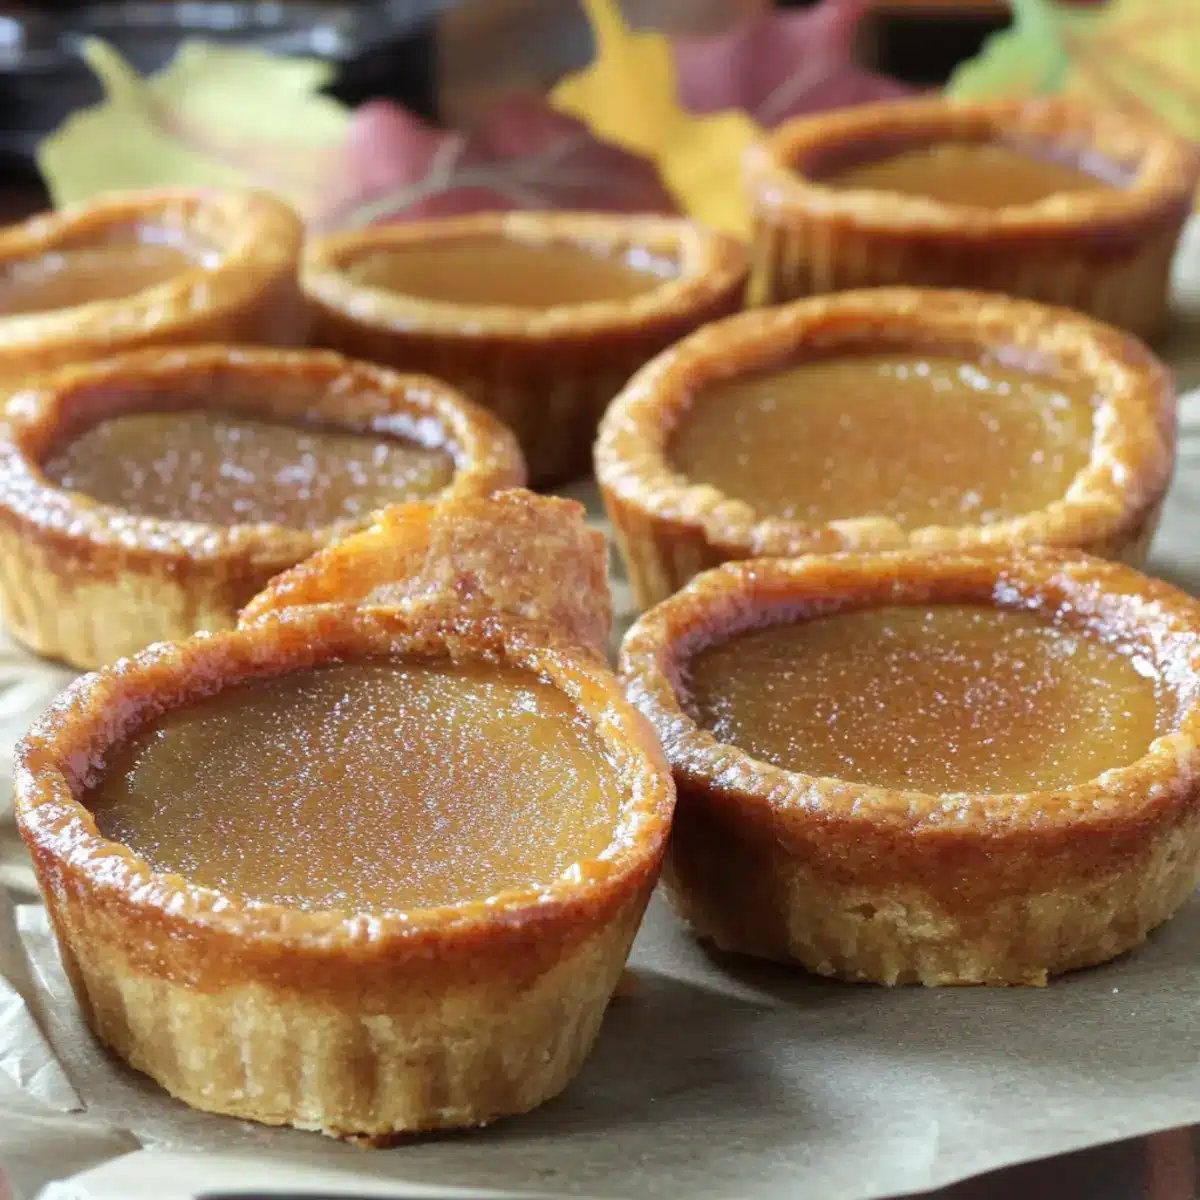
Why are Pumpkin Milk Tarts so special?
Simplicity at Its Best: These pumpkin queijadas require minimal effort but deliver maximum flavor, making them perfect for any home cook.
Rich, Savory Flavor: Infused with warm spices like cinnamon and nutmeg, each bite offers a taste of fall that warms the heart.
Versatile Treat: Whether served warm with a dollop of whipped cream or chilled with a scoop of ice cream, these tarts adapt to your cravings. They can even be made gluten-free or vegan to accommodate dietary preferences!
Crowd-Pleaser: Easy to prepare in batches, they’re ideal for gatherings. Impress your guests with these creamy delights that disappear quickly at any dessert table.
Inspired by Tradition: Drawing inspiration from Portuguese queijadas, these tarts are a unique twist on a classic recipe, perfect for those looking for something delightful yet familiar. Check out my Pumpkin French Toast and Pumpkin Overnight Oats for more fall-inspired recipes!
Pumpkin Milk Tarts Ingredients
For the Filling
- Pumpkin Puree – Main flavor component; use 1 (15-ounce) can of 100% pumpkin for authentic taste.
- Whole Milk – Provides creaminess and structure; substitute with almond milk for a lighter version if desired.
- Butter – Adds richness; melted butter can be used instead of chunks for easier mixing.
- Granulated Sugar – Sweetens the filling; can substitute with brown sugar for a deeper, more complex flavor.
- Eggs – Acts as a binder and provides the custard’s structure; use flax eggs for a vegan alternative.
- All-Purpose Flour – Gives structure to the tarts; can swap with a gluten-free flour blend for dietary needs.
- Baking Powder – Leavening agent for lightness; omit for a denser texture if preferred.
- Pumpkin Pie Spice – Provides seasonal flavor; in a pinch, use a mix of cinnamon, nutmeg, allspice, ginger, and cloves instead.
- Salt – Enhances overall flavors; essential for balancing the sweetness in these delightful pumpkin milk tarts.
Step‑by‑Step Instructions for Pumpkin Milk Tarts
Step 1: Preheat the Oven
Begin by preheating your oven to 350°F (175°C). This ensures that your pumpkin milk tarts bake evenly and achieve that perfect golden hue. While the oven warms up, gather your ingredients and arrange your muffin pan, ready for the delicious batter you’re about to create.
Step 2: Melt Butter and Combine Ingredients
In a medium saucepan over medium heat, combine the melted butter, whole milk, and granulated sugar. Stir the mixture gently until the sugar is completely dissolved, creating a smooth and creamy base. This process should take about 3-4 minutes, and you’ll notice the lovely aroma of melted butter filling your kitchen.
Step 3: Cool and Add Eggs
Once the butter-milk mixture is warm but not hot, remove it from heat and allow it to cool for a few minutes. Then, whisk in the eggs vigorously until everything is well combined and the mixture appears homogenous. The eggs help bind the filling, providing the custard-like texture that makes these pumpkin milk tarts irresistible.
Step 4: Mix in Pumpkin and Spices
Now, stir in the pumpkin puree, baking powder, pumpkin pie spice, and salt until the mixture is smooth and creamy. The vibrant orange of the pumpkin should blend beautifully with the spices, forming a rich and fragrant filling. This step brings the essence of fall right into your tarts!
Step 5: Incorporate Flour Gradually
Gradually add the all-purpose flour to the pumpkin mixture while continuing to mix gently. Doing this slowly helps prevent lumps and ensures a silky texture. Keep stirring until the flour is fully incorporated, and the batter is thick but pourable, ready to create those delightful pumpkin milk tarts.
Step 6: Prepare the Muffin Pan
Grease your muffin pans generously with cooking spray or melted butter, ensuring each cup is well coated to prevent sticking. This step is crucial for releasing the tarts effortlessly once they are baked. You can also use mini tart pans for a more elegant presentation, depending on your preference.
Step 7: Fill the Muffin Cups
Pour the pumpkin batter into the prepared muffin pans, filling each cup about 3/4 full. This allows for the tarts to rise without overflowing. As you fill, take a moment to marvel at the vibrant color; it’s a preview of the wonderful flavors awaiting you in the oven.
Step 8: Bake to Perfection
Place the filled muffin pans in the preheated oven and bake for 25-30 minutes. Cooks until the edges are set and a toothpick inserted into the center comes out clean. The tops should be puffed and golden, releasing the warm scents of pumpkin and spices that fill your kitchen with cozy autumn vibes.
Step 9: Cool the Tarts
Once done, remove the pumpkin milk tarts from the oven and let them cool in the pan for about 5 minutes. This cooling period allows them to set further and makes them easier to handle. Afterward, transfer the tarts to a wire rack to cool completely, ensuring they maintain that delightful custard texture.
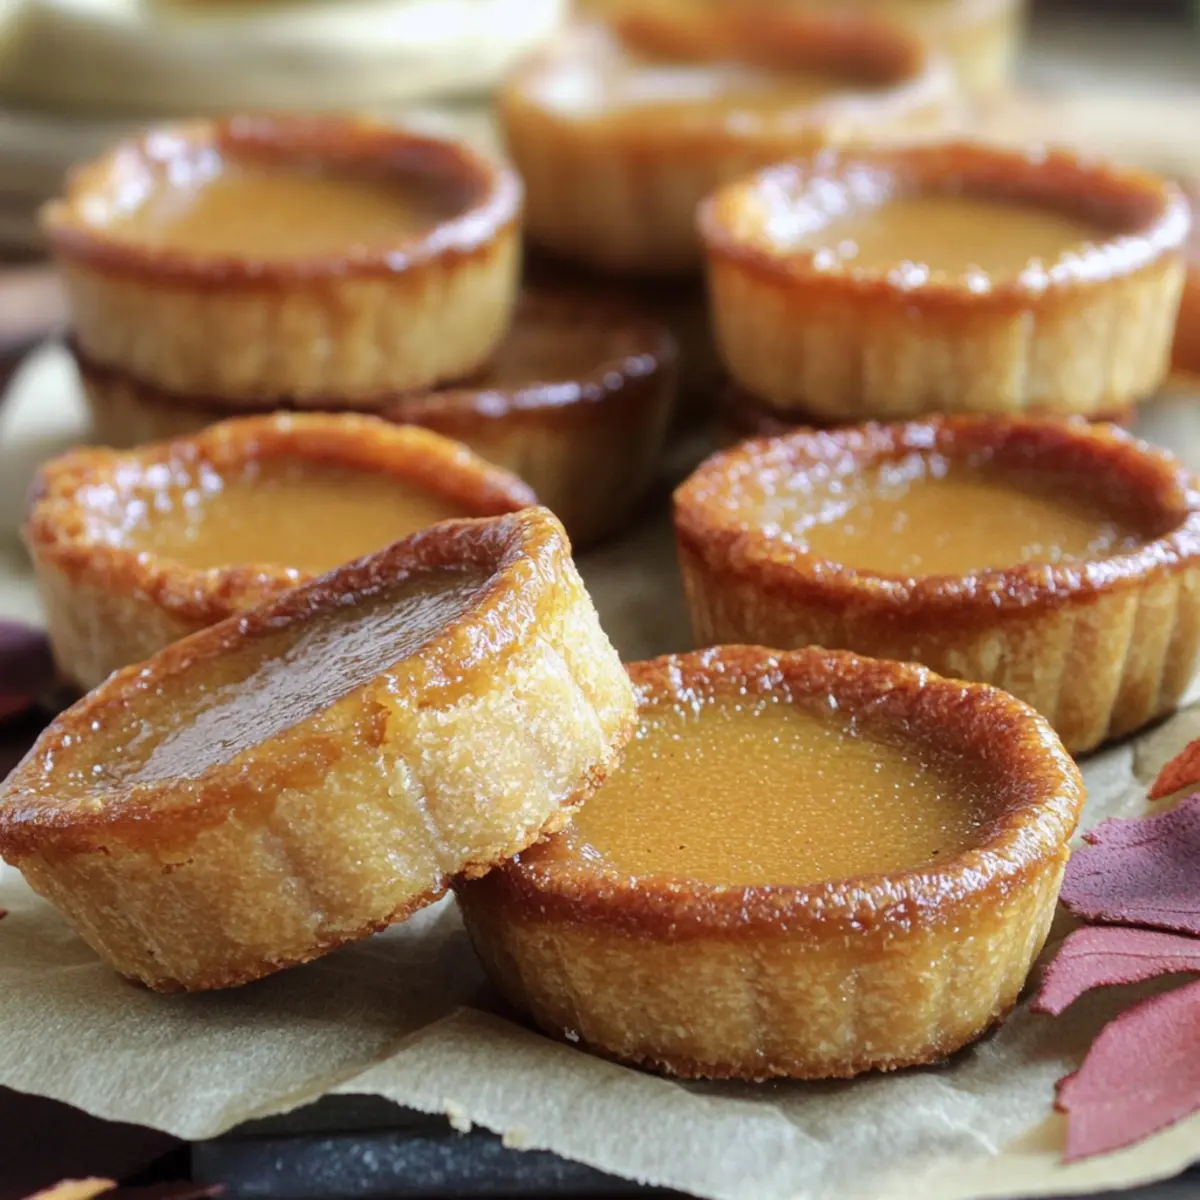
What to Serve with Pumpkin Milk Tarts
As autumn settles in, these creamy delights deserve delicious companions to create a comforting feast that warms the heart.
-
Whipped Cream: A dollop of fluffy whipped cream adds a sweet, airy contrast that beautifully balances the creamy base of the tarts.
-
Spiced Apple Cider: This warm beverage, infused with cinnamon and cloves, complements the fall flavors of the tarts, creating a cozy pairing perfect for chilly evenings.
-
Ginger Snap Cookies: The crisp and spicy profile of ginger snaps brings a delightful crunch that echoes the warm spices in the pumpkin milk tarts, enhancing the overall flavor experience.
-
Pecans or Walnuts: A sprinkle of toasted nuts adds a welcome crunch and nutty flavor that contrasts nicely with the smoothness of the custard tarts.
-
Caramel Drizzle: A ribbon of rich caramel sauce drizzled over the tarts adds a luxurious sweetness that elevates each bite, making them even more indulgent.
-
Vanilla Ice Cream: Serve your pumpkin milk tarts warm alongside a scoop of creamy vanilla ice cream for a classic and comforting dessert combo that melts in your mouth.
-
Roasted Pumpkin Seeds: A handful of these crunchy seeds can offer a delightful textural contrast while reinforcing the pumpkin flavor in your meal.
-
Chai Tea: This spiced tea, with its warm flavors, pairs excellently with pumpkin, creating a soothing and aromatic experience that enhances the seasonal vibe.
Embrace the flavors of fall and let these pairings take your pumpkin milk tarts to the next level of deliciousness!
Pumpkin Milk Tarts: Delicious Variations
Customize your pumpkin milk tarts with these fun swaps and twists that will tantalize the taste buds!
-
Dairy-Free: Use almond or coconut milk instead of whole milk for a lighter, lactose-free option.
-
Gluten-Free: Swap all-purpose flour with a gluten-free flour blend to make these tarts accessible for everyone.
-
Vegan: Replace eggs with flax eggs (1 tablespoon of flaxseed meal mixed with 2.5 tablespoons of water) to create a vegan version that’s still rich and creamy.
-
Sweetener Swaps: Try using maple syrup or agave nectar in place of granulated sugar for a naturally sweetened delight.
-
Flavor Boost: Enhance the creamy filling with a dash of vanilla extract or a hint of orange zest for a refreshing twist that brightens every bite.
-
Nutty Crunch: Fold in some finely chopped pecans or walnuts into the batter for an added crunch that contrasts wonderfully with the silky custard.
-
Choco-Dreams: Incorporate mini chocolate chips or chunks for a luscious chocolate-pumpkin fusion that chocolate lovers will adore.
-
Spicy Kick: If you’re feeling adventurous, add a pinch of cayenne pepper or chili powder for a surprising heat that elevates the flavors of these tarts.
With so many possibilities, your pumpkin milk tarts can become a new favorite dessert that reflects your unique taste! Want to explore more pumpkin flavors? Check out my delightful recipes for Pumpkin French Toast and Pumpkin Overnight Oats for delicious breakfast options that celebrate the season!
Make Ahead Options
These Pumpkin Milk Tarts are a dream for busy home cooks seeking to save time! You can prepare the filling up to 24 hours in advance. Simply follow the steps until you mix in the flour, then transfer the batter to an airtight container and refrigerate it. This ensures the flavors deepen while keeping the tarts just as delicious. When you’re ready to bake, grease your muffin pans and pour the chilled batter into the cups. Bake as directed, and enjoy the comforting aroma wafting through your kitchen with minimal effort. This simple prep makes these delightful pumpkin milk tarts a stress-free treat for any occasion!
Expert Tips for Pumpkin Milk Tarts
-
Perfect Texture: Ensure the milk-butter mixture is warm, not hot, before adding eggs. This helps achieve a silky custard texture without cooking the eggs.
-
Avoid Lumps: Gradually add all-purpose flour to the pumpkin mixture while stirring gently. This prevents lumps and ensures a smooth batter for your pumpkin milk tarts.
-
Don’t Overfill: Fill the muffin cups about 3/4 full to allow the tarts to rise properly without overflowing during baking.
-
Cooling Time: Let the tarts cool in the pan for a few minutes before transferring to a wire rack. This enhances their texture and prevents them from breaking apart.
-
Flavor Variations: Feel free to experiment! Adding chocolate chips or nuts can elevate your pumpkin milk tarts to a new level of deliciousness.
Storage Tips for Pumpkin Milk Tarts
Fridge: Store in an airtight container for up to 5 days to maintain freshness. This keeps the creamy custard texture intact and ready to enjoy any time!
Freezer: These pumpkin milk tarts can be frozen for up to 2 months. Place them in a freezer-safe container with layers of parchment paper to prevent sticking.
Thawing: When you’re ready to enjoy, simply thaw in the refrigerator overnight. This gentle method helps retain the delightful custard quality of your pumpkin milk tarts.
Reheating: For a warm treat, you can reheat in the oven at 350°F (175°C) for about 10 minutes or microwave in short intervals until warmed through.
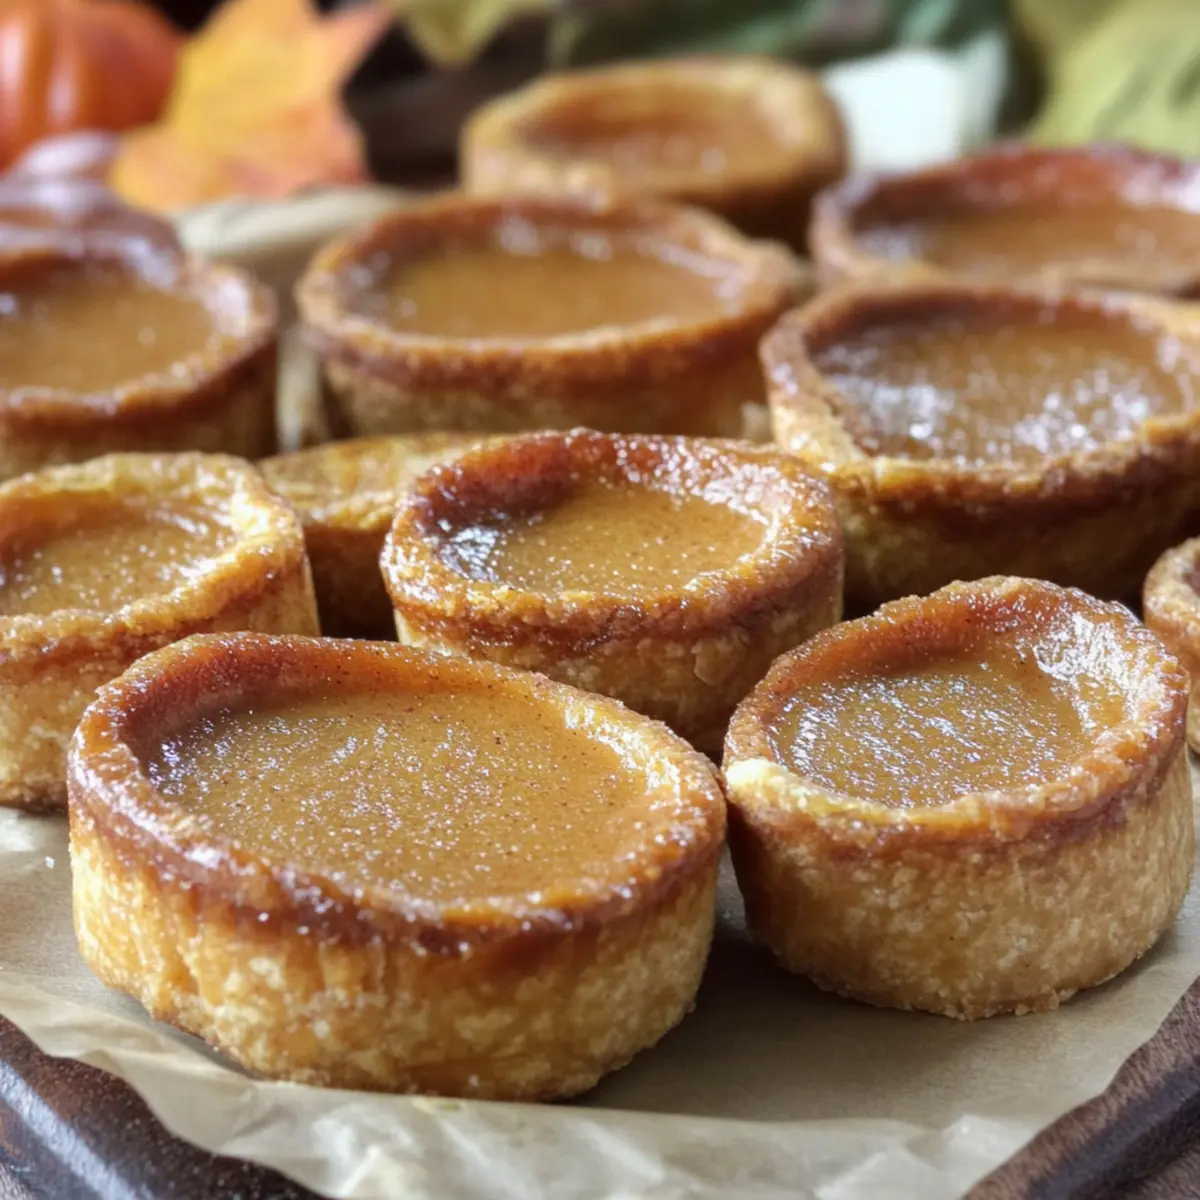
Pumpkin Milk Tarts Recipe FAQs
How do I choose the best pumpkin puree?
Absolutely! When selecting pumpkin puree, opt for 100% pure canned pumpkin for the best flavor. Avoid pie filling as it contains added sugars and spices. You can also use homemade puree by roasting sugar pumpkins; just roast them at 400°F (200°C) until tender, about 40-50 minutes, then blend until smooth.
What’s the best way to store leftover pumpkin milk tarts?
Very! Keep your pumpkin milk tarts in an airtight container in the refrigerator for up to 5 days. To maintain the creamy texture, allow them to cool completely before refrigerating. For stacking, place parchment paper between layers to avoid sticking.
Can I freeze pumpkin milk tarts, and how?
Yes, you can! To freeze, allow fully cooled tarts to be placed in a single layer in a freezer-safe container, with layers of parchment paper between to prevent sticking. They can be stored for up to 2 months. When you’re ready to indulge, thaw them overnight in the refrigerator for best results.
What should I do if my pumpkin milk tarts overflowed while baking?
If your tarts overflowed, don’t worry! This can happen if the muffin cups are overfilled. Next time, try filling them only 3/4 full to allow room for rising. If they did overflow, remove the excess batter carefully while still warm using a spoon.
Are these tarts suitable for pets or allergies?
While pumpkin is safe for dogs and some pets, these tarts contain sugar, milk, and eggs, which are not suitable for them. Additionally, if anyone has allergies to dairy or gluten, consider substituting with almond milk and a gluten-free flour mix. Always consult with your doctor if in doubt.
Can I use different spices in my pumpkin milk tarts?
Absolutely! While pumpkin pie spice is traditional, you can get creative. Try adding cardamom for a warm, aromatic flavor or a hint of fresh ginger for a zesty kick. Just ensure the total amount of spices remains similar for balanced flavor. Enjoy experimenting!
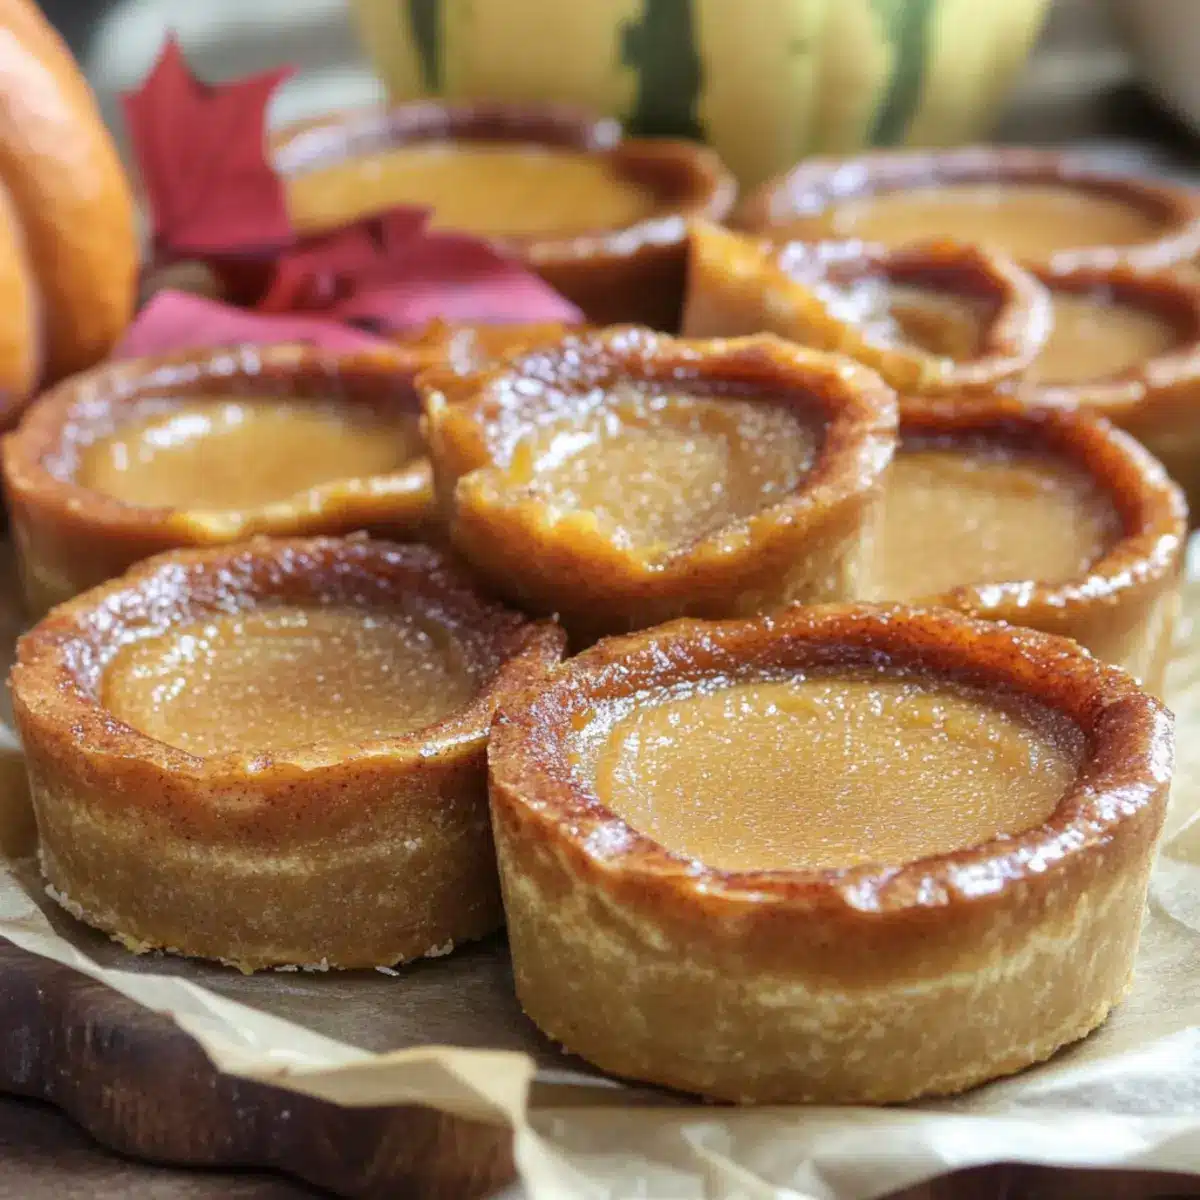
Pumpkin Milk Tarts: Silky Custard Bliss for Fall Desserts
Ingredients
Equipment
Method
- Preheat your oven to 350°F (175°C). Gather your ingredients and prepare your muffin pan.
- In a medium saucepan, combine the melted butter, whole milk, and granulated sugar. Stir until the sugar dissolves.
- Allow the mixture to cool slightly, then whisk in the eggs until fully combined.
- Stir in the pumpkin puree, baking powder, pumpkin pie spice, and salt until smooth.
- Gradually add the flour, mixing gently until incorporated.
- Grease your muffin pans with cooking spray or melted butter.
- Pour the pumpkin batter into the prepared muffin pans, filling each cup about 3/4 full.
- Bake for 25-30 minutes, until a toothpick inserted comes out clean.
- Let the tarts cool in the pan for 5 minutes, then transfer to a wire rack to cool completely.
Leave a Reply