
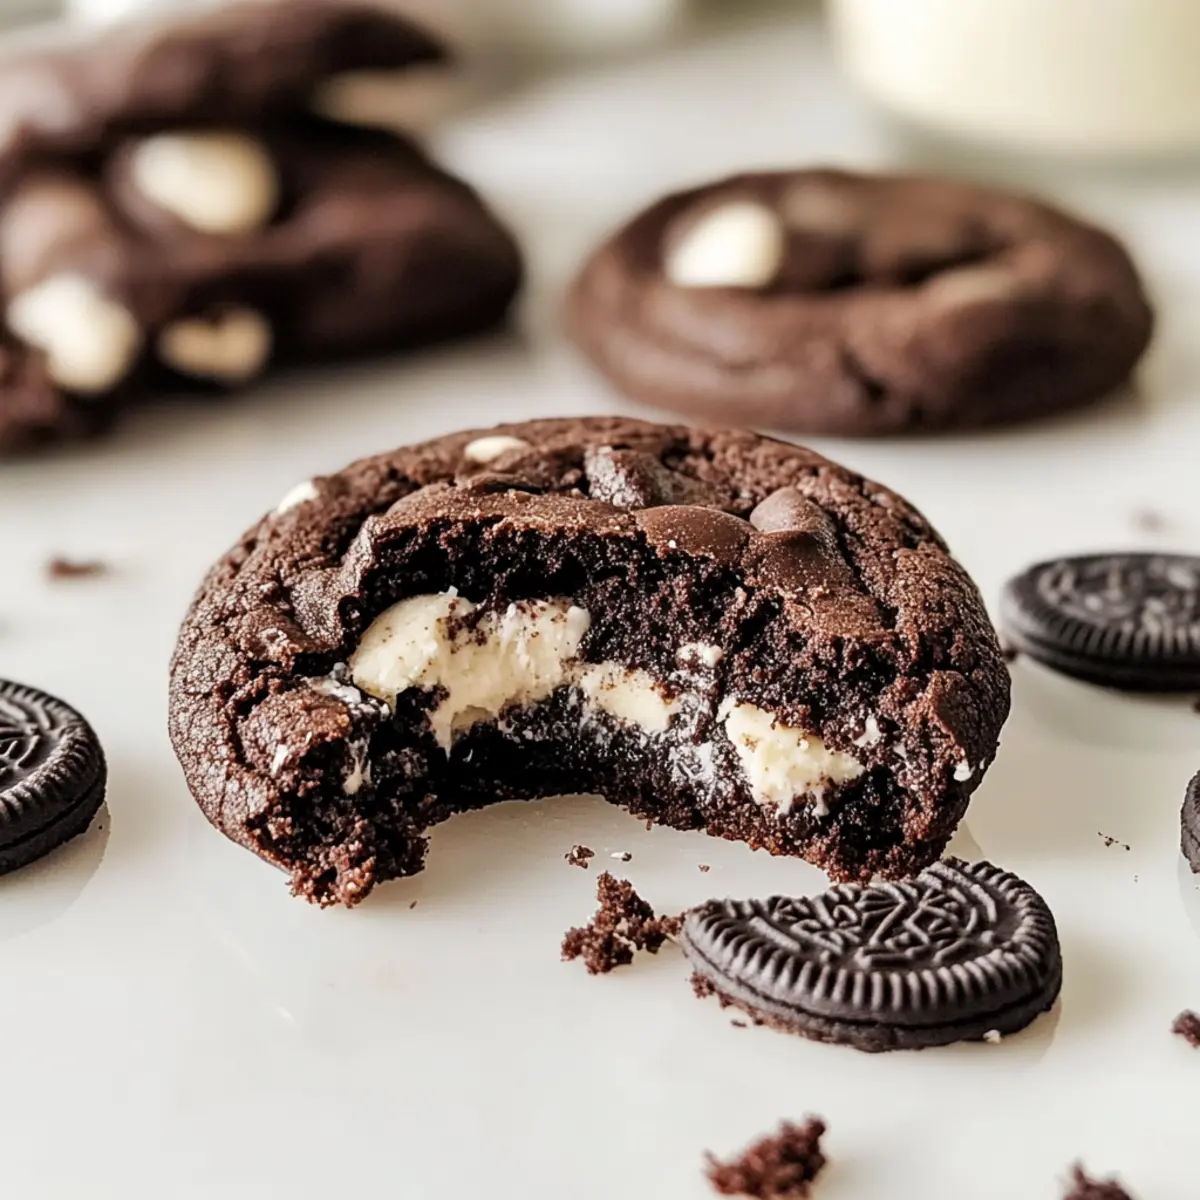
As I unwrapped another pack of cookies, the soft crunch of Oreos reminded me of afternoons spent in the kitchen, where childhood delights danced on my palate. Now, I’m thrilled to share my recipe for Chocolate Cookies & Cream Cookies—a delightful twist that brings together rich, fudgy chocolate and the nostalgic Oreo flavors we all treasure. The best part? This recipe is incredibly easy to make, requiring no stand mixer and just one bowl! In under an hour, you’ll be enjoying cookies that boast crisp edges and a gooey center, transforming family gatherings or quiet nights in into cherished moments. Are you ready to indulge in a cookie experience that marries comfort and joy?
Why are these cookies a must-try?
Decadence Redefined: With a rich chocolate base, these cookies elevate your typical treat to a whole new level of indulgence.
Effortless Preparation: A simple one-bowl method means minimal cleanup—perfect for busy weeknights!
Texture Sensation: Enjoy the perfect balance of crisp edges and a gooey, fudgy center that will have everyone coming back for more.
Crowd-Pleasing Flavor: The scrumptious combination of chocolate and Oreo flavors makes these cookies a hit at any gathering.
Versatile Treat: Feel free to customize with different chocolate chips or cookie varieties—I recommend trying them with Kit Kat Cream for an exciting twist!
Chocolate Cookies & Cream Cookies Ingredients
For the Cookie Dough
• Unsalted Butter – Provides richness and moisture; melt it for that fudgy texture.
• Light Brown Sugar – Adds moisture and a hint of caramel flavor; using all brown sugar yields a softer cookie.
• Egg – Provides structure and moisture; room temperature eggs blend more easily for a smooth dough.
• Egg Yolk – Adds extra fat for a rich, fudgy texture without increasing moisture.
• Vanilla Extract – Enhances the overall flavor depth, making each bite more delightful.
• All-Purpose Flour – Provides the structure; don’t substitute for precise results.
• Dutch-Process Cocoa Powder – Gives a deep chocolate flavor and dark color; natural cocoa can be used but may alter the taste.
• Black Cocoa Powder – Offers a distinct Oreo flavor; if unavailable, more Dutch process can replace it.
• Baking Soda – Acts as a leavening agent; essential for achieving the desired texture.
• Fine Sea Salt – Balances sweetness; use table salt in the same measure if needed.
For the Mix-ins
• White Chocolate Chips – Adds a creamy sweetness; optional but highly recommended for flavor contrast.
• Semisweet Chocolate Chips – Creates delicious pockets of melted chocolate throughout.
• Chocolate Sandwich Cookies (Oreos) – Coarsely chopped for varied texture; keep the filling intact for irresistible flavor in your Chocolate Cookies & Cream Cookies.
Step‑by‑Step Instructions for Chocolate Cookies & Cream Cookies
Step 1: Preheat the Oven
Begin by preheating your oven to 400°F (200°C). This high temperature will create the perfect setting for your cookies, ensuring they have beautifully crisp edges while maintaining a soft and fudgy center. While the oven warms up, gather your mixing bowl and measure out all your ingredients for an effortless baking experience.
Step 2: Melt the Butter and Mix
In a large mixing bowl, melt the unsalted butter until it’s completely liquid. Combine the melted butter with the light brown sugar, stirring until the mixture is smooth and glossy. This step sets the foundation for your rich Chocolate Cookies & Cream Cookies, enhancing the overall texture and depth of flavor.
Step 3: Incorporate the Wet Ingredients
Add the egg, egg yolk, and vanilla extract to the butter and sugar mixture. Whisk everything together until the batter is smooth and well blended. The inclusion of both egg and yolk contributes to the rich consistency that will characterize your cookies, allowing them to rise beautifully as they bake.
Step 4: Combine the Dry Ingredients
In a separate bowl, whisk together the all-purpose flour, Dutch-process cocoa powder, black cocoa powder, baking soda, and fine sea salt. This step is crucial for evenly distributing the dry ingredients, which ensures your Chocolate Cookies & Cream Cookies develop the perfect fudgy texture and a deeply chocolate flavor.
Step 5: Mix Dry and Wet Ingredients
Gradually pour the dry ingredient mixture into the wet mixture, stirring gently until just combined. Be careful not to over-mix, as that may lead to tough cookies. The dough should have a rich, dark color and hold its shape well, with a few streaks of flour still visible.
Step 6: Add the Delicious Mix-ins
Fold in the white chocolate chips, semisweet chocolate chips, and coarsely chopped Oreos until they are evenly distributed throughout the cookie dough. This step introduces delightful chunks of flavor and texture to your Chocolate Cookies & Cream Cookies, ensuring each bite is a delicious experience.
Step 7: Scoop the Cookie Dough
Using a large cookie scoop or spoon, drop generous balls of dough onto a parchment-lined baking sheet, spacing them about 2 inches apart. This allows room for spreading while baking. The dough balls should look hefty, promising thick and satisfying cookies once baked.
Step 8: Bake to Perfection
Place the baking sheet in the preheated oven and bake the cookies for approximately 8 minutes. Keep a close eye on them; the edges should be set while the center remains slightly soft. This is the ideal time to remove them to achieve that perfect fudgy texture in your Chocolate Cookies & Cream Cookies.
Step 9: Cool and Enjoy
After baking, let the cookies sit on the baking sheet for a few minutes before transferring them to a wire rack to cool completely. This rest time allows them to firm up without getting overbaked. Once cooled, it’s time to enjoy your delightful creation that brings together rich chocolate and the nostalgic taste of Oreos!
Make Ahead Options
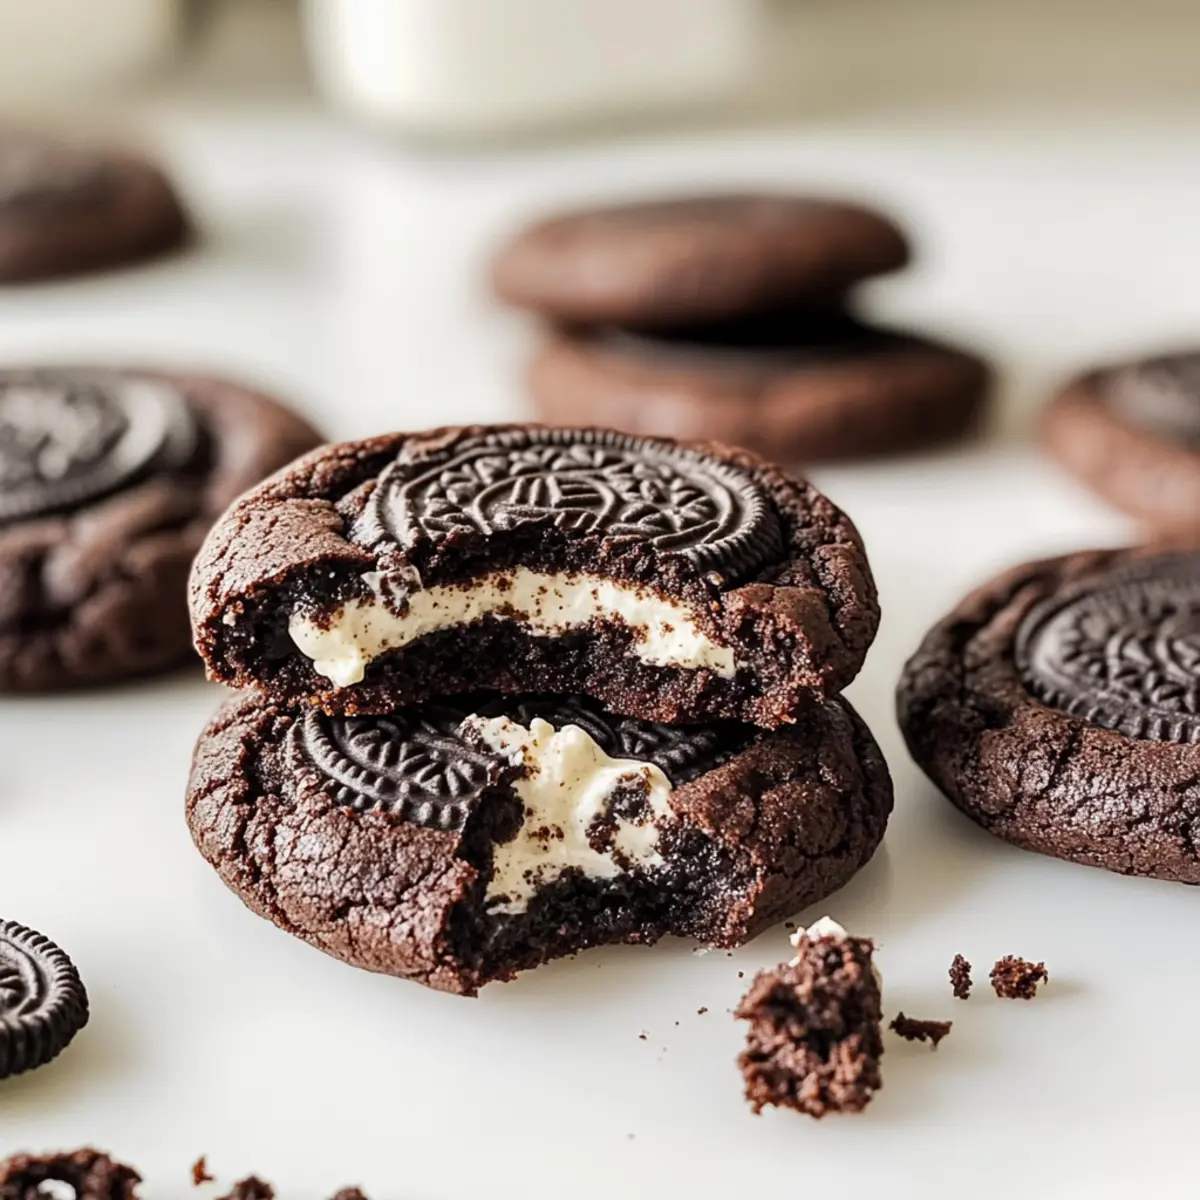
These Chocolate Cookies & Cream Cookies are perfect for meal prep, allowing you to enjoy homemade treats with minimal effort. You can scoop the cookie dough into balls and refrigerate them up to 48 hours before baking. If you want to prepare them even further in advance, freeze the dough balls, and they can last for up to 2 months; just bake them directly from frozen, adding a minute or two to the baking time. To maintain their quality, ensure the dough is well-wrapped to prevent freezer burn. When you’re ready to serve, simply pop the prepped dough in the oven, and you’ll have warm, fudgy cookies that taste just as delightful as if you had made them fresh!
Chocolate Cookies & Cream Cookies Variations
Feel free to let your creativity shine as you customize these cookies for your own delightful twist!
- Golden Oreos: Swap traditional Oreos for golden sandwich cookies for a sweet, buttery twist that’s equally delicious.
- Milk Chocolate Chips: Replace white chocolate chips with milk chocolate for a sweeter and richer flavor profile. They melt beautifully, adding a gooey texture.
- Mint Extract: A drop of mint extract can transform your cookies into a refreshing chocolaty treat, reminiscent of delightful mint chocolate desserts.
- Peanut Butter Swirl: For a nutty surprise, add dollops of peanut butter into the dough before baking. The creamy flavor pairs wonderfully with chocolate.
- Spicy Kick: Add a pinch of cayenne pepper or cinnamon to elevate the flavor with a warming spice that surprisingly complements chocolate.
- Double Chocolate: Increase the chocolatey richness by replacing half of the flour with more Dutch-process cocoa powder. This creates a more intense chocolate experience!
- Dried Cherries or Cranberries: Fold in some dried cherries or cranberries for a fruity burst that beautifully counters the richness of the chocolate.
- Coconut Flakes: Stir in unsweetened coconut flakes for a tropical twist that adds a chewy texture, reminiscent of a summer getaway.
And if you’re craving some other chocolate scenarios, don’t miss out on these Chocolate Chip Cookies or indulge in the crunchy delight of Crispy Chocolate Oat Cookies. Happy baking!
How to Store and Freeze Chocolate Cookies & Cream Cookies
Airtight Container: Store baked Chocolate Cookies & Cream Cookies in an airtight container at room temperature for up to 3 days to maintain their freshness and texture.
Refrigeration: If you prefer them chilled, you can place them in the fridge; they’ll stay good for up to a week, but be sure to let them come back to room temperature before serving for the best flavor experience.
Freezing Dough: For longer storage, scoop cookie dough balls and freeze them in a single layer on a baking sheet before transferring to a freezer-safe bag. They can be frozen for up to 2 months.
Bake From Frozen: To bake from frozen, preheat the oven and add a couple of extra minutes to the baking time for perfectly fresh Chocolate Cookies & Cream Cookies!
What to Serve with Chocolate Cookies & Cream Cookies
Pair these delicious cookies with thoughtful sides that enhance their decadent flavor and texture.
-
Milkshake: The classic pairing brings a creamy contrast to the fudgy cookies, making each bite a refreshing delight. Plus, you can customize it with your favorite flavors, such as vanilla or chocolate to match the cookie.
-
Ice Cream: Serve scoops of vanilla or cookies and cream ice cream alongside for a blissful combination that will have everyone smiling. The cold creaminess is the perfect foil for the rich, chocolatey goodness.
-
Coffee: A steaming cup of coffee pairs beautifully, as it balances the sweetness while enhancing the chocolate flavor with its rich notes. The slight bitterness complements the cookies, turning snack time into a cozy afternoon.
-
Fresh Berries: Serve with a side of ripe strawberries or raspberries for a burst of freshness. The tartness of the berries cuts through the richness of the cookies, creating a vibrant flavor contrast.
-
Whipped Cream: Light, fluffy whipped cream adds an airy sweetness that complements the dense structure of the cookies. Dollop it on top or serve it on the side for an indulgent treat.
-
Chocolate Dipping Sauce: For an over-the-top experience, consider a warm chocolate ganache dip. It’s a deliciously indulgent way to enjoy your cookies, inviting you to savor every moment.
-
Chilled Lemonade: A glass of refreshing lemonade adds a bright, zesty twist, balancing the sweetness of the cookies perfectly. It’s a fun and unexpected pairing!
-
Nutella: Spread some Nutella on top for an extravagant treat that takes each bite to the next level of chocolatey delight. The creamy hazelnut flavor is irresistible!
Expert Tips for Chocolate Cookies & Cream Cookies
Avoid Over-Mixing: Mixing the dough too much can lead to tough cookies. Stir until just combined for the best texture.
Watch Baking Time: Keep an eye on your cookies as they bake. They should set at the edges but remain soft in the center for that perfect fudgy bite.
Chill if Needed: If your dough spreads too much while baking, chill it for 20 minutes before scooping onto the baking sheet to maintain shape.
Use Chopped Oreos: For a delightful texture, coarsely chop the Oreos instead of using fine crumbs, enhancing the overall experience of your Chocolate Cookies & Cream Cookies.
Experiment with Chips: Feel free to substitute white chocolate chips with milk or dark chocolate for a different flavor profile.

Chocolate Cookies & Cream Cookies Recipe FAQs
How do I choose the right ripeness and quality of ingredients for the cookies?
Absolutely! For the best results, use high-quality unsalted butter that’s been melted properly to create a fudgy texture. I recommend choosing light brown sugar that’s fresh and soft, as older sugar can harden and affect moisture. Eggs should be at room temperature for easy blending. When selecting chocolate sandwich cookies like Oreos, make sure they are intact without any dark spots or damage to ensure maximum flavor and texture.
What is the best way to store my baked cookies?
You’ll want to keep your baked Chocolate Cookies & Cream Cookies in an airtight container at room temperature for up to 3 days. If you’re planning to enjoy them later, simply place them in the fridge, and they will stay fresh for a week. Remember to let them come to room temperature for the perfect bite of fudgy goodness!
Can I freeze the cookie dough, and how should I do it?
Yes, you can easily freeze the cookie dough! First, scoop the dough into balls and arrange them on a baking sheet, spacing them apart. Freeze the dough balls for about 1-2 hours until firm, then transfer them to a freezer-safe bag. They can be stored frozen for up to 2 months. When you’re ready to bake, just pop the frozen dough onto a baking sheet, adding a couple of extra minutes to the baking time—easy and convenient!
What if my cookies spread too much while baking?
If your cookies happen to spread too much, don’t worry! This can happen if the dough is too warm. Try chilling the dough for about 20 minutes before scooping and baking. This allows the fats to firm up, helping the cookies maintain their shape while baking. Also, remember to carefully measure the ingredients; sometimes, excess liquid can contribute to spreading.
Are there any dietary considerations for allergies or pets?
Very important! This recipe contains common allergens such as gluten (from flour) and dairy (from butter and chocolate). If anyone has a gluten allergy, you can try using a gluten-free flour blend as a substitute. Also, keep these cookies away from pets—especially dogs—since chocolate is toxic to them. Always ensure your ingredients are pet-safe!
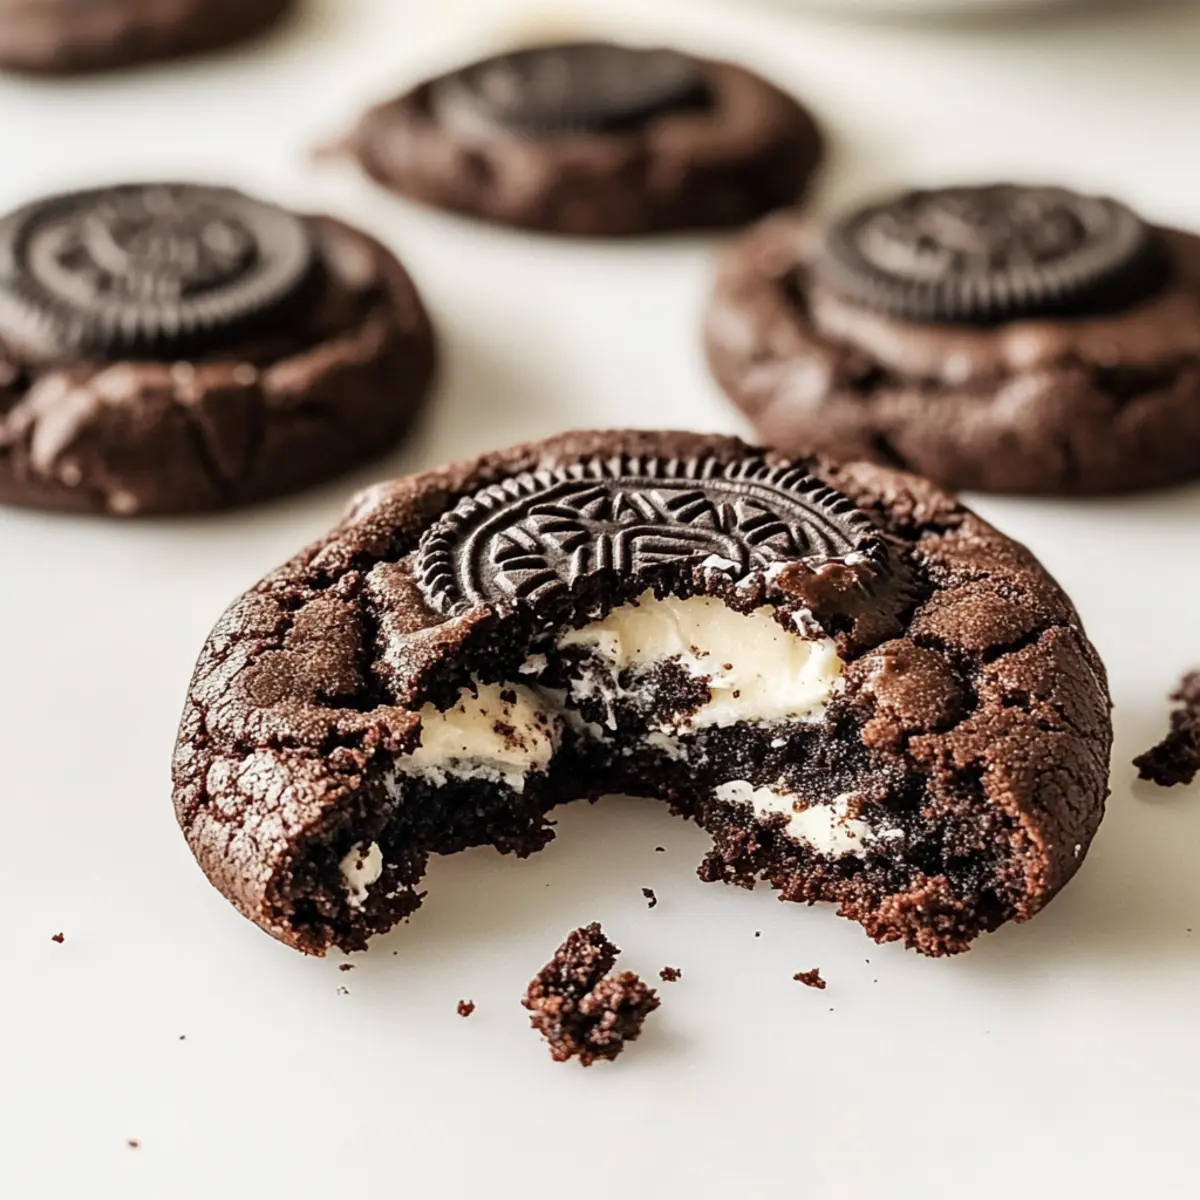
Decadent Chocolate Cookies & Cream Cookies in Under an Hour
Ingredients
Equipment
Method
- Preheat your oven to 400°F (200°C). Gather your ingredients.
- Melt the unsalted butter in a mixing bowl and combine it with the light brown sugar until smooth.
- Incorporate the egg, egg yolk, and vanilla extract, whisking until smooth.
- In a separate bowl, whisk together the all-purpose flour, Dutch-process cocoa powder, black cocoa powder, baking soda, and fine sea salt.
- Gradually mix the dry ingredients into the wet mixture until just combined.
- Fold in the white chocolate chips, semisweet chocolate chips, and chopped Oreos.
- Drop generous balls of dough onto a parchment-lined baking sheet, about 2 inches apart.
- Bake for approximately 8 minutes until the edges are set but the center is soft.
- Cool on the baking sheet for a few minutes before transferring to a wire rack.
Leave a Reply