
As the aroma of sizzling tortillas fills the kitchen, I can’t help but feel like a culinary magician conjuring something delightful. Today, I’m excited to share my recipe for Crispy Beef & Cheese Chimichangas—your new weeknight solution when takeout just won’t cut it. These golden, crispy parcels are a breeze to whip up in 30 minutes, making them perfect for busy nights while still satisfying even the pickiest eaters in the family. Whether you’re frying them to perfection or opting for a healthier baked version, you’ll discover a customizable dish that promises comfort and joy. Are you ready to create a dish that transports you straight to the heart of Mexican cuisine?
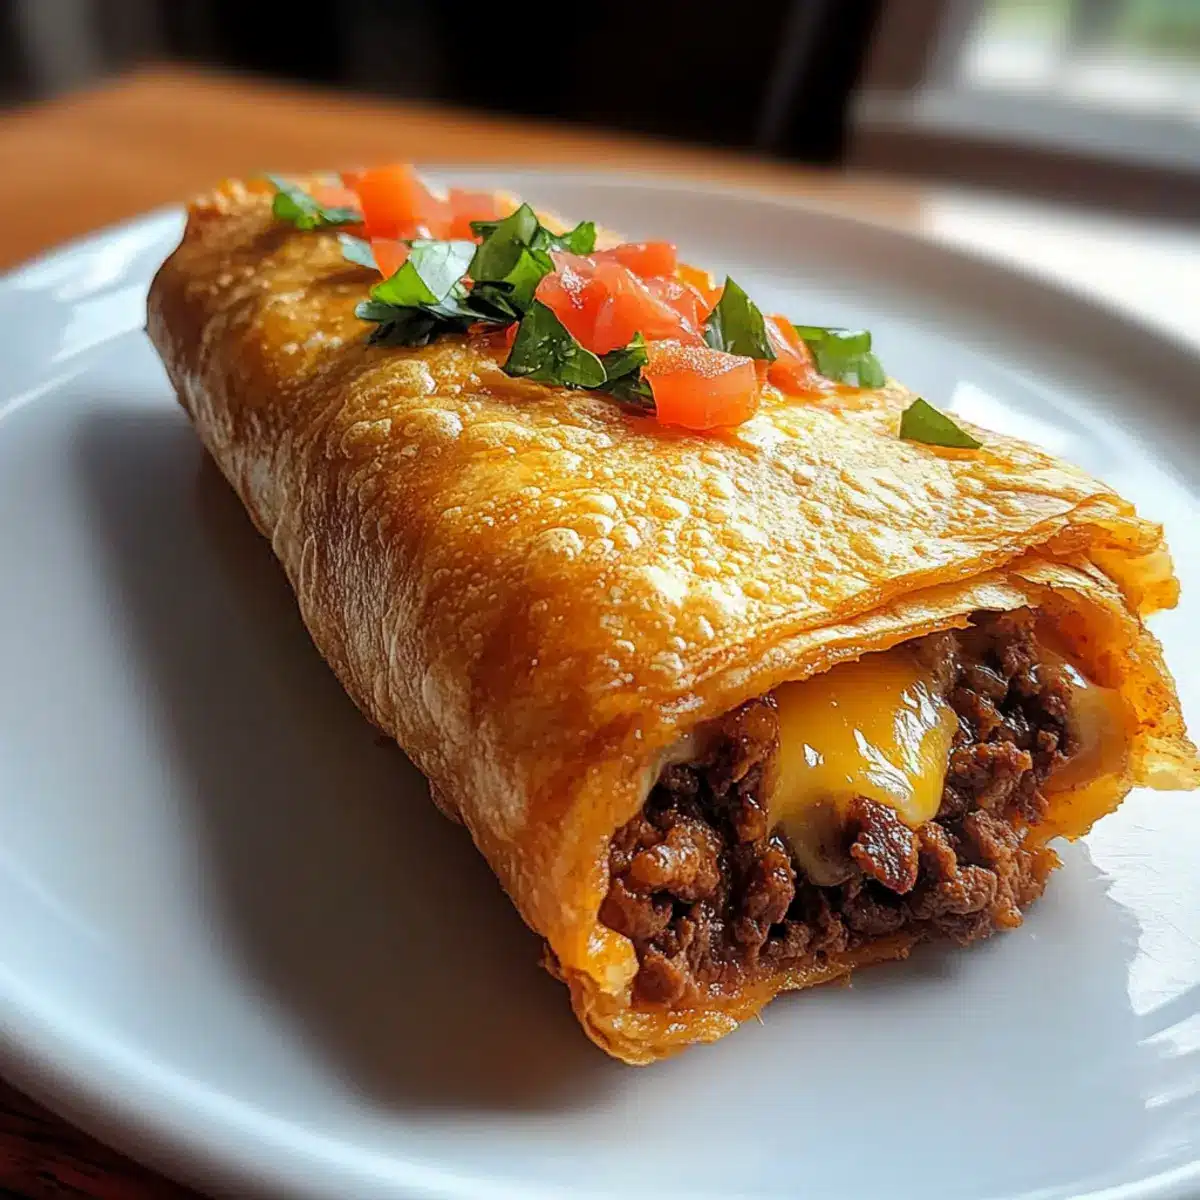
Why make Crispy Beef & Cheese Chimichangas?
Quick and Easy: This recipe whips up in just 30 minutes, perfect for busy weeknights!
Irresistible Crunch: The golden, crispy exterior gives way to a gooey filling, satisfying all your comfort food cravings.
Customizable Delight: Whether you want to fry or bake, you can easily adjust the cooking method to suit your needs.
Flavor Packed: A blend of spices and melty cheese creates a taste sensation the whole family will adore.
Make-Ahead Magic: Prep these chimichangas in advance and fry them when you’re ready for a cozy evening meal. For another delicious, cozy option, consider trying Cheesy Ground Beef and Rice Casserole that also brings joy to the dinner table!
Crispy Beef & Cheese Chimichangas Ingredients
For the Chimichangas
• Flour Tortillas – These are the main structure; substitute with corn tortillas for a gluten-free option.
• Ground Beef – Adds richness and flavor; can be swapped for shredded chicken, turkey, or a plant-based meat alternative.
• Cheese (Cheddar/Monterey Jack) – Provides creaminess and melty texture; swap for queso quesadilla cheese for a more authentic flavor.
• Spices (Chili Powder, Cumin, Salt, Pepper) – Infuses depth of flavor; adjust based on your spice tolerance.
• Oil (Vegetable/Canola) – Used for frying to achieve a crispy exterior; peanut oil can lend a delightful flavor if heated properly.
For Optional Toppings
• Salsa – Adds freshness and zing; choose your favorite variety for a flavor boost.
• Guacamole – Creamy and rich, it’s the perfect counterpart to balance the crispy chimichangas.
• Sour Cream – A cooling addition that enhances the overall experience.
• Jalapeños – For those who love a little kick, sliced jalapeños add a spicy punch.
With these ingredients, you’re well on your way to crafting crispy beef & cheese chimichangas that will have everyone asking for seconds! Enjoy the journey of cooking and the delightful taste of homemade joy.
Step‑by‑Step Instructions for Crispy Beef & Cheese Chimichangas
Step 1: Prepare the Filling
In a skillet over medium heat, cook 1 pound of ground beef until browned, about 5–7 minutes. Drain excess fat, then stir in spices like chili powder and cumin, cooking for an additional 2 minutes until fragrant. Mix in 1 cup of shredded cheese until melted, creating a rich and flavorful filling for your Crispy Beef & Cheese Chimichangas.
Step 2: Assemble Chimichangas
Warm 4 large flour tortillas in a pan or microwave to make them pliable, about 20 seconds. Spoon about ⅓ cup of the beef and cheese mixture onto the center of each tortilla. Fold the sides over the filling and roll it tightly from the bottom up, ensuring all edges are securely closed to prevent any filling from escaping during frying.
Step 3: Heat Oil
In a deep, heavy-bottomed pan, pour in enough oil to cover the bottom by about an inch. Heat the oil over medium-high heat until it reaches 350°F–375°F, which you can check with a thermometer. A drop of water should sizzle upon contact—this is your cue that the oil is ready for frying the chimichangas.
Step 4: Fry Chimichangas
Gently place 2–3 assembled chimichangas into the hot oil, being careful not to overcrowd the pan. Fry for about 3–4 minutes on each side, or until golden brown and crispy. Use a slotted spoon to flip them, ensuring even cooking and achieving that beautiful crispy texture that makes Crispy Beef & Cheese Chimichangas so delightful.
Step 5: Drain and Serve
Once they are perfectly golden, remove the chimichangas from the oil and let them drain on a plate lined with paper towels, absorbing excess grease. Serve your hot, crispy delights immediately with your favorite toppings like salsa, guacamole, or sour cream, and enjoy the heavenly flavors of your homemade Crispy Beef & Cheese Chimichangas.
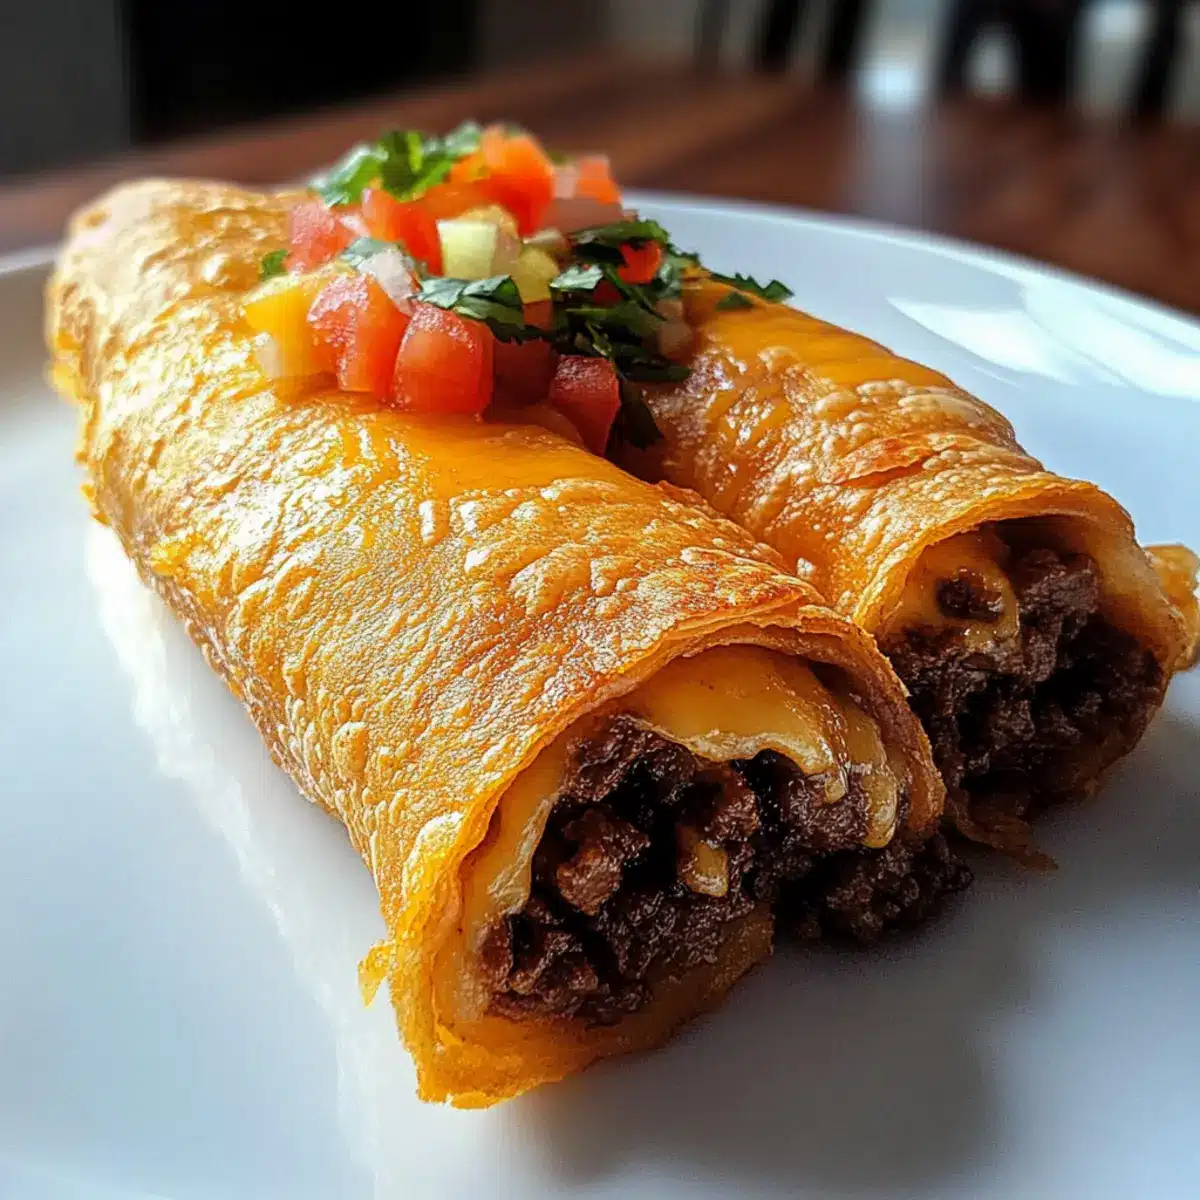
Expert Tips for Crispy Beef & Cheese Chimichangas
-
Oil Temperature Check: Always monitor the oil temperature; if it smokes, reduce heat to prevent burning your chimichangas. Properly heated oil is key to achieving crispy results!
-
Filling Amount: Use at most ⅓ cup of filling per chimichanga. Overstuffing can lead to bursting during frying, so less is often more in this case.
-
Securing Edges: If you’re worried about the filling leaking out, use toothpicks to secure the edges before frying. Just remember to remove them afterward!
-
Baking Option: For a healthier version, skip the oil and bake your chimichangas at 375°F for 20 minutes, flipping halfway through, to keep the crispy texture without the extra grease.
-
Ideal Serving Time: Enjoy these crispy beef & cheese chimichangas fresh from the fryer. If you need to reheat leftovers, avoid the microwave; use an oven or air fryer to retain that delightful crunch!
How to Store and Freeze Crispy Beef & Cheese Chimichangas
Fridge: Store leftover chimichangas in an airtight container for up to 3 days. For best results, place parchment paper between layers to prevent sticking.
Freezer: Freeze unassembled chimichangas by wrapping each tightly in plastic wrap, then place them in a freezer-safe bag. They can be stored for up to 2 months.
Reheating: To enjoy, reheat frozen chimichangas directly from the freezer in an oven preheated to 375°F for 20-25 minutes, ensuring they become crispy again.
Make-Ahead Tip: Assemble chimichangas a day ahead and store in the fridge, frying them fresh when it’s time to eat.
What to Serve with Crispy Beef & Cheese Chimichangas
A delicious chimichanga deserves a equally delightful spread to elevate your meal experience.
- Fresh Garden Salad: A mix of crisp greens and vibrant vegetables provides a refreshing contrast to the rich, savory chimichangas.
- Tortilla Chips with Salsa: Crunchy chips dipped in zesty salsa create a fun appetizer that pairs perfectly with their flavors.
- Guacamole: The creamy texture of guacamole complements the crunch of the chimichangas, adding a luscious note that balances the dish.
- Mexican Rice: This seasoned rice dish brings a hearty texture that rounds out the meal beautifully, soaking up any extra flavors.
- Black Beans: Rich in protein, a side of seasoned black beans adds a wholesome touch, enhancing the crema of the chimichangas.
- Crispy Fried Plantains: A sweet and tropical contrast, these fried treats add a delightful crunch that complements your main dish.
- Margaritas: Refreshing and tangy, a classic margarita helps wash down the richness of the chimichangas, enhancing the entire dining experience.
- Churros: For dessert, these crispy, cinnamon-sugar treats add a sweet finish to your meal, delighting everyone around the table.
Explore these pairings to create a feast everyone will love, making your chimichanga night unforgettable!
Make Ahead Options
These Crispy Beef & Cheese Chimichangas are a fantastic meal prep option for busy weeknights! You can assemble the chimichangas (unfried) up to 24 hours ahead of time and keep them tightly wrapped in plastic wrap or stored in an airtight container in the refrigerator. To ensure they maintain their crispy texture, avoid stacking them and refrigerate them in a single layer. When you’re ready to enjoy, heat oil in a deep pan and fry directly from the fridge until golden brown, which should take about 3-4 minutes per side. This way, you gain the convenience of a quick meal without sacrificing any of that delicious homemade flavor!
Crispy Beef & Cheese Chimichangas: Customizable Delights
Get ready to elevate your cooking game with some delightful variations that will spark your culinary creativity.
-
Gluten-Free: Swap flour tortillas for corn tortillas to make delicious gluten-free chimichangas without sacrificing flavor.
-
Vegetarian Friendly: Replace ground beef with black beans or sautéed veggies for a hearty and satisfying vegetarian version. The rich spices and cheese will keep it delightful.
-
Baked Bliss: For a healthier twist, skip the frying and bake your chimichangas at 375°F for 20 minutes. They’ll still be crispy and perfectly golden!
-
Cheesy Extra: Enhance the cheesy goodness by adding a blend of pepper jack cheese or queso quesadilla cheese for a more authentic experience. It adds a delightful kick!
-
Heat it Up: For those who love a little spice, mix in some diced jalapeños or a splash of hot sauce into the filling for a delicious heat kick that will excite your taste buds.
-
Crunchy Exterior: Add crushed tortilla chips to the filling for an unexpected crunch that makes each bite even more enjoyable. It’s all about that texture!
-
Savory Dips: Pair your chimichangas with an array of toppings like pico de gallo, homemade guacamole, or a creamy cilantro dressing for extra flavor layers. Your dipping choices can take your meal to the next level.
Whether you decide on a filling change like those savory Chinese Ground Beef or add layers like in a cozy Cheesy Ground Beef and Rice Casserole, these variations will cater to everyone’s taste preferences and make your next meal unforgettable!
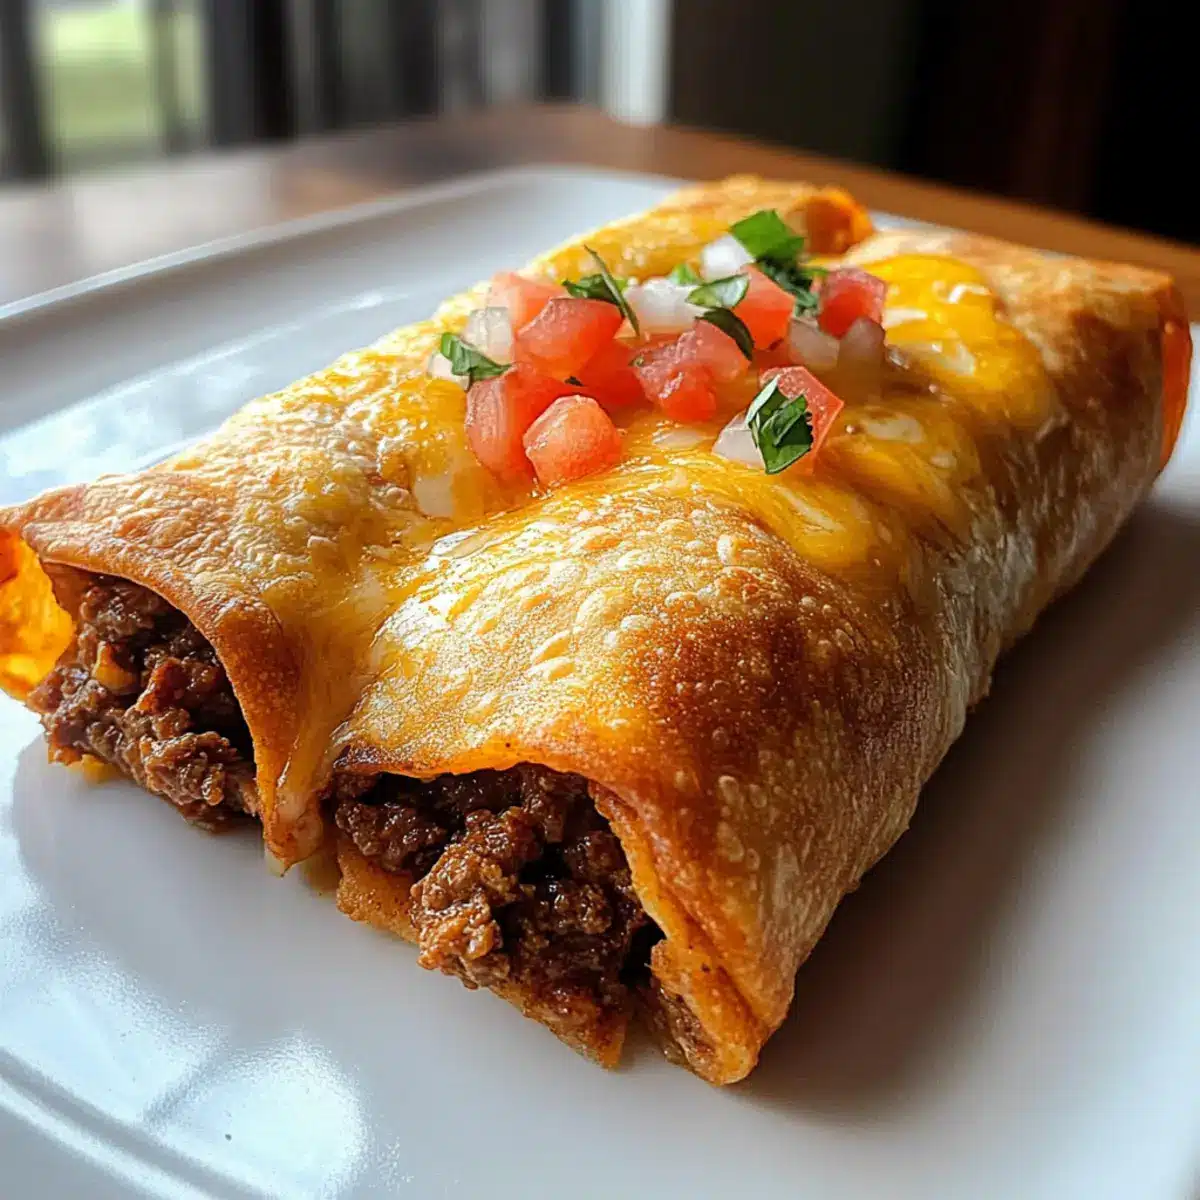
Crispy Beef & Cheese Chimichangas Recipe FAQs
What type of tortillas should I use for Crispy Beef & Cheese Chimichangas?
Absolutely! Flour tortillas are the traditional choice, giving you that perfect structure. However, if you’re looking for a gluten-free option, corn tortillas work beautifully as a substitute.
How should I store leftover chimichangas?
Very! Store any leftovers in an airtight container in the fridge for up to 3 days. To keep them from sticking together, place parchment paper between layers. This way, your crispy delights remain as tasty as when they were first made!
Can I freeze Crispy Beef & Cheese Chimichangas?
Of course! To freeze, wrap unassembled chimichangas tightly in plastic wrap and place them in a freezer-safe bag. They can be stored for up to 2 months. When you’re ready to enjoy, just pop them in a preheated oven at 375°F for 20-25 minutes, cooking them straight from frozen to regain that crunch.
What can I do if my chimichangas burst while frying?
Don’t worry! If they burst, it might be due to overfilling. Always use about ⅓ cup of filling for each chimichanga. If you notice them leaking, you can quickly secure the edges with toothpicks before frying to keep everything inside!
Are there any dietary considerations to keep in mind?
Absolutely! For a vegetarian version, swap the ground beef for beans or shredded vegetables. Always inquire about allergies—especially cheese and tortillas—if you’re cooking for guests. It’s wonderful to know that everyone can enjoy this delicious dish!
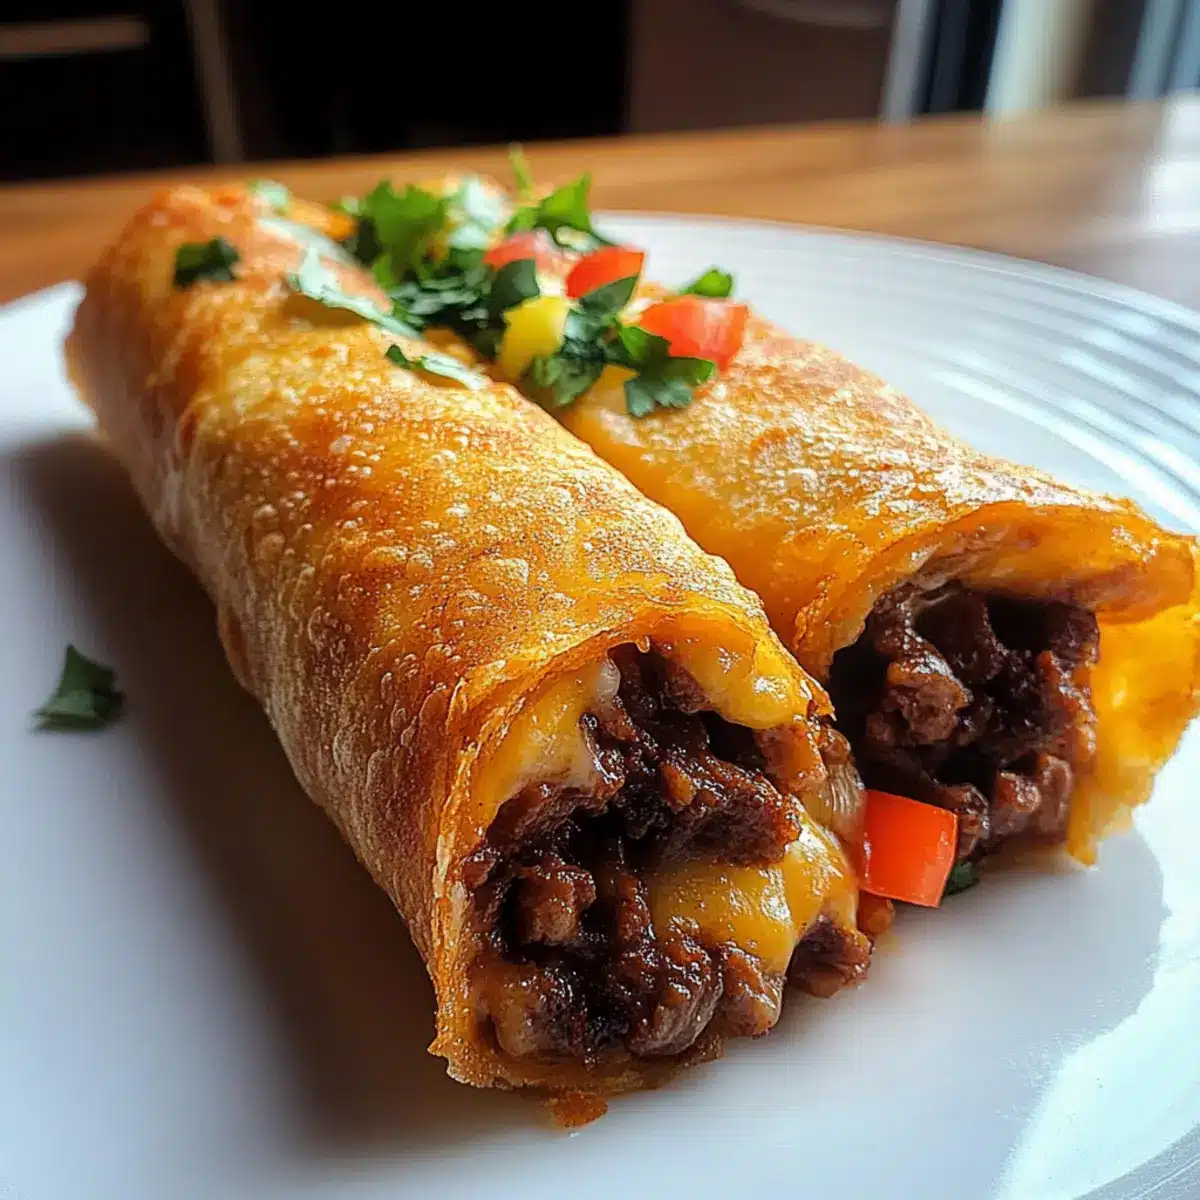
Crispy Beef & Cheese Chimichangas: Your New Favorite Comfort Food
Ingredients
Equipment
Method
- In a skillet over medium heat, cook 1 pound of ground beef until browned, about 5–7 minutes. Drain excess fat, then stir in spices like chili powder and cumin, cooking for an additional 2 minutes until fragrant. Mix in 1 cup of shredded cheese until melted to create a rich filling.
- Warm 4 large flour tortillas in a pan or microwave for about 20 seconds to make them pliable. Spoon about ⅓ cup of the beef and cheese mixture onto the center of each tortilla. Fold the sides over the filling and roll it tightly from the bottom up.
- In a deep, heavy-bottomed pan, pour in enough oil to cover the bottom by about an inch. Heat oil over medium-high heat to 350°F–375°F.
- Gently place 2–3 assembled chimichangas into the hot oil, frying for about 3–4 minutes on each side or until golden brown and crispy.
- Remove the chimichangas from the oil and let them drain on a plate lined with paper towels. Serve hot with your favorite toppings.
Leave a Reply