
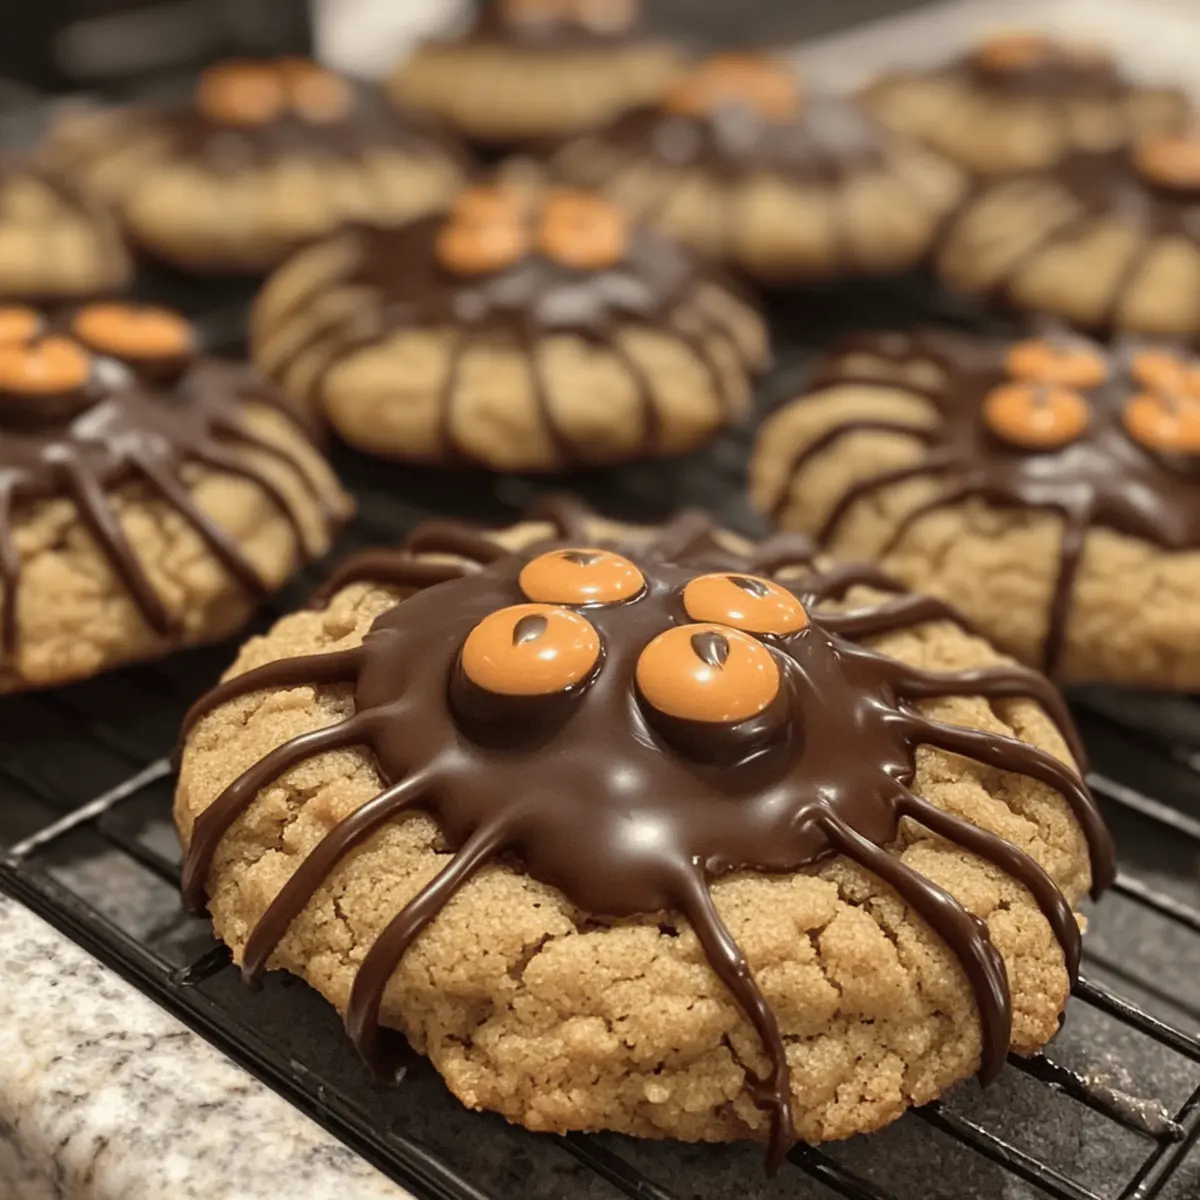
As I pulled the cookies out of the oven, the sweet aroma wafted through the air, instantly transporting me to a world of Halloween magic. These Peanut Butter Spider Halloween Cookies marry the classic taste of peanut butter with whimsical charm, transforming a beloved treat into a festive delight. Not only are they ridiculously easy to make, but their playful design is sure to impress both kids and adults alike. Imagine serving these adorable cookies at your next Halloween gathering, where their soft, chewy centers and chocolatey spider legs become the talk of the party. Plus, you can mix and match toppings to create your own spooky twist! Ready to dive into the fun of baking? Let’s get started!
Why are these cookies a Halloween hit?
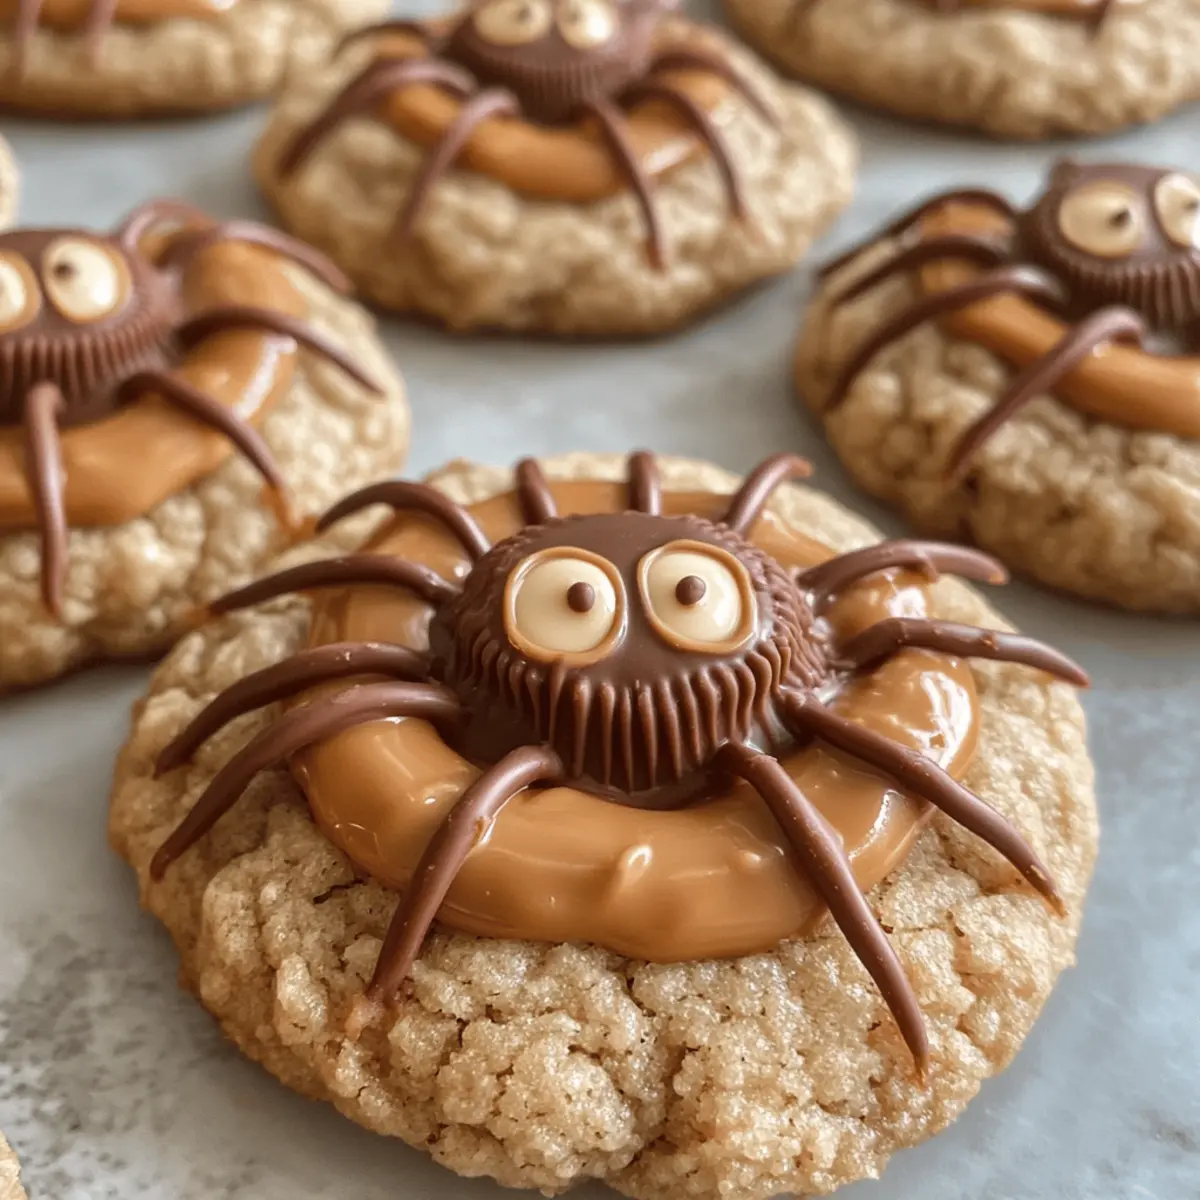
Unique Decor: These Peanut Butter Spider Halloween Cookies stand out with their playful design featuring Reese’s and chocolate legs, making them a visual treat.
Easy to Make: With simple ingredients and straightforward steps, you’ll whip up a batch in no time—perfect for busy bakers!
Impressive Presentation: The delightful spider theme will wow your guests, leaving them impressed by your creativity.
Customizable Fun: Swap toppings or colors for a personal touch, like trying Hershey Kisses or vibrant melted chocolate for a festive flair.
A Kid Favorite: Their sweet, salty flavor and whimsical design are sure to be a hit with kids, making them a fantastic addition to any Halloween party!
Serve them alongside a warm drink like hot cocoa for an unforgettable festive experience!
Peanut Butter Spider Halloween Cookies Ingredients
For the Cookie Base
- All-purpose flour – Provides structure to the cookies, ensuring a chewy texture.
- Baking soda – Acts as a leavening agent, helping the cookies to rise and be fluffy.
- Salt – Balances sweetness and enhances the overall flavor profile.
- Unsalted butter (room temperature) – Adds moisture and richness to the dough for that perfect bite.
- Light brown sugar – Contributes to moisture and gives a subtle caramel flavor; feel free to use dark brown sugar for richer taste.
- Granulated sugar – Supplies sweetness and helps achieve the delightful crispiness in each cookie.
- Smooth peanut butter – Infuses a rich flavor and chewy texture; avoid crunchy peanut butter for the most tender result.
- Egg – Binds all the ingredients together while helping with leavening as it bakes.
- Vanilla extract – Complements the cookie flavors and adds depth to the sweetness.
- Whole milk – Adds moisture; can replace it with non-dairy milk if preferred.
For the Fun Decorations
- Miniature Reese’s Peanut Butter Cups – Used as the spider’s body; swap with Whoppers for a different look!
- Semi-sweet chocolate – Perfect for piping those spider legs; you can mix it up with dark or milk chocolate if you like.
- Candy eyes – Adds a whimsical touch; can be replaced with chocolate chips for simplicity or omitted if you prefer!
Get ready to create these delightful Peanut Butter Spider Halloween Cookies that will enchant your family and friends!
Step‑by‑Step Instructions for Peanut Butter Spider Halloween Cookies
Step 1: Prep Dough
In a large mixing bowl, cream together ½ cup unsalted butter with ½ cup granulated sugar and ½ cup light brown sugar until the mixture is light and fluffy, about 4-5 minutes. Next, incorporate 1 cup of smooth peanut butter, followed by 1 egg, 1 teaspoon vanilla extract, and 2 tablespoons of whole milk, stirring until all ingredients are well combined and smooth.
Step 2: Combine Dry Ingredients
In a separate bowl, whisk together 2 cups of all-purpose flour, 1 teaspoon of baking soda, and ½ teaspoon of salt until evenly mixed. Gradually add the dry mixture to the wet ingredients, stirring gently until just combined. This will form the dough for your Peanut Butter Spider Halloween Cookies, which should be soft but not sticky.
Step 3: Chill Dough
Cover the dough with plastic wrap and refrigerate for at least 30 minutes. Chilling the dough is crucial, as it helps prevent excessive spreading while baking, ensuring your cookies remain thick and chewy. You’ll know it’s ready when it’s firm to the touch and still slightly soft when pressed.
Step 4: Bake Cookies
Preheat your oven to 350°F (175°C). Line a baking sheet with parchment paper. Once chilled, scoop tablespoon-sized portions of dough and place them about 2 inches apart on the prepared baking sheet. Bake for 10-12 minutes, until the edges are golden while the centers remain soft. Let them cool on the sheet for 3-5 minutes before transferring to a wire rack.
Step 5: Add Toppings
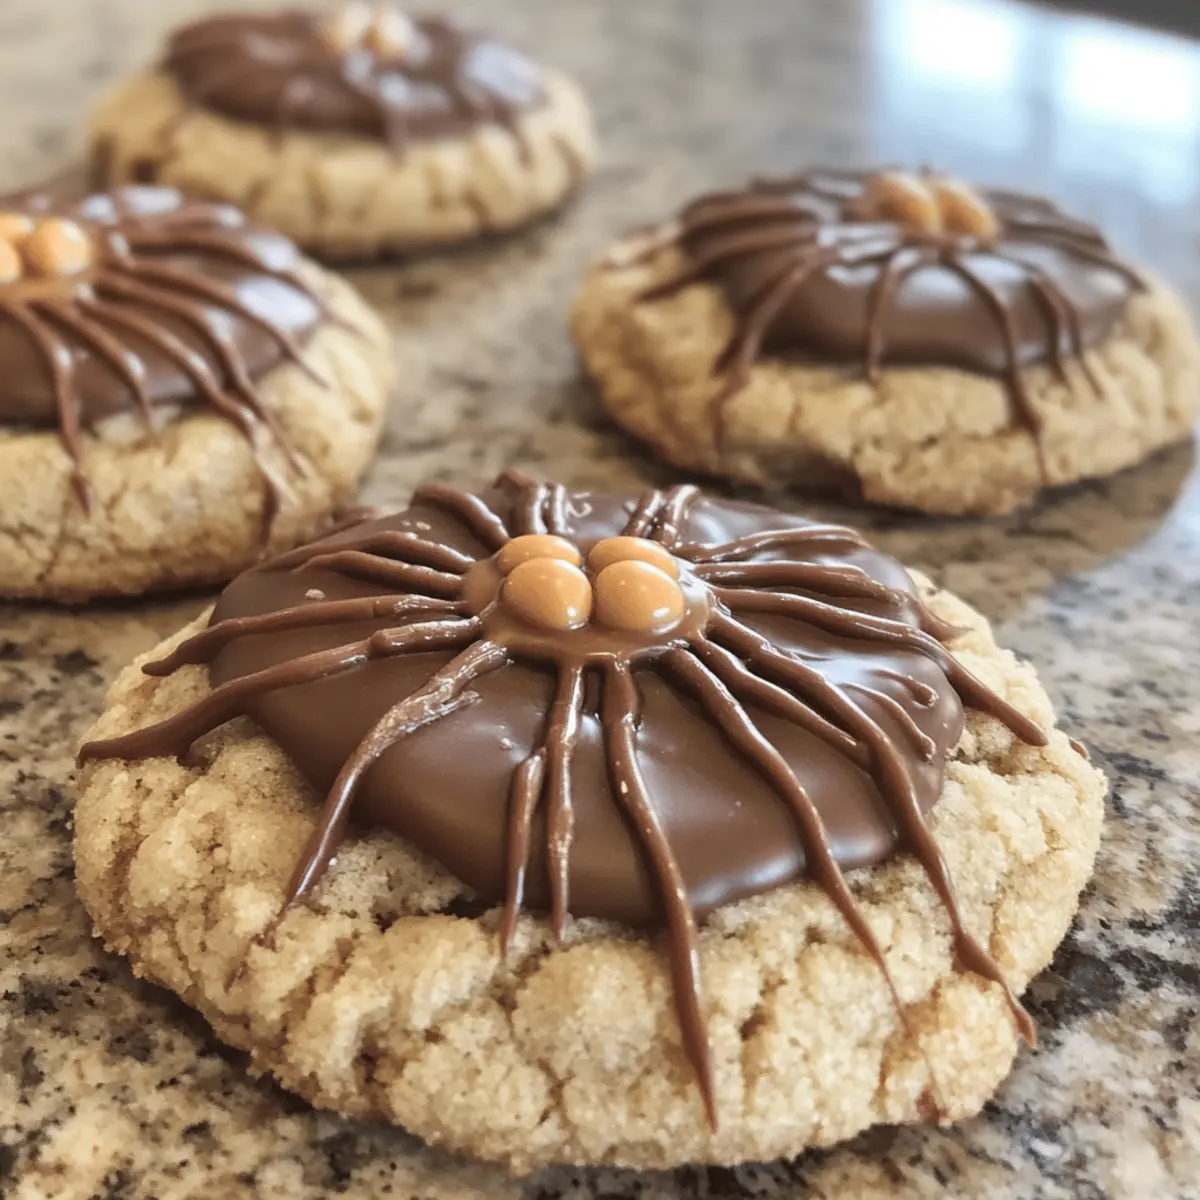
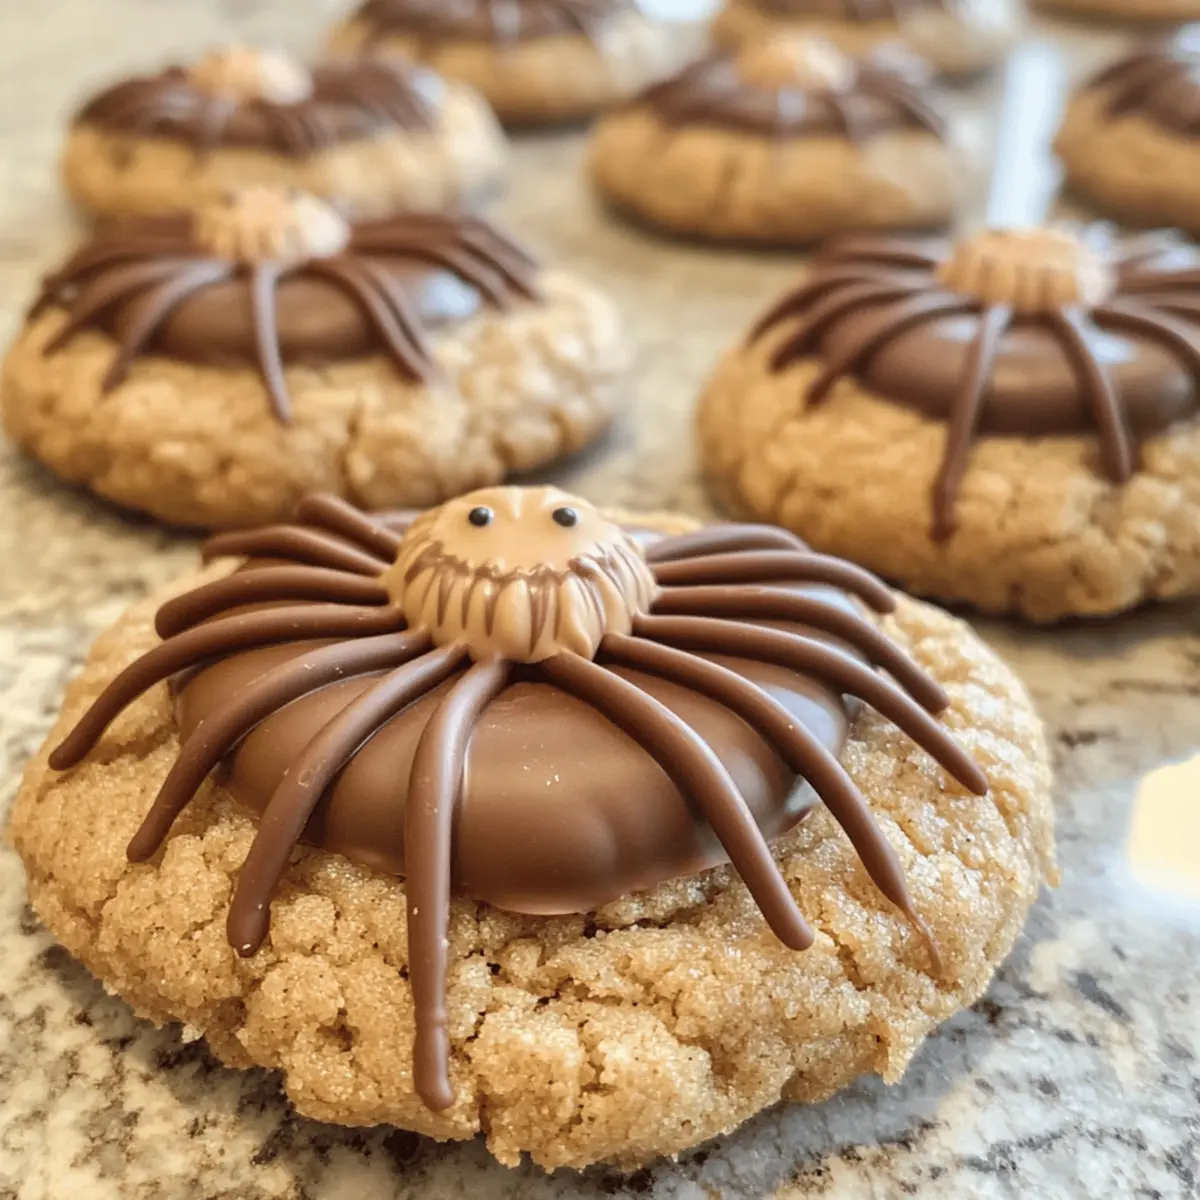
While the cookies cool slightly, unwrap your miniature Reese’s Peanut Butter Cups. Gently press one onto the center of each cookie, creating the body of the spider. In a microwave-safe bowl, melt about ½ cup of semi-sweet chocolate, stirring until smooth. Using a piping bag or a fork, pipe chocolate legs around each Reese’s to create a spider look. Finish with candy eyes to complete the decoration.
Step 6: Set Designs
Once decorated, place the cookies in the refrigerator for about 10 minutes to allow the chocolate to set. This ensures that your Peanut Butter Spider Halloween Cookies hold their adorable shape and remain visually appealing for your Halloween gathering. When ready, serve alongside milk or hot cocoa for a festive treat!
Peanut Butter Spider Halloween Cookies Variations
Feel free to let your creativity shine and customize these festive cookies with exciting twists!
-
Dairy-Free: Substitute whole milk with almond or oat milk. This simple swap keeps the cookies moist while catering to dairy-free diets.
-
Gluten-Free: Use a gluten-free all-purpose flour blend instead of regular flour. The same delightful cookie experience awaits those with gluten sensitivities!
-
Nut-Free: For a nut-free alternative, swap peanut butter with sunbutter or soy nut butter. They will still be delicious and suitable for schools or gatherings!
-
Choco-Lover: Add mini chocolate chips to the dough before baking for extra chocolatey goodness. These lovely morsels will melt slightly into each cookie, enhancing every bite.
-
Spooky Colors: Color the melted chocolate with festive food coloring to create orange or green spider legs. These vibrant hues will amplify your Halloween vibe!
-
Twisted Flavors: Fold in crushed pretzels or toffee bits into the cookie dough for an unexpectedly delightful crunch paired with sweetness.
-
Different Toppings: Instead of Reese’s, try caramel-filled chocolates or Hershey’s Kisses for the spider body. The possibilities of topping substitutes are endless!
-
Creative Eyes: Use M&M’s or chocolate chips instead of candy eyes for a fun personal touch. They’ll still add that playful element to your spooky treats!
Feel free to explore these variations while making your cookies, and don’t forget to check out delightful recipes like Cowboy Butter Chicken or Garlic Butter Meatballs for a complete festive experience!
How to Store and Freeze Peanut Butter Spider Halloween Cookies
-
Room Temperature: Store cookies in an airtight container at room temperature for up to 1 week. This keeps them fresh and soft, ready to enjoy anytime!
-
Fridge: If you prefer a slightly firmer texture, place cookies in the fridge for up to 2 weeks. Just ensure they’re in a tightly sealed container to maintain flavor.
-
Freezer: For longer storage, freeze cookies in a single layer on a baking sheet until solid, then transfer to a freezer-safe bag. They’re best enjoyed within 2-3 months for optimal freshness.
-
Reheating: To regain that fresh-baked taste, microwave frozen cookies for about 10-15 seconds or let them thaw at room temperature before serving. Enjoy your Peanut Butter Spider Halloween Cookies!
What to Serve with Peanut Butter Spider Halloween Cookies?
Imagine sharing a delightful spread of treats that perfectly complements the fun and festive spirit of these whimsical cookies.
- Warm Milk: A classic pairing, warm milk brings out the rich peanut butter flavor while providing a comforting touch that feels just like home.
- Hot Cocoa: The chocolatey sweetness of hot cocoa pairs beautifully, enriching the overall dessert experience with each sip. Whether topped with marshmallows or whipped cream, it’s a cozy must-have!
- Pumpkin Spice Latte: Embrace the fall vibes with this spiced drink that enhances the Halloween spirit, harmonizing with the cookies’ sweet and nutty flavors.
- Vanilla Ice Cream: A scoop of creamy vanilla ice cream adds a delightful contrast to the chewy texture of the cookies, making for a classic yet indulgent dessert. You can even top your cookie with a scoop for a treat everyone will love!
- Fruit Salad: Balance the richness of the cookies with a refreshing fruit salad. Colorful, juicy pieces bring brightness and a burst of freshness to your plate—perfect for a festive presentation!
- Ginger Snaps: Another Halloween favorite, those spicy, crunchy cookies provide a delightful contrast to the soft, chewy spider cookies, making them a fun snack duo!
- Pumpkin Pie: Lean into the seasonal flavors and serve a slice of pumpkin pie. Its velvety texture and warm spices create a lovely balance with the sweet indulgence of your Peanut Butter Spider Halloween Cookies.
Celebrate Halloween by pairing your sweet creations with these delightful offerings, creating an unforgettable culinary experience!
Expert Tips for Peanut Butter Spider Halloween Cookies
-
Chill the Dough: Allowing the dough to chill for at least 30 minutes prevents spreading, keeping your cookies soft and chewy. This step is crucial for achieving the perfect texture.
-
Use Creamy Peanut Butter: Opt for smooth peanut butter rather than crunchy varieties for the best results. Creamy peanut butter helps create a uniform dough and delightful chewiness.
-
Cool Before Topping: Let the cookies cool slightly before adding toppings. This helps maintain the cookie shape and prevents melting the Reese’s when pressed on.
-
Watch Your Chocolate Temperature: When melting chocolate for the spider legs, ensure it’s not too hot. Use it just melted; this helps prevent melting your plush Reese’s Peanut Butter Cups.
-
Get Creative with Toppings: Feel free to swap out Reese’s with other favorites like caramel-filled chocolates or use colorful melted chocolate for a festive twist. Customizing toppings can make each batch special!
Enjoy making your delightful Peanut Butter Spider Halloween Cookies!
Make Ahead Options
These Peanut Butter Spider Halloween Cookies are ideal for busy home cooks looking to save time without sacrificing flavor or fun! You can prepare the dough up to 24 hours in advance by following the initial steps and then refrigerating it in an airtight container. This prevents browning and ensures the dough maintains its quality. Additionally, you can make the chocolate spider legs ahead of time, storing them in the fridge for up to 3 days. When it’s time to bake, simply scoop and bake the chilled dough as directed. After the cookies cool slightly, add the pre-made Reese’s and chocolate decorations for an easy and delightful treat that’s just as good as fresh!
Peanut Butter Spider Halloween Cookies Recipe FAQs
What type of peanut butter should I use for the cookies?
Absolutely! I recommend using smooth, creamy peanut butter for the best texture and flavor. Crunchy peanut butter can affect the dough consistency, making your cookies less tender and chewy. Stick with creamy peanut butter to achieve that delightful, rich flavor and soft center!
How should I store the Peanut Butter Spider Halloween Cookies?
For the freshest and softest cookies, store them in an airtight container at room temperature for up to 1 week. If you prefer your cookies with a firmer texture, feel free to refrigerate them, where they can last up to 2 weeks. Just make sure they’re sealed tight to maintain their delicious flavor!
Can I freeze these cookies?
Certainly! To freeze your Peanut Butter Spider Halloween Cookies, first place them in a single layer on a baking sheet and freeze until solid. Once frozen, transfer them to a freezer-safe bag. They’re best enjoyed within 2-3 months to ensure optimal flavor and softness. If you want to enjoy them later, simply microwave them for about 10-15 seconds or let them thaw at room temperature.
What should I do if my cookies spread too much while baking?
No worries, it happens to the best of us! If your cookies spread excessively, there are a couple of things to check. First, make sure your butter is at room temperature, not too soft or melted. Next, ensure that you’ve chilled the dough for the recommended 30 minutes before baking. Finally, avoid overmixing your dough; gently combine wet and dry ingredients for the best texture!
Are these cookies safe for pets?
It’s very important to keep in mind that chocolate is toxic to dogs and other pets. So, ensure your Peanut Butter Spider Halloween Cookies are kept out of reach of your furry friends! If you’re looking for a pet-friendly option, you could try substituting the chocolate with carob or simply leave off the decorations. Always prioritize your pet’s safety!
Can I adapt the recipe for dietary restrictions?
Definitely! If you need to cater to specific dietary needs, you can substitute whole milk with almond milk or oat milk to make it non-dairy. For those avoiding gluten, try using a gluten-free all-purpose flour blend in place of regular flour. Additionally, if you have a nut allergy, consider using sun butter or another nut-free alternative in place of peanut butter to create a safe and enjoyable treat for everyone!
Peanut Butter Spider Halloween Cookies to Delight Your Guests
Ingredients
Equipment
Method
- In a large mixing bowl, cream together unsalted butter, granulated sugar, and light brown sugar until light and fluffy.
- Incorporate smooth peanut butter, followed by egg, vanilla extract, and whole milk, stirring until well combined.
- In a separate bowl, whisk together all-purpose flour, baking soda, and salt until evenly mixed.
- Gradually add the dry mixture to the wet ingredients, stirring gently until just combined to form the dough.
- Cover the dough with plastic wrap and refrigerate for at least 30 minutes.
- Preheat oven to 350°F (175°C) and line a baking sheet with parchment. Scoop dough onto the sheet and bake for 10-12 minutes.
- While cooling slightly, press Reese’s Peanut Butter Cups onto each cookie and pipe melted chocolate for spider legs.
- Finish with candy eyes, and refrigerate for 10 minutes to set the decorations.
Leave a Reply