
As I stood in my kitchen surrounded by the vibrant colors of fresh cucumbers, a wave of nostalgia washed over me—it’s the start of pickling season! There’s something truly magical about crafting homemade Garlic Dill Pickles. This simple yet fulfilling Garlic Dill Pickles Recipe transforms crisp Kirby cucumbers into flavorful gems, perfect for satisfying your snack cravings or adding zing to your meals. Not only is canning an enjoyable hands-on experience that allows you to savor summer’s taste all year round, but these pickles are also a deliciously healthy alternative to store-bought options. They stand up well in the refrigerator, making them perfect for meal prep and entertaining. Curious how something so delightful can be made at home? Let’s dive into this easy recipe that will surely become a cherished favorite in your kitchen!
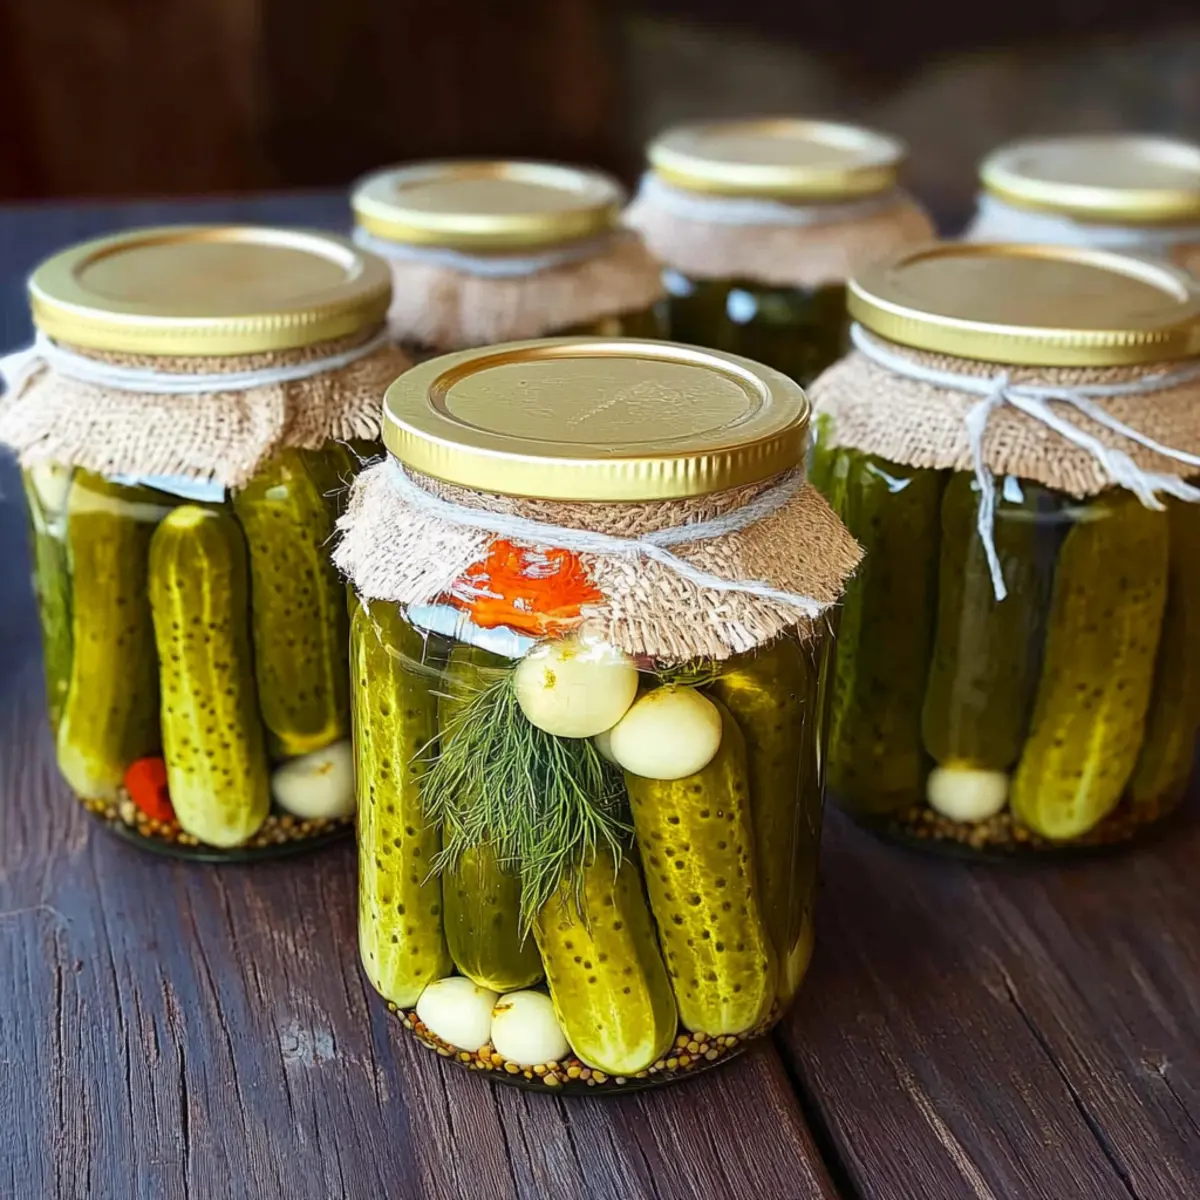
Why Make Garlic Dill Pickles?
Deliciously Homemade: There’s nothing quite like the taste of freshly made pickles. Unlike store-bought versions, these Garlic Dill Pickles are bursting with authentic flavor and crunch.
Easy Canning Process: Don’t be intimidated! The canning method used here is simple and rewarding, allowing you to enjoy your pickles long after the summer ends.
Customizable Heat: Want to spice things up? Feel free to add optional chili peppers for that extra kick, making each jar uniquely yours.
Perfect for Meal Prep: These pickles are a great way to enhance meals or snacks, pairing beautifully with sandwiches or grilled dishes, similar to our fellow recipes like Garlic Parmesan Crockpot Chicken.
Healthy Crunch: Say goodbye to artificial preservatives! Enjoy a guilt-free snack, knowing you’re consuming a deliciously clean option that fits seamlessly into a vegetarian and gluten-free diet.
Timeless Tradition: Experience the joy of a cherished tradition, canning your very own pickles and creating delectable flavors reminiscent of those found in classic delis!
Garlic Dill Pickles Ingredients
For the Pickles
• Kirby Cucumbers – These provide structure and crunch; choose #2 size for optimal pickling.
• Fresh Dill Weed – The key flavor component; use the heads and stalks for a robust taste.
• Garlic – Adds pungent, aromatic flavor; use generously for a true garlic dill experience.
For the Brine
• Pickling Vinegar – Essential for creating a shelf-stable product; don’t swap with white vinegar, as it may alter preservation quality.
• Pickling Salt – Enhances flavor without additives; steer clear of regular table salt which contains anti-caking agents.
• Sugar – Balances the acid without making the brine sweet; feel free to adjust or omit.
For Spiciness (Optional)
• Bird’s Eye Chili Peppers – Add these for a spicy kick and new flavor dimension; experiment with how many to include in each jar.
For Seasoning
• Whole Black Peppercorns – Contributes mild spice; use sparingly based on preference.
Step‑by‑Step Instructions for Garlic Dill Pickles Recipe
Step 1: Preparation
Begin by washing your Kirby cucumbers thoroughly to remove any dirt. Sort them by size; this recipe works best with small to medium-sized cucumbers for even pickling. Cut off the ends and set them aside while you prepare your jars. Sterilize your jars and lids in hot water or run them through a dishwasher cycle to ensure they’re ready for canning.
Step 2: Brine Creation
In a large saucepan, combine pickling vinegar, pickling salt, and sugar to create the brine for your Garlic Dill Pickles. Stir the mixture over medium-high heat until the salt and sugar dissolve. Bring the brine to a gentle boil, then remove it from heat and allow it to cool for about 10-15 minutes. The brine should be clear and fragrant, ready to enhance your pickles.
Step 3: Stuffing Jars
Once your cucumbers are prepared and the brine cooled, it’s time to pack the jars. Start by placing fresh dill, garlic cloves, and whole black peppercorns at the bottom of each sterilized jar. Next, pack the cucumbers tightly, standing them upright for visual appeal. If you’re opting for some heat, add bird’s eye chili peppers amongst the cucumbers to give a spicy twist.
Step 4: Pouring Brine
Carefully ladle the cooled brine over the packed cucumbers, ensuring you leave about half an inch of headspace at the top of each jar. This headspace is crucial for the pickling process and helps with sealing. Use a chopstick or a non-metal tool to remove air bubbles by running it around the inside of the jar, ensuring the brine fully envelops the cucumbers.
Step 5: Sealing Jars
Wipe the rims of the jars with a clean cloth to remove any residue, ensuring a proper seal. Place the sterilized lids on top of the jars and screw the metal bands until they are fingertip-tight. Prepare a water bath canner or a large pot filled with water, ensuring the water covers the jars by at least an inch, and bring it to a gentle boil.
Step 6: Canning Process
Lower the jars carefully into the boiling water bath using a jar lifter. Process the jars for 10-15 minutes, maintaining a steady boil. This step ensures that your Garlic Dill Pickles will be shelf-stable and flavorful. After processing, carefully remove the jars and place them upright on a clean kitchen towel to cool.
Step 7: Waiting Period
Once the jars are completely cool, check the seals by pressing the center of each lid. If it pops back, the jar is not sealed; if it remains depressed, you’re good to go! Allow the jars to sit undisturbed in a dark, cool place for at least three weeks before tasting. This waiting period allows the flavors to marry and develop into the perfect Garlic Dill Pickles.
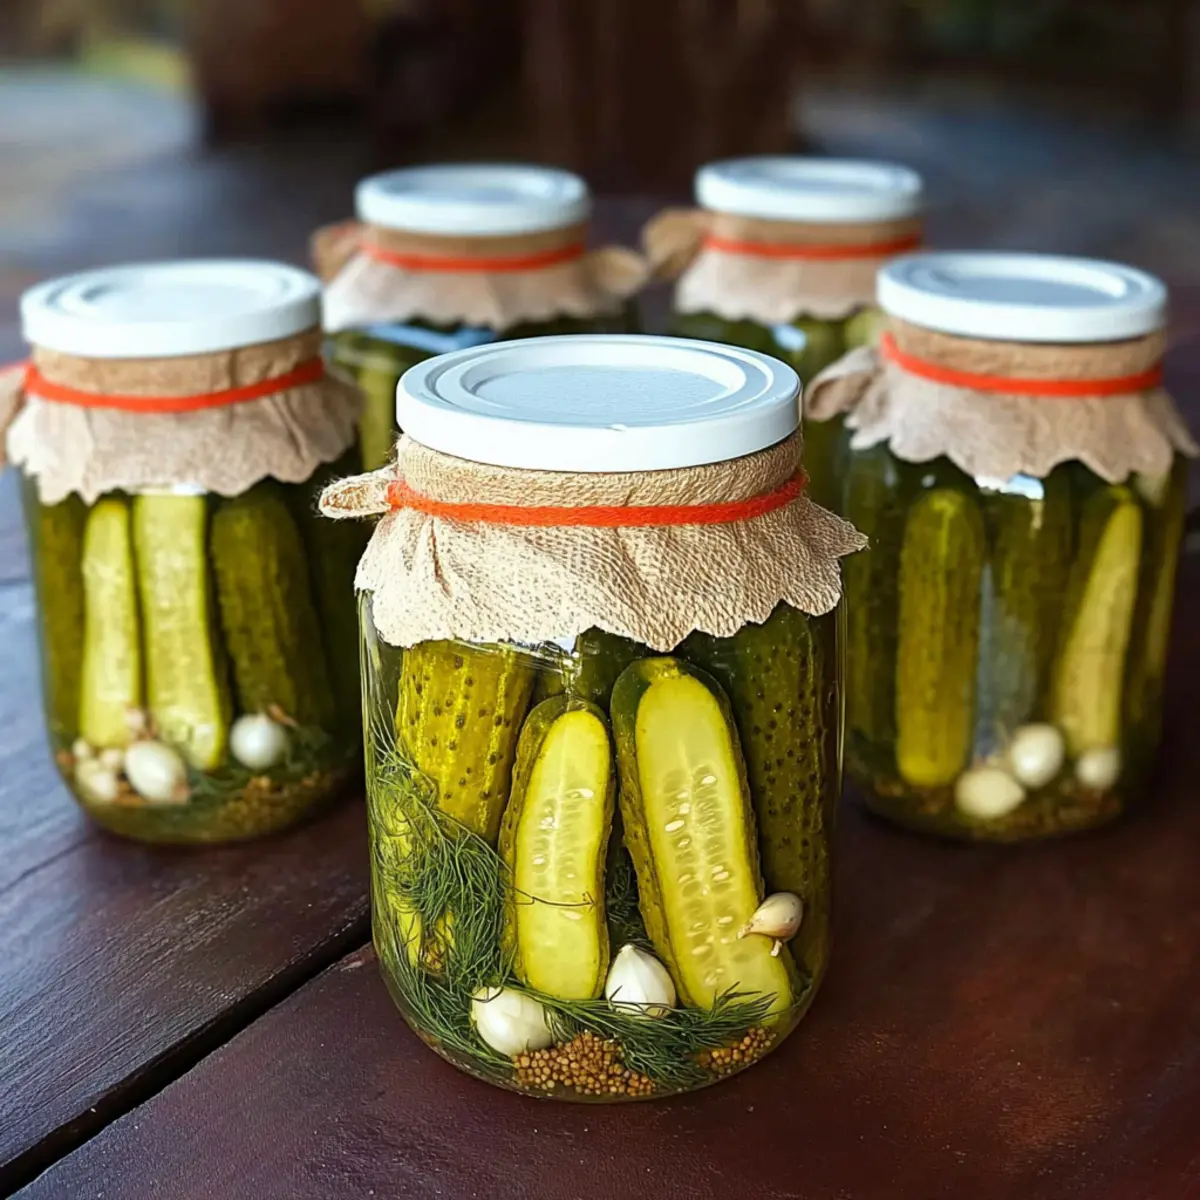
Expert Tips for Garlic Dill Pickles
-
Choose Quality Cucumbers: Use firm, fresh Kirby cucumbers, as they maintain their crunch throughout the canning process. Avoid soft or blemished ones.
-
Sterilize Properly: Always sterilize your jars and lids before filling to prevent spoilage in your Garlic Dill Pickles. A clean environment is crucial!
-
Cool Your Brine: Let the brine cool for 10-15 minutes before pouring it over cucumbers. This enhances absorption of flavors without cooking the pickles.
-
Leave Headspace: Don’t forget to leave half an inch of headspace at the top of the jars. This allows for expansion during processing and ensures a proper seal.
-
Patience is Key: Resist the urge to taste your Garlic Dill Pickles before the recommended three weeks. Allowing them to sit develops a deeper, richer flavor profile.
-
Experiment with Spice: If you like heat, try adding different amounts of bird’s eye chili peppers for a unique spin. Adjust based on your preference!
How to Store and Freeze Garlic Dill Pickles
Cool, Dark Room: Store your sealed jars in a cool, dark place for optimal flavor development; they can last for up to a year if stored properly.
Refrigerate After Opening: Once you open a jar of Garlic Dill Pickles, keep it refrigerated and consume within 2-4 weeks for the best taste and crunch.
Freezing Not Recommended: Freezing pickles is not advisable; the texture may become mushy after thawing, compromising their delicious crunch.
Check for Seals: Before consuming your stored pickles, ensure the lids are properly sealed to prevent spoilage and guarantee the freshness of your homemade treat.
Garlic Dill Pickles Recipe: Variations & Substitutions
Feel free to get creative with your Garlic Dill Pickles—your taste buds will thank you!
-
Spicy Twist: Add several Bird’s Eye Chili Peppers for a fiery kick; adjust the number based on your heat preference for truly unique jars.
-
Flavorful Additions: Toss in mustard seeds or coriander seeds to bring a new depth of flavor to your pickling brine. They provide a delightful, aromatic twist.
-
Cucumber Alternatives: If Kirby cucumbers aren’t available, try English cucumbers or Persian cucumbers for a different but equally satisfying crunch.
-
Sweet & Savory: Increase the sugar slightly to create a sweeter brine, perfect for balancing the vinegar’s tang while still keeping the delightful garlicky flavor.
-
Herb Variations: Experiment with adding other fresh herbs, such as thyme or oregano, along with dill for a unique herbal note and aroma that elevates your pickles.
-
Vinegar Variants: Replace pickling vinegar with apple cider vinegar for a touch of sweetness and a different flavor profile. This change adds complexity to the taste.
Delving into these variations will make your pickling adventure even more exciting! And if you find yourself loving the flavor of garlic, you might also enjoy other garlic-infused recipes, like Garlic Parmesan Crockpot Chicken or tender Garlic Smothered Chicken.
What to Serve with Crispy Garlic Dill Pickles?
Get ready to elevate your meals with delightful pairings that perfectly complement the zing of garlic dill pickles!
-
Classic Grilled Cheese: This gooey, melty sandwich offers a comforting contrast to the crisp acidity of pickles. The creamy cheese balances the tangy crunch beautifully.
-
BBQ Pulled Pork Sandwiches: The rich, smoky flavors in pulled pork enhance the brightness of the pickles, providing a refreshing burst with every bite.
-
Charcuterie Board: Perfect for snacking, arrange a variety of meats, cheeses, and crackers next to your pickles. The pickles serve as the zesty highlight on the board!
-
Cold Pasta Salad: Tossed with vegetables and a zesty dressing, a pasta salad creates a refreshing bite. Add the pickles for an irresistible crunchy twist!
-
Spicy Tuna Salad: Incorporating the pickles into a homemade tuna salad gives it an exciting, tangy upgrade. Serve it on crackers for a delightful appetizer.
-
Craft Beer: A crisp lager or hoppy IPA pairs excellently with the bright, acidic flavors of pickles, enhancing the overall tasting experience.
-
Chocolate Chip Cookies: The sweetness of warm cookies balances the acidity of the pickles, making for an unexpected yet delightful dessert pairing.
Each of these options brings a unique element to your table, emphasizing the perfect blend of flavors and textures created by your homemade garlic dill pickles!
Make Ahead Options
These Garlic Dill Pickles are perfect for busy home cooks looking to save time in the kitchen! You can prepare the brine and pack the jars with cucumbers up to 24 hours in advance. Simply whip up your brine (vinegar, salt, and sugar), allow it to cool, and then store it in the fridge. Meanwhile, pack the cucumbers and spices into sterilized jars, covering them with the brine just before you’re ready to can. When it’s time to can, process your jars as directed, ensuring they seal properly for long-lasting freshness. This prep-ahead approach means you can enjoy homemade pickles without the last-minute rush, savoring every crisp bite of your Garlic Dill Pickles!
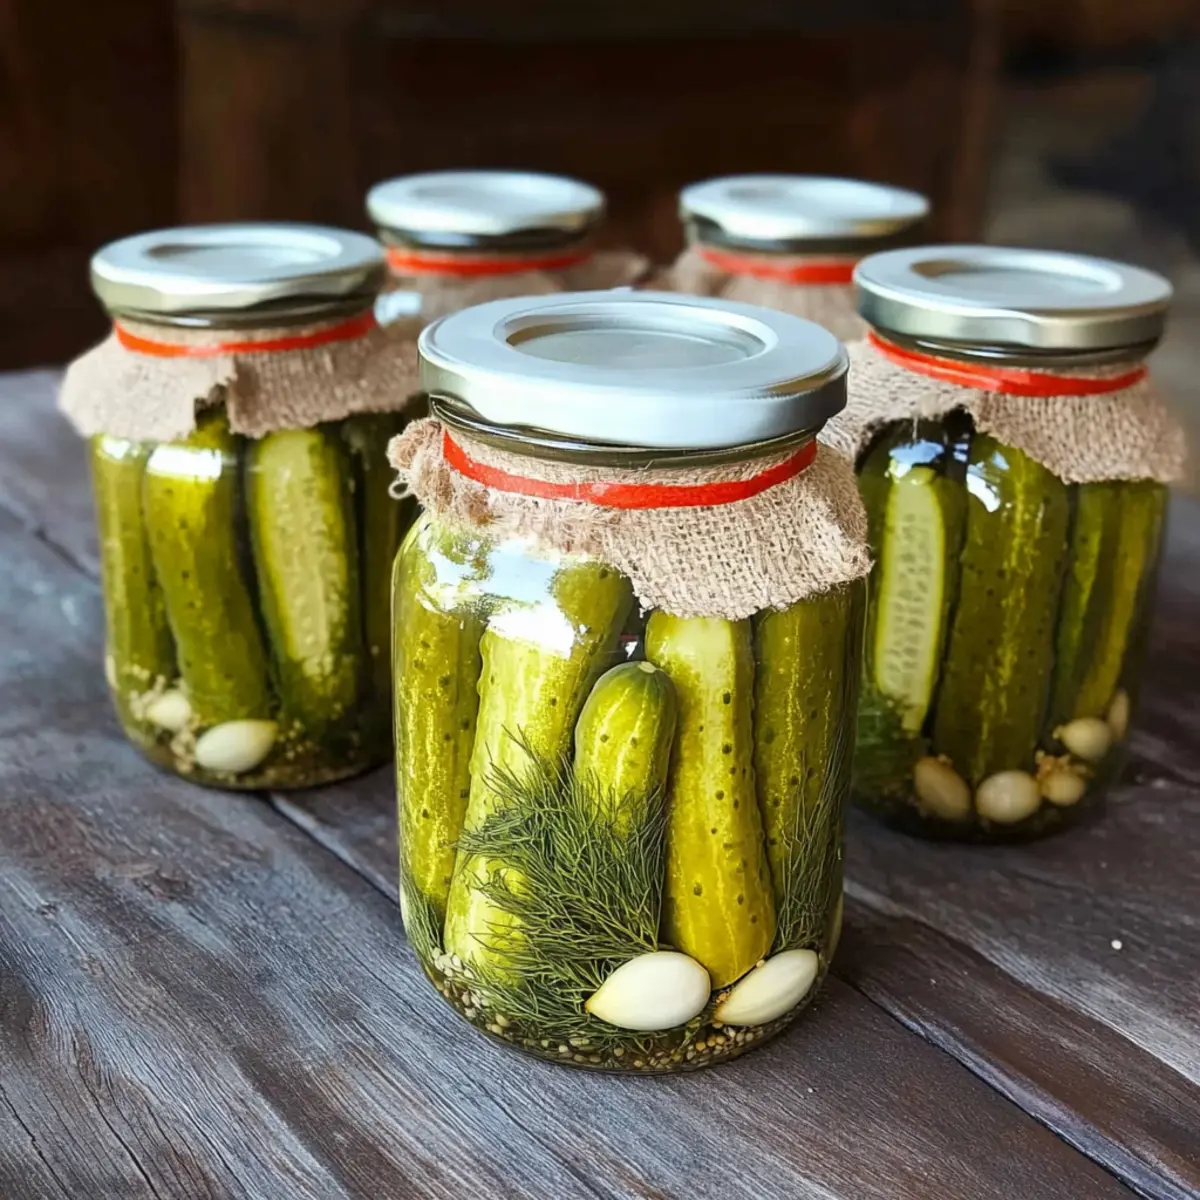
Garlic Dill Pickles Recipe FAQs
What kind of cucumbers should I use for pickling?
Absolutely! For the best results, I recommend using Kirby cucumbers. They have a firm texture that holds up well during the pickling process, ensuring that your Garlic Dill Pickles remain crunchy and delicious. Look for #2 size cucumbers, and make sure to wash them thoroughly to remove any dirt.
How should I store my homemade Garlic Dill Pickles?
Store your sealed jars in a cool, dark room, like a pantry or cupboard, for optimal flavor development. If stored properly, they can last for up to a year. However, once you open a jar, keep it in the refrigerator and consume the pickles within 2 to 4 weeks for the best taste and crunch.
Can I freeze Garlic Dill Pickles?
It’s best to avoid freezing your Garlic Dill Pickles. Freezing can alter their texture, causing them to become mushy when thawed. Instead, focus on proper canning and storing to enjoy that delightful crunch all year round!
What if my pickles don’t seal properly?
If a lid pops back when pressed, it means the jar did not seal properly. Don’t worry! You can either refrigerate those jars and consume their contents within a week, or reprocess them following the same canning steps. Ensure that the rims of the jars are clean, and try to process them again within 24 hours of the initial canning.
Are Garlic Dill Pickles safe for my pet?
While they’re a flavorful and healthy snack for humans, pickles—and particularly the spices and vinegar in this recipe—are not suitable for pets. Ingredients like garlic can be harmful to cats and dogs in significant amounts. Always keep your garlic dill pickles out of reach of your furry friends!
How can I customize the spice level of my Garlic Dill Pickles?
Very! To adjust the heat, simply add Bird’s Eye chili peppers into the jars while packing. You can experiment with the amount based on your tolerance for spice; start with one or two for a mild kick, and go up from there if you’re feeling adventurous!
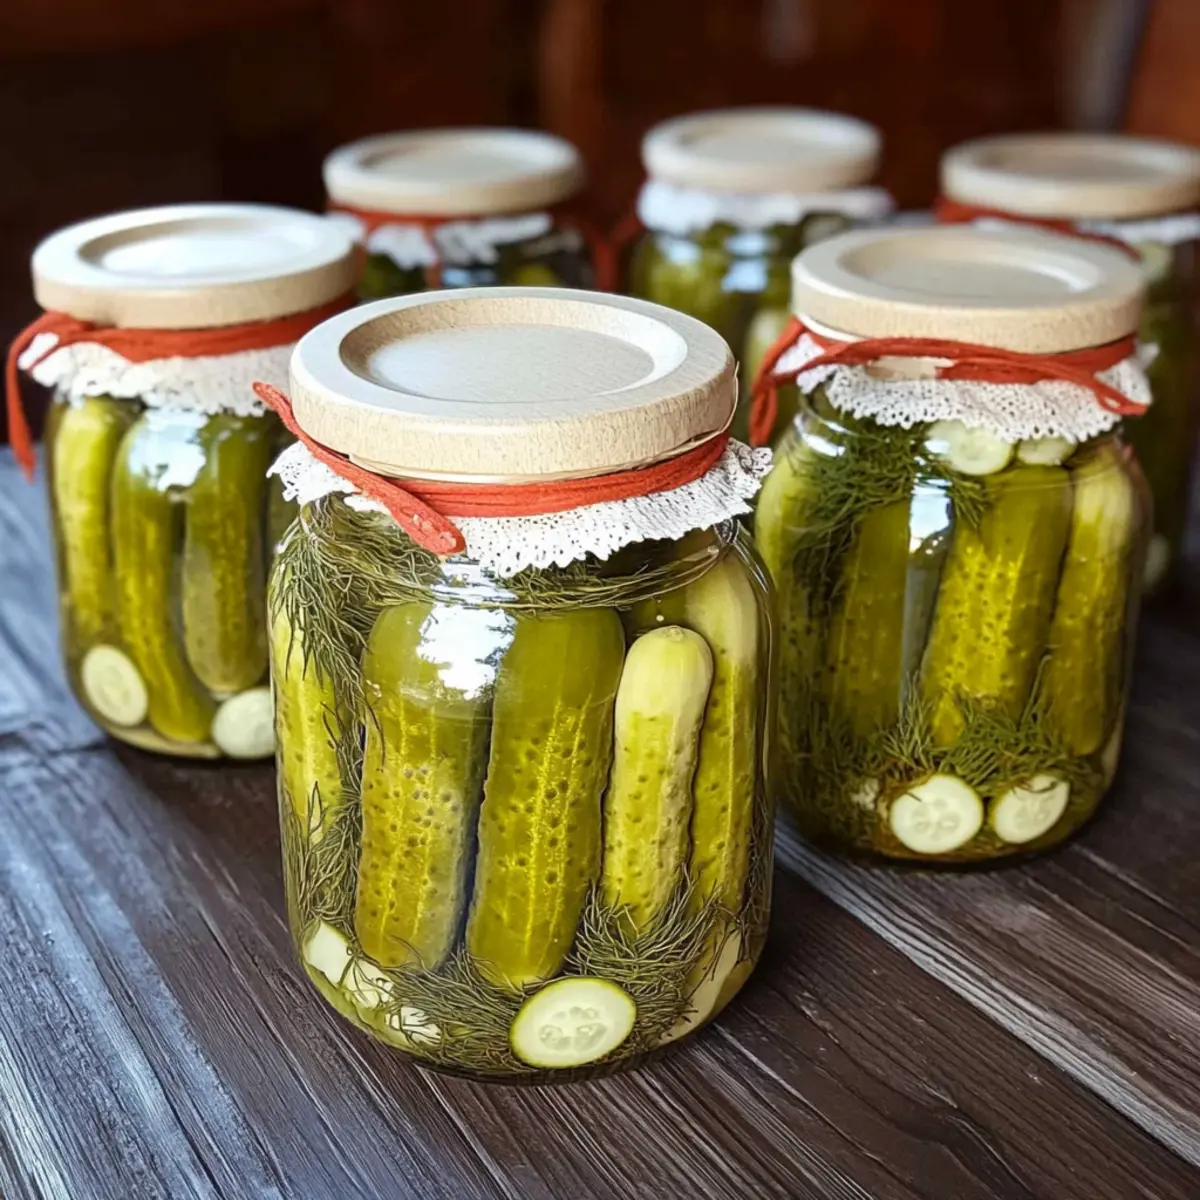
Zesty Garlic Dill Pickles Recipe You'll Love to Make at Home
Ingredients
Equipment
Method
- Wash Kirby cucumbers thoroughly and sort by size. Set aside the ends.
- Combine pickling vinegar, pickling salt, and sugar in a large saucepan. Stir and heat until dissolved, then cool for 10-15 minutes.
- Pack jars with fresh dill, garlic cloves, and peppercorns. Stand cucumbers upright in jars.
- Ladle cooled brine over cucumbers, leaving half an inch of headspace. Remove air bubbles.
- Wipe the jar rims and seal with sterilized lids and metal bands. Prepare water bath.
- Process jars in boiling water for 10-15 minutes to ensure preservation.
- After cooling, check the seals and allow jars to sit undisturbed for at least three weeks before tasting.
Leave a Reply