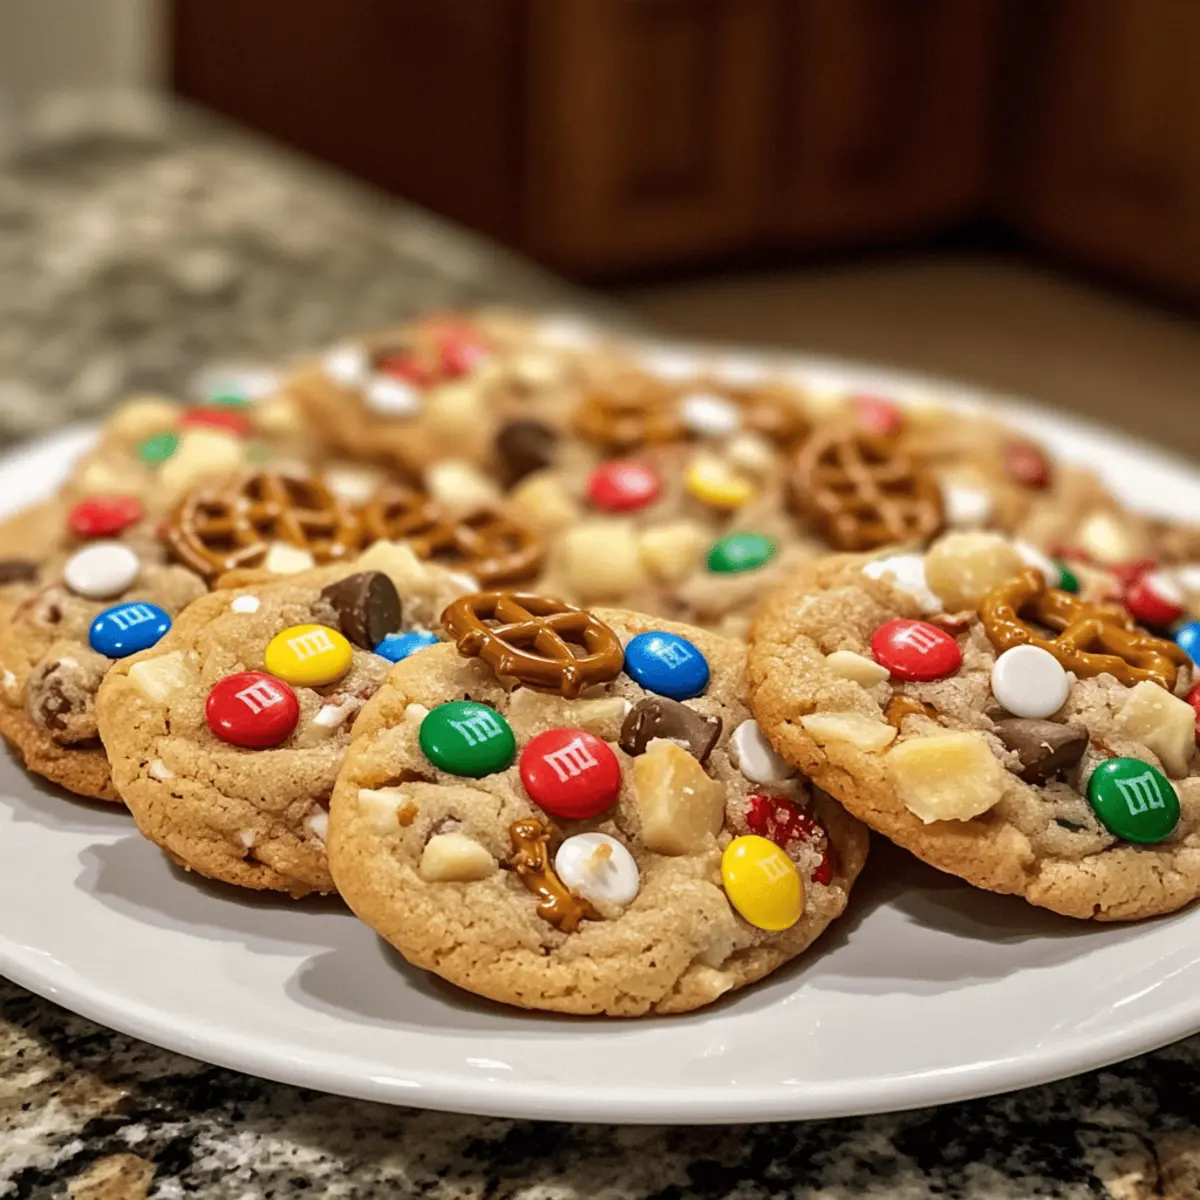
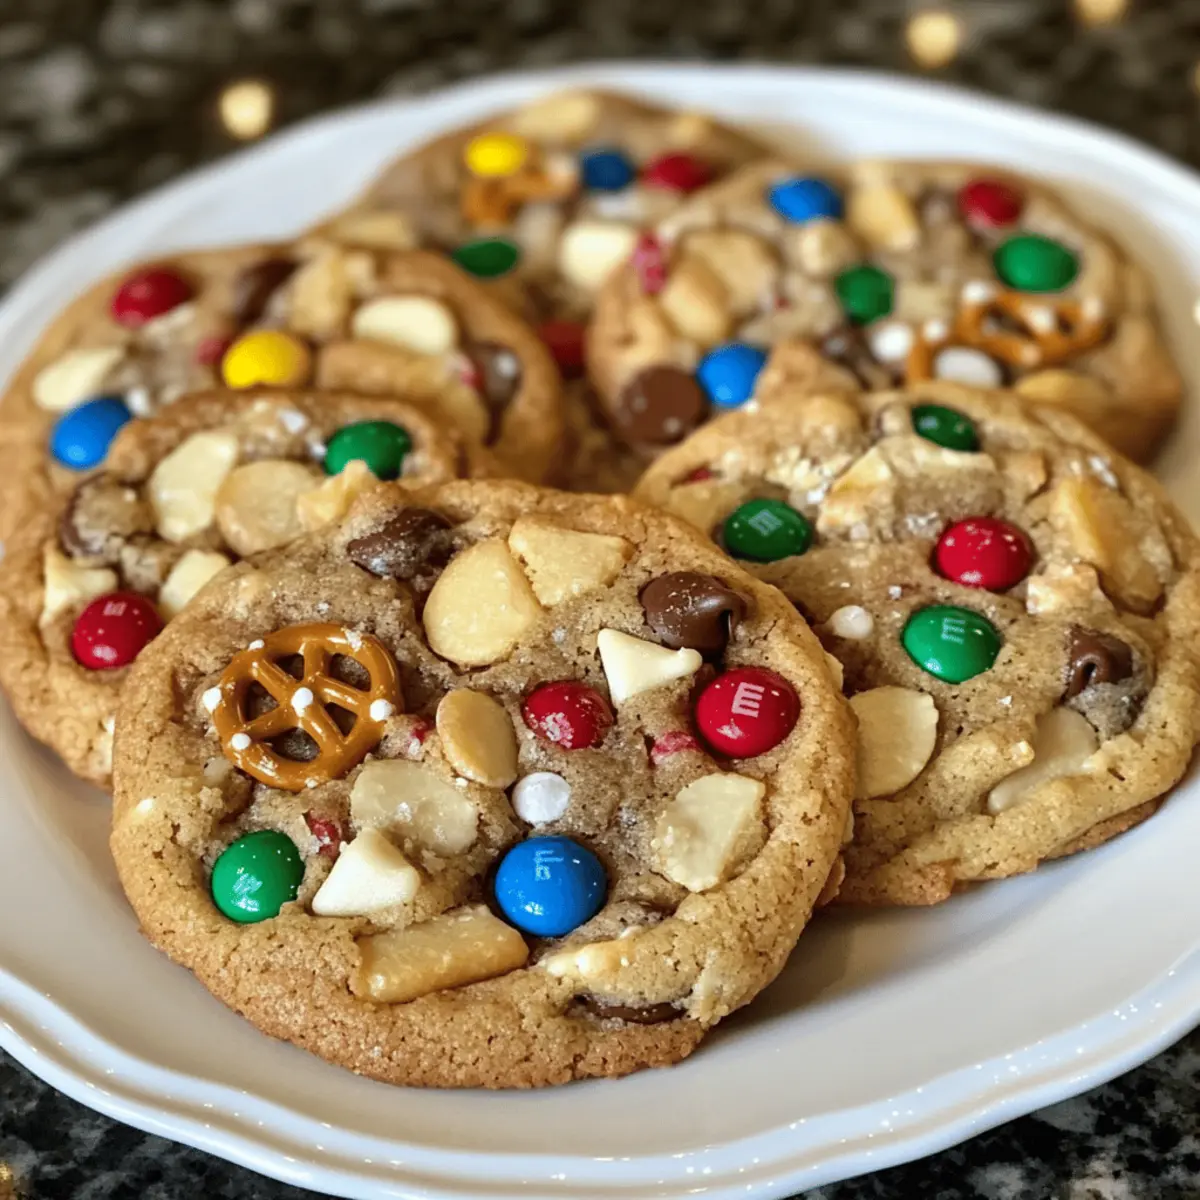
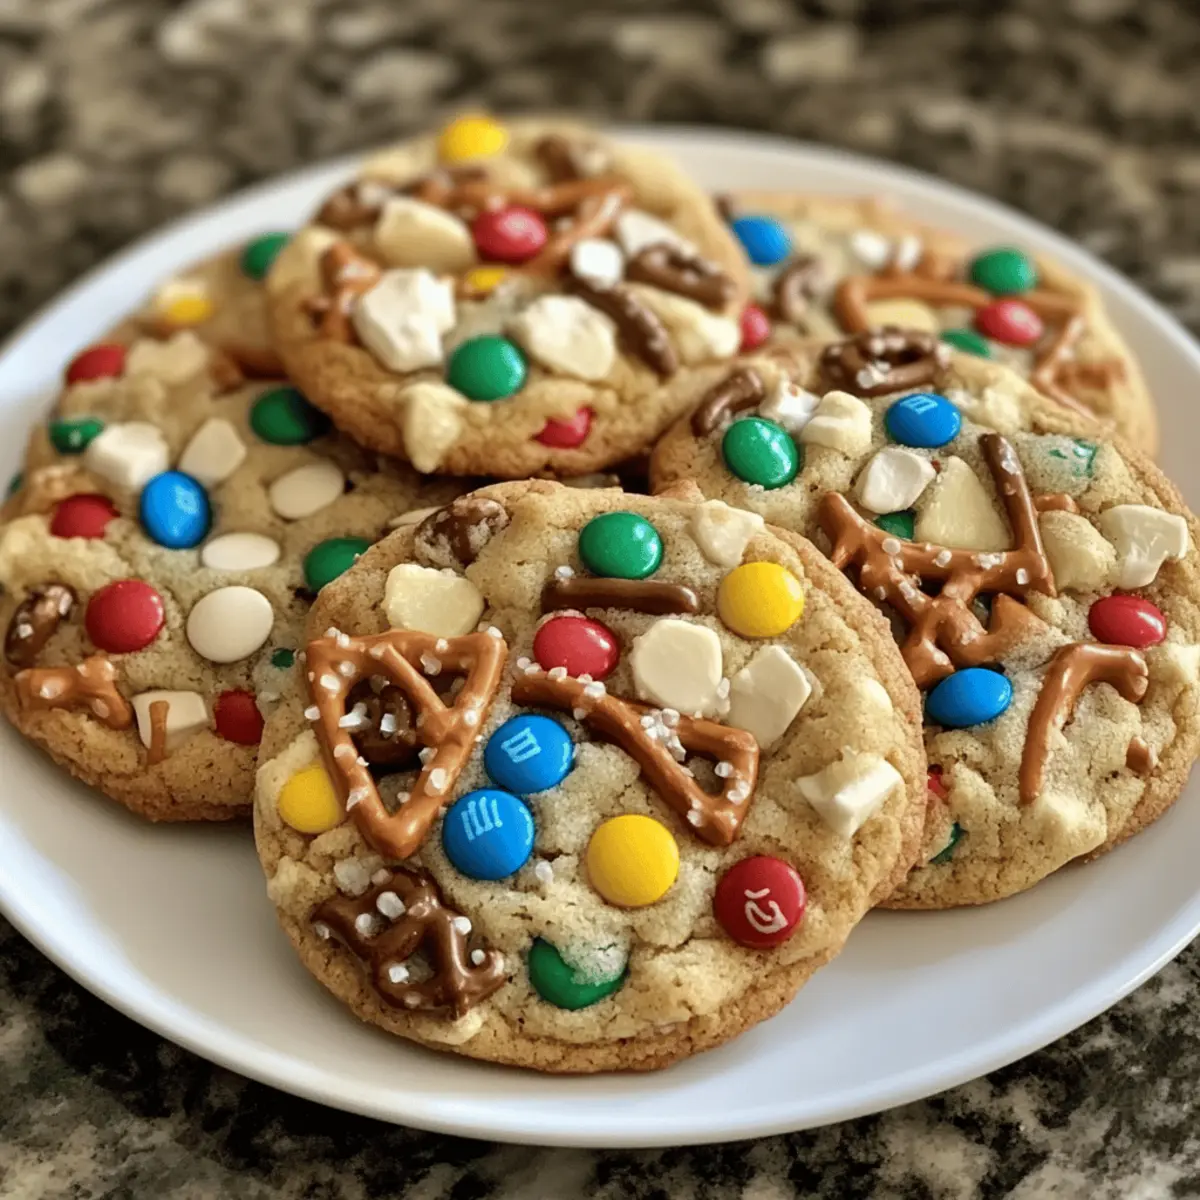
As I stood in my kitchen surrounded by an array of colors and textures, the aroma of melted butter danced through the air, instantly transporting me to festive childhood memories. My latest creation, Kitchen Sink Christmas Cookies, brings back that holiday magic with a delightful twist. These chewy cookies are more than just a sweet treat; they’re completely customizable, allowing you to incorporate your favorite pantry treasures. The blend of crunchy pretzels, salty potato chips, and colorful M&Ms creates a perfect balance of sweet and salty that will have your friends and family asking for more. Plus, with a simple prep time, you’ll find these cookies are not only a crowd-pleaser but also an easy way to add some homemade charm to your holiday celebrations. What exciting mix-ins are you going to choose for your batch?

Why Are Kitchen Sink Christmas Cookies Unique?
Customization at Its Finest: These cookies let you tailor the mix-ins to suit your taste, sparking creativity and fun in the kitchen!
Perfect for Sharing: Bring them to holiday gatherings, and watch your friends smile as they discover the delicious surprises in every bite.
Chewy Texture: Thanks to melted butter and brown sugar, you’ll enjoy a delightfully chewiness that makes these cookies truly unforgettable.
Quick to Prepare: With minimal prep time and a straightforward process, you’ll be baking holiday magic in no time! If you love festive cookies, try variations like Cinnamon Roll Cookies or our classic Chocolate Chip Cookies for added inspiration.
Fun and Festive: Adorned with colorful M&Ms and sprinkles, they add a cheerful vibe to your cookie platters!
Kitchen Sink Christmas Cookie Ingredients
• A delightful mix of flavors awaits!
For the Cookie Base
- All-Purpose Flour – Key for structure; make sure to spoon and level to prevent dense cookies.
- Baking Powder – Ensures a light texture by adding leavening.
- Baking Soda – Helps with spreading and achieving the perfect golden-brown color.
- Salt – Balances sweetness and enhances the overall flavor.
- Unsalted Butter – Melting this adds richness and leads to that perfect chewy texture.
- Dark Brown Sugar – Brings moisture and caramel richness; more than white sugar makes for chewier cookies.
- Granulated Sugar – Provides sweetness and aids in browning.
- Large Eggs – Binds everything together while adding necessary moisture; opt for room temperature for the best results.
- Vanilla Extract – Enhances the flavor and adds aromatic depth.
For the Mix-Ins
- M&Ms – Adds bursts of sweetness and color; use festive red and green varieties for a holiday touch.
- White Chocolate Chips – Offers creamy decadence and complements other ingredients.
- Pretzels – A crunchy, salty addition; break them into small pieces for even distribution throughout the cookie.
- Salted Potato Chips – Surprising but delicious; they contribute an extra crunch and saltiness.
- Holiday Sprinkles – Elevate the festive look and add a hint of sweetness.
These Kitchen Sink Christmas Cookies let you mix and match your favorites, ensuring everyone gets a unique treat!
Step‑by‑Step Instructions for Kitchen Sink Christmas Cookies
Step 1: Preheat the Oven
Begin by preheating your oven to 350°F (175°C). This step ensures that your Kitchen Sink Christmas Cookies bake evenly and develop the perfect golden color. While the oven warms up, gather your ingredients and line baking sheets with parchment paper to prevent sticking later.
Step 2: Mix the Dry Ingredients
In a medium bowl, whisk together the all-purpose flour, baking powder, baking soda, and salt. This process helps incorporate air and ensures your cookies rise beautifully. Set this mixture aside as you focus on the wet ingredients, which will soon come together to form the cookie batter.
Step 3: Cream the Butter and Sugars
In a large mixing bowl, combine the melted, cooled unsalted butter, dark brown sugar, and white granulated sugar. Use an electric mixer on medium speed to cream these ingredients for about 2–3 minutes until the mixture is smooth and fluffy, turning a light golden brown as the sugars dissolve.
Step 4: Add Eggs and Vanilla
Next, add the large room-temperature eggs, one at a time, mixing well after each addition. Then, pour in the vanilla extract and continue mixing for another minute. The batter should be glossy and well combined, forming a rich base for your Kitchen Sink Christmas Cookies.
Step 5: Combine Wet and Dry Ingredients
Gradually add the dry ingredient mixture to the wet ingredients, mixing on low speed until just combined. Be careful not to overmix; you want a thick, sticky dough. When combined, you’ll see the ingredients transforming into a biscuit-like batter, ready for your favorite mix-ins.
Step 6: Fold in the Mix-ins
Now it’s time to personalize your cookies! Gently fold in the M&M’s, white chocolate chips, crushed pretzels, crushed potato chips, and holiday sprinkles until evenly distributed throughout the dough. This colorful and crunchy mixture will create a delightful surprise in each bite of your Kitchen Sink Christmas Cookies.
Step 7: Scoop the Dough
Using a cookie scoop or tablespoon, drop rounded portions of dough onto the prepared baking sheets, spacing them about 2 inches apart. This allows room for the cookies to spread as they bake. The dough will look chunky and colorful, showcasing the festive mix-ins you just added.
Step 8: Bake the Cookies
Bake the cookies in the preheated oven for 10–12 minutes until the edges are lightly golden and the centers look slightly underbaked. This visual cue indicates that they’ll firm up as they cool, ensuring soft and chewy centers perfect for your Kitchen Sink Christmas Cookies.
Step 9: Cool and Enjoy
Once baked, remove the cookies from the oven and let them cool on the baking sheets for 5 minutes before transferring them to wire racks to cool completely. As they cool, the aroma will fill your kitchen, tempting everyone to grab a warm, delightful Kitchen Sink Christmas Cookie to savor!

How to Store and Freeze Kitchen Sink Christmas Cookies
Room Temperature: Store cookies in an airtight container at room temperature for up to 5 days. This keeps them soft and chewy, perfect for snacking.
Fridge: If you live in a warmer climate, consider refrigerating the cookies in an airtight container for up to 7 days to maintain their texture.
Freezer: For longer storage, freeze the cookies in a single layer on a baking sheet, then transfer to an airtight container or freezer bag for up to 3 months.
Reheating: To enjoy warm, chewy cookies, reheat them in the microwave for about 10-15 seconds from the freezer or fridge. Enjoy your delicious Kitchen Sink Christmas Cookies!
Make Ahead Options
These Kitchen Sink Christmas Cookies are perfect for busy home cooks looking to save time during the hectic holiday season! You can prep the cookie dough up to 24 hours in advance by scooping it onto a parchment-lined baking sheet, then covering it tightly with plastic wrap and refrigerating. If you’re looking to save even more time, the prepared dough can be frozen for up to 3 months—just thaw in the refrigerator overnight before baking. When you’re ready to bake, simply preheat your oven, place the chilled or thawed dough on a baking sheet, and bake as directed. This ensures they’ll be just as deliciously chewy and festive when it’s time to serve!
What to Serve with Kitchen Sink Christmas Cookies
These delightful treats deserve to be paired with equally festive accompaniments to make your holiday gathering truly memorable.
-
Hot Cocoa Bar: A rich, warm cocoa topped with marshmallows creates a cozy contrast to the chewy cookies. The sweetness and creaminess make it a delightful match.
-
Spiced Eggnog: This creamy, spiced drink adds a festive flair, enhancing the cookies’ sweet and salty flavors while keeping your celebration merry.
-
Peppermint Bark: The refreshing crunch of peppermint with chocolate harmonizes with the rich flavors in your cookies, offering a delightful textural balance.
-
Fruit Platter: Fresh seasonal fruits like apples and pears brighten the dessert table, providing a refreshing contrast to the richness of the cookies and adding vibrant colors.
-
Holiday Biscotti: These crunchy cookies add a delightful texture, perfect for dipping into your favorite warm beverage, and come in flavors that complement your sweet treats.
-
Gingerbread Fudge Brownies: The spiced profile of these brownies pairs beautifully with the cookies, creating a decadent dessert spread that will please every palate.
-
Vanilla Ice Cream: A scoop of creamy vanilla ice cream offers a luxurious contrast to the warm, chewy cookies, creating a heavenly dessert duo.
-
Mulled Wine: This warm, spiced wine provides a bold, aromatic pairing, enhancing the cookies’ festive flavor profile and your holiday ambiance.
-
Nutty Biscotti: The crunch of biscotti adds an enjoyable texture, and with flavors like almond or hazelnut, they complement the nutty aspects of the cookies beautifully.
Kitchen Sink Christmas Cookies Variations
Feel free to unleash your creativity and tailor these cookies to suit your taste—each variation adds a unique twist to the holiday favorites!
-
Nutty Crunch: Swap pretend pretzels with chopped pecans or walnuts for a deliciously nutty flavor. The added crunch will compliment the chewy texture beautifully.
-
Chocolate Delight: Use dark or milk chocolate instead of white chocolate chips for a richer, more indulgent taste. Chocolate lovers will appreciate this luxurious twist!
-
Dried Fruit Fest: Incorporate dried cranberries or cherries instead of candy for a fruity burst of flavor. This is a wonderful way to add a bit of chewy goodness and festive color.
-
Spicy Kick: Add a sprinkle of cinnamon or a pinch of cayenne to the batter for a fun flavor kick. The warmth of spices evokes that cozy holiday vibe.
-
Coconut Bliss: Mix in shredded coconut for a tropical twist that pairs perfectly with chocolate. This will give your cookies a delightful texture while transporting you to a sunny getaway.
-
Savory Swap: Substitute some of the sugar with crushed bacon bits for an unexpected sweet-and-savory combo. Trust me, it’s a tempting sensation that will surprise your guests!
-
Cookie Butter Magic: Use cookie butter in place of half the butter for a spiced flavor that’s hard to resist. Imagine the warm, nostalgic scents of holiday baking wafting through your kitchen.
-
M&M Variety: Experiment with different M&M flavors, such as peanut butter or pretzel, to offer surprise bites in each cookie. Each variation brings a splash of color and a touch of excitement!
For those seeking more scrumptious cookie ideas, don’t forget to check out these delightful recipes: Cinnamon Roll Cookies, Chocolate Chip Cookies, and Chocolate Oat Cookies.
Expert Tips for Kitchen Sink Christmas Cookies
-
Measure Flour Correctly: Always spoon and level your flour to avoid dense cookies. Too much flour can lead to dryness, ruining the chewy texture.
-
Chill the Dough: Chilling the dough helps prevent spreading during baking. Aim for at least an hour in the refrigerator for perfectly shaped cookies.
-
Room-Temperature Eggs: Use room-temperature eggs for better mixing and incorporation into the batter. This simple step enhances the overall texture of your cookies.
-
Monitor Baking Time: Keep a close eye on the cookies near the end of baking. Slightly underbaking them will ensure that they remain soft and chewy, which is key for Kitchen Sink Christmas Cookies.
-
Customize Mix-ins: Don’t hesitate to get creative! Substitute different candies or nuts to tailor your cookies to your taste, making them a fun, festive treat for everyone.

Kitchen Sink Christmas Cookies Recipe FAQs
What type of ingredients should I use for the best flavor and texture?
For the best Kitchen Sink Christmas Cookies, use fresh, high-quality ingredients. Make sure your butter is unsalted and melted but cooled, as this ensures a chewy texture. Using room temperature eggs helps the batter emulsify better, leading to a uniform cookie. And don’t forget to spoon and level your flour; this keeps the cookies from becoming dense!
How should I store my Kitchen Sink Christmas Cookies?
Store your cookies in an airtight container at room temperature for up to 5 days. This keeps their chewy texture intact, perfect for snacking throughout the week! If you’re in a warmer climate, consider refrigerating the cookies in an airtight container for up to 7 days to keep them fresh.
Can I freeze Kitchen Sink Christmas Cookies, and if so, how?
Absolutely! To freeze your cookies, first let them cool completely. Then, arrange them in a single layer on a baking sheet to freeze individually. Once solid, transfer them to an airtight container or freezer bag, ensuring to remove as much air as possible. They’ll keep well for up to 3 months. When you’re ready to enjoy them, just reheat in the microwave for about 10-15 seconds!
What can I do if my dough is too sticky?
If you find your dough is too sticky to scoop, it may be due to the temperature of the ingredients or improper measuring. If this happens, try chilling the dough in the refrigerator for 30-60 minutes. This will help firm it up and make it easier to scoop. Also, double-check that you’ve measured your flour correctly—too little can lead to overly sticky dough.
Are there any dietary considerations I should keep in mind?
Definitely! If you have individuals with allergies or dietary restrictions, be mindful when selecting mix-ins. For instance, use allergy-friendly chocolate chips or substitute in nuts if guests have nut allergies. And if making for pets, remember that chocolate is toxic to dogs and cats, so no M&Ms for them!
What should I do if my cookies spread too much while baking?
If your cookies spread too much, it might be due to warm dough or not chilling adequately. To prevent this, always chill your cookie dough in the fridge for at least an hour before baking. Additionally, be sure your oven is properly preheated, as baking at the right temperature helps set the shape quickly.
Kitchen Sink Christmas Cookies
Ingredients
Equipment
Method
- Preheat the oven to 350°F (175°C). Gather your ingredients and line baking sheets with parchment paper.
- In a medium bowl, whisk together flour, baking powder, baking soda, and salt.
- In a large bowl, cream the melted butter, dark brown sugar, and white granulated sugar until smooth and fluffy.
- Add eggs one at a time, mixing well after each, then add vanilla and mix again.
- Gradually add dry ingredients to wet ingredients, mixing on low until just combined.
- Fold in M&M's, white chocolate chips, pretzels, potato chips, and holiday sprinkles until even.
- Drop rounded tablespoons of dough onto baking sheets, spacing 2 inches apart.
- Bake for 10-12 minutes until edges are golden and centers look slightly underbaked.
- Let cool on baking sheets for 5 minutes before transferring to wire racks.

Leave a Reply