
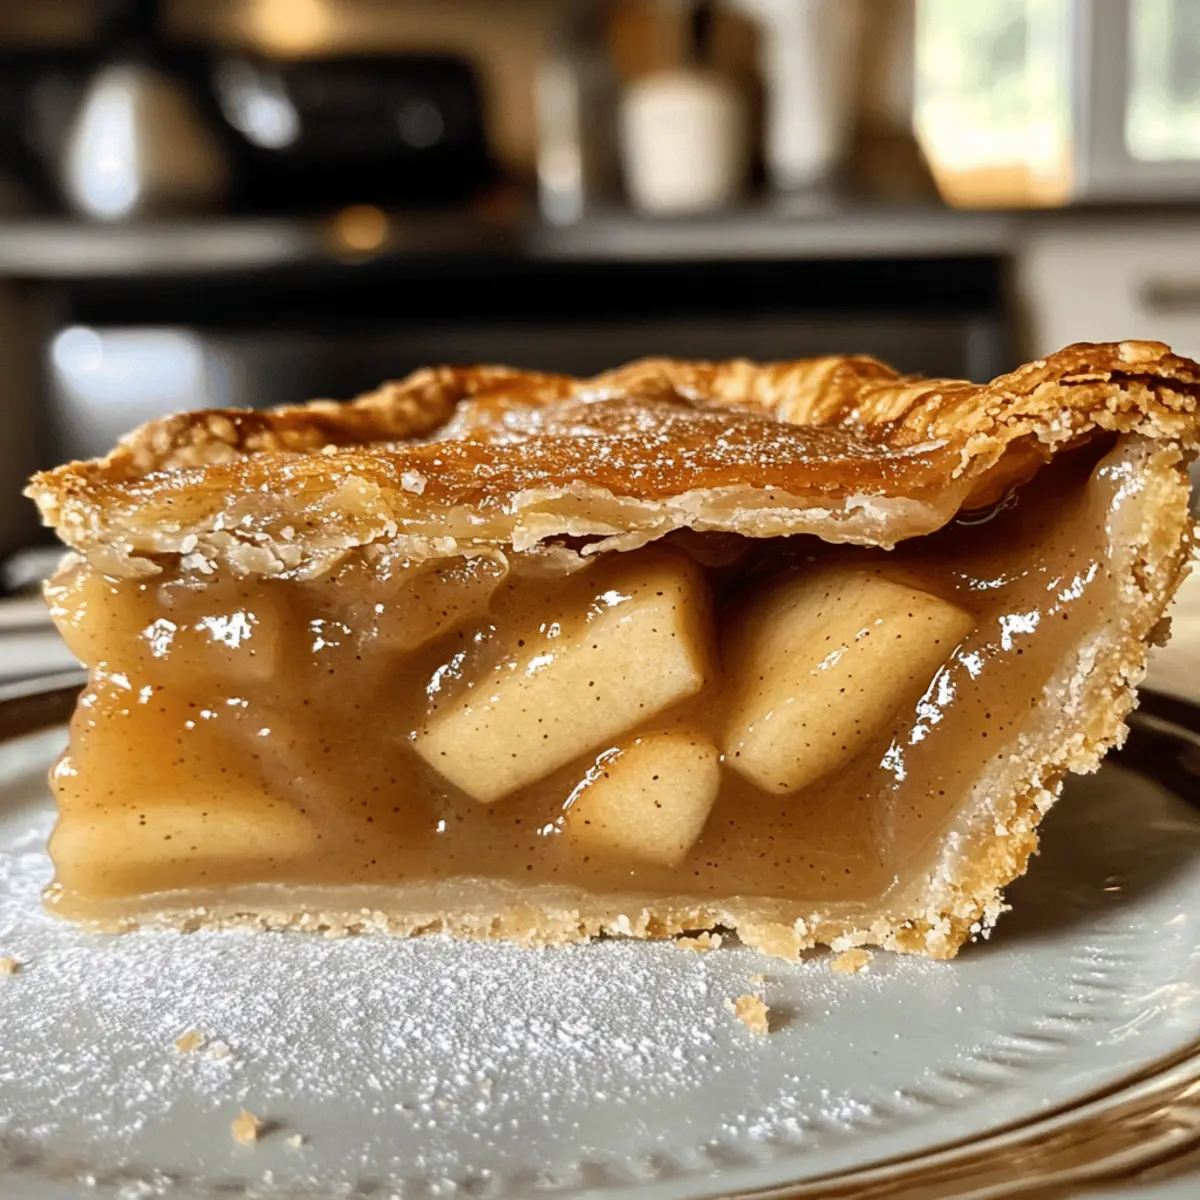
The moment a cool breeze rustles through the trees, I start dreaming of fall’s cozy flavors, and nothing embodies autumn quite like an Apple Butter Pie. This silky dessert is a delightful twist on the classic pumpkin pie, boasting a creamy custard filling enriched with deep, spiced apple goodness. What makes this recipe a must-try is not just its easy preparation but also the way it elevates any gathering into a heartwarming feast. Whether you’re hosting friends or simply indulging yourself, this pie is a comforting embrace on a plate. Are you ready to savor the cozy vibe of fall with each slice?
Why choose Apple Butter Pie?
Unforgettable Flavor: The rich, spiced apple butter fills every bite with warmth and nostalgia, making it the perfect dessert for fall gatherings.
Easy Preparation: With simple steps, even novice bakers can create this stunning pie without any stress.
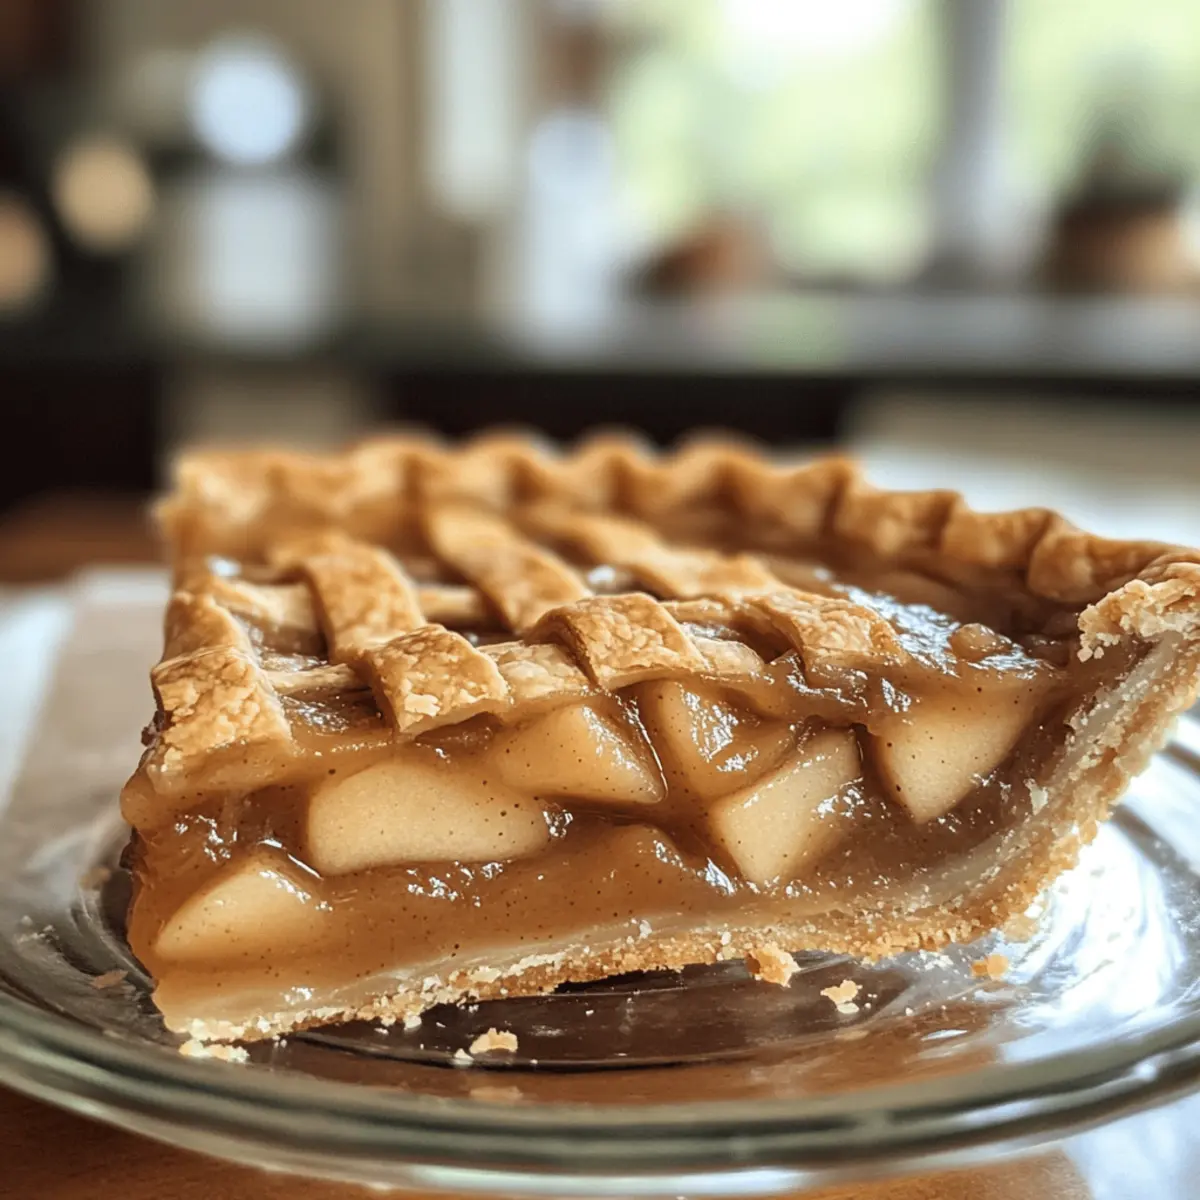
Unique Crust Option: The nutty spelt crust adds a delightful twist, elevating the traditional pie experience. You can even explore other options like French Butter Cake for a different twist!
Versatile Serving Suggestions: Serve it chilled or warm with a scoop of vanilla ice cream or Maple Whipped Cream for a comforting finish.
Crowd-Pleasing Dessert: This pie is bound to impress guests, making it a fantastic centerpiece for any autumn feast alongside favorites like Salted Caramel Apple and Garlic Butter Meatballs.
Apple Butter Pie Ingredients
For the Filling
- Apple Butter – Use store-bought or homemade for a robust apple flavor that truly shines in this Apple Butter Pie.
- Eggs – Provides structure and richness; using eggs at room temperature helps to achieve a smooth texture.
- Heavy Cream – Adds creaminess to the filling; substitute with half-and-half for a lighter option.
- Cinnamon – Enhances the apple flavor and adds a warm spice; adjust according to your taste preferences.
- Nutmeg – Complements the cinnamon well; a little goes a long way in creating that cozy fall flavor.
For the Crust
- Spelt Flour – Provides a nutty flavor and crumbliness; you can substitute with all-purpose flour if needed, but the taste will differ.
- Salt – Balances the sweetness; using kosher salt is recommended for best results.
- Sugar – Sweetens both the filling and the crust; consider reducing for a less sweet pie or substituting with a low-calorie sweetener for a healthier version.
Step‑by‑Step Instructions for Apple Butter Pie
Step 1: Prepare the Crust
Start by preheating your oven to 375°F (190°C). In a large mixing bowl, combine spelt flour, sugar, and salt. Slowly add cold butter, mixing until the dough resembles coarse crumbs. Press the mixture into a 9-inch pie pan, ensuring it covers the bottom and sides. Use a fork to poke holes in the bottom for steam release. Blind bake the crust for about 15 minutes until it’s lightly golden, then remove from the oven and set aside to cool.
Step 2: Mix the Filling
In a medium bowl, whisk together room temperature eggs, heavy cream, apple butter, cinnamon, and nutmeg until the mixture is smooth and well combined. Ensure there are no lumps and the colors are uniform. This creamy filling will be versatile, bringing that rich apple flavor to your Apple Butter Pie. Once mixed, pour the filling evenly into your prepared crust, smoothing the top with a spatula.
Step 3: Bake the Pie
Place the pie in the preheated oven and bake at 325°F (163°C) for about 40-50 minutes. You’ll know it’s ready when the edges are puffy and the center has a slight wobble. Keep an eye on the pie to avoid over-baking, which could result in a spongy texture. A perfectly set filling should still be jiggly in the center, showcasing its creamy custard-like texture.
Step 4: Cool
Once baked, remove the Apple Butter Pie from the oven and let it cool at room temperature for at least 30 minutes. After it cools down, cover it with plastic wrap and refrigerate for at least 6 hours or overnight. This chilling process helps the flavors meld beautifully and allows the filling to fully set, enhancing the richness of your dessert.
Step 5: Serve with Elegance
When you’re ready to serve, garnish your chilled Apple Butter Pie with a dollop of Maple Whipped Cream. You can also add decorative crust cut-outs on top for a beautiful presentation. Slice the pie and serve to your guests, ensuring each piece showcases the silky filling and nutty crust that makes this dessert so special.

Apple Butter Pie Variations & Substitutions
Feel free to get creative and make this Apple Butter Pie your own! The possibilities are as endless as autumn leaves.
- Gluten-Free: Use a gluten-free flour blend for the crust to make this pie suitable for gluten-sensitive friends. It’s simple to swap, ensuring everyone can enjoy a slice.
- Vegan: Replace the eggs with flaxseed meal mixed with water and the heavy cream with coconut cream for a luscious filling that retains the same creamy texture.
- Spicy Kick: Add a pinch of cayenne pepper to the spices for a warm kick that complements the apple flavor perfectly. This little twist might surprise and delight your taste buds!
- Nutty Crust: Try adding finely chopped nuts like pecans or walnuts to the spelt crust for an extra crunch and rich flavor. The nutty aroma will transform your pie into something truly special.
- Different Berries: Mix in a cup of fresh or frozen berries such as blueberries or raspberries into the filling for a delightful fruity dimension. The vibrant colors and flavors will make each slice even more captivating!
- Maple Sweetness: Swapping out granulated sugar for pure maple syrup not only adds sweetness but also infuses a wonderful depth to the flavor. This alternative can make your Apple Butter Pie even more autumnal!
- Top it Off: Serve your pie with a layer of caramel sauce drizzled on top for an extra indulgent dessert experience. Not only does it enhance the appeal, but it also contrasts beautifully with the pie’s silky filling.
- Fresh Herbs: Try adding a hint of fresh thyme or rosemary to the filling for an aromatic touch that elevates the overall flavor profile. The subtle herbiness brings a unique twist, reminiscent of cozy fall kitchens.
For some flavorful pairings, consider serving this pie alongside a comforting dish like Crockpot Garlic Butter or ending your meal with a luscious Lemon Garlic Butter treat. Each suggestion is a delightful way to round out your autumn feast!
Expert Tips for Apple Butter Pie
Perfect Timing: Avoid over-baking your pie. Aim for a filling that’s just set with a slight wobble in the center for a perfect texture.
Crust Consistency: If using all-purpose flour, remember to chill the dough well to prevent it from shrinking in the oven.
Flavor Adjustment: When using homemade apple butter, taste and adjust the spices to balance the filling’s sweetness and warmth to your liking.
Presentation Matters: Use extra dough to create decorative cut-outs for a lovely, eye-catching twist on your Apple Butter Pie.
Storage Savvy: Keep leftovers covered in the fridge for up to 3 days. To serve later, consider making it ahead and freezing, thawing in the refrigerator before serving.
Make Ahead Options
These Apple Butter Pie options are perfect for busy home cooks looking to save time while enjoying a delightful dessert! You can prepare the crust and fill it with the apple butter mixture up to 24 hours in advance. Simply follow the crust instructions and allow it to cool before adding the filling. Once baked, the pie can be covered and refrigerated for up to 3 days. For peak flavor and texture, chill the pie overnight to let it set perfectly. When ready to serve, garnish with Maple Whipped Cream and decorative cut-outs right before your guests arrive, ensuring your Apple Butter Pie remains just as delicious as the day you made it!
How to Store and Freeze Apple Butter Pie
Fridge: Store the pie covered in the refrigerator for up to 3 days, which helps retain its creamy texture and delicious flavors.
Freezer: For longer storage, freeze the pie for up to 2 months. Wrap it tightly with plastic wrap and aluminum foil to prevent freezer burn.
Thawing: When ready to enjoy, thaw the pie in the fridge overnight before serving to maintain its silky filling.
Reheating: To warm slices, preheat your oven to 350°F (175°C) and bake for about 10-15 minutes, allowing the Apple Butter Pie to regain its tender texture.
What to Serve with Silky Apple Butter Pie
Imagine a delightful fall gathering where sweet and comforting flavors come together beautifully, creating an unforgettable dining experience.
- Creamy Vanilla Ice Cream: Perfectly complements the pie’s silky texture while offering a cool contrast, enhancing the overall enjoyment.
- Maple Whipped Cream: A deliciously sweet topping that adds an extra layer of flavor and decadence, making each slice even more special.
- Spiced Cranberry Sauce: The tartness of cranberries contrasts beautifully with the sweet, rich apple butter, creating a delightful balance on your palate.
- Roasted Brussels Sprouts: Their earthy flavor and crispy texture provide a savory touch that complements the pie’s sweetness, rounding out the meal.
- Cinnamon Sugar Biscotti: A crunchy, sweet pairing that adds a satisfying texture, perfect for dipping in coffee or tea alongside dessert.
- Mulled Cider: This warm, spiced drink enhances the cozy fall vibe, making it a heartwarming accompaniment to your pie experience.
- Caramel Drizzle: A sweet touch that elevates each slice, bringing out the pie’s rich apple flavor and adding a gorgeous presentation.
- Pumpkin Spice Latte: Enjoy a classic beverage that resonates with the flavors of fall, creating a nostalgic pairing with the custardy filling.
- Nutty Granola Parfait: Serving a parfait with layers of yogurt and granola provides a delightful crunch and creaminess that balances the pie’s richness.
Apple Butter Pie Recipe FAQs
What kind of apple butter should I use for the pie?
Absolutely! You can use either store-bought or homemade apple butter for this recipe. Store-bought tends to have a consistent flavor, while homemade can offer a more robust taste that’s tailored to your liking. If you opt for homemade, make sure to adjust the spices according to your preference!
How should I store the Apple Butter Pie?
I recommend storing the pie covered in the refrigerator for up to 3 days. This keeps it fresh and preserves the creamy texture. Simply wrap it in plastic wrap or cover it with a pie container. Enjoy it chilled for the best experience!
Can I freeze Apple Butter Pie?
Yes! The Apple Butter Pie can be frozen for up to 2 months. To do this, make sure to wrap it tightly in plastic wrap and aluminum foil to avoid freezer burn. When you’re ready to enjoy, thaw it by placing it in the fridge overnight. This way, it’ll maintain its silky filling.
What if my filling doesn’t set properly?
If your filling is too wobbly after baking, it might need to bake a bit longer. Keep an eye on it! A perfectly set pie will have puffed edges with a slight jiggle in the center. Aim for a cooking time of 40-50 minutes at 325°F (163°C). If you have over-baked it, don’t worry — it will still taste delicious, just with a different texture.
Are there any dietary considerations for this pie?
Yes, definitely! If you’re serving guests with dietary restrictions, be aware of the dairy in the heavy cream and eggs. For a dairy-free option, you can substitute heavy cream with coconut cream, and eggs can often be replaced with flaxseed meal (1 tablespoon of flaxseed mixed with 3 tablespoons of water per egg) for a vegan alternative. Always check your apple butter ingredients to ensure it meets dietary needs as well!
Can I substitute the spelt flour in the crust?
Very! If spelt flour isn’t available, all-purpose flour can be used as a substitute. However, keep in mind that this may slightly alter the taste and texture of the pie crust. If you choose all-purpose, remember to chill the dough before baking to help it hold its shape. Enjoy experimenting with different flours for a unique twist!
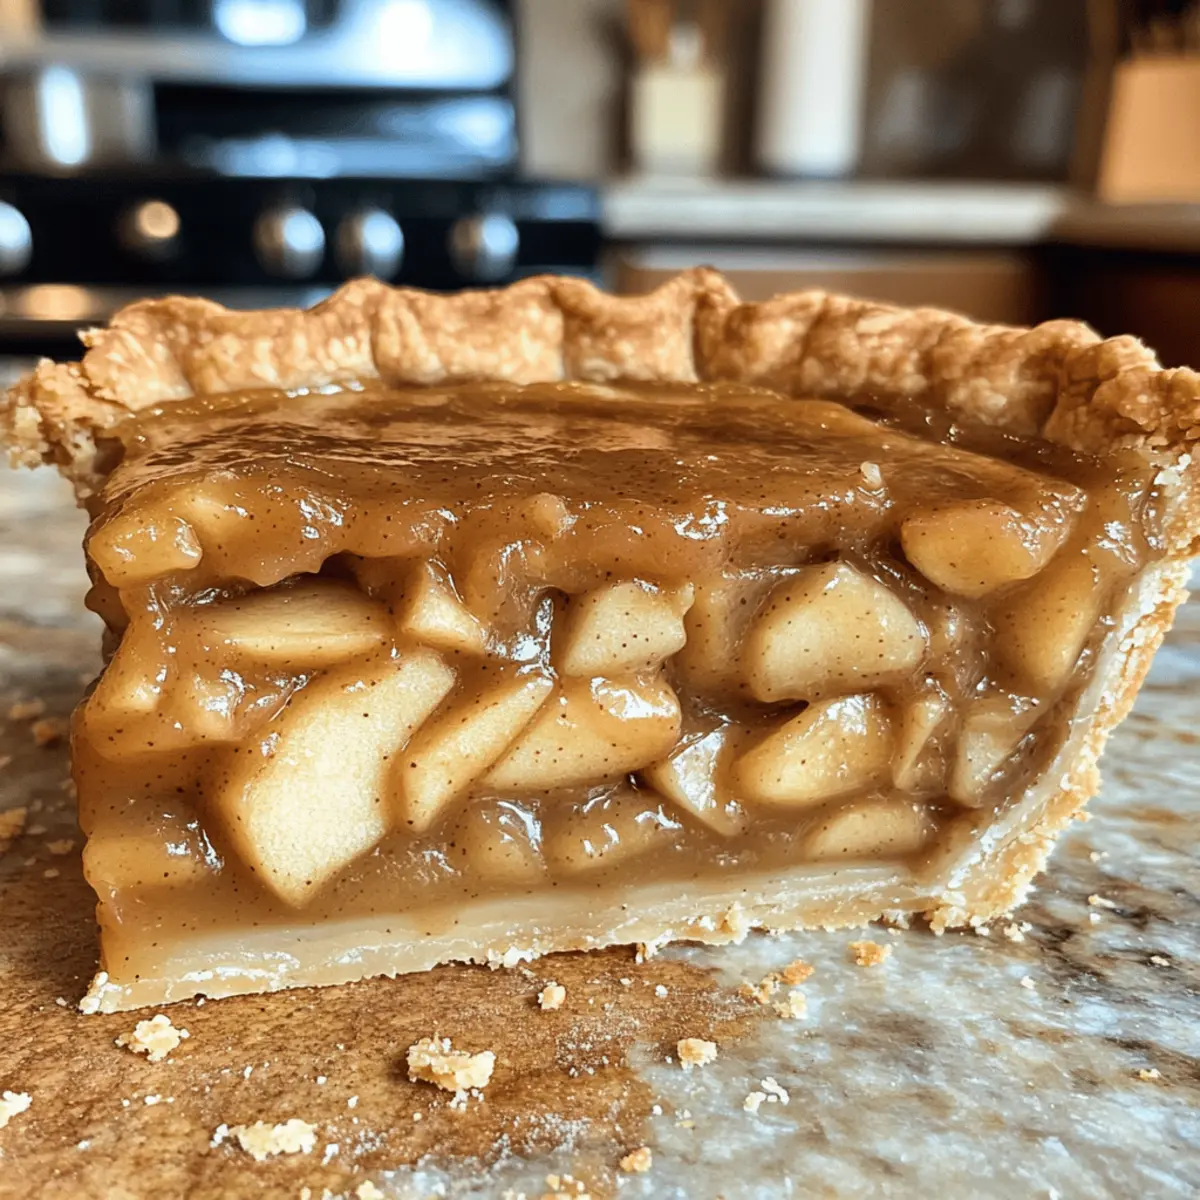
Creamy Apple Butter Pie with a Nutty Spelt Crust Delight
Ingredients
Equipment
Method
- Preheat oven to 375°F (190°C). In a mixing bowl, combine spelt flour, sugar, and salt. Add cold butter to form coarse crumbs and press into a 9-inch pie pan, poking holes for steam. Blind bake for 15 minutes.
- In another bowl, whisk eggs, heavy cream, apple butter, cinnamon, and nutmeg until smooth. Pour into the cooled crust.
- Bake at 325°F (163°C) for 40-50 minutes until edges are puffy and center wobbles slightly. Avoid over-baking.
- Cool at room temperature for 30 minutes, then refrigerate for at least 6 hours.
- Serve garnished with Maple Whipped Cream and optional decorative crust cut-outs.
Leave a Reply