
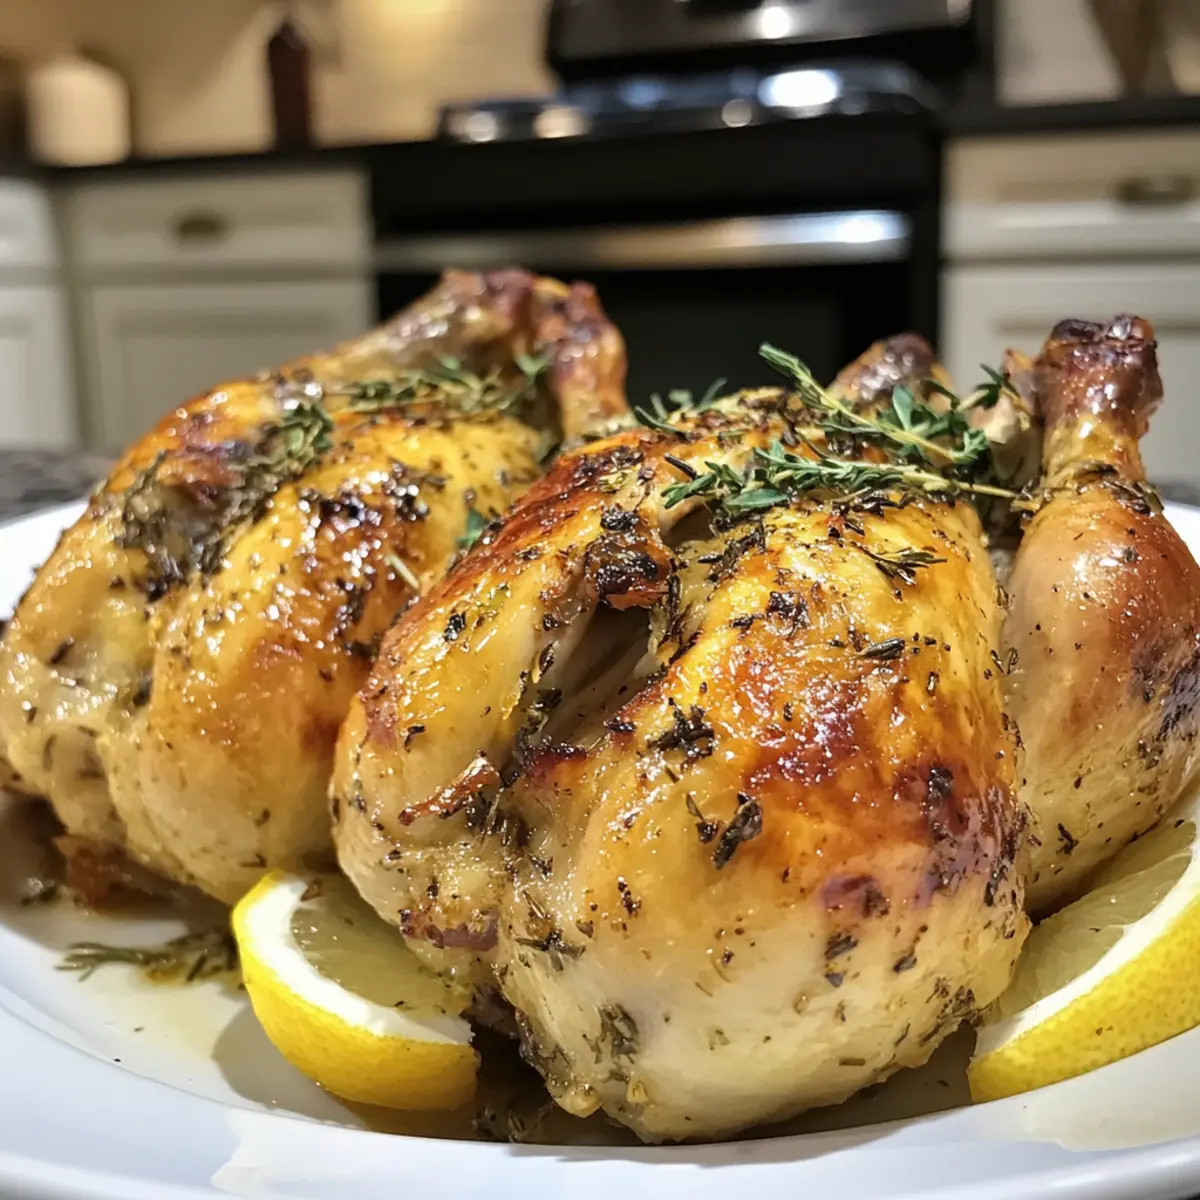
The aroma of golden-roasted Cornish hens wafting through your kitchen is sure to turn any ordinary evening into a special occasion. With their tender meat and crispy skin, these charming birds are surprisingly easy to prepare, perfect for both seasoned cooks and those new to the culinary scene. This Roasted Cornish Hens recipe stands out for its elegance and gluten-free nature, making it a delightful main course for any gathering. You’ll love the benefits of quick setup and impressive presentation, allowing you to savor quality time with your guests without being chained to the stove. Ready to transform your dinner routine? Let’s dive into creating a dish that not only tastes incredible but also warms the heart!
Why Choose Roasted Cornish Hens?
Ease of Preparation: This uncomplicated recipe allows anyone, from novice cooks to kitchen pros, to impress guests with minimal effort.
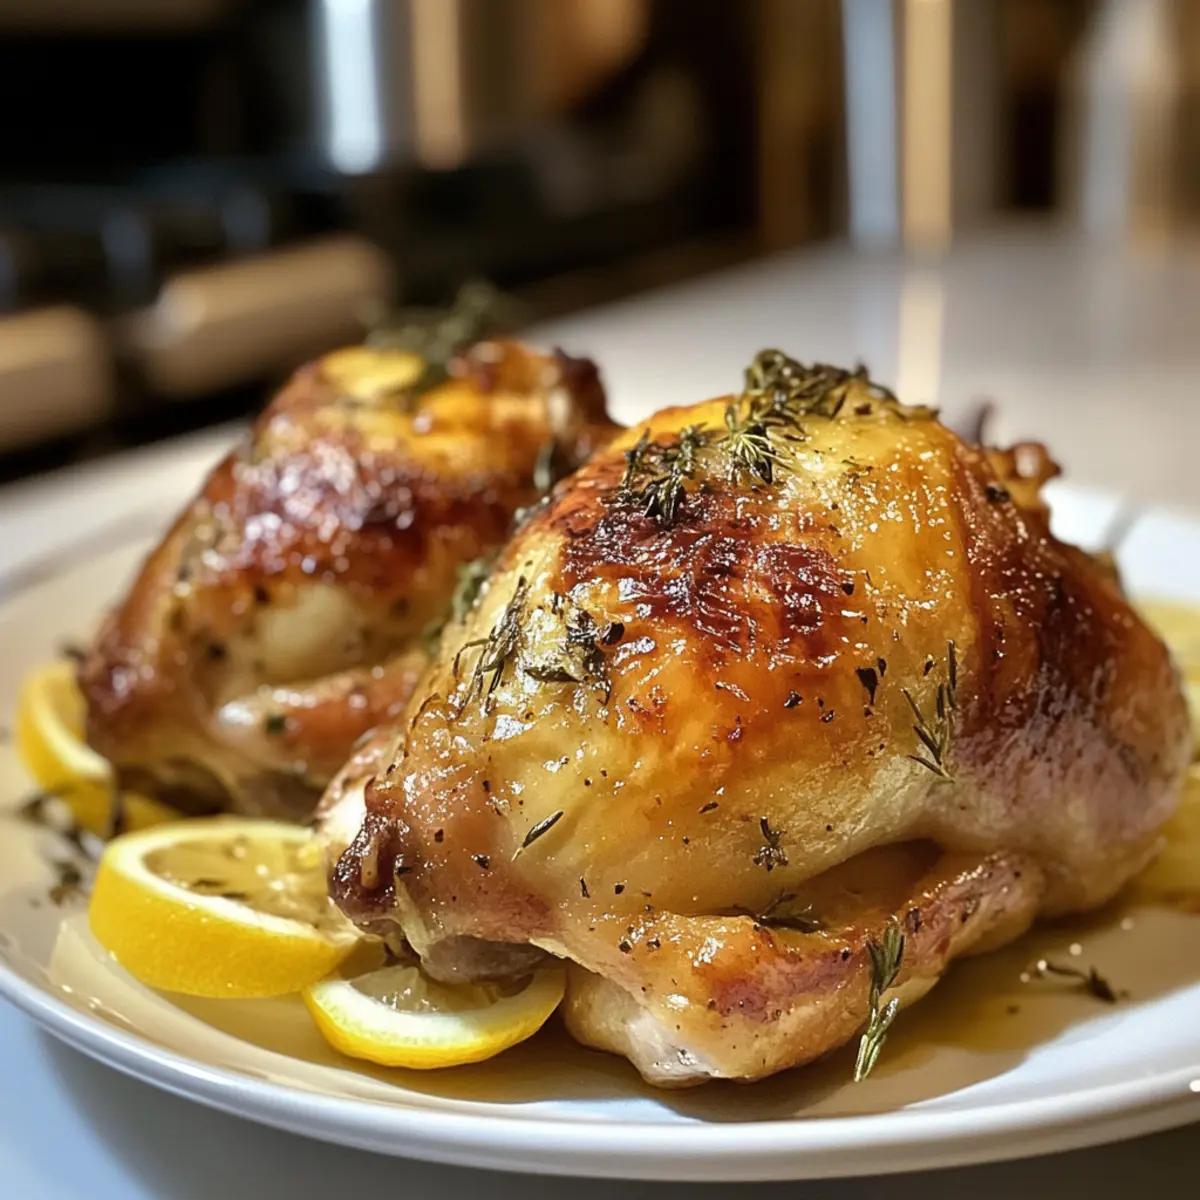
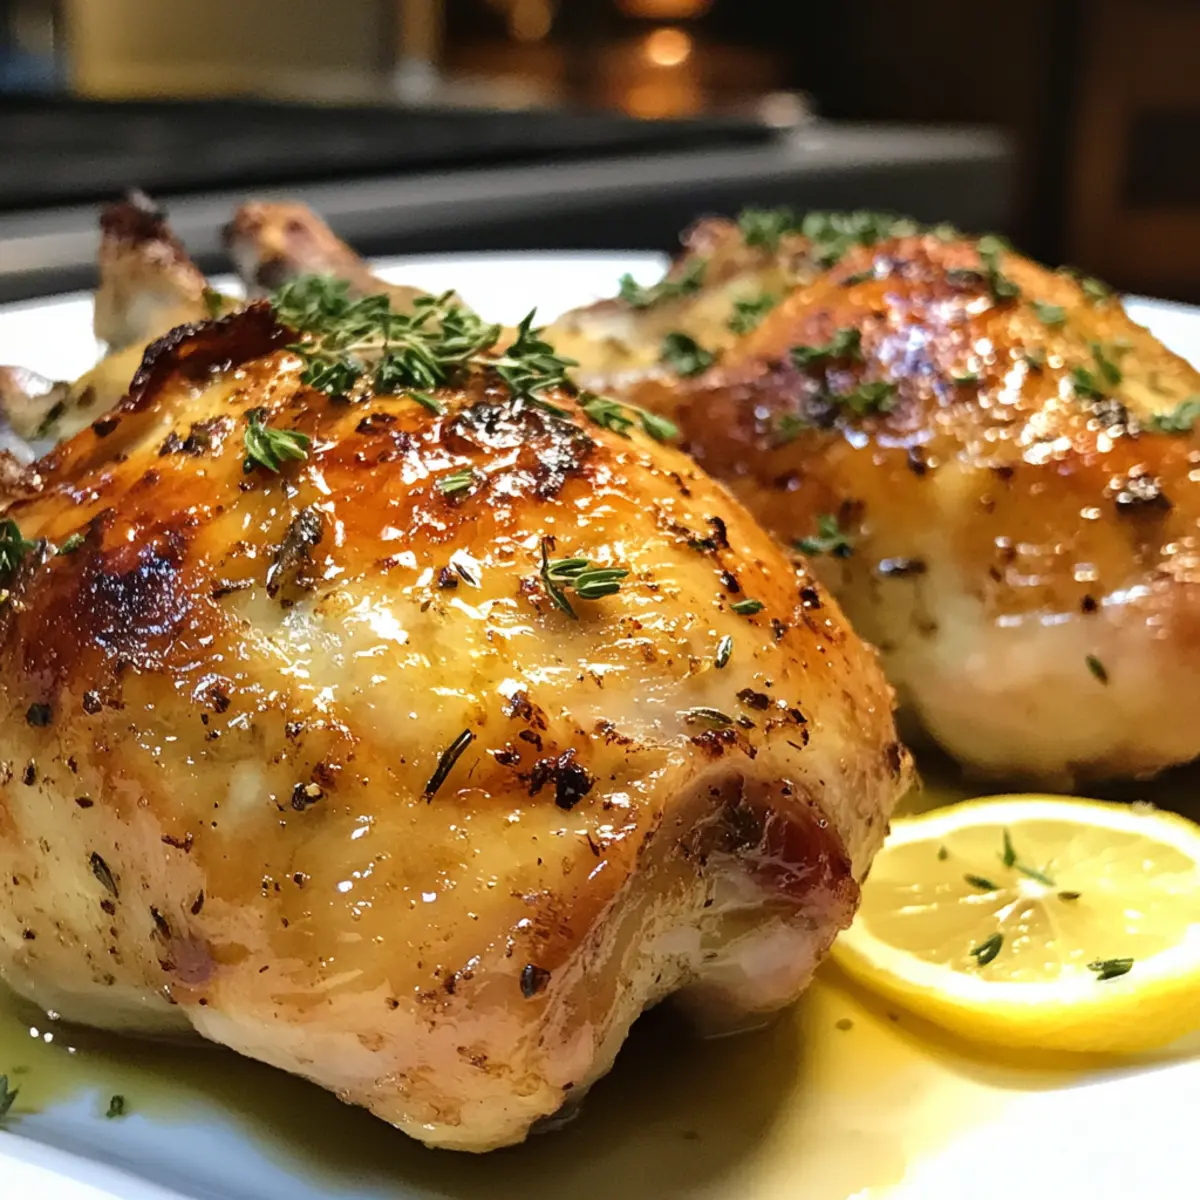
Elegant Presentation: With their beautiful golden skin, these roasted hens bring sophistication to your dining table without requiring hours of work.
Gluten-Free Delight: Perfect for those seeking gluten-free meals, these hens ensure everyone can indulge in the feast without concerns.
Flavorful Experience: The combination of garlic, rosemary, and lemon creates a harmonious balance that tantalizes the taste buds.
Time-Saving: Roast in just 45-55 minutes, freeing up your time to enjoy the evening rather than stressing about the meal.
Ideal for Gatherings: Whether for family dinners or celebrations, Roasted Cornish Hens make a memorable main course that will impress all your guests. Explore more tips on how to enhance your dinner with delicious sides in our Serving Suggestions.
Roasted Cornish Hens Ingredients
• The perfect start to this elegant dish!
For the Hens
- Cornish Hens – These petite birds are juicy and flavorful; ensure they are patted dry for optimal crispiness.
- Olive Oil – Helps achieve that beautiful browning and crisp skin; can easily be swapped for melted butter if preferred.
- Salt – Essential for enhancing flavor; feel free to adjust based on your dietary needs.
- Black Pepper – Adds a warm spice; substitute with white pepper for a milder touch.
For the Seasoning
- Paprika – This gives a lovely sweetness and color; chili powder can be used if you prefer a kick.
- Minced Garlic – Infuses aroma and richness; fresh is best, but garlic powder works in a pinch.
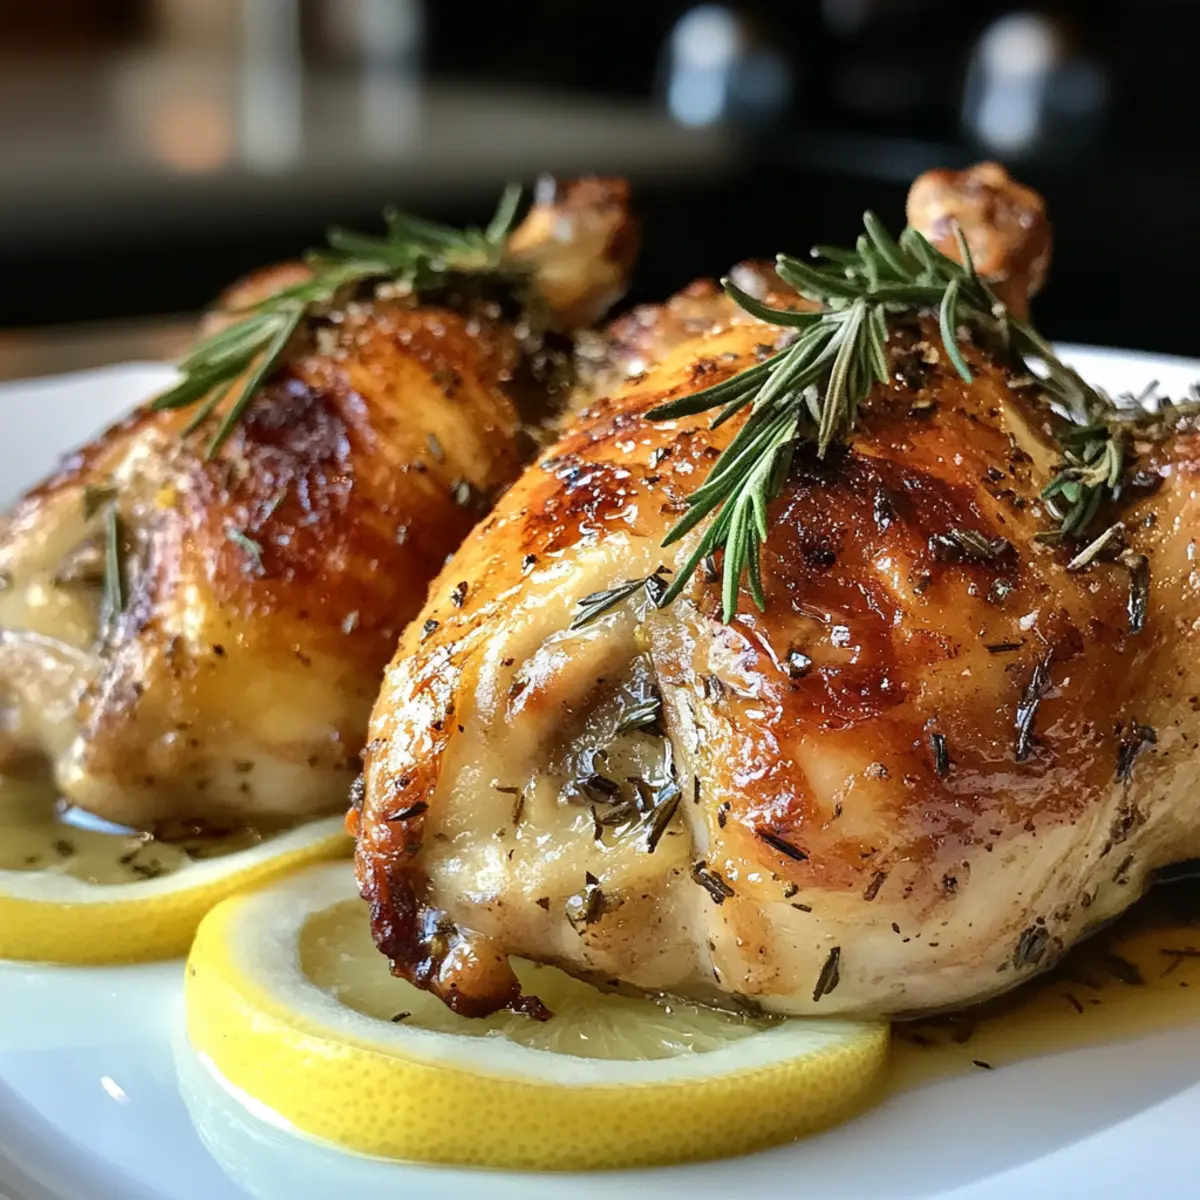
- Chopped Rosemary – Offers a fragrant touch that complements poultry beautifully; dried rosemary can substitute, but use less as it’s more concentrated.
For Garnish
- Lemon Slices – Brightens up the dish with acidity; any citrus can work if you want to mix it up.
- Butter – Pamper the hens with richness and encourage browning; this is optional but recommended for enhanced flavor.
Get ready to enjoy the unforgettable flavors of Roasted Cornish Hens that will elevate your dining experience!
Step‑by‑Step Instructions for Roasted Cornish Hens
Step 1: Preparation
Begin by preheating your oven to 400°F (205°C). While waiting, take the Cornish hens and ensure they are thoroughly patted dry with paper towels. This step is crucial for achieving that crispy skin. Remove any giblets from the cavity, and trim excess fat before placing them on a cutting board.
Step 2: Seasoning
Drizzle a generous amount of olive oil all over the hens, making sure to coat them evenly. Next, sprinkle salt, black pepper, paprika, minced garlic, and chopped rosemary liberally over the skin, pressing the seasonings in for better adhesion. To add a burst of flavor, tuck slices of lemon and sprigs of rosemary inside the cavity of each hen.
Step 3: Roasting
Position the seasoned Cornish hens breast-side up on a roasting rack inside a shallow roasting pan. Dot the tops of each hen with small pats of butter to enhance browning and flavor. Place the pan in the preheated oven and roast for 45-55 minutes. Baste the hens with the pan juices every 15 minutes, ensuring a golden, crispy exterior while the internal meat reaches 165°F (74°C).
Step 4: Resting
Once your Cornish hens are beautifully golden brown and cooked through, carefully remove them from the oven. Allow the hens to rest for about 10 minutes on a plate, covering them loosely with foil. This resting period helps the juices redistribute, ensuring your hens remain juicy and flavorful when it’s time to carve them.
Step 5: Serving
Before serving, garnish the Roasted Cornish Hens with additional rosemary and a squeeze of fresh lemon juice. For an elegant touch, consider adding pomegranate seeds or a sprinkle of fresh herbs. Arrange their presentation on a lovely platter to impress your guests, making this simple yet elegant dinner centerpiece truly shine.
Make Ahead Options
These Roasted Cornish Hens are perfect for meal prep enthusiasts! You can season and prepare the hens up to 24 hours in advance, storing them in the refrigerator covered tightly to deepen the flavors. This way, you save time on busy weeknights and can easily pop them in the oven when ready to cook. To maintain their quality, ensure the hens are patted dry before seasoning, as this prevents steaming and ensures crispy skin. When you’re ready to serve, simply roast them as directed; they will turn out just as delicious, making your dinner stress-free and elegant!
Expert Tips for Roasted Cornish Hens
-
Dry the Hens Well: Ensuring the Cornish hens are completely dry before seasoning prevents steaming and encourages that much-desired crispy skin.
-
Baste for Juiciness: Basting the hens every 15 minutes during roasting will keep the meat moist and flavorful—don’t skip this step!
-
Use a Meat Thermometer: Invest in a good meat thermometer to confirm the internal temperature reaches 165°F (74°C) without overcooking the hens.
-
Rest Before Carving: Allowing the roasted Cornish hens to rest for 10 minutes after cooking helps maintain their juiciness and makes carving easier.
-
Flavor Variations: Experiment with different herbs and spices based on your taste preferences; feel free to swap the rosemary for thyme or sage for a unique twist!
Variations & Substitutions for Roasted Cornish Hens
Feel free to get creative and make this delicious recipe your own with these enticing substitutions and variations!
- Whole Chicken: Swap Cornish hens for a whole chicken if you’re feeding a larger crowd; simply adjust the cooking time accordingly.
- Herb Options: Experiment with thyme or sage if rosemary isn’t available; they add unique flavors that pair beautifully with poultry.
- Citrus Swap: Use oranges or limes instead of lemons for a fresh twist; their sweetness will complement the savory flavors beautifully.
- Spice It Up: For those craving heat, add a pinch of cayenne pepper to the seasoning mix; it’ll give your hens a delightful kick!
- Vegetable Medley: Roasting carrots and potatoes alongside the hens creates a flavorful side dish infused with the drippings, elevating your meal.
- BBQ Glaze: Brush the hens with your favorite BBQ sauce during the last few minutes of cooking for a smoky, sticky finish.
- Gluten-Free Gravy: Prepare a quick gluten-free gravy from the pan drippings for added richness; just whisk in cornstarch and stock after roasting.
- Stuffing Option: Create a stuffing using gluten-free bread for extra heartiness; fill the hens before roasting for a burst of flavor in every bite.
For more delightful accompanying dishes, check out our Serving Suggestions that pair perfectly with these Roasted Cornish Hens!
What to Serve with Roasted Cornish Hens in Oven
Elevate your dining experience with delightful accompaniments that pair beautifully with these flavorful, elegantly roasted birds.
-
Creamy Mashed Potatoes: The velvety texture of buttery mashed potatoes complements the crispy skin of the hens, providing a heartwarming contrast.
-
Roasted Root Vegetables: A colorful medley of carrots, parsnips, and potatoes roasted alongside the hens adds a natural sweetness and earthy flavor to each bite.
-
Wild Rice Pilaf: Nutty, chewy wild rice offers a delightful texture and blends well with the savory flavors of the hens, creating a satisfying side dish.
-
Green Bean Almondine: Crisp-tender green beans tossed with toasted almonds bring freshness and crunch, providing a bright counterpoint to the richness of the meal.
-
Crisp Salad: A refreshing salad with mixed greens, cucumber, and a tangy vinaigrette cuts through the richness, balancing the meal beautifully while adding color.
-
Garlic Bread: Warm, crusty garlic bread is perfect for soaking up the delicious juices from the hens, turning every bite into a savory pleasure.
-
Lemonade or Iced Tea: Bright, refreshing drinks like homemade lemonade or iced tea serve to cleanse the palate, enhancing the elegant dining experience.
-
Chocolate Mousse: For dessert, a light yet decadent chocolate mousse provides a sweet finish to the savory meal, leaving your guests utterly satisfied.
How to Store and Freeze Roasted Cornish Hens
Fridge: Store leftover Roasted Cornish Hens in an airtight container in the fridge for up to 3 days to keep them fresh and flavorful.
Freezer: For longer storage, freeze the hens wrapped tightly in plastic wrap and then foil for up to 1-2 months. This preserves their juicy texture.
Reheating: When ready to enjoy your leftover hens, reheat them in the oven at 350°F (175°C) covered with foil for 20-25 minutes. Add a splash of broth to maintain moisture.
Meal Prep Tip: Consider preparing multiple hens at once; they freeze beautifully and can be a quick, elegant dinner option later on.
Roasted Cornish Hens Recipe FAQs
What should I look for when selecting Cornish hens?
Absolutely! When choosing Cornish hens, look for ones that feel firm and heavy for their size. The skin should be smooth and free from any dark spots, which can indicate spoilage. Opt for fresh hens over frozen when possible for the best flavor.
How should I store leftover roasted Cornish hens?
Leftover Roasted Cornish Hens can be stored in an airtight container in the refrigerator for up to 3 days. For even longer storage, consider freezing them. Wrap the hens tightly in plastic wrap and aluminum foil, and they will keep well for 1-2 months.
Can I freeze roasted Cornish hens?
Yes, freezing is a great option! To freeze your Roasted Cornish Hens, allow them to cool completely first. Then, tightly wrap each hen in plastic wrap to prevent freezer burn, followed by a layer of aluminum foil. Label the package with the date, and they can be enjoyed later for up to 1-2 months. When you’re ready to eat, thaw in the refrigerator overnight before reheating.
What if my Cornish hens are dry after cooking?
If you find that your Cornish hens are dry, it could be due to overcooking. Always use a meat thermometer to check for an internal temperature of 165°F (74°C). To rescue a dry hen, slice it and serve it with a light broth or gravy. This will help reintroduce moisture and enhance flavor.
Are Roasted Cornish hens suitable for dietary restrictions?
Very! Roasted Cornish Hens are naturally gluten-free, making them suitable for those with gluten sensitivities or celiac disease. If you’re cooking for guests with allergies, always check the spices and oils you use to ensure they’re safe. Additionally, these hens provide a lean protein source that’s versatile for many diets.
How can I prevent the skin from getting soggy?
The key to crispy skin is starting with dry hens. Make sure to pat them thoroughly dry and avoid adding too much moisture to the cooking pan. Basting the hens regularly during roasting will also help create that golden, crispy exterior. If you follow these steps, you’re bound to achieve delicious Roasted Cornish Hens every time!
Roasted Cornish Hens: A Simple Yet Elegant Dinner Delight
Ingredients
Equipment
Method
- Preheat your oven to 400°F (205°C). Pat the Cornish hens dry with paper towels, remove giblets, and trim excess fat.
- Drizzle olive oil over the hens and coat evenly. Sprinkle salt, black pepper, paprika, minced garlic, and chopped rosemary over the skin.
- Tuck lemon slices and sprigs of rosemary inside each hen's cavity.
- Place the seasoned Cornish hens breast-side up on a roasting rack in a shallow pan. Dot with butter and roast for 45-55 minutes, basting every 15 minutes.
- Remove the hens from the oven and let them rest for 10 minutes, loosely covered with foil.
- Garnish with additional rosemary and lemon juice before serving. Arrange on a platter.
Leave a Reply