
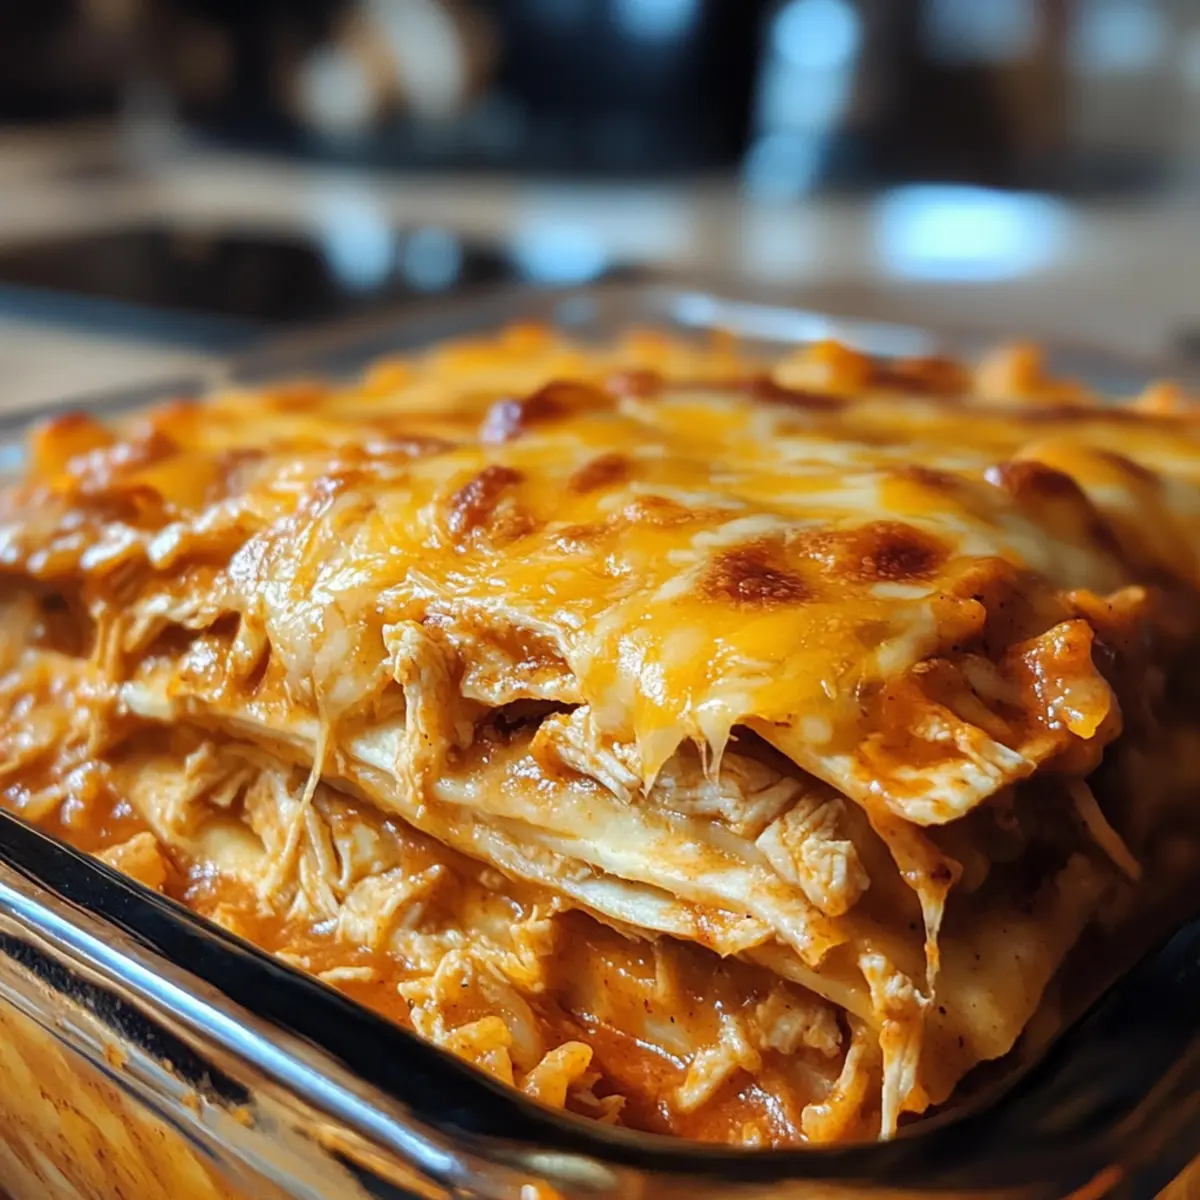
Amid the bustling chaos of weeknight dinners, there’s nothing quite like a cozy casserole to bring everyone together. Enter the Shredded Chicken Enchilada Casserole—a dish that embodies comfort food at its finest. With layers of tender, shredded chicken nestled in zesty enchilada sauce and crowned with gooey melted cheese, this recipe is a surefire winner for family meals or gatherings with friends. Not only is it incredibly easy to prepare, but it also invites the chance for customization—perfect for those who may prefer a vegetarian twist. Imagine serving a bubbling casserole that promises hearty satisfaction while sparing you the endless fast-food runs! Are you ready to whip up this crowd-pleaser?
Why is Chicken Enchilada Casserole a Must-Try?
Comforting Flavors: This casserole bursts with zesty enchilada sauce and tender chicken, promising a delightful taste with every bite.
Effortless Preparation: Perfect for beginners and busy home cooks alike, it’s a quick and stress-free way to put dinner on the table.
Versatile Option: Whether you stick to the traditional recipe or opt for a vegetarian twist, this meal can adapt to suit everyone’s palate.
Crowd-Pleasing Appeal: Suitable for family dinners or gatherings, it’s a dish that both kids and adults will love, making it a go-to for many occasions.
Make-Ahead Friendly: Prep it in advance, pop it in the oven when needed, and enjoy the convenience of a meal that’s ready to serve after a long day! For another family favorite, check out Chicken Enchiladas Flavorful.
Chicken Enchilada Casserole Ingredients
• Discover the essential elements for this comforting dish!
For the Chicken Mixture
- Cooked, Shredded Chicken – Main protein source; you can easily use store-bought shredded chicken for convenience.
- Onion (diced) – Adds a sweet depth of flavor; opt for yellow or white onion for a milder taste.
- Red Bell Pepper (diced) – Contributes vibrant sweetness and color; substitute with green bell pepper for an earthier flavor.
- Enchilada Sauce – Provides moisture and a burst of flavor; feel free to use homemade or store-bought.
- Ground Cumin – Adds warmth and earthiness; chili powder can be a good substitute if needed.
- Chili Powder – Enhances the spice profile; adjust according to your family’s spice tolerance.
- Garlic Powder – Offers an aromatic flavor; consider using fresh minced garlic for a more intense taste.
For the Casserole Layers
- Corn Tortillas – Forms the delicious structure; cut into strips for easy layering.
- Shredded Cheese (cheddar or Mexican blend) – Adds creaminess and binds the layers together beautifully.
- Black Beans (canned, drained, and rinsed) – Boosts fiber and texture; pinto beans can make a tasty substitute if desired.
- Corn Kernels (canned, drained) – Provides a sweet crunch.
- Olive Oil – Used for sautéing; any cooking oil will work as a substitute.
- Salt and Pepper – Enhances flavor; adjust to your taste preference.
For Garnishing and Serving
- Fresh Cilantro – Adds a burst of freshness; you can opt for green onions or skip on garnish if preferred.
- Sour Cream (for serving) – Creates a creamy topping; Greek yogurt can be a healthier alternative.
- Lime Wedges (for serving) – Squeeze on top to add a bright, zesty finish.
Enjoy these delicious ingredients that combine to make the dreamiest Chicken Enchilada Casserole, perfect for your next family dinner!
Step‑by‑Step Instructions for Chicken Enchilada Casserole
Step 1: Preheat and Prepare
Begin by preheating your oven to 375°F (190°C) and greasing a 9×13 inch baking dish. This is where your delicious Chicken Enchilada Casserole will come to life, so make sure it’s ready to accommodate all those layers of flavor!
Step 2: Sauté the Veggies
In a large skillet, heat 1 tablespoon of olive oil over medium heat. Add the diced onion and red bell pepper, sautéing them for about 5 minutes or until they soften and turn translucent. The aroma from the vegetables will fill your kitchen, setting the stage for the comforting dish ahead.
Step 3: Combine Chicken and Sauce
Next, stir in your cooked, shredded chicken, enchilada sauce, ground cumin, chili powder, garlic powder, salt, and pepper. Heat everything together for about 3 minutes, stirring until well combined and heated through. This mixture will be the heart of your Chicken Enchilada Casserole, bursting with flavor.
Step 4: Create the First Layer
Spread a thin layer of the chicken mixture evenly across the bottom of your greased baking dish. This initial layer ensures that your casserole stays juicy and flavorful. Take a moment to admire the vibrant colors before moving on!
Step 5: Add Tortilla Strips and Toppings
Layer corn tortilla strips over the chicken mixture, covering it as evenly as possible. Follow with a generous sprinkle of black beans, corn, and half of the shredded cheese. This combination creates a delightful texture and taste, perfect for a hearty meal.
Step 6: Repeat the Layers
Repeat the layering process with the remaining chicken mixture, tortilla strips, black beans, corn, and the rest of the cheese. Make sure to spread each layer evenly to ensure every bite of your Chicken Enchilada Casserole is packed with flavor.
Step 7: Bake Covered
Cover the assembled casserole tightly with aluminum foil and place it in the preheated oven. Bake for 25 minutes; this step allows the flavors to meld beautifully while keeping the casserole moist.
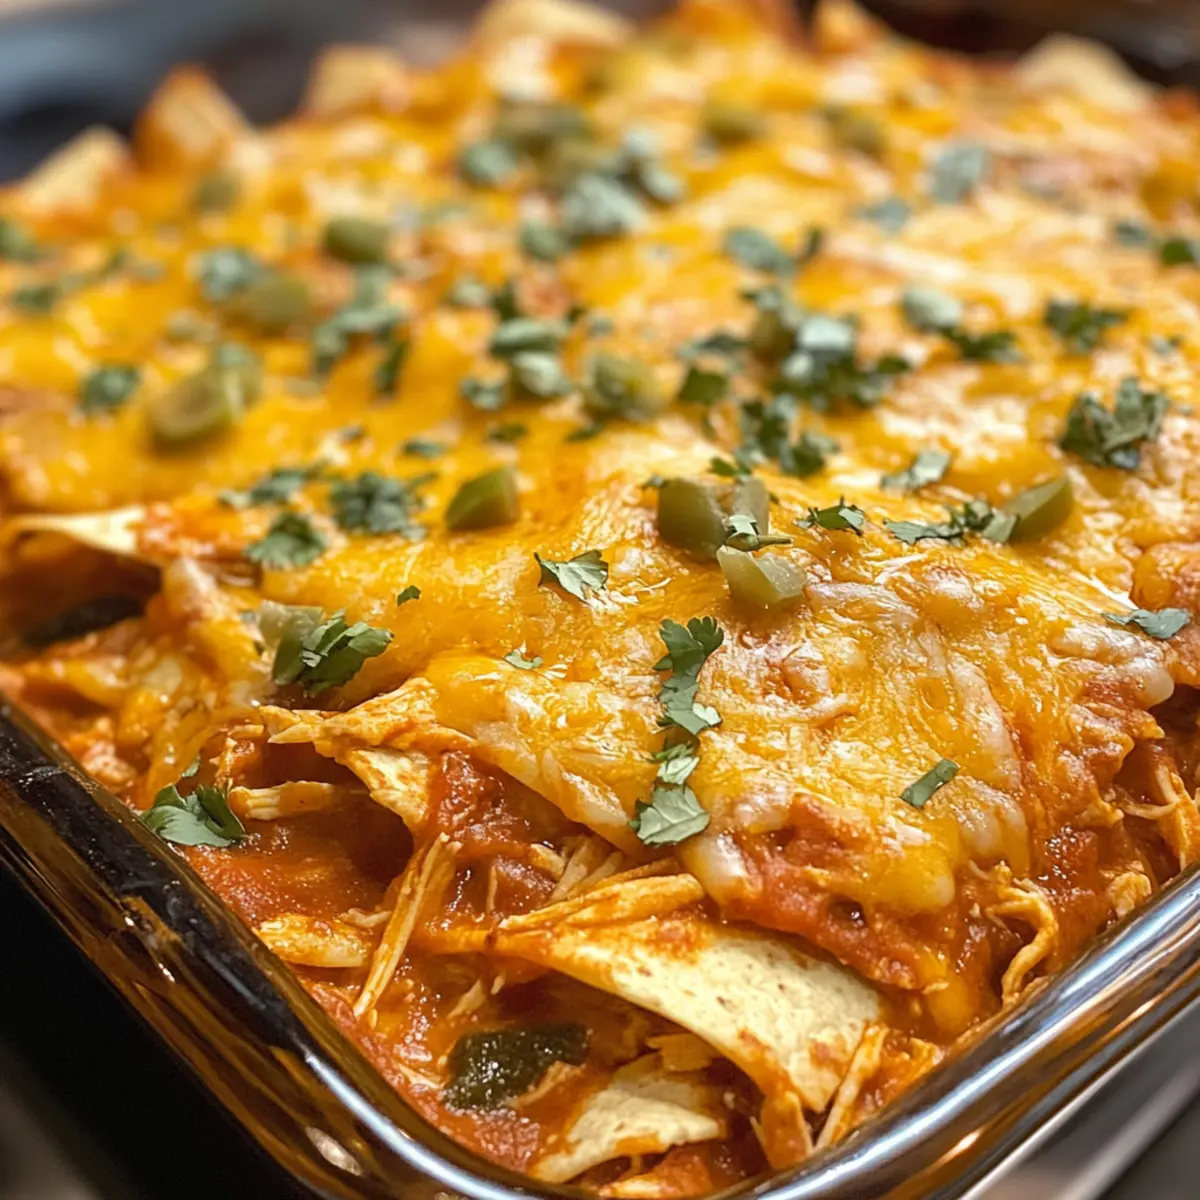
Step 8: Bake Uncovered for Texture
After 25 minutes, carefully remove the foil and bake for an additional 10 minutes. This will make the cheese bubbly and golden, giving that inviting finish to your Chicken Enchilada Casserole that everyone will love.
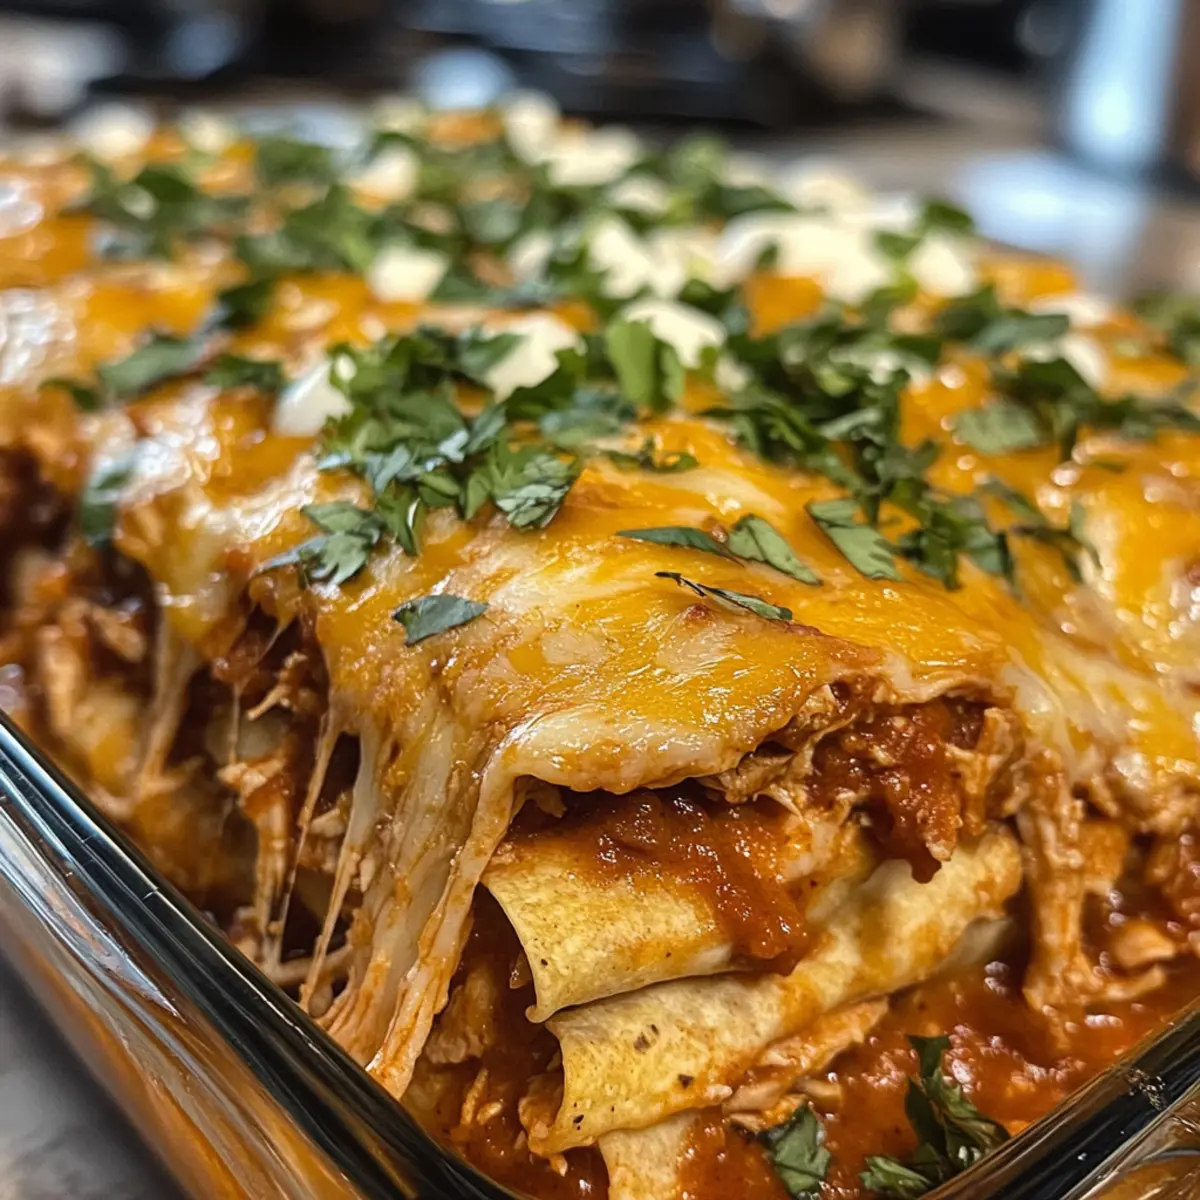
Step 9: Cool and Garnish
Once baked to perfection, take the casserole out of the oven and let it cool for a few minutes. This resting time helps the layers set for easier serving. Garnish with fresh cilantro for a colorful and aromatic touch that enhances the dish.
Step 10: Serve and Enjoy
Serve your Chicken Enchilada Casserole warm, alongside sour cream and lime wedges. Squeeze lime juice over the top to add a zesty brightness that complements the flavors wonderfully. Enjoy this comforting dish with your loved ones at dinner!
Expert Tips for Chicken Enchilada Casserole
-
Moisture Is Key: Ensure the casserole is tightly covered with foil while baking to retain moisture. Uncover in the last ten minutes for a perfect golden crust.
-
Seasoning Check: If you’re using store-bought shredded chicken, taste the mixture and adjust the seasoning. Pre-seasoned chicken can lead to overpowering flavors.
-
Layering Technique: When layering, be sure to spread the ingredients evenly. This ensures each bite of the Chicken Enchilada Casserole is packed with flavor and texture.
-
Resting Time: Allow the casserole to rest after baking. This helps the layers set, making it easier to serve and enjoy without falling apart.
-
Customize to Taste: Don’t hesitate to experiment with different beans or cheeses to tailor the casserole to your family’s preferences while keeping the comforting essence of the dish.
What to Serve with Shredded Chicken Enchilada Casserole
Elevate your family dinner by pairing your casserole with delightful sides that add a burst of flavor and texture.
-
Simple Side Salad: A refreshing mix of greens, tomatoes, and avocados provides a crunchy contrast to the warm, cheesy casserole.
-
Guacamole: Creamy and rich, this adds a flavor-packed element that complements the spicy enchilada sauce beautifully. Don’t forget the tortilla chips on the side!
-
Spanish Rice: Flavorful rice with a hint of cumin and cilantro balances well with the casserole’s zesty profile, making every bite satisfying.
-
Black Bean Corn Salsa: Bright, fresh ingredients and a touch of lime create a lively salsa that pairs wonderfully with the hearty casserole.
-
Mexican Street Corn (Elote): Grilled and topped with creamy sauces and spices, this side offers a sweet and smoky flavor that your family will adore.
-
Chilled Cucumber Salad: Light and crisp, this salad provides a refreshing counterpoint to the richness of the casserole—perfect for a family gathering.
-
Pineapple Agua Fresca: A sweet and refreshing drink that adds a tropical twist to the meal, balancing out the savory flavors.
-
Churros for Dessert: Sweet and crispy churros sprinkled with cinnamon sugar are the perfect finish to your Mexican-themed dinner, ensuring everyone leaves with a smile.
Make Ahead Options
These Shredded Chicken Enchilada Casserole is perfect for busy weeknights or meal prep! You can assemble the entire casserole, cover it tightly, and refrigerate it for up to 3 days. To maintain the flavors and texture, be sure to layer everything as directed, and hold off on baking until you’re ready to serve. When it’s time to enjoy, simply preheat your oven and bake the casserole straight from the fridge, adding an extra 10-15 minutes to the baking time if it’s cold. Not only will this save you precious time during the week, but you’ll still get delicious, bubbly results that feel fresh and satisfying!
Chicken Enchilada Casserole Variations
Feel free to make this delightful dish your own with these fun twists and smart substitutions!
-
Vegetarian: Substitute shredded chicken with extra veggies like zucchini or mushrooms. You can also increase the beans and corn for a hearty alternative that still delivers on taste.
-
Spicy: Add diced jalapeños or a splash of hot sauce to the chicken mixture for an extra kick. For a flavorful explosion, try introducing some diced chipotle peppers!
-
Cheese Twist: Experiment with different cheeses, such as Monterey Jack or pepper jack, for a creamier or spicier flavor profile. This small change can create a whole new level of deliciousness.
-
Lighter Version: Swap sour cream for Greek yogurt or use reduced-fat cheese to cut calories without sacrificing flavor. It’s a simple way to enjoy comfort food while being mindful of health.
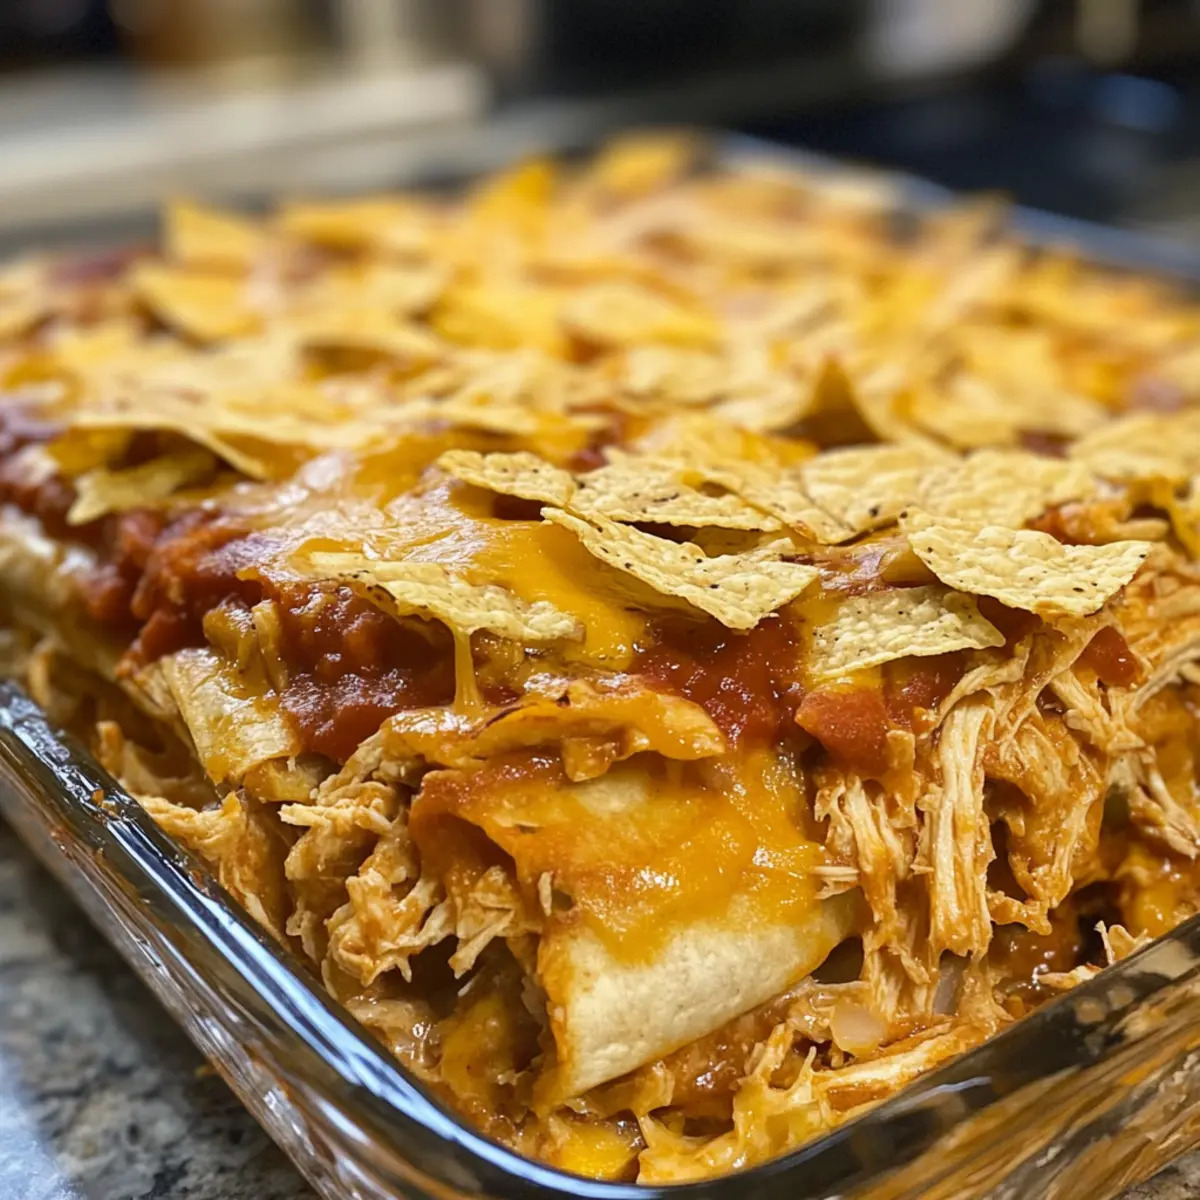
-
Texture Boost: Incorporate crushed tortilla chips on top before baking for an added crunch. This crispy layer can elevate the entire dish to new heights of satisfaction.
-
Mild Alternative: If you’re serving picky eaters, consider omitting the chili powder and using less spicy enchilada sauce for a milder flavor that everyone will enjoy.
-
Flavor Fusion: Try adding black olives or diced tomatoes for extra depth. These ingredients can enhance the flavor while giving your casserole a bit of flair.
-
Corn Tortilla Substitute: For a gluten-free option, switch out corn tortillas for your favorite gluten-free alternative, making this dish more inclusive for all dietary needs.
Each variation opens the door to creativity in the kitchen! For more comforting meals, you might enjoy trying out delicious recipes like Southern Cheesy Chicken or Cheddar Bay Chicken. Happy cooking!
How to Store and Freeze Chicken Enchilada Casserole
Fridge: Store any leftovers in an airtight container for up to 3 days to maintain freshness. Reheat in the oven or microwave until warmed through.
Freezer: For longer storage, freeze the casserole before baking. Wrap tightly in plastic wrap and then foil for up to 3 months. Thaw overnight in the fridge before baking.
Reheating: Bake leftover casserole covered at 350°F (175°C) for about 20 minutes or until heated through. Enjoy a comforting Chicken Enchilada Casserole that’s just as delicious as the first time!
Make-Ahead: Prepare the casserole up to step 6, cover, and refrigerate for up to 3 days. Bake it fresh when you’re ready to serve!
Chicken Enchilada Casserole Recipe FAQs
What type of chicken is best for this casserole?
Absolutely! For this Chicken Enchilada Casserole, cooked, shredded chicken is ideal. You can use rotisserie chicken or cook your own. If you’re short on time, store-bought shredded chicken is a convenient substitute. Just make sure to taste the mixture and adjust the seasoning if necessary!
How should I store leftovers?
Very! Leftovers of your Chicken Enchilada Casserole can be stored in an airtight container in the fridge for up to 3 days. Reheat it in either the oven or microwave until it’s piping hot again. For reheating in the oven, cover with foil to retain moisture.
Can I freeze the casserole?
Yes, indeed! To freeze the Chicken Enchilada Casserole, prepare it up to the baking stage. Wrap it tightly in plastic wrap and then in foil to protect it from freezer burn, and it can be stored for up to 3 months. When you’re ready to enjoy it, thaw it overnight in the fridge before baking.
What should I do if my casserole comes out too dry?
If you find your casserole is dry, likely, it wasn’t covered tightly while baking. For the next time, make sure the foil is snug on the dish to retain moisture, and try adding a bit more enchilada sauce during the layering process. Keep an eye on the baking time too; every oven varies!
Any dietary considerations I should be aware of?
Absolutely! If you’re catering to dietary restrictions, this Chicken Enchilada Casserole can easily be adapted. For a vegetarian version, simply replace the chicken with additional beans, zucchini, or mushrooms. Make sure to check the ingredients in the enchilada sauce if you’re concerned about allergens, as they can vary by brand.
Comforting Chicken Enchilada Casserole for Easy Family Dinners
Ingredients
Equipment
Method
- Preheat your oven to 375°F (190°C) and grease a 9x13 inch baking dish.
- In a large skillet, heat 1 tablespoon of olive oil over medium heat. Add the diced onion and red bell pepper, sauté for about 5 minutes until they soften.
- Stir in cooked, shredded chicken, enchilada sauce, ground cumin, chili powder, garlic powder, salt, and pepper. Heat for 3 minutes, stirring until well combined.
- Spread a thin layer of the chicken mixture in the bottom of the greased baking dish.
- Layer corn tortilla strips over the chicken mixture, followed by black beans, corn, and half of the shredded cheese.
- Repeat layering with the remaining chicken mixture, tortilla strips, black beans, corn, and the rest of the cheese.
- Cover the casserole tightly with aluminum foil and bake for 25 minutes.
- Remove the foil and bake for an additional 10 minutes until the cheese is bubbly and golden.
- Let the casserole cool for a few minutes before garnishing with fresh cilantro.
- Serve warm with sour cream and lime wedges.
Leave a Reply