
As I stared at the mountain of baking supplies cluttering my kitchen counter, I realized it was time for a sweet escape into holiday baking. Enter my Christmas Kitchen Sink Cookies, where my creativity can run wild with festive flavors and textures. These delightful cookies serve as a delicious canvas for customization, allowing anyone to mix in their favorite treats, making them perfect for gatherings or as heartfelt gifts. The best part? They come together in a snap, with minimal fuss, making holiday baking a breeze! So, ready to dive into a batch of these versatile delights? What unique twist will you give your own kitchen sink cookies?
Why are these cookies a holiday must?
Versatile creation: The Christmas Kitchen Sink Cookies allow for endless customization, so you can tailor each batch to suit your taste buds.
Simple process: Even novice bakers can whip these up easily, making holiday fun accessible to everyone.
Festive appeal: Bursting with seasonal flavors and textures, these cookies bring warmth and joy to your holiday gatherings.
Perfect for gifting: Packaged in a lovely box, they’re a heartfelt gift for friends and family, sharing the holiday spirit.
Time-efficient: With quick prep and bake times, you’ll find yourself enjoying fresh cookies in no time. Interested in another cookie recipe? Check out my Cinnamon Roll Cookies for more baking inspiration!
Christmas Kitchen Sink Cookies Ingredients
• Dive into holiday baking with these essential ingredients!
For the Base
- Flour – Essential for the cookie structure; consider gluten-free flour for a delicious alternative.
- Sugar – Brown sugar adds moisture and depth, but feel free to use white sugar if preferred.
- Butter – Softened butter brings richness; margarine can work as a substitute in a pinch.
For the Mix-Ins
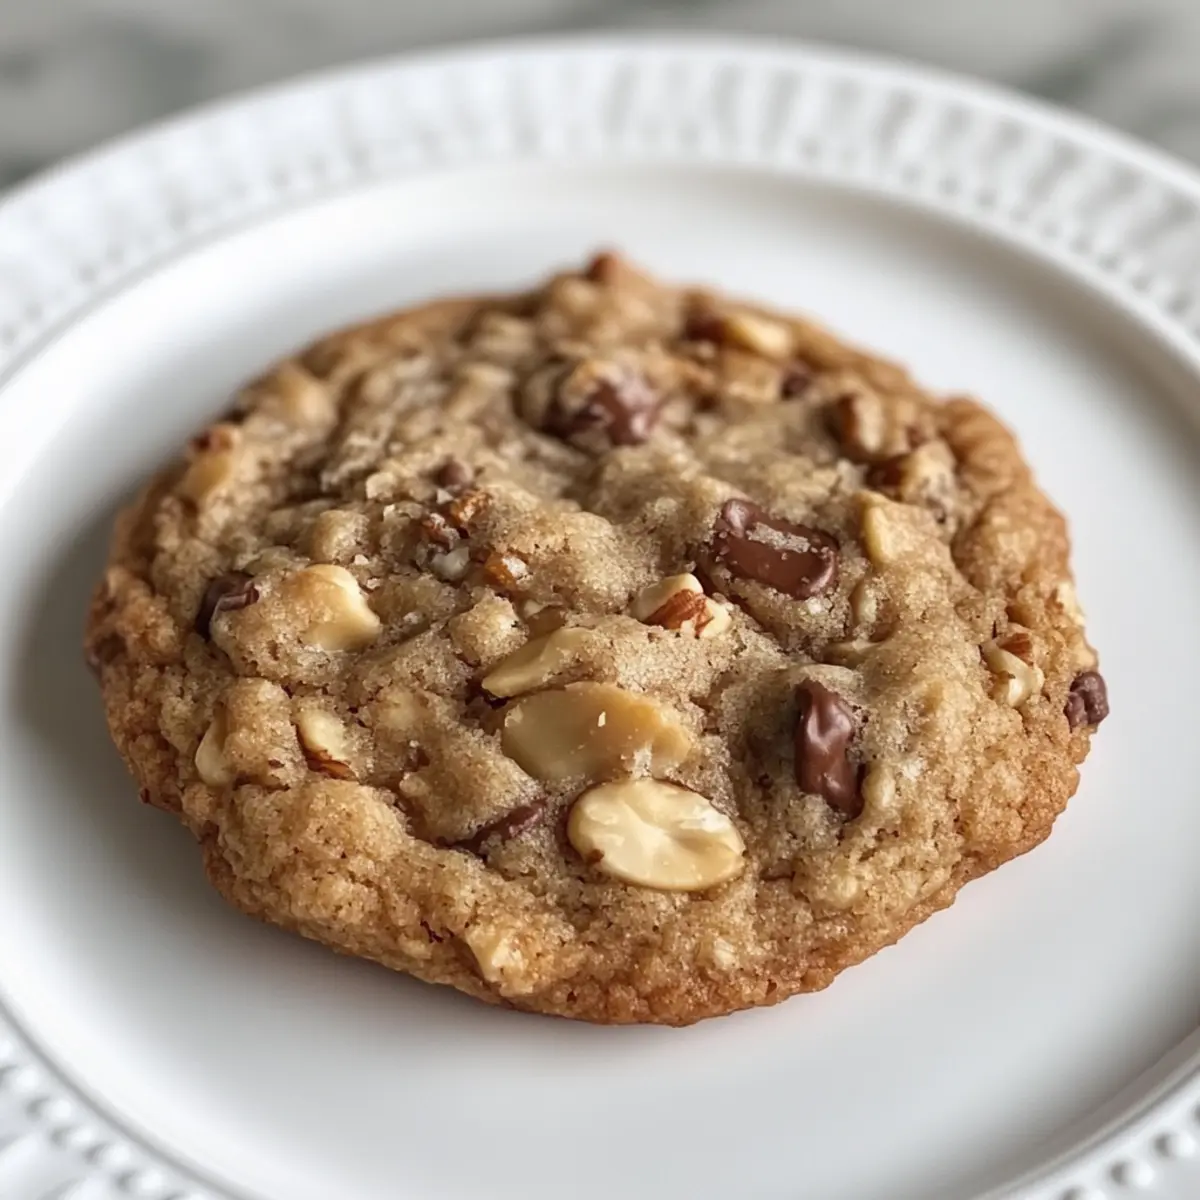
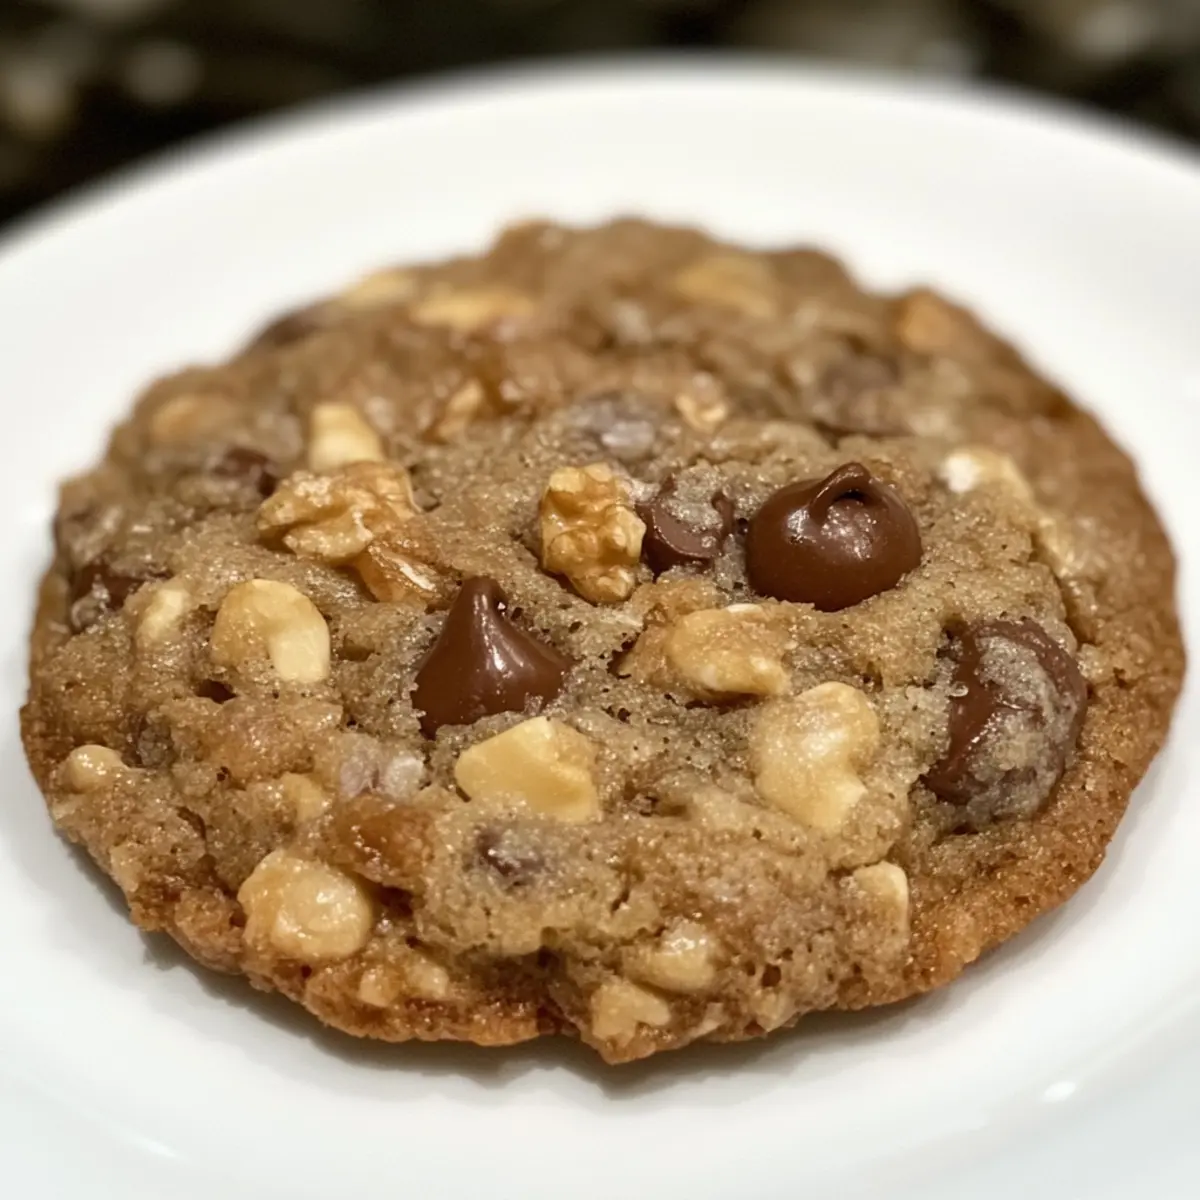
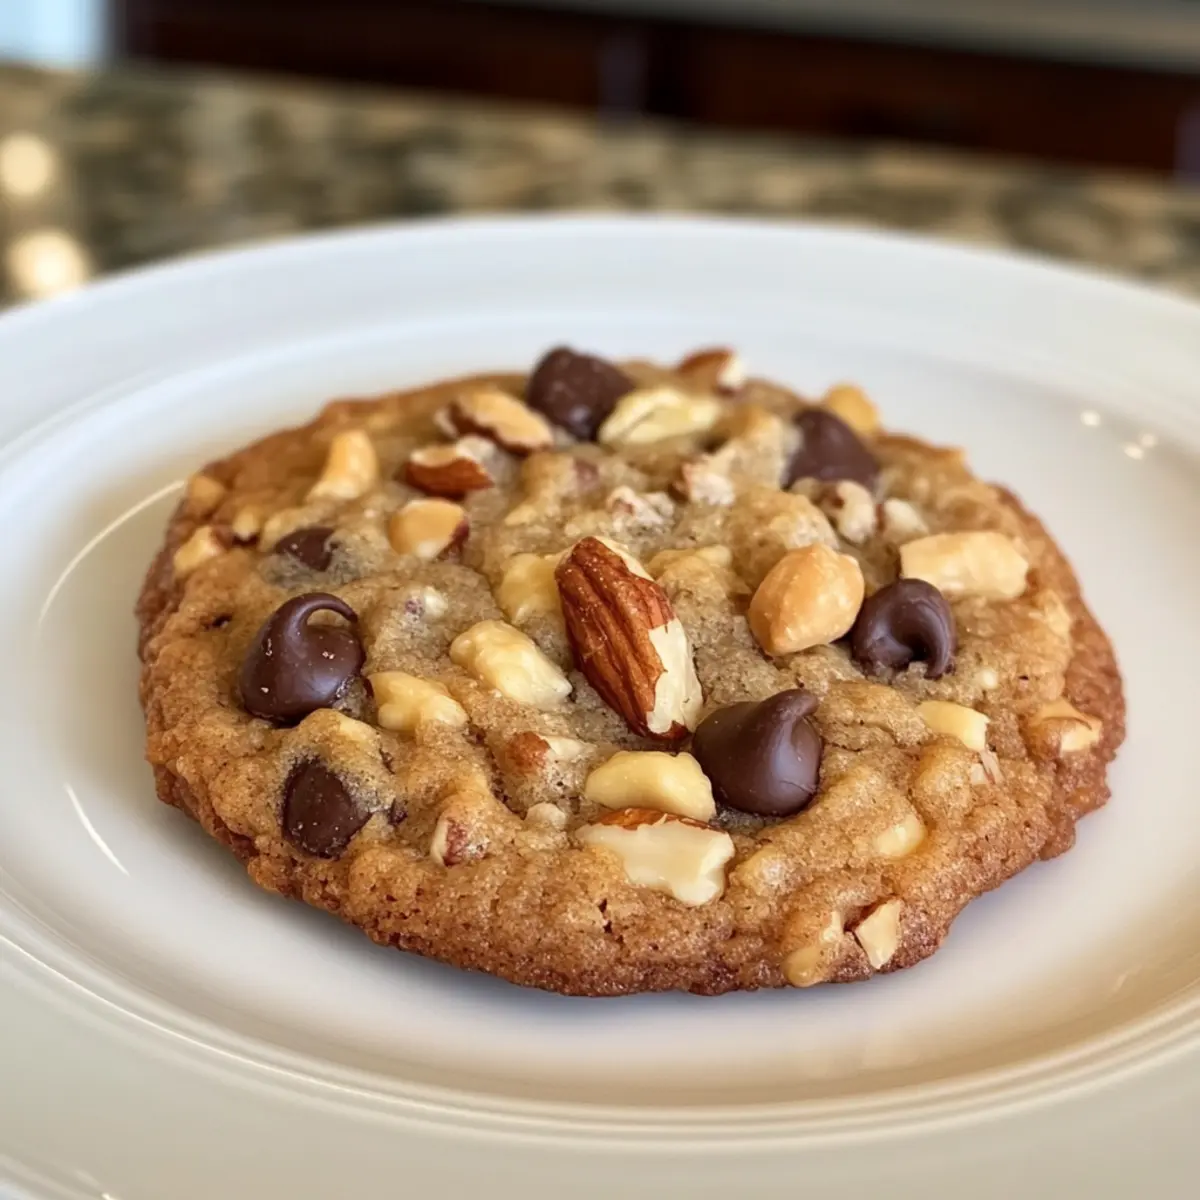
- Chocolate Chips – Choose semi-sweet, milk, or dark chocolate to suit your taste; dried fruits can add a fruity twist.
- Nuts – Add walnuts or pecans for crunch; for nut-free options, simply omit them.
- Oats – Adds chewiness and texture; replace with finely chopped cereal for an unexpected crunch.
For Customization
- Additional Add-ins – Get creative by including dried fruits, candies, or unique flavors; these Christmas Kitchen Sink Cookies are yours to personalize!
With this delightful assortment at your fingertips, you’re just a few steps away from baking up a storm of festive cheer!
Step‑by‑Step Instructions for Christmas Kitchen Sink Cookies
Step 1: Prepare the Dough
Begin by preheating your oven to 350°F (175°C). In a large mixing bowl, cream together 1 cup of softened butter and 1 cup of brown sugar until the mixture is light and fluffy, about 2-3 minutes. Gradually add in 2 cups of flour while mixing on low speed until just combined. You’ll know it’s ready when the dough forms a soft, cohesive ball.
Step 2: Add Ingredients
Now, fold in your choice of mix-ins for the Christmas Kitchen Sink Cookies. Stir in 1 cup of chocolate chips, 1 cup of oats, and 1 cup of chopped nuts or any other fun add-ins like dried fruits. Mix gently until everything is evenly distributed throughout the dough, ensuring that each mouthful will be a delightful surprise of flavors and textures.
Step 3: Shape Cookies
Line a baking sheet with parchment paper. Using a cookie scoop or tablespoon, drop rounded balls of dough onto the prepared sheet, spacing them about two inches apart to allow for spreading. Aim for an even distribution so that each cookie bakes uniformly for that perfect, golden-brown finish.
Step 4: Bake
Slide the baking sheet into your preheated oven and bake the cookies for 10-12 minutes. Keep an eye on them—the edges should turn lightly golden while the centers remain soft. Avoid overbaking as they will continue to set once removed from the oven, ensuring a delicious chewy texture in your Christmas Kitchen Sink Cookies.
Step 5: Cool
Once baked, take the cookies out and let them cool on the baking sheet for about 5 minutes. This waiting period helps them firm up a bit. After that, carefully transfer the cookies to a wire rack to cool completely. This final cooling step allows them to develop the perfect chewy consistency while preserving their delightful assortment of textures.
Christmas Kitchen Sink Cookies Variations
Customize your Christmas Kitchen Sink Cookies with delightful twists that will light up your holiday spirit and taste buds!
-
Gluten-Free: Substitute regular flour with a 1:1 gluten-free blend to accommodate gluten sensitivities while enjoying the same delicious flavor.
-
Nut-Free: Omit nuts entirely or replace them with seeds like pumpkin or sunflower to retain that satisfying crunch without the allergens.
-
Fruity Burst: Add dried cranberries or cherries in place of chocolate chips for a festive, tart contrast that dances on your palate.
-
Spiced Up: Mix in a teaspoon of cinnamon or nutmeg to infuse a warm holiday aroma that will fill your kitchen with cozy vibes.
-
Coconut Flakes: Incorporate unsweetened shredded coconut for a tropical twist that pairs beautifully with chocolate, enhancing texture and flavor.
-
Zesty Lemon: Add a spoonful of lemon zest for a bright, refreshing flavor that perfectly complements the sweetness of your cookies.
-
Dark Chocolate Delight: Swap out semi-sweet chocolate for dark chocolate chips for a richer cocoa flavor that brings a sophisticated touch.
-
Boozy Infusion: Stir in a splash of vanilla or almond extract for a delightful kick; or, try a splash of bourbon for an adult twist that’s oh-so-festive.
With these variations, you can experiment and create countless combinations, ensuring each batch of Christmas Kitchen Sink Cookies is uniquely yours! Interested in more delightful cookie recipes? Don’t miss my scrumptious Chocolate Chip Cookies or the delightful Crispy Chocolate Oat Cookies for even more baking inspiration!
How to Store and Freeze Christmas Kitchen Sink Cookies
Airtight Container: Store your Christmas Kitchen Sink Cookies in an airtight container at room temperature for up to 1 week to keep them fresh and chewy.
Freezer: For longer storage, freeze the cookies in a single layer on a baking sheet. Once solid, transfer them to a freezer bag and keep for up to 3 months.
Reheating: To enjoy a warm cookie, microwave frozen cookies for 15-20 seconds or bake them straight from the freezer at 350°F (175°C) for about 5-7 minutes.
Dough Storage: If you want to prep ahead, wrap the cookie dough tightly in plastic wrap and freeze for up to a month. Thaw in the fridge overnight before baking.
Expert Tips for Baking Christmas Kitchen Sink Cookies
-
Use Room Temperature Butter: The key to a creamy dough is starting with softened butter at room temperature. Cold butter won’t incorporate well, leading to dense cookies.
-
Don’t Overmix: Once you add the flour, mix just until combined. Overmixing can create tough cookies, which we want to avoid when making these delightful Christmas Kitchen Sink Cookies.
-
Experiment Freely: Feel free to get creative with your mix-ins! Try adding seasonal spices or using different types of chocolate to really make these cookies your own.
-
Mind the Bake Time: Keep an eye on your cookies as they bake. Remove them when they’re just golden around the edges for that perfect chewy center everyone loves.
-
Cool on a Rack: After baking, let cookies cool on the baking sheet for a few minutes before transferring to a wire rack. This helps maintain their delightful texture while cooling.
What to Serve with Christmas Kitchen Sink Cookies
The magic of holiday baking isn’t just in the cookies themselves, but in the delightful spread that accompanies them.
- Hot Cocoa: A cup of rich, creamy hot cocoa perfectly complements the sweet, chewy texture of the cookies, making for a cozy pairing.
- Festive Fruit Platter: Brighten your dessert table with a vibrant assortment of seasonal fruits. Their freshness balances the richness of the cookies beautifully.
- Creamy Vanilla Ice Cream: Serve these cookies warm alongside a scoop of vanilla ice cream for a delightful contrast in temperatures and textures. Each bite is pure bliss!
- Spiced Apple Cider: Warm spiced apple cider provides a fragrant, festive drink that enhances the holiday spirit while beautifully complementing the cookie’s flavors.
- Cheese Board: Create a cheese board featuring sharp cheddar or creamy brie. The savory notes offer a wonderful contrast to the sweetness of the cookies.
- Nutty Granola Parfait: Layer Greek yogurt with granola and fresh berries for a nutritious, yet indulgent treat that pairs exceptionally well with the richness of the cookies.
- Gingerbread Latte: Elevate your coffee experience with a gingerbread latte, which adds a delightful spice that echoes the warm flavors of your kitchen sink cookies.
- Festive Cookie Gift Box: Package extra cookies in a lovely box with a handwritten note. It’s a thoughtful gesture that spreads the festive cheer while sharing your delicious creations!
Let these delectable pairings enhance your Christmas Kitchen Sink Cookies experience, creating sweet holiday memories to cherish!
Make Ahead Options
These Christmas Kitchen Sink Cookies are ideal for busy home cooks seeking to save time during the festive season! You can prepare the cookie dough up to 24 hours in advance, simply cover it tightly with plastic wrap and refrigerate to maintain freshness. Alternatively, you can scoop the dough into balls and freeze them for up to 3 months—just be sure to space them out on a baking sheet before transferring to a freezer-safe container. When you’re ready to bake, if frozen, let the dough thaw in the refrigerator overnight. Simply bake from chilled, adding an extra minute or two to the cooking time, and you’ll enjoy warm, delectable cookies that taste just as delightful as if they were made fresh!

Christmas Kitchen Sink Cookies Recipe FAQs
What should I look for when selecting ingredients for my cookies?
Absolutely! When choosing your ingredients, make sure to use high-quality butter at room temperature for a creamy texture. Look for flour with a fine consistency and check the sugar for clumps, which can indicate moisture absorption. For add-ins, use chocolate chips that are fresh (open bags can go stale) and nuts that are not overly soft or have dark spots, signaling they’re past their prime.
How should I store my Christmas Kitchen Sink Cookies to maintain freshness?
To keep your Christmas Kitchen Sink Cookies fresh, store them in an airtight container at room temperature. They will stay delightful for up to one week. If you prefer to keep them longer, consider placing parchment paper between layers of cookies to prevent sticking!
Can I freeze these cookies, and if so, how?
Certainly! Freezing your Christmas Kitchen Sink Cookies is an excellent way to enjoy them later. To freeze, arrange them in a single layer on a baking sheet and freeze until solid. Then, transfer them to a freezer-safe bag, removing as much air as possible. They’ll keep for up to 3 months. To enjoy, simply reheat them in the microwave for 15-20 seconds or bake straight from frozen at 350°F (175°C) for 5-7 minutes.
What can I do if my cookie dough seems too dry or crumbly?
Very! If you find your dough is crumbly, it may need a little help. Start by adding a tablespoon of milk or melted butter at a time, mixing gently until the desired consistency is reached. The dough should be soft, slightly sticky, and hold together when pressed.
Are there any dietary considerations I should keep in mind?
Definitely! If you’re baking for a group, consider allergies. Omit nuts for a nut-free version, or use gluten-free flour for a gluten-sensitive alternative. Additionally, when adding chocolate, choose dairy-free options if you need a vegan cookie. Always check labels to ensure your mix-ins meet dietary needs!
Can I customize the ingredients further for a unique flavor?
The more the merrier! Get creative with your Christmas Kitchen Sink Cookies by swapping in different sugars, like coconut sugar for a hint of caramel flavor. Try adding seasonal spices, like nutmeg or ginger, for a festive twist! You can even incorporate flavored extracts, such as peppermint or almond, to add a unique flair to your cookies.
Christmas Kitchen Sink Cookies for a Cozy Holiday Treat
Ingredients
Equipment
Method
- Preheat your oven to 350°F (175°C). Cream together 1 cup of softened butter and 1 cup of brown sugar until light and fluffy, about 2-3 minutes.
- Gradually add in 2 cups of flour while mixing on low speed until just combined, forming a soft, cohesive ball.
- Fold in your choice of mix-ins: stir in 1 cup of chocolate chips, 1 cup of oats, and 1 cup of chopped nuts or other fun add-ins.
- Using a cookie scoop, drop rounded balls onto a lined baking sheet, spacing them two inches apart.
- Bake for 10-12 minutes, removing when the edges are lightly golden while centers remain soft.
- Let cool on the baking sheet for about 5 minutes before transferring to a wire rack to cool completely.
Leave a Reply