
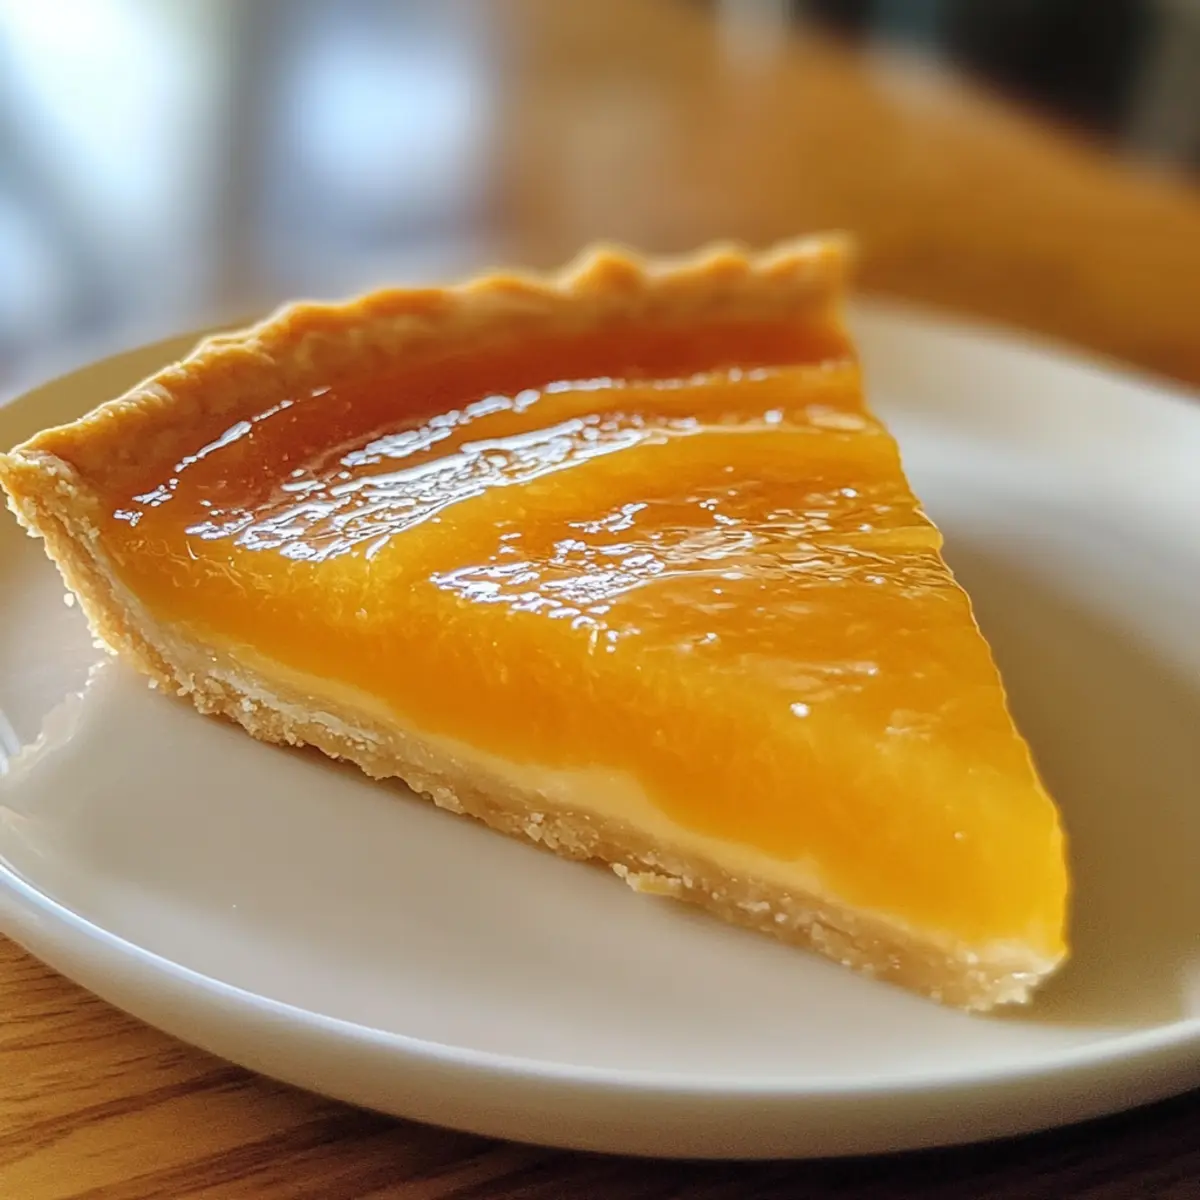
As I was savoring the last bite of an exquisite meal, my friend leaned in and shared a secret for the perfect ending: a Classic Orange Tart. The idea of this bright, citrusy dessert danced in my thoughts, promising a vibrant finale that anyone could master. With its silky filling and tender, flaky crust, it strikes that perfect balance between elegance and approachability. This tart not only wows at dinner parties but also brings the joy of homemade goodness to your table without overwhelming your schedule. Best of all? You’ll impress your friends and family while enjoying the delightful simplicity of this irresistible treat. Are you ready to embark on this zesty baking adventure?
Why is this Orange Tart a must-try?
Simplicity at Its Best: The Classic Orange Tart features a straightforward preparation that even beginner bakers will feel confident tackling.
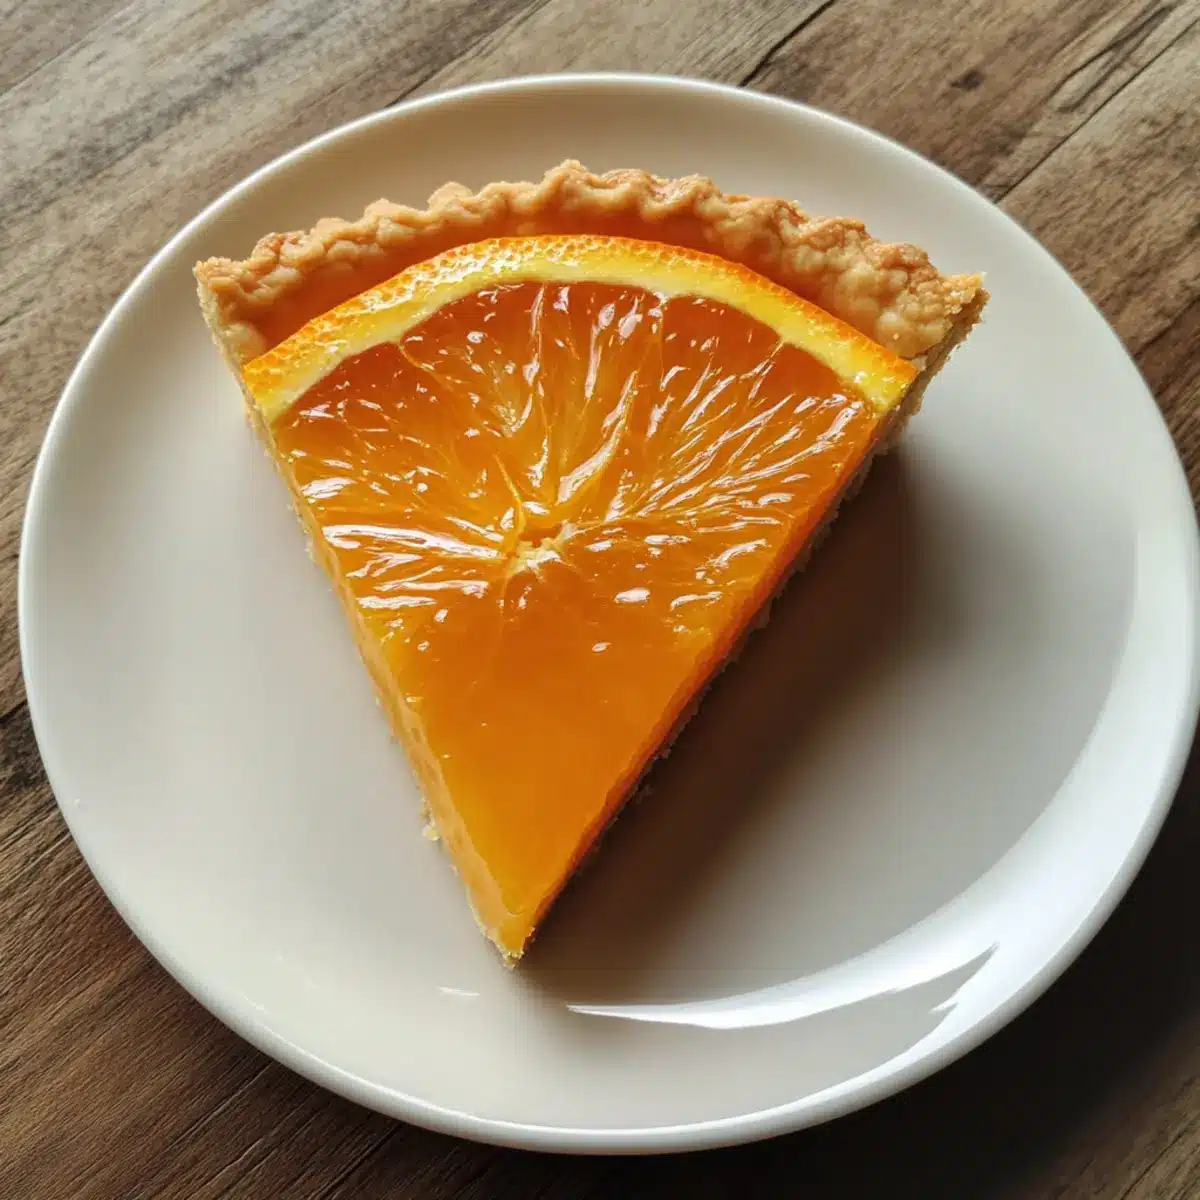
Vibrant Flavor Explosion: Bright citrus notes from the fresh orange juice and zest create a refreshing taste, making it a standout dessert.
Versatile Enjoyment: Perfect for dinner parties or as a delightful treat for any occasion, this tart appeals to both casual gatherings and elegant celebrations.
Impressive Presentation: Its glossy filling and golden crust will make your dessert table pop, leaving your guests in awe.
Make-Ahead Convenience: You can prepare the tart shell and filling ahead of time, making hosting a breeze without the last-minute stress.
This elegant dessert is sure to win over hearts and tastebuds alike—just like my favorite Custard Strawberry Tart or a classic Boston Cream Pie. Dive into this recipe—I promise you won’t regret it!
Classic Orange Tart Ingredients
For the Crust
- Flour – Provides structure for the tart crust; opt for all-purpose flour or a gluten-free blend for a different take.
- Powdered Sugar – Adds sweetness and tenderness to the crust; substituting this can alter texture.
- Almond Flour – Enhances texture and adds depth of flavor; can be swapped for extra all-purpose flour for a nut-free version.
- Salt – Balances sweetness and enhances overall flavor; kosher or table salt works well.
- Orange Zest – Infuses a delightful citrus aroma into the crust; best not to substitute for optimal flavor.
- Unsalted Butter – Provides richness; make sure it’s cold for best results. Margarine can be used as a substitute, but it may affect the flavor.
- Egg Yolk – Binds the dough and adds richness; avoid using whole eggs as a substitute.
- Cold Water – Helps form the dough; use ice-cold water for best results.
For the Filling
- Fresh Orange Juice – The star of the custard filling, contributing essential flavor; store-bought juice is a backup, but the taste will differ.
- Superfine Sugar – Perfect for a smooth filling; you can use granulated sugar, but it may affect the texture.
- Cornstarch – Thickens the orange curd; difficult to replace without affecting the structure.
- Eggs – Add richness and structure to the custard; it’s best to use them at room temperature.
- Gelatin – Optional for a firmer curd; can be omitted if you prefer a softer texture.
For the Whipped Topping
- Heavy Cream – For luscious whipped cream; coconut cream can serve as a non-dairy alternative.
- Powdered Sugar (for whipped cream) – Sweetens the cream; granulated sugar may work in a pinch but isn’t a direct substitute.
For Garnishing
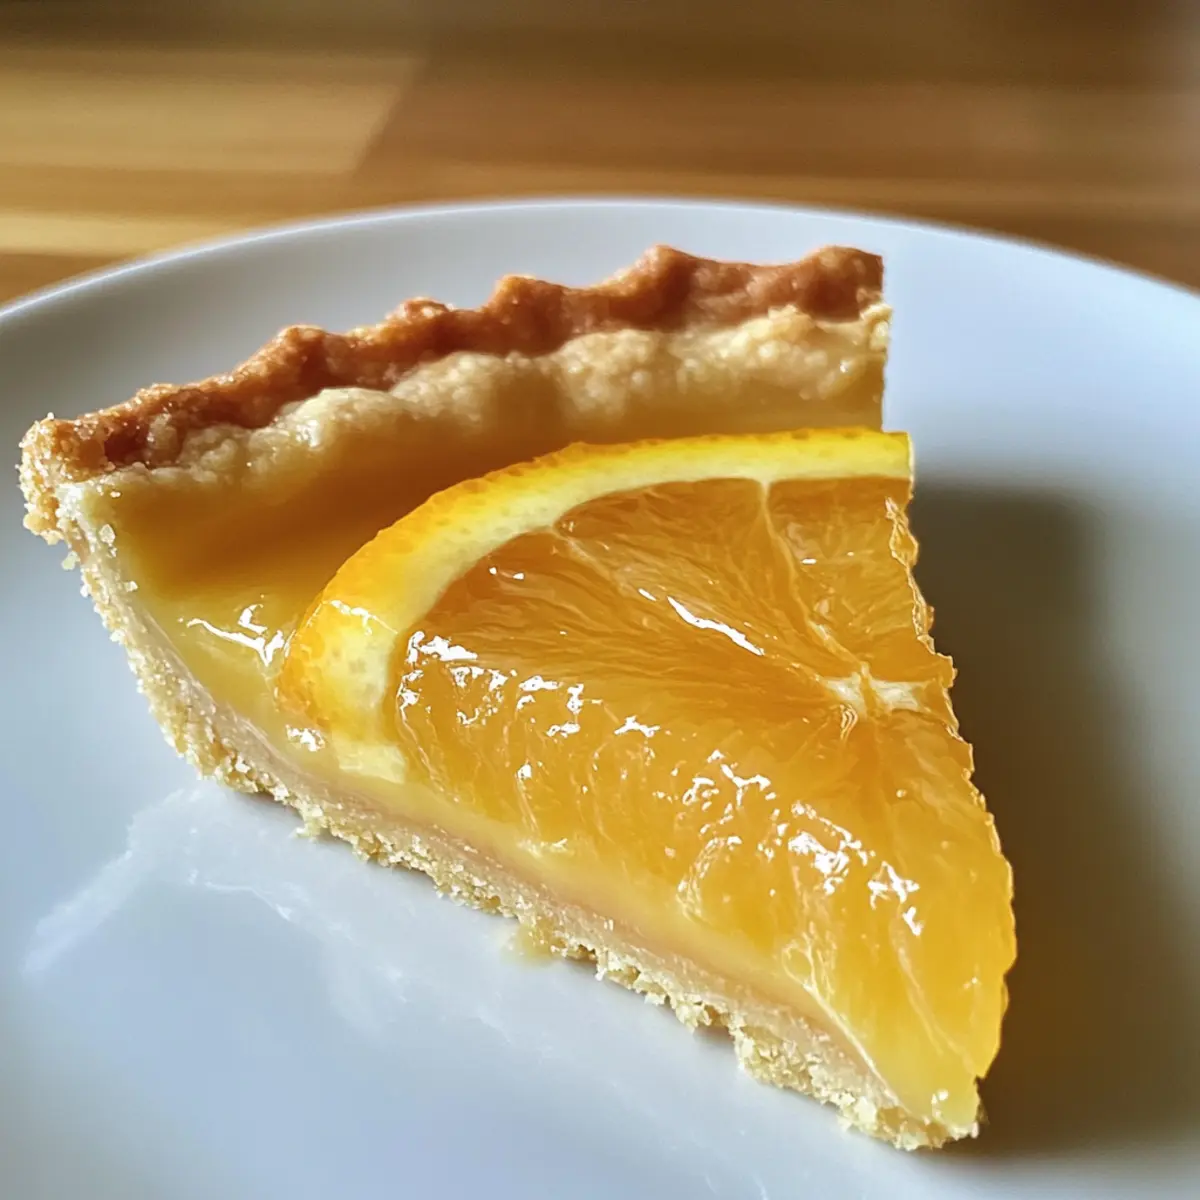
- Fresh Mint & Orange Segments – Add color and a fresh kick; while optional, they certainly enhance presentation!
This Classic Orange Tart recipe will delight your guests and bring a sprinkle of joy to any gathering!
Step‑by‑Step Instructions for Classic Orange Tart
Step 1: Prepare the Dough
In a food processor, combine 1 ¼ cups of all-purpose flour, ¼ cup of powdered sugar, ½ cup of almond flour, ¼ teaspoon of salt, and the zest of one orange. Add ½ cup of cold unsalted butter, cut into small pieces, and pulse until the mixture resembles coarse crumbs, about 10 seconds. Mix in 1 egg yolk and 2 tablespoons of ice-cold water, pulsing until a dough forms. Wrap and chill the dough for at least 30 minutes.
Step 2: Blind Bake the Crust
After chilling, preheat your oven to 375°F (190°C). Roll out the chilled dough on a lightly floured surface to fit a greased tart pan. Carefully transfer the dough to the pan, pressing it into the corners, and prick the base with a fork. Chill the crust for another 15 minutes, then place parchment paper and pie weights on top. Blind bake for 12-15 minutes, remove the weights, and bake for an additional 5-7 minutes until golden brown.
Step 3: Make the Orange Filling
In a saucepan, gently heat 1 cup of fresh orange juice until warm. In a separate bowl, whisk together 3 room-temperature eggs, ¾ cup of superfine sugar, and 2 tablespoons of cornstarch until smooth. Gradually whisk in the warm orange juice. Return the mixture to the saucepan over medium-low heat, stirring constantly until it thickens, about 5-7 minutes. Remove from heat, add 1 tablespoon of gelatin, and allow it to cool slightly before mixing in 2 tablespoons of unsalted butter and 1 teaspoon of orange zest.
Step 4: Assemble the Tart
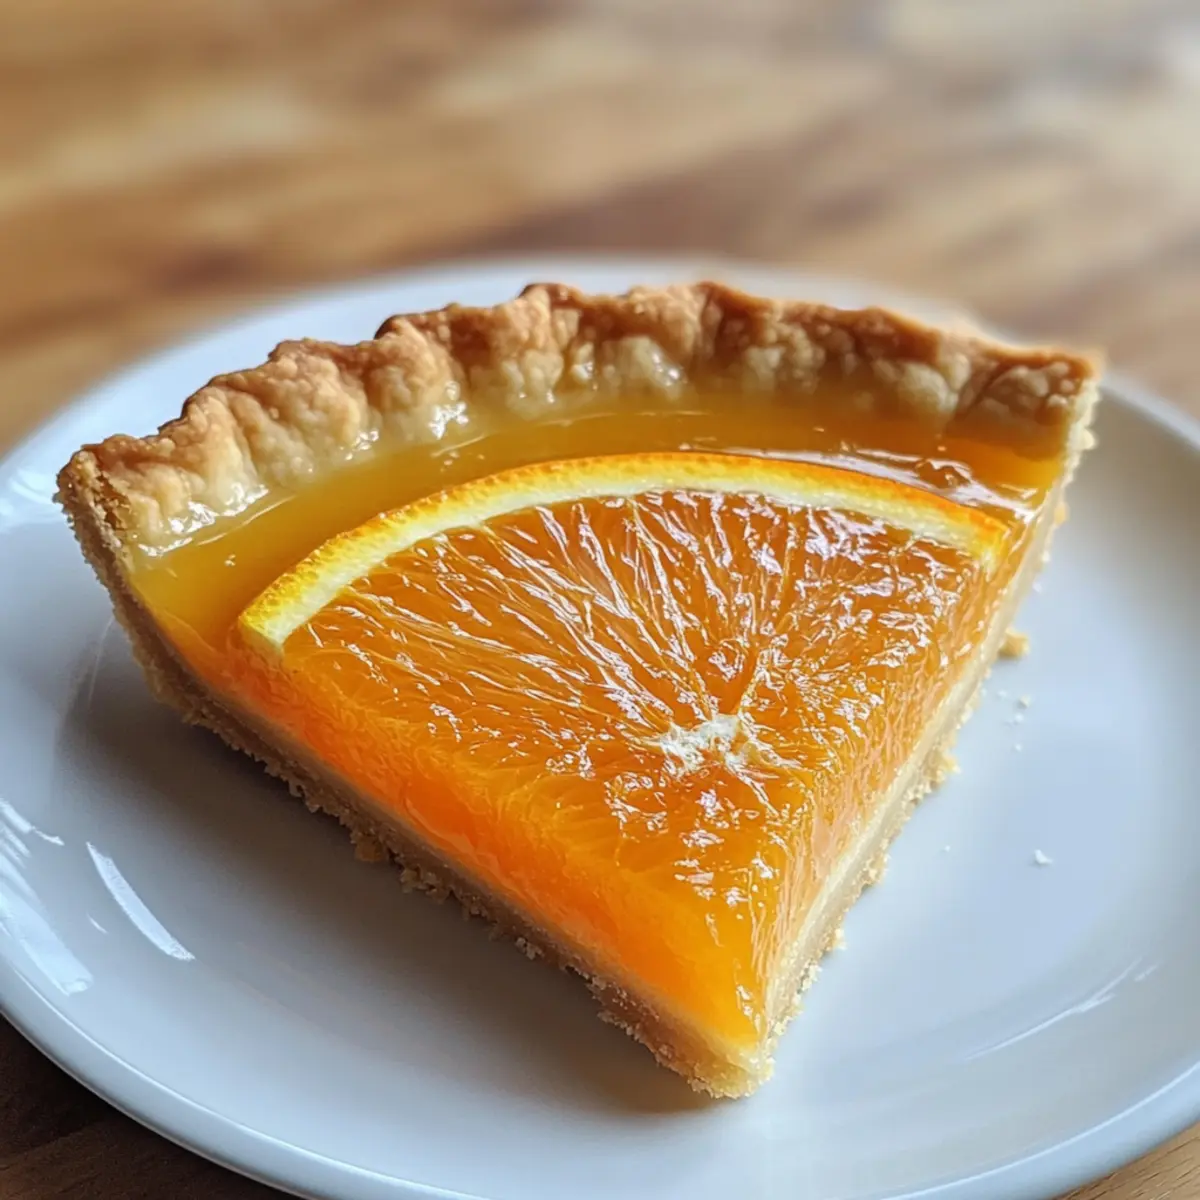
Once the orange filling has cooled for about 15 minutes, pour it into the baked crust while smoothing the top with a spatula. Place the tart in the refrigerator and let it chill for at least 3 hours, or preferably overnight, to allow it to set completely. This resting period ensures the filling achieves a smooth texture and the flavors meld beautifully in this Classic Orange Tart.
Step 5: Prepare Toppings
While the tart chills, whip 1 cup of heavy cream with 2 tablespoons of powdered sugar until stiff peaks form. When you’re ready to serve, remove the tart from the fridge, and generously dollop the whipped cream on top. For a beautiful finish, garnish the tart with fresh mint leaves and orange segments for that vibrant touch before slicing and serving.
Classic Orange Tart Variations & Substitutions
Feel free to let your creativity flow and customize this delightful tart to match your preferences and seasonal ingredients!
-
Orange Swap: Use Valencia or blood oranges instead of Navel for unique flavor profiles. This simple change infuses a new essence of citrus into your tart!
-
Add a Splash: Incorporate a splash of orange liqueur, like Cointreau, into the filling for a deeper, more complex flavor. Just imagine the warm notes elevating your dessert!
-
Chocolate Crust: For chocolate lovers, switch to a chocolate crust. The rich cocoa flavor harmonizes beautifully with the citrus filling, creating an extraordinary dessert experience.
-
Lemon Zest Inclusion: Mix in a bit of lemon zest with the orange zest for a refreshing twist. The lemon will enhance the tartness and give it a delightful zing!
-
Vegan-Friendly: Replace the eggs with flaxseed meal (1 tablespoon flaxseed meal + 2.5 tablespoons water for each egg) and use coconut cream for the topping. This adaptation makes the tart accessible for everyone!
-
Herbal Note: Infuse the filling with fresh herbs, like thyme or rosemary. Just a hint will bring an unexpected flavor complexity that will astonish your guests.
-
Berry Delight: Add fresh berries like raspberries or blueberries atop the whipped cream layer for added color and a burst of flavor. You’ll be amazed at how the sweetness complements the citrus!
-
Spicy Kick: For those who enjoy a bit of heat, consider mixing in a pinch of cayenne or chili powder into the filling. It will give your tart an unexpectedly delightful kick, perfect for adventurous palates!
Whichever variation you choose, you’re sure to create a Classic Orange Tart that captivates the senses—just like a slice of my favorite Breakfast Rolls Kickstart! Enjoy the baking journey!
How to Store and Freeze Classic Orange Tart
Fridge: Store the Classic Orange Tart covered in the refrigerator for up to 3 days. This helps maintain its creamy texture and vibrant flavors.
Freezer: To freeze, wrap slices or the whole tart tightly in plastic wrap and then foil. It can be frozen for up to 2 months; however, the texture may slightly change upon thawing.
Reheating: If you want to serve the tart slightly warm, let it sit at room temperature for about 30 minutes before enjoying, as it’s best appreciated chilled.
Make-Ahead: Consider preparing the tart shell and filling separately in advance; this will save you time when hosting and allows for a scrumptious and stress-free dessert!
Make Ahead Options
These Classic Orange Tarts are perfect for meal prep, allowing you to enjoy a stunning dessert without the last-minute rush! You can prepare the tart shell and orange filling up to 3 days in advance. Simply follow the recipe instructions and store the cooled filling in an airtight container. For the crust, after blind baking, let it cool completely before wrapping it tightly in plastic wrap. When you’re ready to serve, pour the orange filling into the crust and refrigerate it for at least 3 hours, or preferably overnight. This makes it a breeze to impress your guests with a homemade treat that’s just as delicious when made ahead!
Expert Tips for Classic Orange Tart
-
Crust Handling: Avoid overworking the pastry dough to prevent a tough crust. Handle it gently for a tender finish.
-
Blind Baking: Ensure proper blind baking to avoid a soggy bottom—use weights during the first bake, then let it bake until golden.
-
Cooking Filling: Maintain medium-low heat when preparing the filling to prevent scrambling the eggs; constant stirring is key for a smooth texture.
-
Chilling Required: Chill the tart for at least 3 hours post-assembly, preferably overnight, to ensure clean slices and enhance flavor in this Classic Orange Tart.
-
Use Fresh Ingredients: Fresh orange juice and zest are essential for the best flavor; avoid substitutions for optimum taste.
What to Serve with Classic Orange Tart
Pairing a dessert with a meal elevates the dining experience, bringing harmony and delight to your table.
- Whipped Cream: A dollop adds richness and complements the tart’s fruity freshness perfectly, enhancing each bite.
- Vanilla Ice Cream: The creamy texture and subtle sweetness provide a delightful contrast to the bright flavors of the tart.
- Fresh Berries: Offer a burst of tartness and color that brightens up each slice, balancing the sweet orange custard beautifully.
- Herbal Tea: A cup of refreshing chamomile or mint tea cleanses the palate and highlights the citrus notes of the dessert.
- Chocolate-Covered Almonds: Their crunchiness and richness pair well with the orange’s zing, creating a charming textural contrast.
- Sparkling Water with Lime: This refreshing drink cleanses the palate, enhancing the tart’s flavors and providing a light finish to the meal.
- Coconut Macaroons: Their chewy texture and coconut flavor work harmoniously with the orange, adding a tropical touch to your dessert experience.
- Prosecco: This bubbly wine complements the tart’s sweetness and fruitiness, bringing a festive touch to your gathering.
- Dark Chocolate Shavings: Sprinkled on top, they offer a rich finish, deepening the flavor experience of the Classic Orange Tart with each bite.
Classic Orange Tart Recipe FAQs
What kind of oranges should I use for the filling?
I recommend using fresh Navel oranges for their sweet, juicy flavor. However, Valencia or blood oranges can also give you a delightful twist! Avoid using sour or overly soft oranges, as they may affect the sweetness and texture of your filling.
How do I store the Classic Orange Tart?
Store the Classic Orange Tart covered in the refrigerator for up to 3 days. Make sure to keep it airtight to maintain its creamy texture and vibrant flavors. This way, you’ll always have a delightful treat ready to impress your family!
Can I freeze the Classic Orange Tart?
Absolutely! To freeze, simply wrap the tart or individual slices tightly in plastic wrap and then in foil. It can be frozen for up to 2 months. When you’re ready to enjoy it, allow it to thaw in the refrigerator overnight for the best texture. Just keep in mind that the filling’s consistency may vary slightly upon thawing.
What can I do if my orange filling doesn’t set properly?
If your orange filling hasn’t set as expected, first ensure you’ve followed the recipe correctly regarding gelatin or cornstarch. If it remains too runny, you can gently reheat the filling over low heat, whisking it constantly until thickened. In a separate bowl, make a slurry with a tiny bit of cornstarch and cold water, and slowly add it to the warm filling, stirring continuously until it reaches the desired consistency.
Is it safe for pets or people with allergies?
If your guests have allergies, note that this tart contains potential allergens like eggs, dairy, and nuts (from almond flour). It’s best to inform them before serving. For pets, be cautious! While oranges in moderation aren’t toxic to dogs or cats, the high sugar content and potential for upset stomachs mean it’s wise to keep this treat away from your furry friends.
Classic Orange Tart: A Simple Yet Elegant Delight
Ingredients
Equipment
Method
- Prepare the dough by combining all-purpose flour, powdered sugar, almond flour, salt, orange zest, cold butter, egg yolk, and cold water in a food processor. Pulse until resembling coarse crumbs.
- Chill the dough for at least 30 minutes before rolling it out to fit a greased tart pan. Blind bake the crust for approximately 12-15 minutes.
- In a saucepan, heat fresh orange juice. Whisk together eggs, superfine sugar, and cornstarch, then gradually whisk in the warm orange juice. Heat the mixture until it thickens.
- Once thickened, remove from heat, add gelatin, butter, and additional orange zest. Let cool before pouring into the baked tart crust.
- Chill the tart for 3 hours or overnight. Prepare whipped cream by whipping heavy cream and powdered sugar until stiff peaks form.
- Serve the tart with topped whipped cream and garnish with fresh mint and orange segments.
Leave a Reply