
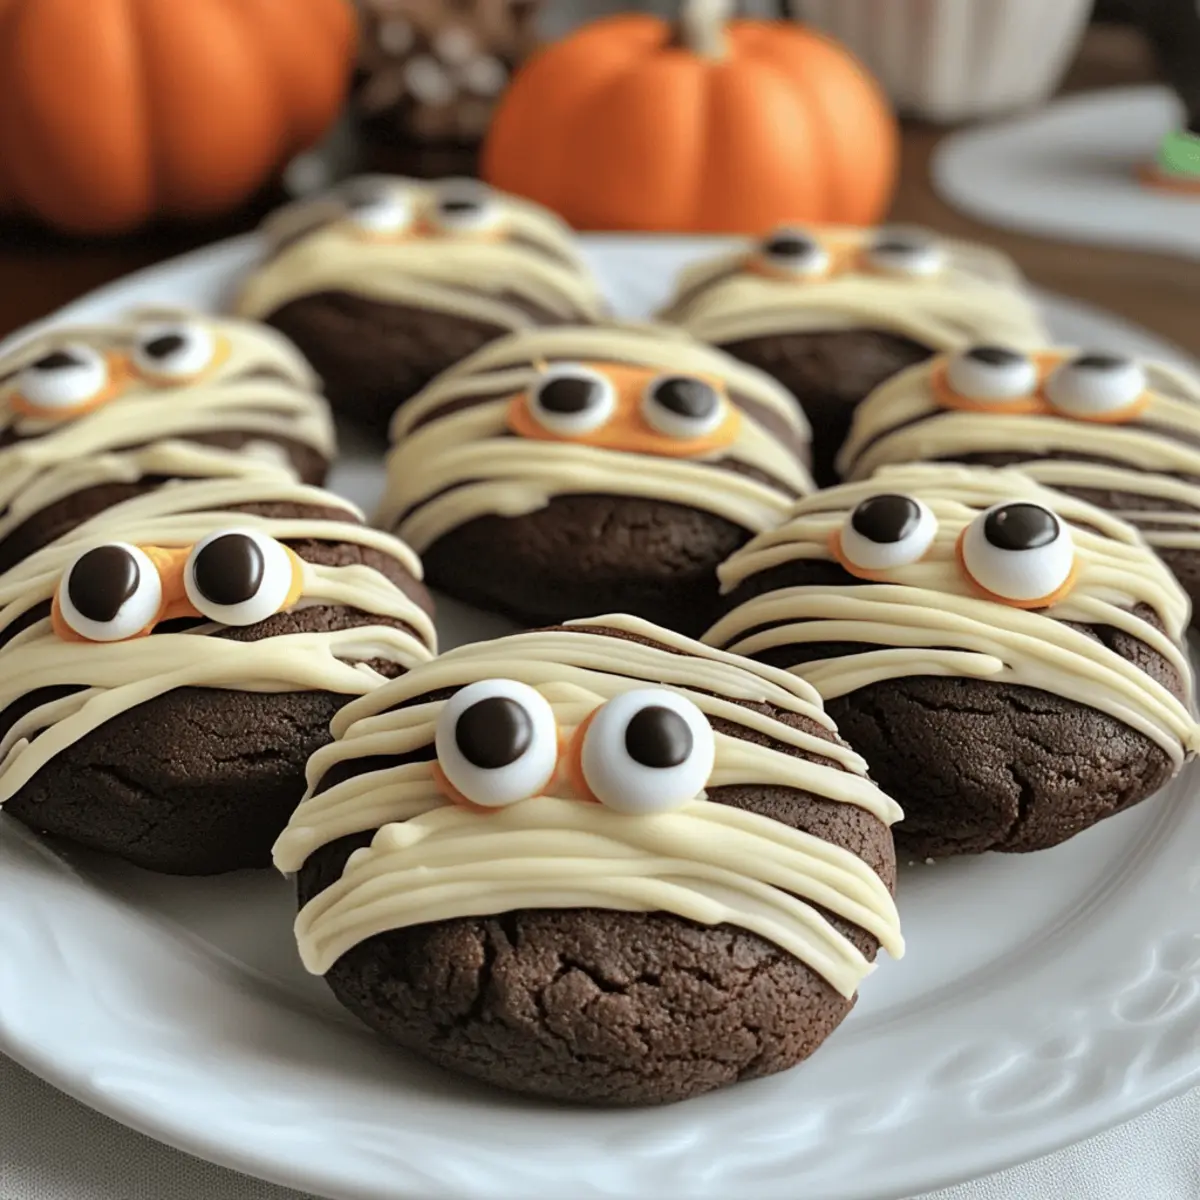
As the cool autumn breeze rustles through the trees, it signals that Halloween is just around the corner. Imagine the delight on your little ones’ faces as you whip up a batch of Halloween Mummy Cookies—these fudgy chocolate treats are not only a spook-tacular dessert but also a fun and engaging baking project for kids and adults alike. With simple ingredients and only about 30 minutes from mixing to munching, this recipe transforms standard cookies into festive delights topped with creamy buttercream and playful candy eyes. Whether you’re hosting a Halloween party or just looking for a sweet way to celebrate the season, these cookies bring a deliciously fun twist to your holiday festivities. Ready to get started on a treat that could just steal the spotlight this Halloween? Let’s dive in!

Why Are Halloween Mummy Cookies a Must-Make?
Spooky fun: These Halloween Mummy Cookies are not just treats; they’re an invitation to unleash your creativity in the kitchen. Kid-friendly: Easy enough for little ones to help with, making family bonding a delightful experience. Quick prep: Whip up these fudgy cookies in just 30 minutes, perfect for last-minute planning. Versatile décor: Let your imagination go wild with toppings; try different candies or use colorful icing for unique designs. Crowd-pleaser: Their adorable mummy appearance will impress guests of all ages, making them ideal for Halloween parties. You could even pair them with other favorites like Cinnamon Roll Cookies for a delightful dessert spread!
Halloween Mummy Cookie Ingredients
For the Cookie Dough
- Butter – Provides moisture and richness; try margarine or coconut oil for a dairy-free option.
- Granulated Sugar – Adds sweetness and structural integrity; brown sugar can be used as a fun alternative.
- Dark Brown Sugar – Enhances flavor and moisture; light brown sugar is a suitable substitute.
- Eggs – Contributes to richness and binding; swap in flaxseed meal for a vegan version.
- Vanilla Extract – Offers depth of flavor; imitation vanilla works if you’re short on the real deal.
- All-Purpose Flour – Provides structure; opt for gluten-free flour to cater to dietary needs.
- Cocoa Powder – Delivers a rich chocolate flavor and deep color; unsweetened cacao powder makes a great alternative.
- Baking Powder & Baking Soda – Helps the cookies rise; ensure both are fresh for the best results.
- Salt – Balances sweetness and enhances flavors; reduce if you’re watching sodium intake.
For the Buttercream Topping
- Powdered Sugar – Sweetens and thickens the buttercream; make sure to sift to avoid lumps.
- Milk – Adds moisture to the buttercream; substitute with almond or coconut milk for a dairy-free twist.
With these ingredients, you’re all set to create your delectable Halloween Mummy Cookies that will not only delight the taste buds but also spark joy during your baking sessions!
Step‑by‑Step Instructions for Halloween Mummy Cookies
Step 1: Prepare Butter
Begin by melting the butter in a small saucepan over low heat. Once melted, remove it from the heat and let it cool to room temperature. This step is crucial; if the butter is too hot, it can cook the eggs later. You will need a mixing bowl and a whisk for the next steps.
Step 2: Mix Wet Ingredients
In a large bowl, combine the cooled melted butter with the granulated sugar and dark brown sugar. Whisk together until well blended, then add in the egg, egg yolk, and vanilla extract, mixing until the batter is smooth. This wet mixture will form the rich base for your Halloween Mummy Cookies.
Step 3: Combine Dry Ingredients
In a separate bowl, whisk together the all-purpose flour, cocoa powder, baking powder, baking soda, and salt. Ensure there are no lumps, especially in the cocoa powder, as this will enhance the texture. Gradually add this dry mixture to the wet ingredients, mixing gently until just combined to avoid overworking the dough.
Step 4: Form Dough
Cover the bowl with plastic wrap and refrigerate the cookie dough for about 30 minutes. Chilling the dough will help the cookies maintain their shape while baking, resulting in the perfect fudgy consistency. During this time, you can preheat your oven to 350°F (175°C).
Step 5: Shape and Bake
Once the dough is chilled, scoop heaping tablespoons of it and roll into balls. Place these on parchment-lined baking trays, flattening them slightly for an even bake. Bake the cookies in the preheated oven for 9-10 minutes, until they are set around the edges but soft in the center—this ensures they remain fudgy!
Step 6: Cool and Decorate
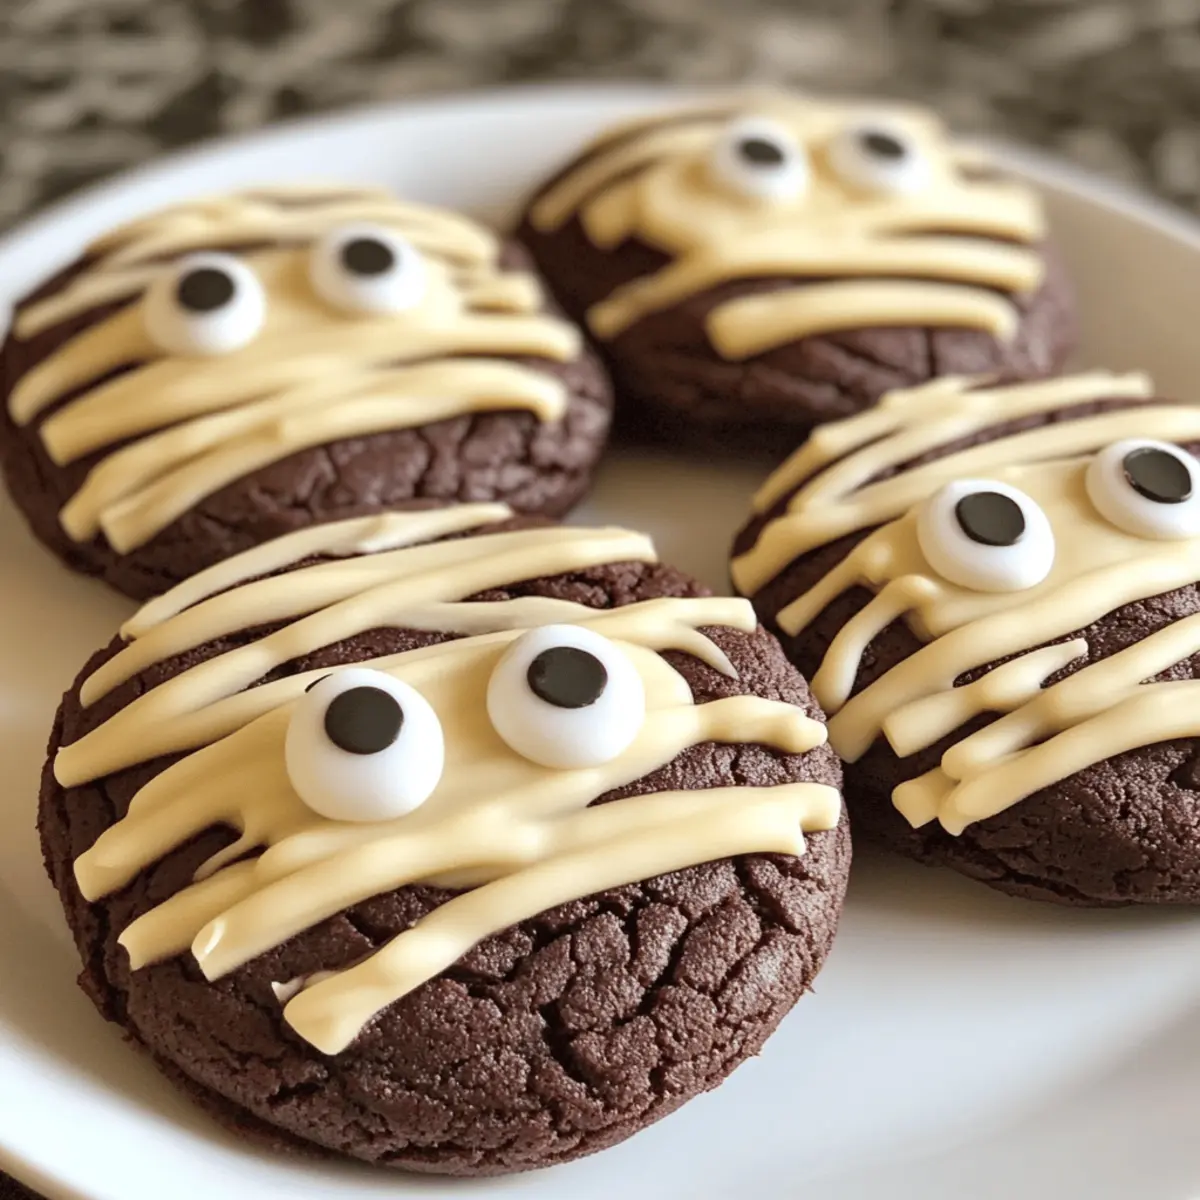
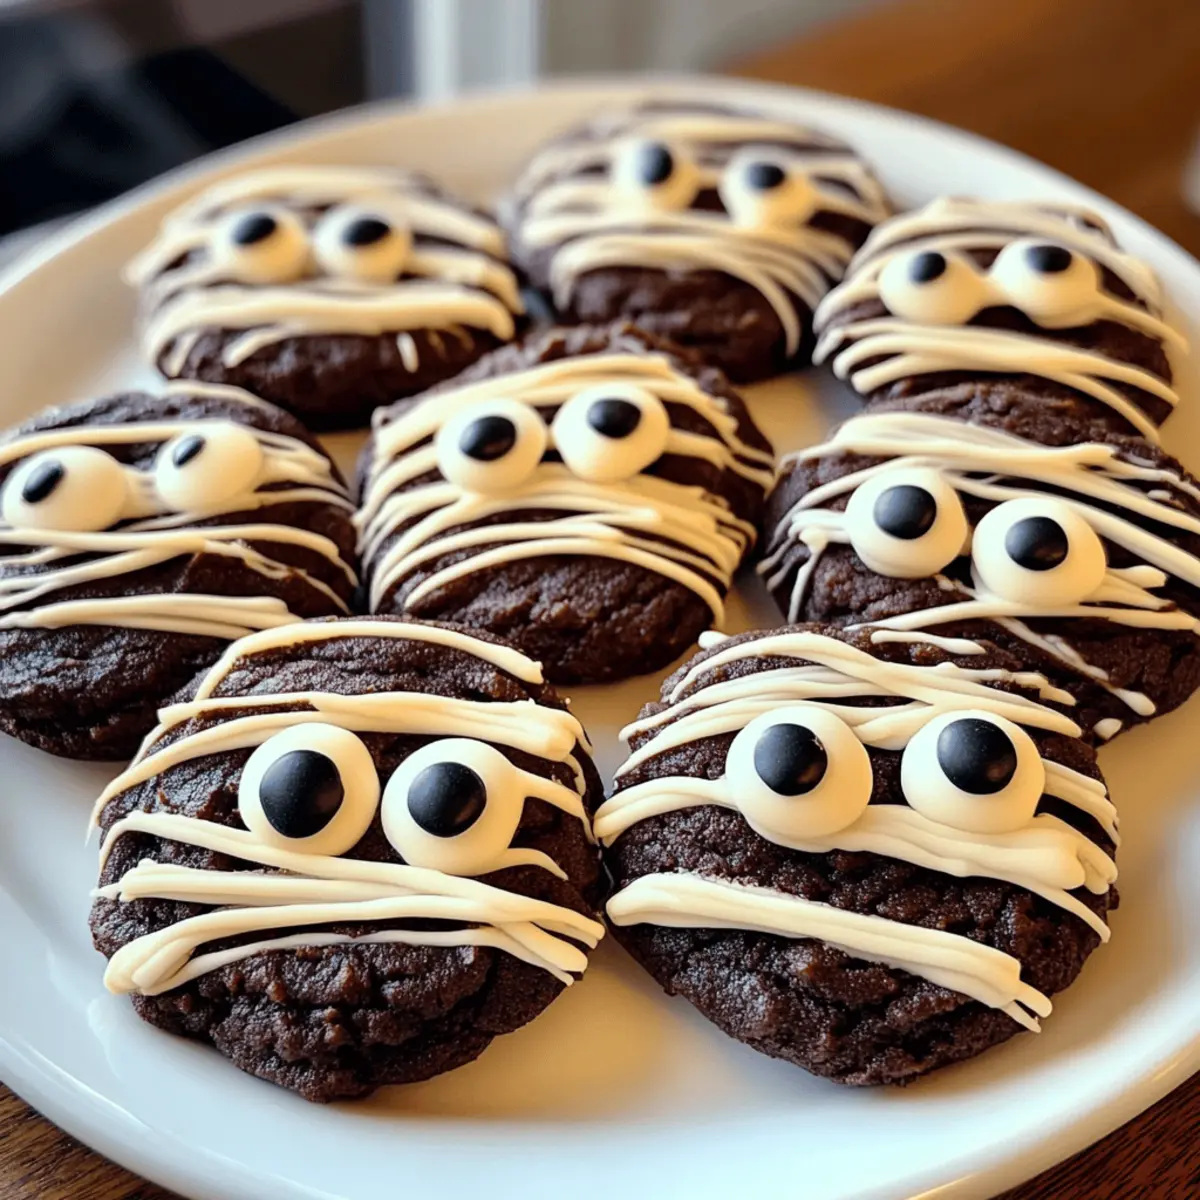
After baking, let the cookies cool on the tray for a few minutes before transferring them to a wire rack to cool completely. While they cool, prepare your vanilla buttercream by mixing sifted powdered sugar with milk until smooth and creamy. Once the cookies are cool, pipe the buttercream onto each cookie and add playful candy eyes for a spooky mummy effect!
Expert Tips for Halloween Mummy Cookies
-
Cool Butter Properly: Letting the melted butter cool to room temperature is essential to prevent cooking the eggs during mixing, ensuring a smooth batter.
-
Chill the Dough: Refrigerate the cookie dough for at least 30 minutes before baking. This helps maintain shape and ensures fudgy consistency.
-
Watch Baking Time: Keep an eye on the cookies while they bake; they should be set at the edges but soft in the center for that perfect fudgy texture.
-
One Tray at a Time: Bake only one tray of cookies at a time to promote even cooking and avoid any uneven browning that could arise from overcrowding the oven.
-
Avoid Overmixing: When combining wet and dry ingredients, mix just until incorporated. Overmixing can lead to tough cookies instead of the desired tender fudginess.
With these tips, your Halloween Mummy Cookies will be a delicious success, and a fun treat to share!
Halloween Mummy Cookies: Fun Twists
Give your Halloween Mummy Cookies a personalized touch and explore delightful variations that elevate these spooky treats!
-
Dairy-Free: Substitute butter with coconut oil and use almond or oat milk in the buttercream for a vegan-friendly option.
Your little ghouls won’t even notice the difference, and they’ll love the tropical flavor! -
Sugar Substitutes: Try using coconut sugar or a zero-calorie sweetener to reduce the recipe’s sugar content.
This keeps the indulgence but adds a healthy twist—perfect for mindful munching during the Halloween festivities! -
Add Pumpkin Spice: Mix in a teaspoon of pumpkin spice to the cookie dough for a warm, autumnal flavor.
It’s a delightful way to bring that cozy fall aroma to your kitchen, making every bite a seasonal treat! -
Monster Mash: Swap out the candy eyes for colorful gummy worms or spooky candies for a fun mix-and-match treat.
Kids will get a kick from the surprise in each bite—perfect for Halloween parties! -
Crunchy Twist: Incorporate crushed pretzels or nuts into the dough to add an exciting crunch to your fudgy cookies.
This contrast in texture will have everyone coming back for more! -
Chocolate Drizzle: After frosting, drizzle melted chocolate over the cookies for an extra layer of richness and a decorative flair.
It transforms your Mummy Cookies into an even more indulgent treat that looks as good as it tastes! -
Halloween-Themed Toppings: Use colored icing to create different designs or spooky faces on your Mummy Cookies.
Think of a family bake-off to see who can create the scariest or funniest cookie!
These exciting variations can transform your Halloween gathering into a breathtaking display of creativity. And if you’re in the mood for more cookie adventures, don’t forget to check out our delicious Cinnamon Roll Cookies and Chocolate Chip Cookies for additional inspiration!
What to Serve with Halloween Mummy Cookies
As you prepare these festive Halloween Mummy Cookies, consider delightful pairings that enhance the sweet, fudgy chocolate experience.
-
Creamy Vanilla Ice Cream: This classic pairing adds a cold, creamy contrast to the rich cookies, making every bite even more indulgent.
-
Warm Pumpkin Spice Latte: The comforting spices of this drink echo fall flavors while complementing the chocolate, creating a cozy experience.
-
Apple Cider: Served hot or cold, apple cider brings a fruity freshness that balances the sweetness of the cookies and enhances the autumn theme.
-
Chocolate Milk: A sweet and nostalgic drink for kids, chocolate milk is a perfect match, complementing the deep chocolate flavor of the cookies.
-
Caramel Sauce: Drizzle this sweet sauce over your cookies for a decadent touch that amplifies their fudginess with a touch of buttery richness.
-
Candy Corn Medley: Add a crunchy, festive touch with this classic Halloween treat to accompany your cookies, enhancing the playful vibe of the occasion.
-
Halloween-Themed Fruit Salad: Toss together seasonal fruits like oranges, apples, and grapes for a refreshing and colorful contrast that brightens the dessert table.
-
Spooky Mocktails: Create fun, fruity drinks with soda and fruit juices; they not only pair well but also boost the festive atmosphere for your gathering.
Make Ahead Options
These Halloween Mummy Cookies are perfect for busy home cooks looking to streamline their holiday baking! You can prepare the cookie dough up to 24 hours in advance; simply cover the bowl tightly with plastic wrap and refrigerate it to maintain freshness. Additionally, you can make the vanilla buttercream ahead and store it in the refrigerator in an airtight container for up to 3 days. When you’re ready to bake, scoop and shape the chilled dough, then bake as instructed. For the best quality and to ensure they remain fudgy, avoid overbaking these cookies, and decorate them with buttercream and candy eyes just before serving for a fresh, delightful treat.
Storage Tips for Halloween Mummy Cookies
Room Temperature: Store cookies in an airtight container at room temperature for optimal freshness. They are best enjoyed within 1 day of baking, but can last for up to 3 days.
Fridge: If you prefer a firmer texture, refrigerate the cookies. Just be sure to keep them in an airtight container to prevent drying out; they can last up to a week this way.
Freezer: For longer storage, freeze the Halloween Mummy Cookies. Wrap each cookie tightly in plastic wrap and then place in a freezer-safe bag. They can be frozen for up to 3 months.
Reheating: To enjoy a warm cookie, simply microwave it for about 10-15 seconds after thawing. This will bring back that soft, fudgy texture that makes these Halloween Mummy Cookies a crowd favorite!
Halloween Mummy Cookies Recipe FAQs
How do I choose the best ingredients for Halloween Mummy Cookies?
Absolutely! For the best flavor and texture, use unsalted butter and high-quality cocoa powder. Look for eggs that are fresh and free of cracks. When selecting your chocolate toppings, ensure the candy eyes are intact and not broken; this adds to the fun appearance of your cookies!
What’s the best way to store Halloween Mummy Cookies?
To keep your cookies fresh, store them in an airtight container at room temperature. They will stay delicious for about 1 day after baking, but they can last up to 3 days. For even better shelf life, consider refrigerating them in an airtight container where they can be enjoyed for up to a week.
Can I freeze Halloween Mummy Cookies for later?
Absolutely! To freeze your cookies, wrap each one tightly in plastic wrap, then place them in a freezer-safe bag or container. They can be frozen for up to 3 months. When you’re ready to enjoy them, thaw the cookies in the refrigerator overnight and, for the best experience, warm them in the microwave for 10-15 seconds for that fresh-baked taste!
What should I do if my cookies are too puffy or not fudgy enough?
If your cookies turn out too puffy, it might be because the dough was overmixed or the leavening agents were too fresh. To achieve that perfect fudginess, ensure you only mix until the ingredients are just combined. If they’re too dry, consider adding a splash more milk into the buttercream or adjust with a bit of melted chocolate to enrich the dough.
Are there any dietary considerations for Halloween Mummy Cookies?
Yes, you can easily adjust this recipe to fit various dietary needs! Substitute the eggs with flaxseed meal (1 tablespoon flaxseed meal mixed with 2.5 tablespoons water per egg) for a vegan option. Additionally, gluten-free flour can be used instead of regular flour, ensuring everyone can enjoy these spooky treats, including those with allergies!
How long can I keep Halloween Mummy Cookies and still enjoy their taste and texture?
For optimal flavor and freshness, it’s best to enjoy these cookies within 1 day of baking them. If sealed properly, they’ll maintain good quality for up to 3 days at room temperature or a week if refrigerated. Freezing them extends their life significantly, allowing you to hold onto those delightful treats for up to 3 months!
Halloween Mummy Cookies: Fun Fudgy Treats for Ghoulish Gatherings
Ingredients
Equipment
Method
- Melt the butter in a small saucepan over low heat and let it cool to room temperature.
- In a large bowl, whisk together the cooled melted butter, granulated sugar, and dark brown sugar until well blended. Add the eggs and vanilla extract, mixing until smooth.
- In a separate bowl, whisk together the flour, cocoa powder, baking powder, baking soda, and salt. Gradually add this dry mixture to the wet ingredients, mixing gently until just combined.
- Cover the bowl with plastic wrap and refrigerate the dough for 30 minutes. Preheat your oven to 350°F (175°C).
- Scoop heaping tablespoons of dough and roll into balls. Place on parchment-lined trays, flatten slightly, and bake for 9-10 minutes.
- Let the cookies cool on the tray for a few minutes, then transfer to a wire rack. Prepare the vanilla buttercream by mixing sifted powdered sugar with milk until smooth and creamy. Once cooled, pipe the buttercream on each cookie and add candy eyes.
Leave a Reply