
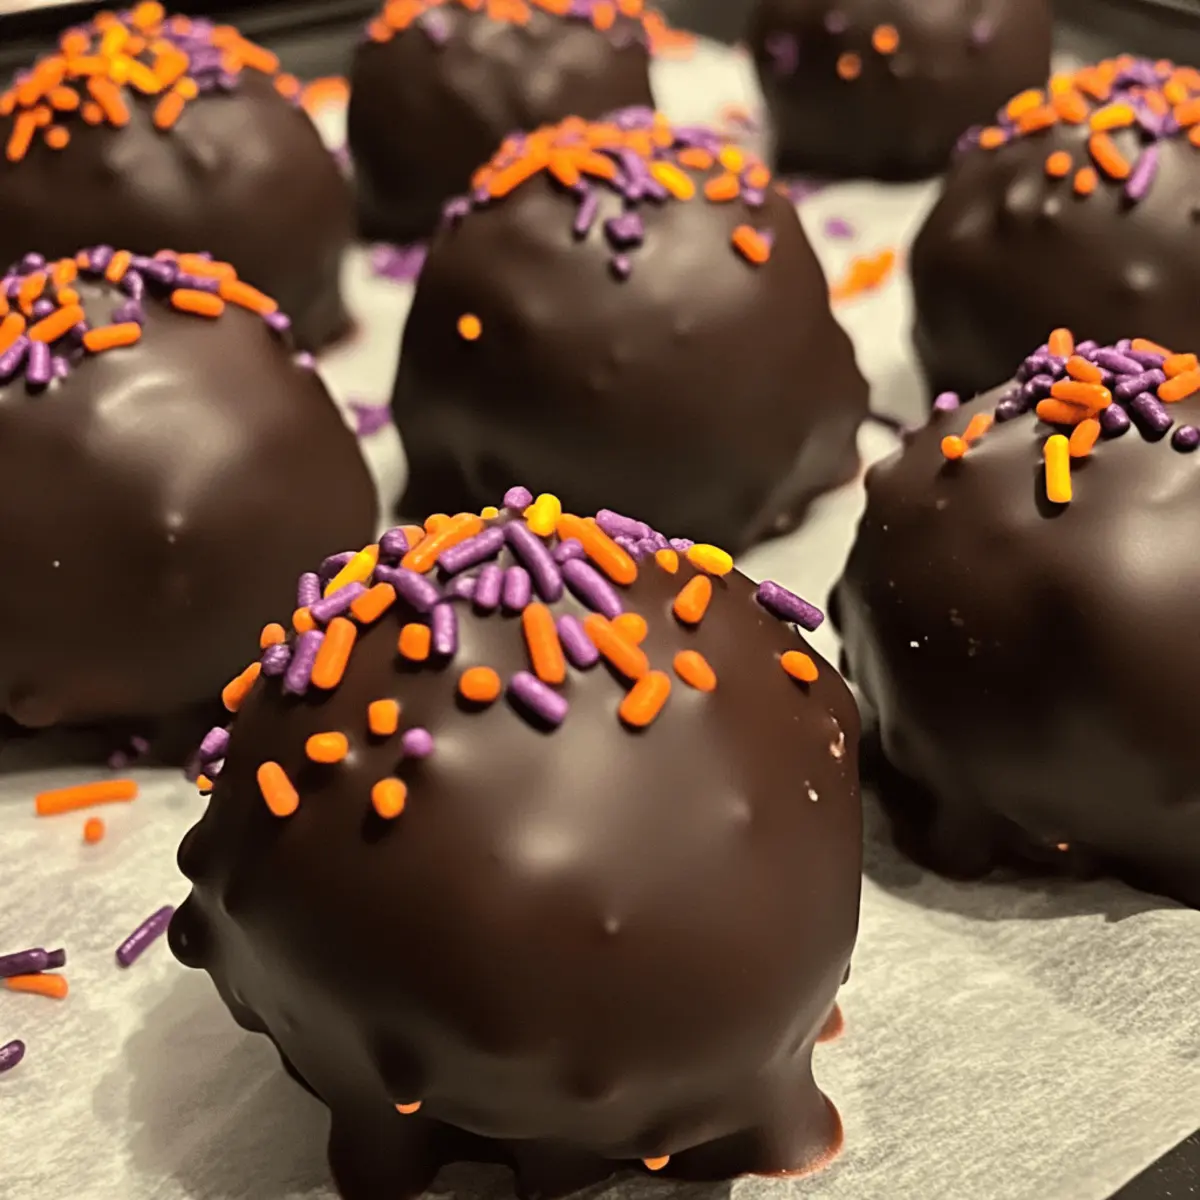
As the leaves turn a vibrant orange and the air fills with the scent of crisp autumn, the excitement of Halloween kicks in—and what could be better than a sweet treat to celebrate? These No-Bake Halloween Oreo Balls are a delightful fusion of creamy goodness and chocolatey bliss, perfect for bringing a festive vibe to any gathering. With their simple preparation, you’ll have a crowd-pleasing dessert ready in no time, leaving you more moments to enjoy the spooky season with friends and family. Plus, feel free to customize these tasty bites with colorful sprinkles for that extra festive flair! Are you ready to create some holiday magic in the kitchen?
Why Are Halloween Oreo Balls a Must-Make?
Easy Preparation: These No-Bake Halloween Oreo Balls require minimal effort; just mix, roll, and coat! Perfect for busy schedules or last-minute party planning.
Rich, Creamy Delight: Each bite offers a heavenly combination of Oreo and cream cheese—decadent yet totally snackable.
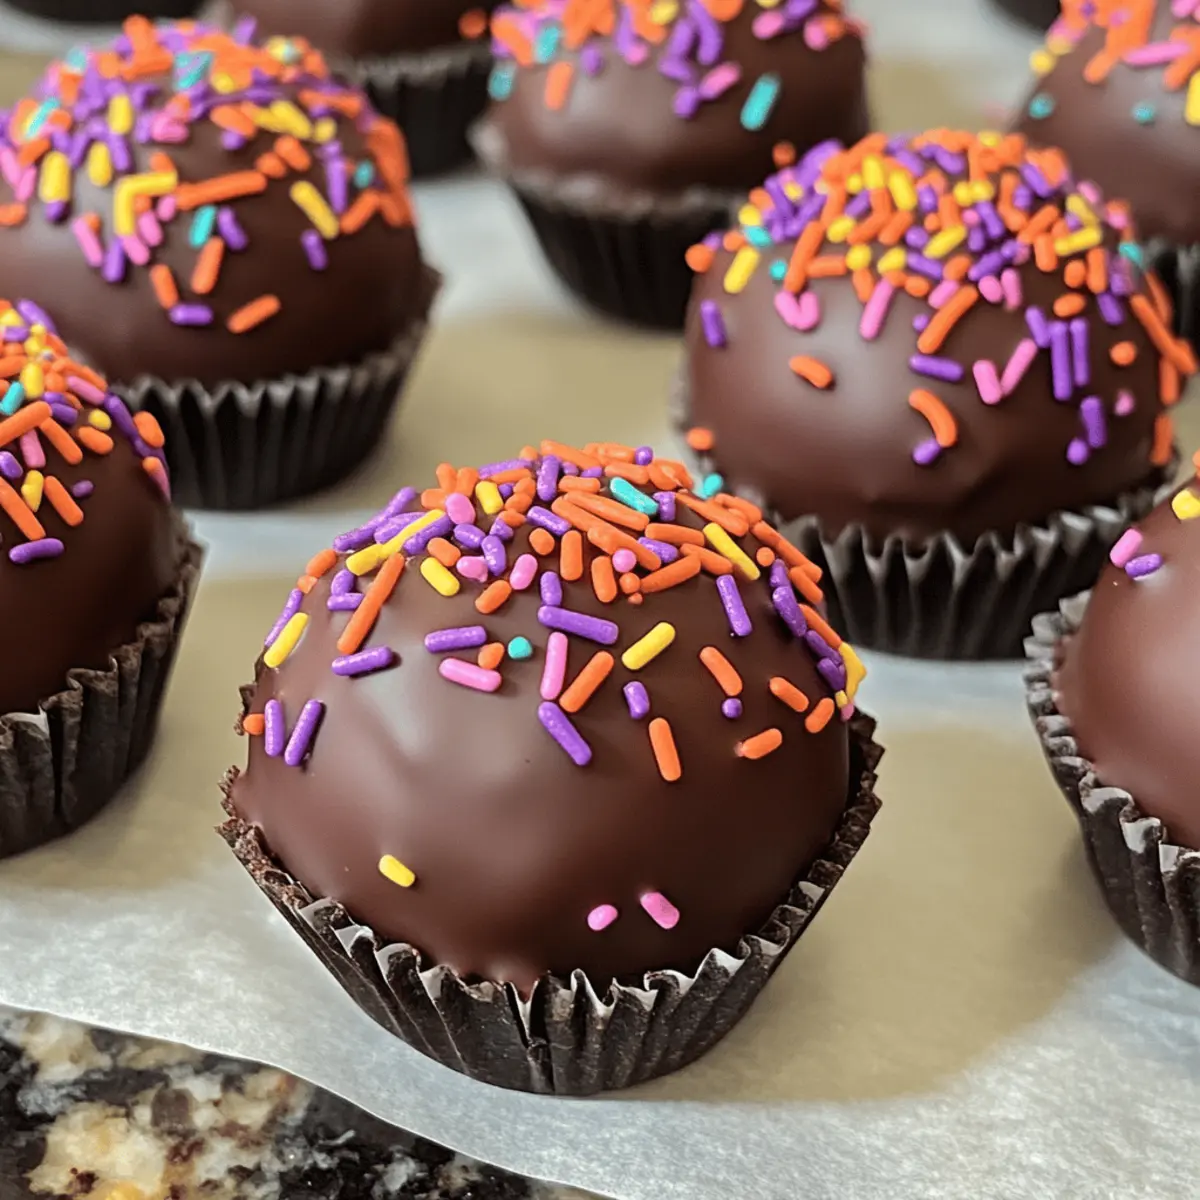
Festive Customization: Use colorful sprinkles to match your Halloween theme, making them as fun to look at as they are to eat!
Crowd-Pleasing Treat: They’re sure to be the star of any gathering, leaving guests asking for the recipe.
Check out variations like my Oreo Cheesecake Cookie for another delightful spin on a classic!
Halloween Oreo Balls Ingredients
For the Oreo Mixture
• Oreo cookies – The heart of this treat, providing a sweet chocolate base; regular Oreos work best for optimal consistency.
• Cream cheese – Offers a creamy filling that binds the mixture together; make sure it’s softened for easy blending.
For the Coating
• Melting chocolate – This smooth chocolate layer enhances the flavor and brings everything together; opt for quality melting chocolate to avoid burning.
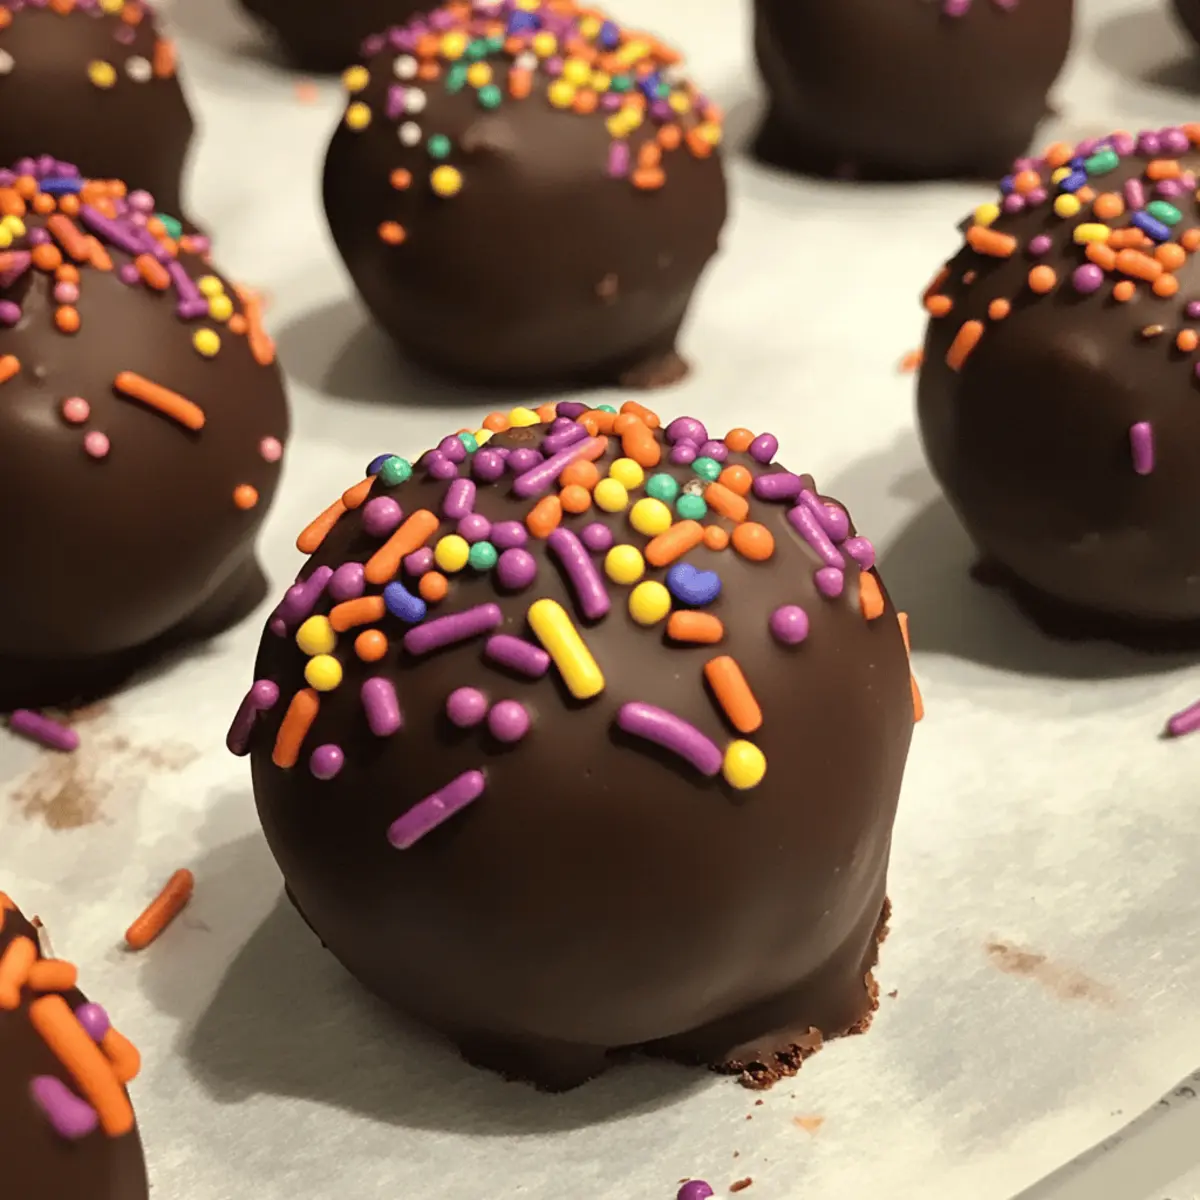
• Sprinkles – A fun decorative touch that adds color and excitement to your treats; choose festive colors to celebrate Halloween!
Make these Halloween Oreo Balls for a sweet bake-free celebration, perfect for gathering with friends and family!
Step‑by‑Step Instructions for Halloween Oreo Balls
Step 1: Prepare Oreo Mixture
Start by placing your Oreo cookies into a food processor. Pulse until they are finely crumbled, resembling sand, which should take about 1-2 minutes. This will be the base for your Halloween Oreo Balls. Make sure there are no large chunks for a smooth mixture in the next step.
Step 2: Combine Ingredients
In a mixing bowl, add the crumbled Oreo cookies and your softened cream cheese. Using a hand mixer, blend them together on medium speed for about 2-3 minutes. The mixture should be well-combined and have a thick, cohesive texture, ready to be rolled into balls.
Step 3: Form Balls
Using your hands, scoop out tablespoon-sized portions of the mixture and roll them into 1-inch balls. Place each ball on a parchment-lined baking sheet. Aim for uniform sizes to ensure even coating and chilling, setting them apart by at least an inch to make the next steps easier.
Step 4: Freeze
Once all the balls are shaped, pop the baking sheet into the freezer. Chill for about 30 minutes, or until they are firm to the touch. This step is crucial for preventing the balls from falling apart when dipped into the melted chocolate later.
Step 5: Melt Chocolate
While the balls are chilling, take a microwave-safe bowl and add your melting chocolate. Heat it in the microwave at medium power for 30 seconds, then stir. Continue heating in 15-30 second intervals, stirring each time, until the chocolate is completely smooth and creamy—this should take 1-2 minutes total.
Step 6: Coat Balls
Retrieve the chilled Oreo balls from the freezer. One by one, dip each ball into the melted chocolate using a fork, ensuring it’s fully coated. Allow any excess chocolate to drip off before placing them back on the parchment-lined baking sheet. Work quickly but carefully to maintain the shape of your Halloween Oreo Balls.
Step 7: Decorate
While the chocolate coating is still wet, sprinkle your desired festive toppings generously over each ball. Choose colorful sprinkles to match the Halloween theme, adding an extra layer of fun and excitement. This step transforms your Halloween Oreo Balls into delightful festive treats.
Step 8: Final Freeze
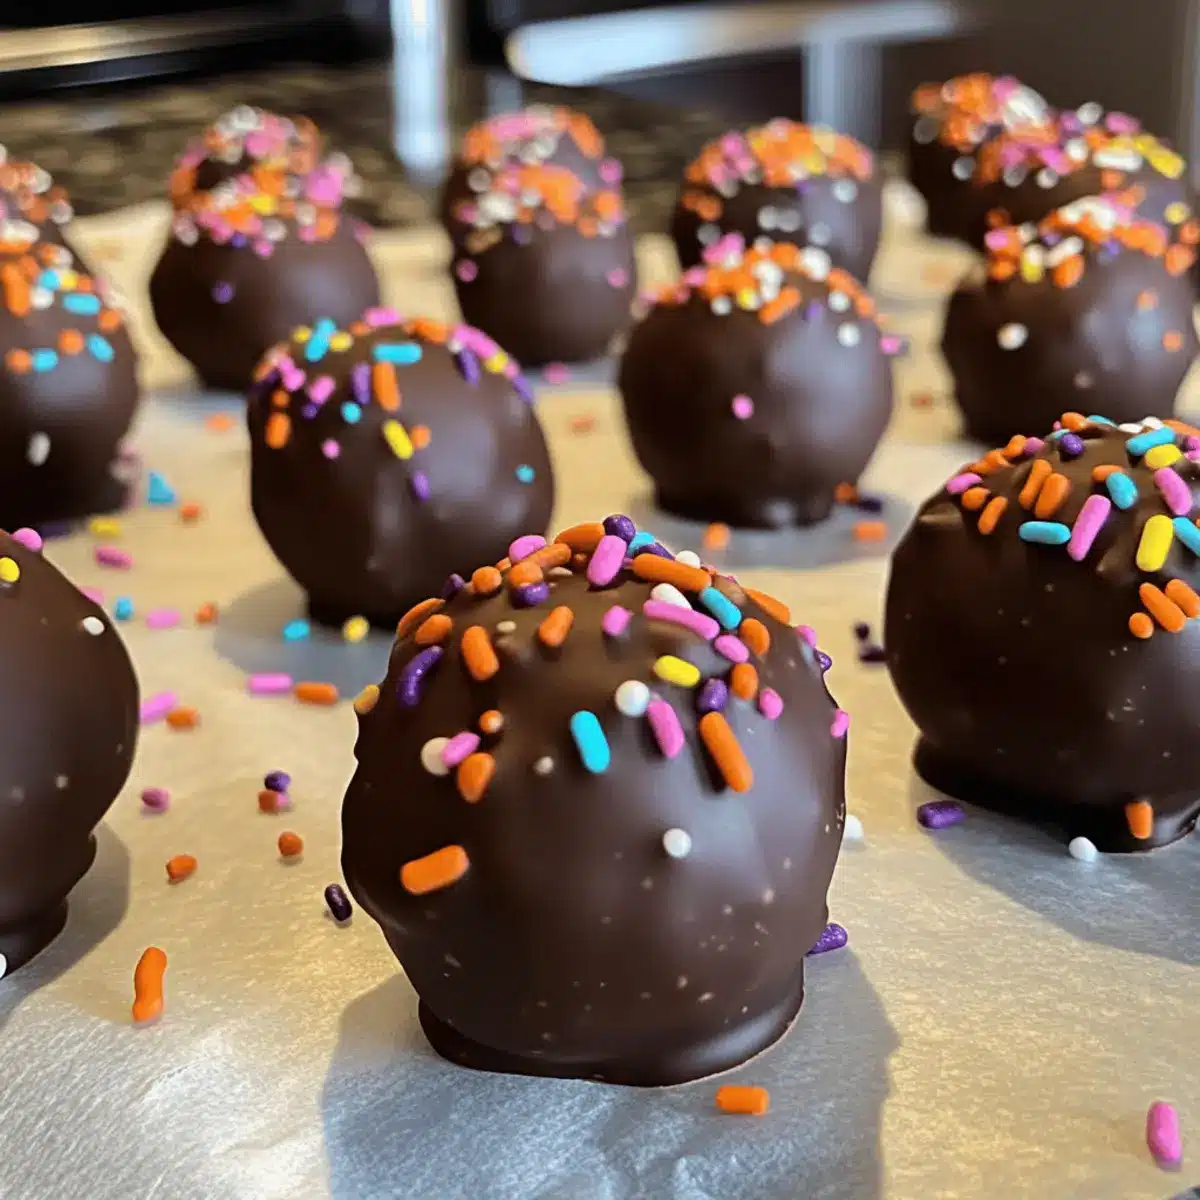
After decorating, return the baking sheet to the freezer and let the Halloween Oreo Balls chill for at least another hour. This will allow the chocolate coating to set completely. Once firm, they are ready to be served, bringing a spooky, sweet touch to any Halloween gathering!
What to Serve with Halloween Oreo Balls
Indulge your family and friends this Halloween with a delightful spread that perfectly complements your spooky treats.
-
Creamy Pumpkin Soup: A warm and velvety favorite, this soup adds a cozy contrast to your sweet Oreo balls and is perfect for an autumn gathering. Serve it in mini pumpkins for a festive touch!
-
Spooky Fruit Skewers: Bright, colorful fruit skewers can balance the sweetness of the Oreo bites while adding a refreshing and healthy element to your party platter. Add marshmallow “ghosts” for extra fun!
-
Crispy Sweet Potato Fries: The salty crunch of these fries is a delightful counterpoint to the sweet flavors of your Halloween Oreo balls. Pairing the two can create a satisfying balance of flavors that everyone will enjoy.
-
Chocolate-Covered Pretzels: Continue the chocolate theme with these sweet-and-salty snacks. Their crunchiness will add a textural contrast that pairs beautifully with the creamy, smooth Oreo balls.
-
Haunted Halloween Punch: Whip up a festive drink using lemon-lime soda, orange juice, and a splash of grenadine. It’s a bright, bubbly offering that refreshes the palate after each sweet bite.
-
Ghostly Meringue Cookies: Light and airy, these delightful cookies bring a whimsical touch to your dessert table, adding an elegant contrast to the richer Oreo balls. Decorate them to look like little ghosts for added fun!
-
Caramel Apple Slices: Sweet, tart apple slices drizzled with caramel sauce create a classic fall treat. Their fruity taste will complement the rich flavors of the Halloween Oreo balls, enhancing the overall snacking experience.
-
Pumpkin Cheesecake Cups: Rich and creamy, these cups bring a delightful autumn flavor that matches the festive theme while offering a different texture from the Oreo balls. Plus, they’re perfect for individual servings!
-
Hot Chocolate Bar: Create a cozy warm drink station with hot chocolate topped with whipped cream and seasonal spices. This comforting drink could round out your dessert experience, keeping the spooky spirit alive!
-
Halloween-Themed Cookies: Sugar cookies decorated with festive icing not only look beautiful but add an element of homemade charm to your dessert table, making your gathering feel extra special.
Expert Tips for Halloween Oreo Balls
• Quality Ingredients: Use fresh, quality Oreo cookies and cream cheese for the best flavor and texture in your Halloween Oreo Balls.
• Chill Thoroughly: Make sure to freeze the balls for at least 30 minutes before coating; this prevents them from falling apart in the melted chocolate.
• Chocolate Melting: Melt the chocolate at low power and stir often to avoid burning. Low, slow heat assures a smooth coating without lumps.
• Dipping Technique: Utilize a fork or skewer for easy dipping and lifting. It helps to evenly coat the balls without making a mess.
• Storage Advice: Keep your Halloween Oreo Balls in an airtight container in the fridge for a week. They can also be frozen for longer-lasting treats.
Make Ahead Options
These No-Bake Halloween Oreo Balls are fantastic for meal prep and can be made ahead of time! You can prepare the Oreo mixture and form the balls up to 24 hours in advance; simply refrigerate them on a parchment-lined baking sheet until you’re ready to dip them in chocolate. For longer storage, they can be kept in the freezer for up to 3 months. When you’re ready to enjoy your treats, just pull them out, melt the chocolate, coat the balls, and decorate with sprinkles. This way, you’ll have a delicious, hassle-free dessert that’s just as delightful, saving you time during the busy Halloween festivities!
Halloween Oreo Balls Variations
Feel free to let your creativity shine and customize these Halloween Oreo Balls into something uniquely yours!
-
Flavored Oreos: Try using mint, peanut butter, or pumpkin spice Oreos for a fun flavor twist that suits your taste.
-
White Chocolate Coating: Swap the traditional chocolate for white chocolate to create a striking contrast that looks stunning on any dessert platter.
-
Crunchy Textures: For a delightful surprise, roll some of the balls in crushed nuts, cookie crumbs, or graham crackers before the final freeze.
-
Colorful Chocolate Melts: Use bright-colored chocolate melts to give your Halloween Oreo Balls a playful look. This is great for picking festive themes!
-
Sea Salt Finish: Sprinkle a touch of sea salt on top of the chocolate before it sets. This brings a yummy sweet-salty balance that everyone will adore.
-
Nut Butter Infusion: For added richness, blend in a tablespoon of your favorite nut butter with the cream cheese. This adds creaminess and depth of flavor.
-
Spicy Kick: For adventurous palates, mix in a pinch of cayenne pepper or chili powder into the Oreo mixture for a subtle heat that surprises with every bite.
-
Layered Desserts: If you’re feeling extra creative, consider layering the prepared mixture in small cups, alternating between chocolate and Oreo layers, just like in my Homemade Meatballs Savory for an elegant presentation!
Celebrate Halloween with these fun variations, and don’t hesitate to share your creations!
How to Store and Freeze Halloween Oreo Balls
Fridge: Store your Halloween Oreo Balls in an airtight container in the refrigerator for up to 1 week. This keeps them fresh and ready for snacking!
Freezer: For longer storage, place the balls in an airtight container in the freezer for up to 3 months. Make sure they are well-separated to avoid sticking.
Reheating: No need to reheat these delicious treats! Enjoy them straight from the fridge or freezer for the best texture and flavor.
Thawing: If frozen, transfer them to the fridge to thaw for a few hours before serving. This helps maintain their delectable, creamy center.
Halloween Oreo Balls Recipe FAQs
What kind of Oreo cookies should I use for the recipe?
Absolutely! For the best texture, I recommend using regular Oreo cookies instead of double-stuffed varieties. Regular Oreos will give your Halloween Oreo Balls a firmer feel and are easier to blend with cream cheese.
How should I store Halloween Oreo Balls?
You can store your Halloween Oreo Balls in an airtight container in the refrigerator for up to 1 week. This keeps them fresh and ready for snacking! If you want to keep them longer, place them in the freezer, where they can last for up to 3 months.
Can I freeze Halloween Oreo Balls, and how?
Absolutely! To freeze your Halloween Oreo Balls, first ensure they are well-chilled. Place them in a single layer on a parchment-lined baking sheet and freeze until firm. Then, transfer them to an airtight container, separating layers with parchment paper to prevent sticking. When you’re ready to enjoy them, let them thaw overnight in the fridge.
What should I do if the chocolate coating is too thick?
No worries! If your chocolate coating seems too thick to dip the balls easily, you can add a small amount of vegetable oil or shortening to the melted chocolate. Stir it in until you reach a smoother consistency, which will make for easier dipping and a lovely finish.
Are Halloween Oreo Balls safe for pets?
Very! While the ingredients in Halloween Oreo Balls are delicious for humans, they are not suitable for pets. Ingredients like chocolate and cream cheese can be harmful to dogs and cats. Always keep these treats out of reach from your furry friends!
Can I customize the toppings for my Halloween Oreo Balls?
The more the merrier! You can certainly customize your toppings to match your festive theme. Sprinkles, crushed nuts, or even drizzles of colored chocolate can enhance the visual appeal and add a fun twist to your Halloween Oreo Balls. Enjoy experimenting!
Spooktacular Halloween Oreo Balls Your Friends Will Love
Ingredients
Equipment
Method
- Start by placing your Oreo cookies into a food processor. Pulse until they are finely crumbled, resembling sand, which should take about 1-2 minutes.
- In a mixing bowl, add the crumbled Oreo cookies and your softened cream cheese. Using a hand mixer, blend them together on medium speed for about 2-3 minutes.
- Using your hands, scoop out tablespoon-sized portions of the mixture and roll them into 1-inch balls. Place each ball on a parchment-lined baking sheet.
- Once all the balls are shaped, pop the baking sheet into the freezer. Chill for about 30 minutes, or until they are firm to the touch.
- While the balls are chilling, take a microwave-safe bowl and add your melting chocolate. Heat it in the microwave at medium power for 30 seconds, then stir.
- Retrieve the chilled Oreo balls from the freezer. One by one, dip each ball into the melted chocolate using a fork, ensuring it's fully coated.
- While the chocolate coating is still wet, sprinkle your desired festive toppings generously over each ball.
- After decorating, return the baking sheet to the freezer and let the Halloween Oreo Balls chill for at least another hour.
Leave a Reply