
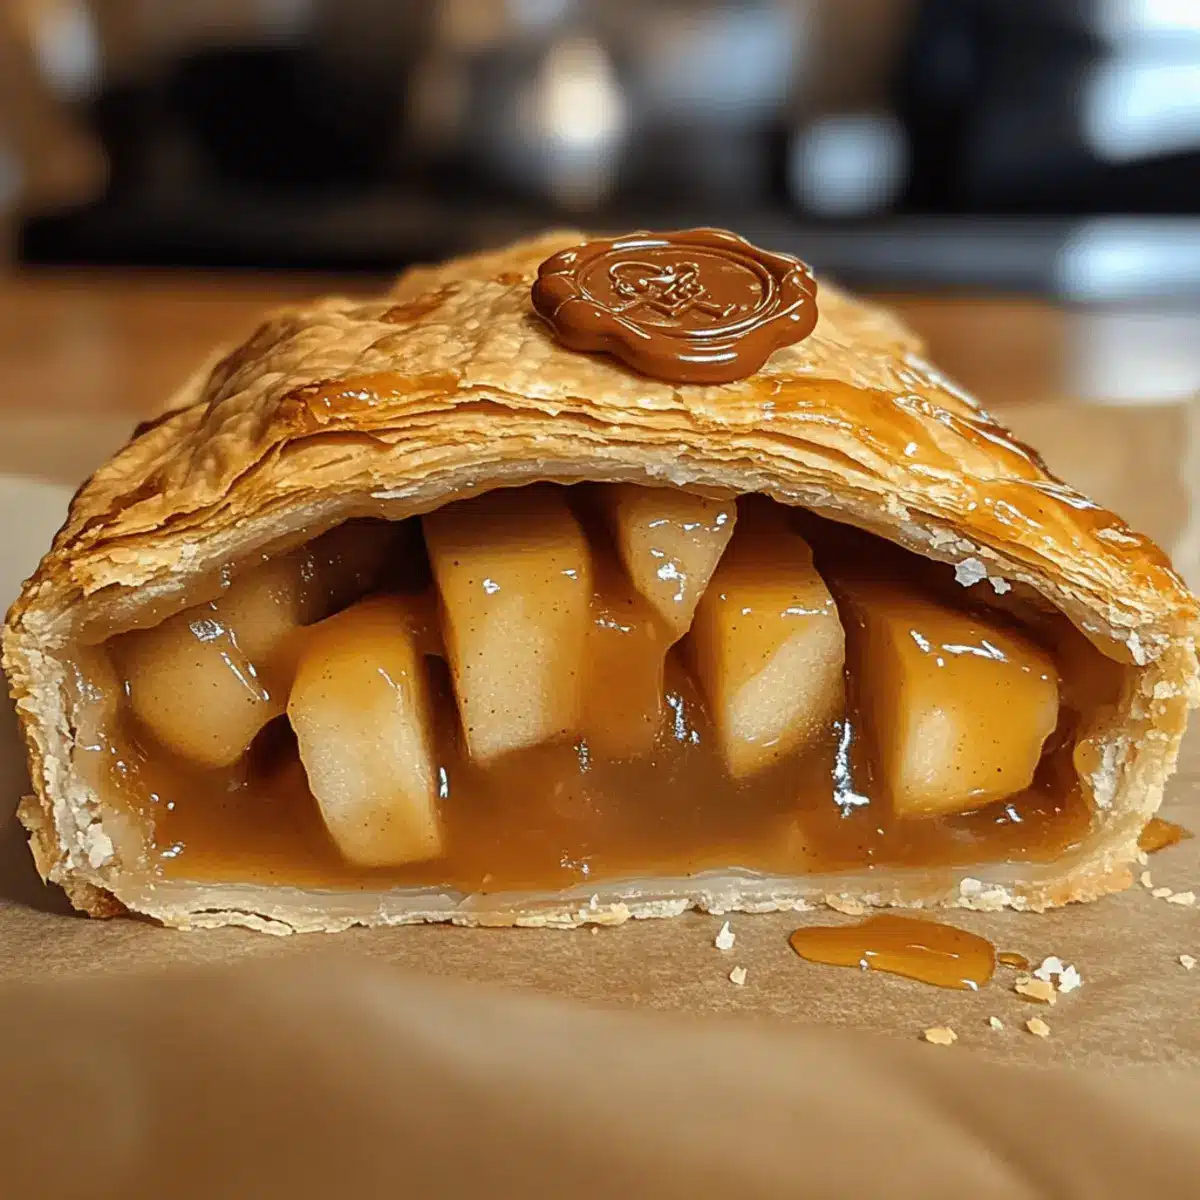
Picture me, gathered with friends, laughing and reminiscing about our favorite Harry Potter moments. That’s when the idea struck: why not bring a piece of Hogwarts to our Halloween celebration? Enter my Harry Potter Letter Caramel Apple Pies! These delightful hand pies are not only a fun homage to Harry’s iconic letter, but they also deliver a heavenly caramel apple filling wrapped in flaky pastry. The best part? They’re easy to whip up, making them the perfect festive treat for any gathering. Plus, they’re sure to enchant fans of all ages, whether you’re hosting a magical movie night or simply craving a cozy bite. Ready to impress your friends and family? Let’s cast a spell in the kitchen together!
Why Are These Pies So Magical?
Whimsical appeal: These Harry Potter Letter Caramel Apple Pies spark joy and nostalgia, making them a hit at any gathering.
Easy preparation: With premade pie crusts and minimal ingredients, you’ll have these festive treats ready in no time!
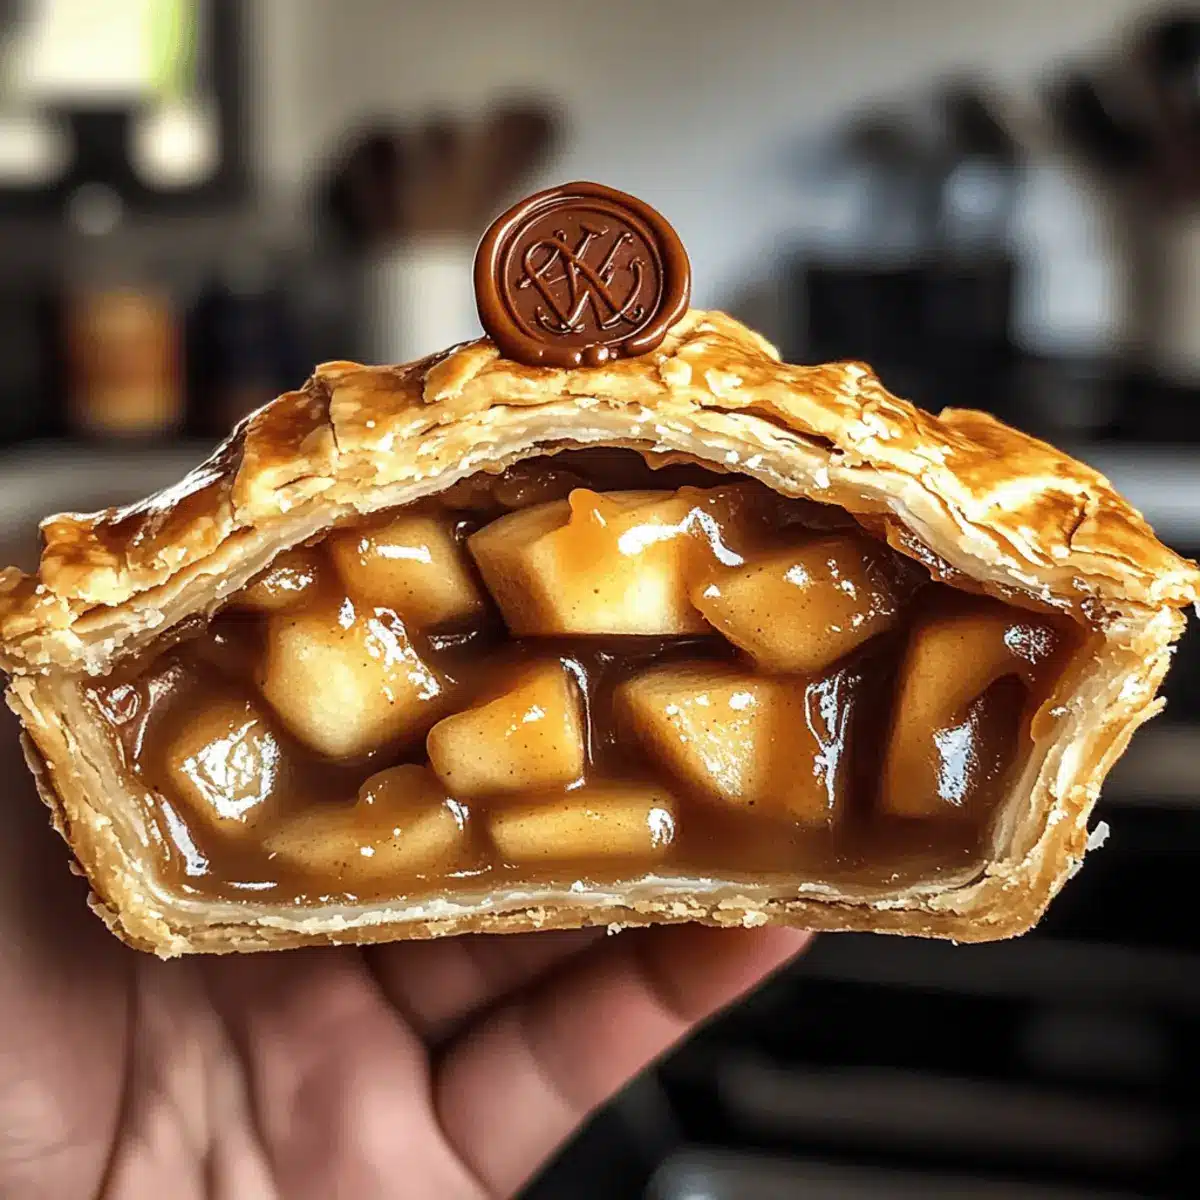
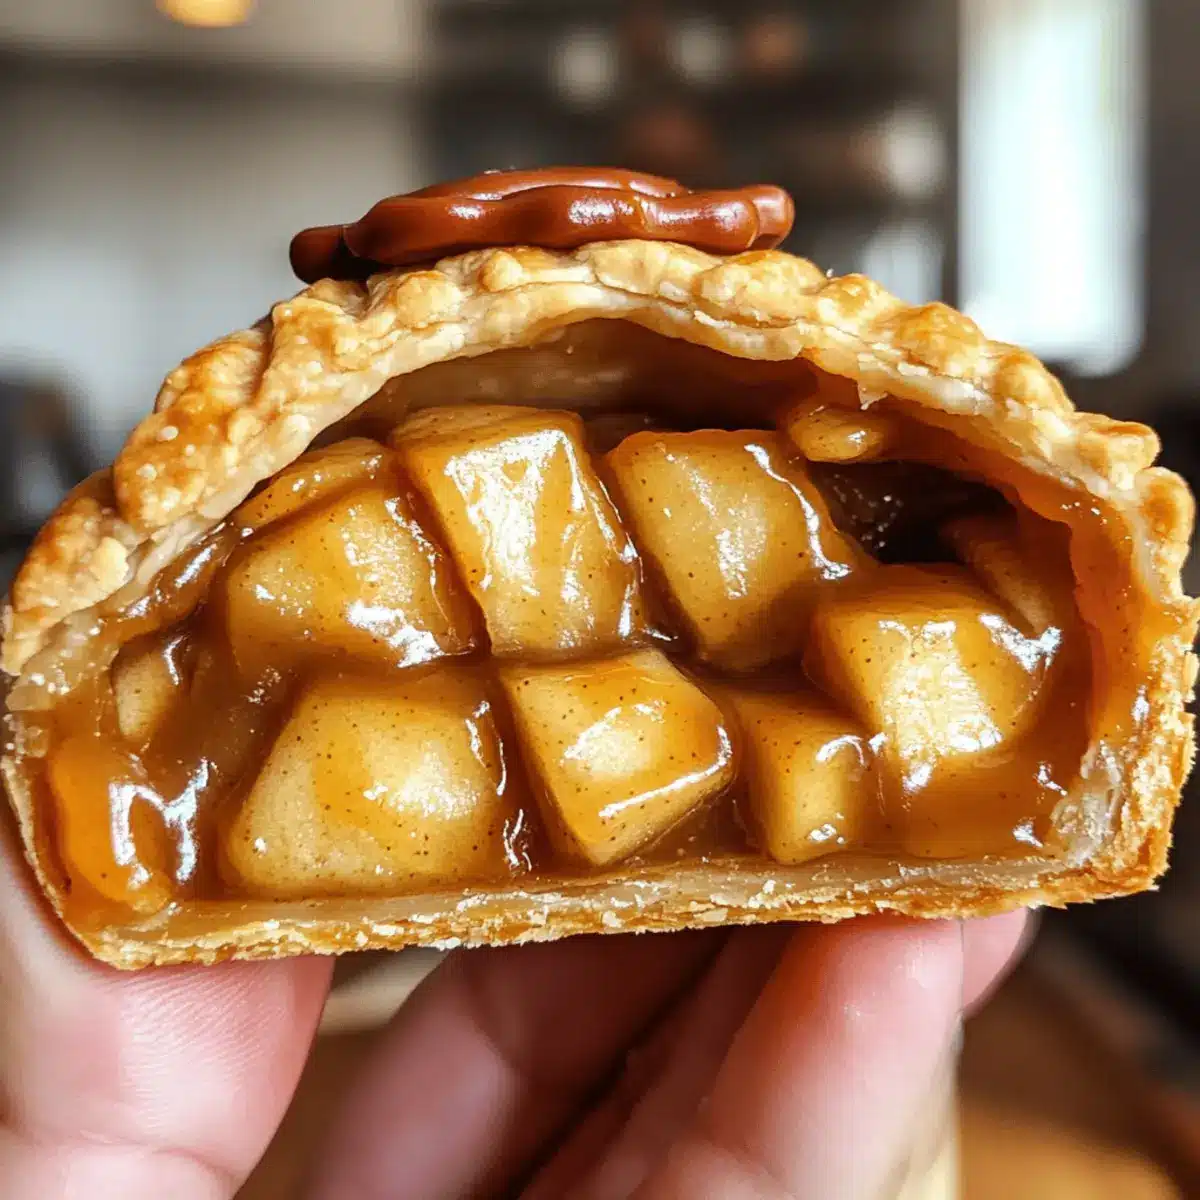
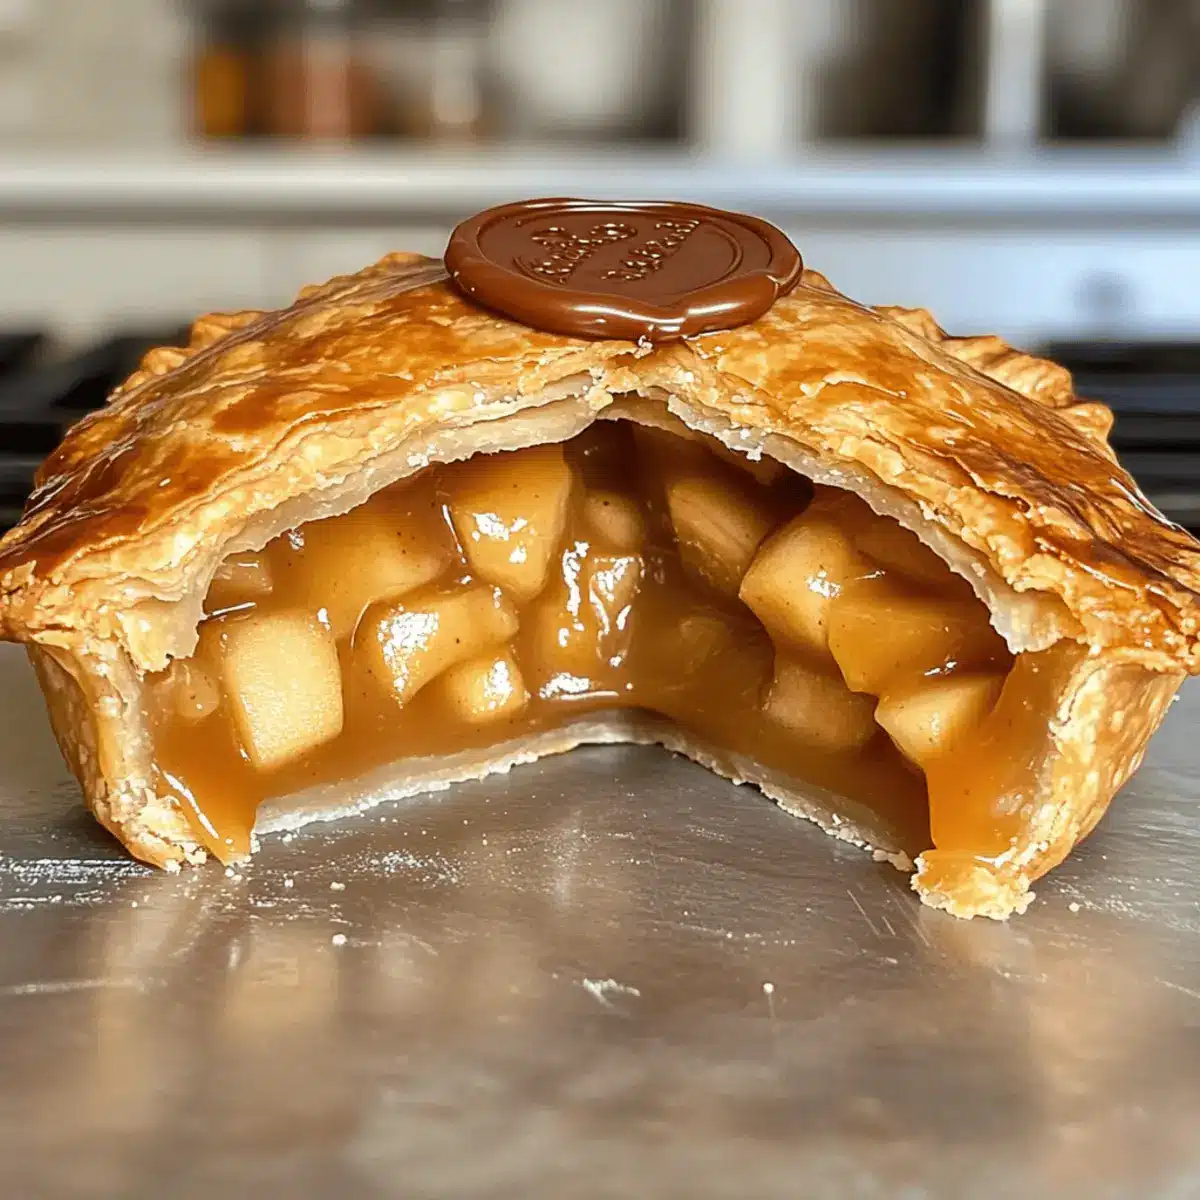
Heavenly flavors: The combination of sweet caramel and tender apples wrapped in flaky pastry creates a flavor explosion that will have everyone coming back for more.
Themed fun: Perfect for Halloween or Harry Potter movie nights, they bring an extra layer of enchantment to your celebrations. Why not pair them with a scoop of vanilla ice cream for an unforgettable dessert experience?
Versatile creativity: Experiment with different fillings like cherry or peach for a delightful twist, or check out our recipe for Salted Caramel Apple for additional inspiration!
Harry Potter Letter Caramel Apple Pies Ingredients
For the Pie Dough
• Premade Refrigerated Pie Crusts – Perfect for a flaky, easy-to-make base; homemade crust can be substituted if you prefer.
For the Filling
• Apple Pie Filling – This adds delightful sweetness; feel free to use homemade apple filling for a fresher taste!
• Apple Pie Seasoning (McCormick) – Enhances the flavor with warm spices; you can substitute with a mix of cinnamon and nutmeg for a similar taste.
• Caramel Sauce (Ghirardelli) – Deliciously complements the apples; any high-quality caramel sauce will do if you have a favorite!
For the Decoration
• Red Candy Melts – Used to create the iconic Hogwarts wax seal; dark or milk chocolate can be an alternate choice if desired.
• Hogwarts Retro Wax Seal Stamp – This is essential for that magical finishing touch! You can find it easily online or at craft stores.
These Harry Potter Letter Caramel Apple Pies will surely bring a touch of enchantment to your kitchen!
Step‑by‑Step Instructions for Harry Potter Letter Caramel Apple Pies
Step 1: Prepare the Wax Seal
Chill the Hogwarts retro wax seal stamp in the freezer for 15 minutes to ensure a clean impression. While it chills, melt the red candy melts according to package instructions. Once melted, spoon the candy onto a piece of parchment paper and press the chilled stamp into it. Let the candy set and harden, creating your whimsical seals.
Step 2: Prep the Dough
Preheat your oven to 350°F (175°C) while you prepare the pie dough. Thaw the premade refrigerated pie crusts and roll them out gently on a lightly floured surface. Cut the dough into 3×5 inch rectangles, ensuring that you have enough pieces to make tops and bottoms for your Harry Potter Letter Caramel Apple Pies.
Step 3: Mix the Filling
In a large bowl, combine the apple pie filling, caramel sauce, and apple pie seasoning until well blended. If there are large apple chunks, gently mash them to create a smoother filling. This delicious mixture will be the star of your pies, adding a rich, sweet flavor reminiscent of fall.
Step 4: Assemble the Pies
Place a generous tablespoon of the caramel apple filling on half of your dough rectangles. Brush the edges with an egg wash (a combination of whisked egg and water) to help seal the pies. Carefully place the remaining rectangles on top of the filled ones, pressing down the edges firmly. Use a fork to crimp the edges for a decorative touch and a good seal.
Step 5: Decorate the Pies
Use any dough scraps to create small strips to mimic envelope seals and place them over the top of your assembled pies. This step adds a fun detail and reminds everyone of Harry’s letter! Additionally, cut small vent holes in the top of each pie to allow steam to escape during baking.
Step 6: Bake the Pies
Arrange the assembled Harry Potter Letter Caramel Apple Pies on a prepared baking sheet lined with parchment paper. Brush the tops with egg wash for a golden finish and bake in the preheated oven for 10-15 minutes. Keep an eye on them until they turn golden brown; the aroma will fill your kitchen!
Step 7: Finish with the Wax Seal
Allow your baked pies to cool on a wire rack for a few minutes. Once cooled, melt a bit of the remaining red candy coating and use it to attach the hardened wax seal to the center of each pie. For an extra decorative touch, consider sprinkling a little turbinado sugar over the pastries before baking for added texture and sparkle.
Harry Potter Letter Caramel Apple Pies Variations
Feel free to sprinkle your own magic on these delightful hand pies with these fun twists and substitutions!
-
Nutty Delight: Add chopped walnuts or pecans into the apple filling for an extra crunch that complements the softness of the pie. The nutty flavor beautifully contrasts the sweetness of caramel, creating a deliciously unique experience.
-
Fruit Fusion: Substitute apple pie filling for a different fruit filling like cherry or peach. The bright and juicy flavors will sparkle through the flaky pastry, offering a fresh take on tradition.
-
Chocolate Twist: For a richer experience, mix in mini chocolate chips with the apple filling. The melted chocolate creates a decadent surprise with each bite, making these pies even more enchanting.
-
Seasonal Spices: Enhance or replace the apple pie seasoning with pumpkin spice for a fall-themed version. The warm blend adds coziness that transports you to the Hogwarts Great Hall during the festive season.
-
Dairy-Free: Swap out the caramel sauce for a dairy-free alternative, ensuring everyone can indulge. This magical version maintains that delicious sweetness you’re looking for in a festive treat.
-
Sugar-Free: Use a sugar-free caramel and apple filling for a delightful but cleaner indulgence. It’s a wonderful way to satisfy cravings without the extra guilt, perfect for health-conscious wizards!
-
Caramel Drizzle: Elevate the pies by drizzling some extra caramel sauce over the top just before serving. This will add a burst of gooey sweetness that fans of all ages won’t be able to resist!
-
Personalized Seals: Instead of a traditional wax seal, use different colored candy melts or chocolates to create unique designs. Let your creativity shine, and have fun customizing it to match your gathering’s theme.
These variations allow you to get creative while enjoying your Harry Potter Letter Caramel Apple Pies, ensuring each bite is filled with a little extra magic! If you’re looking for even more desserts, why not check out our Caramel Brownie Cheesecake or the Chocolate Caramel Dump for more sweet adventures?
How to Store and Freeze Harry Potter Letter Caramel Apple Pies
-
Room Temperature: Store the baked pies in a cool, dry place for up to 2 days in an airtight container to keep them fresh.
-
Fridge: If you need to store them longer, place the pies in the refrigerator. They can last for up to 3 days but may lose some of their crispness.
-
Freezer: For even longer storage, freeze the unbaked assembled pies. Wrap them tightly in plastic wrap and then aluminum foil, and they can last up to 3 months. Bake from frozen, adding a few extra minutes to the cooking time.
-
Reheating: To enjoy them warm, reheat in the oven at 350°F for about 10 minutes or until heated through, allowing that flaky crust to return to its golden glory!
Expert Tips for Harry Potter Letter Caramel Apple Pies
-
Dough Consistency: Make sure your dough is properly rolled out to a thin consistency for flaky, tender pies. Thick dough can lead to toughness.
-
Quality Caramel Matters: Use a high-quality caramel sauce to elevate the flavor of your Harry Potter Letter Caramel Apple Pies significantly. It makes all the difference!
-
Cool Before Sealing: Allow the baked pies to cool completely before adding the candy seal. This prevents the seal from melting and losing its shape.
-
Adjust Spices to Taste: Don’t hesitate to modify the apple pie seasoning according to your flavor preferences. A pinch more cinnamon or nutmeg can really enhance your pies.
-
Experiment with Fillings: Get creative! Try adding chopped nuts or different fruit fillings for a unique twist that everyone will love.
Make Ahead Options
These Harry Potter Letter Caramel Apple Pies are perfect for busy home cooks who want to save time without sacrificing flavor! You can prepare the filling (apple pie filling, caramel sauce, and spices) up to 3 days in advance and store it in an airtight container in the refrigerator. Additionally, you can assemble the pies entirely, cover them with plastic wrap, and refrigerate them for up to 24 hours before baking. To ensure they remain irresistibly flaky, make sure to brush the edges with egg wash just before baking. When you’re ready to serve, simply pop them in the oven as directed, and enjoy your enchanting treat with minimal effort!
What to Serve with Harry Potter Letter Caramel Apple Pies
Bring your magical feast to life by pairing these enchanting treats with delightful accompaniments that elevate your dessert experience.
-
Creamy Vanilla Ice Cream: A scoop of rich vanilla ice cream creates a luscious contrast to the warm, flaky pies, enhancing the sweetness of the caramel apple filling.
-
Whipped Cream: Light and airy, a dollop of freshly whipped cream adds a touch of elegance and creaminess that beautifully complements the cuteness of these whimsical hand pies.
-
Hot Apple Cider: Serve a steaming cup of spiced apple cider alongside the pies for a cozy and aromatic drink that ties into the fall flavors of the dessert.
-
Chocolate Sauce: Drizzle warm chocolate sauce over your pies for an indulgent twist, blending the fruity caramel apple with a rich chocolate flavor that everyone will adore.
-
Pecan Pie Topping: A crunchy pecan topping scattered atop the warm pies offers a wonderful texture and nutty flavor that will enhance the overall experience.
-
Pumpkin Spice Latte: For a seasonal drink, enjoy a pumpkin spice latte with your pies. The warm spices from the drink echo the flavors of the filling, creating a delightful, comforting pairing.
-
Fresh Apple Slices: Crisp apple slices sprinkled with cinnamon provide a refreshing contrast, cutting through the sweetness of the pies and adding a fresh crunch to your dessert table.
These delightful pairings ensure your guests will be enchanted by both the flavors and the festive experience of enjoying Harry Potter Letter Caramel Apple Pies!
Harry Potter Letter Caramel Apple Pies Recipe FAQs
How do I choose the right apples for the filling?
Absolutely! For a truly magical filling, opt for sweet-tart apples like Granny Smith or Honeycrisp. They provide the perfect balance between sweetness and a bit of acidity, which complements the caramel beautifully. When selecting apples, look for firm and crisp ones, avoiding any with soft spots or blemishes. A little bit of firmness goes a long way in ensuring your filling has the right texture!
How should I store the baked pies?
Very! To keep your Harry Potter Letter Caramel Apple Pies fresh, store them in an airtight container at room temperature for up to 2 days. If you’d like them to last a bit longer, you can refrigerate them for up to 3 days. Just remember they might lose a touch of their crispness in the fridge, so enjoy them warm for the best experience!
Can I freeze these pies, and if so, how?
Absolutely! Freezing these delights is a fantastic option for longer storage. Assemble the unbaked pies and wrap them tightly in plastic wrap. Then, cover them with aluminum foil to prevent freezer burn. They can be frozen for up to 3 months! When you’re ready to bake, pop them in the oven directly from the freezer, just adding an extra few minutes to the baking time to ensure they’re perfectly cooked and golden.
What common issues should I watch out for when baking?
Very important! One common issue is the crust becoming tough. To prevent this, ensure your dough is rolled out to a thin, even layer. If the filling leaks, it could be due to insufficient sealing; make sure to crimp those edges well with a fork! If the crust browns too quickly, you can tent the pies with aluminum foil during the last few minutes of baking. Finally, always allow the pies to cool slightly before adding the wax seal to avoid it melting!
Are these pies safe for kids with nut allergies?
You bet! The Harry Potter Letter Caramel Apple Pies can easily be made nut-free. Ensure all your ingredients, especially the caramel sauce and apple pie filling, are free from any nut contaminants by checking labels. If you’re worried about cross-contamination, prepare your filling and crust in a clean area that has not been exposed to nuts. This way, everyone can enjoy these magical treats safely!
Magical Harry Potter Letter Caramel Apple Pies You’ll Love
Ingredients
Equipment
Method
- Chill the Hogwarts retro wax seal stamp in the freezer for 15 minutes. Melt the red candy melts according to package instructions, then spoon the candy onto parchment paper and press the chilled stamp into it. Let the candy set and harden.
- Preheat your oven to 350°F (175°C). Thaw and roll out the refrigerated pie crusts gently on a floured surface. Cut the dough into 3x5 inch rectangles.
- In a large bowl, combine the apple pie filling, caramel sauce, and apple pie seasoning until well blended. Mash large apple chunks for a smoother filling.
- Place a generous tablespoon of filling on half of your dough rectangles. Brush the edges with egg wash to seal. Press the remaining rectangles on top, crimping the edges with a fork.
- Use dough scraps to create strips for envelope seals on top of the pies. Cut vents in the top for steam to escape.
- Arrange the pies on a baking sheet lined with parchment paper. Brush with egg wash and bake for 10-15 minutes until golden brown.
- Cool the pies on a wire rack for a few minutes. Melt remaining red candy coating to attach the wax seal to the center of each pie.
Leave a Reply