
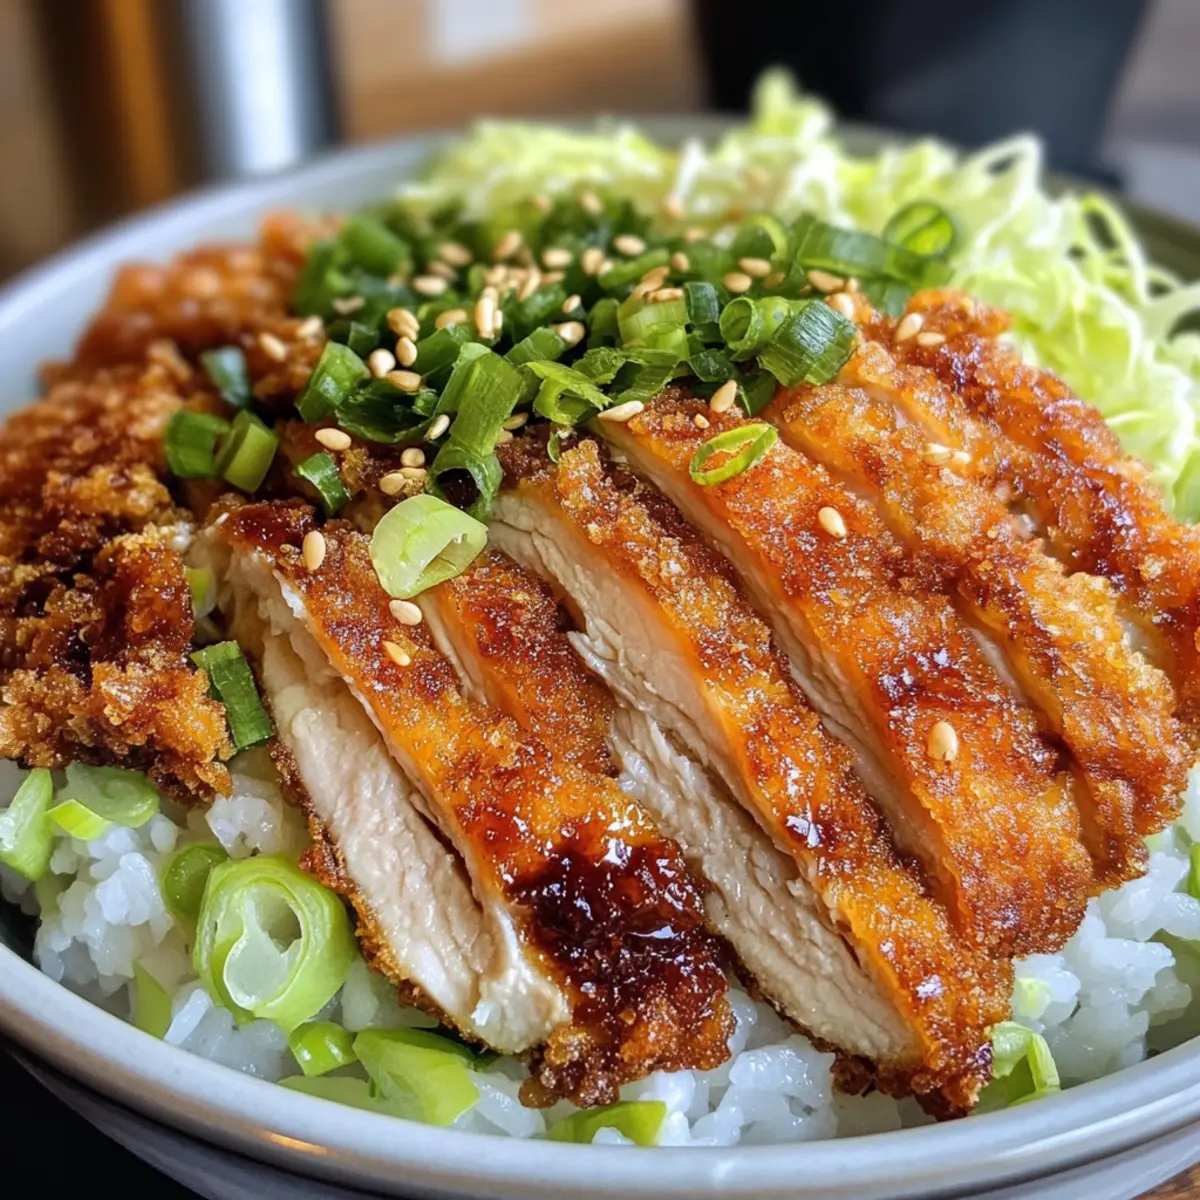
As I stood in my kitchen, the tantalizing aroma of sizzling chicken coaxed my senses into a comforting embrace. Japanese Katsu Bowls have a way of transforming an ordinary evening into something special, with crispy chicken cutlets served over a bed of fluffy rice. This recipe invites you to explore authentic Japanese cuisine while delivering a satisfying and easy-to-make meal. Perfect for both a quick weeknight dinner or a cozy weekend feast, these bowls become a comforting staple in your cooking repertoire. Plus, you can easily swap in pork or even plant-based options like tofu to suit your taste. Are you ready to take your taste buds on a delicious journey? Let’s dive into this delightful dish!
Why are Japanese Katsu Bowls special?
Comforting, flavor-packed goodness: Each bite of these bowls delivers a delightful crunch, thanks to the crispy katsu, while the fluffy rice balances the dish beautifully.
Versatile choices: Switch between chicken, pork, or even tofu for a delicious twist, accommodating various dietary preferences.
Quick & Easy: With straightforward steps, you can prepare this meal in under an hour – perfect for busy weeknights!
Crowd-pleaser: Whether it’s a family dinner or a gathering with friends, these bowls are sure to impress and satisfy everyone.
Authentic experience: Dive into a wholesome taste of Japanese cuisine from the comfort of your kitchen. For more inspiration, check out my Roll Sushi Bowls for a fun twist on homemade delights!
Japanese Katsu Bowls Ingredients
• Get ready to make comfort food magic!
For the Katsu
- Boneless Chicken Breasts (or Pork Loin) – The star of the dish, providing a crispy texture when breaded and fried. Substitute with tofu or eggplant for a vegetarian option.
- Salt and Pepper – Essential for enhancing flavor; adjust to your personal taste.
- All-Purpose Flour – Creates a coating for the katsu; can use gluten-free flour if needed.
- Large Eggs – Binds the breadcrumbs to the meat; replace with a flaxseed mixture for an egg-free version.
- Panko Breadcrumbs – Offers a light, crispy texture; traditional breadcrumbs can be used, though they won’t be as crunchy.
- Vegetable Oil – For frying; any neutral oil like canola or sunflower works well.
For the Rice
- Japanese Short-Grain Rice – The perfect base that yields a sticky texture; jasmine rice can be swapped if needed.
- Water – Essential for cooking the rice; no substitutions here.
- Rice Vinegar – Adds a lovely tanginess to the rice; you can use apple cider vinegar in a pinch.
- Sugar and Salt – For flavoring the rice; adjust based on your preference.
For the Sauce
- Tonkatsu Sauce – This main condiment provides rich flavor depth; feel free to substitute with a homemade sauce if desired.
- Soy Sauce and Worcestershire Sauce – Enhance umami flavors; tamari can be used for a gluten-free option.
- Ketchup – Adds a hint of sweetness to the sauce; optional based on your taste.
For Toppings
- Shredded Cabbage – Freshness and crunch; customize based on what you have on hand.
- Green Onions – Offers a burst of color and flavor; feel free to increase or decrease as desired.
- Sesame Seeds – Adds a nutty finishing touch; toasted seeds elevate the flavor further.
- Pickled Ginger (optional) – A delightful garnish to balance the richness; adjust according to preference.
Now that you have the ingredients ready, let’s get you cooking this delightful Japanese Katsu Bowl and fill your kitchen with inspiring aromas!
Step‑by‑Step Instructions for Japanese Katsu Bowls
Step 1: Prepare the Rice
Begin by rinsing 1 cup of Japanese short-grain rice under cold water until the water runs clear, then soak the rice for 30 minutes to enhance texture. In a saucepan, combine soaked rice with 1.5 cups of water, bringing it to a boil. Once boiling, reduce the heat to low, cover, and simmer for 15 minutes. Afterward, let the rice rest for 10 minutes, covered, before mixing in a seasoned vinegar blend gently.
Step 2: Prepare the Katsu
While the rice cooks, take 2 boneless chicken breasts and pound them to an even thickness for uniform cooking. Season both sides with salt and pepper. Set up a breading station with separate dishes for flour, beaten eggs, and panko breadcrumbs. Dredge the chicken in flour, dip it into the eggs, and coat thoroughly with panko. This triple-dipping ensures a perfectly crispy exterior.
Step 3: Fry the Katsu
Heat ½ inch of vegetable oil in a large skillet over medium-high heat, ensuring the oil reaches around 350°F for optimal frying. Carefully place the breaded chicken in the hot oil, frying for 4-5 minutes per side or until golden brown and cooked through. You should see a crispy crust and hear a satisfying sizzle. Once cooked, remove the chicken and drain on paper towels before slicing into strips.
Step 4: Make the Sauce
In a mixing bowl, combine ¼ cup of tonkatsu sauce, 1 tablespoon each of soy sauce and Worcestershire sauce, and 1 tablespoon of ketchup if desired. Stir these ingredients together until the sauce is well blended, creating a rich and tangy accompaniment for your Japanese Katsu Bowls. Set aside—this sauce will elevate your dish with its umami flavor!
Step 5: Assemble the Bowl
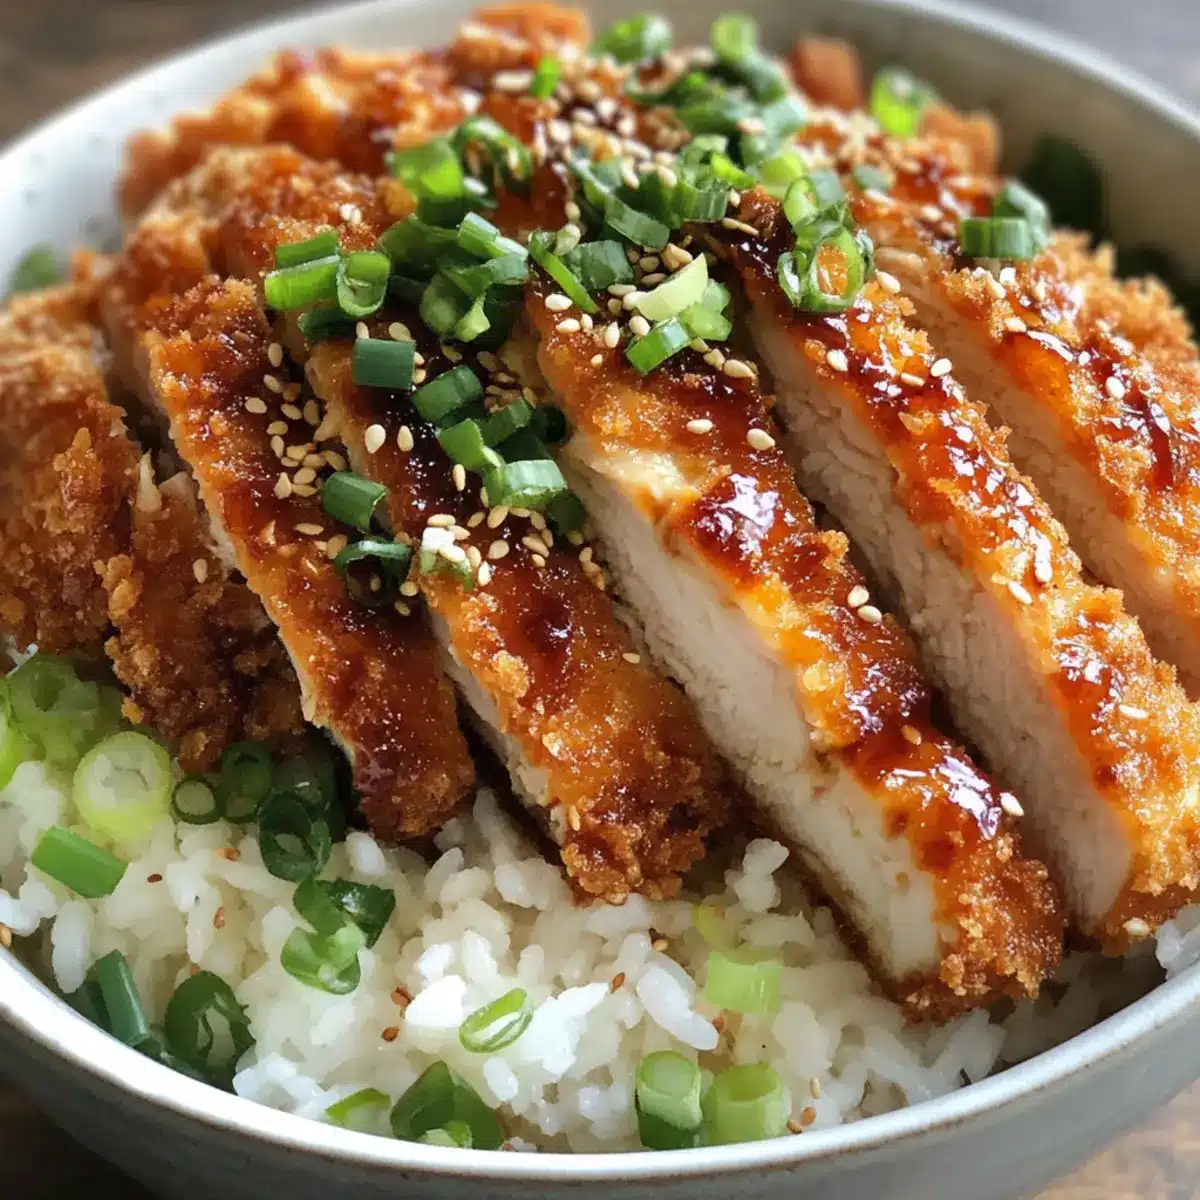
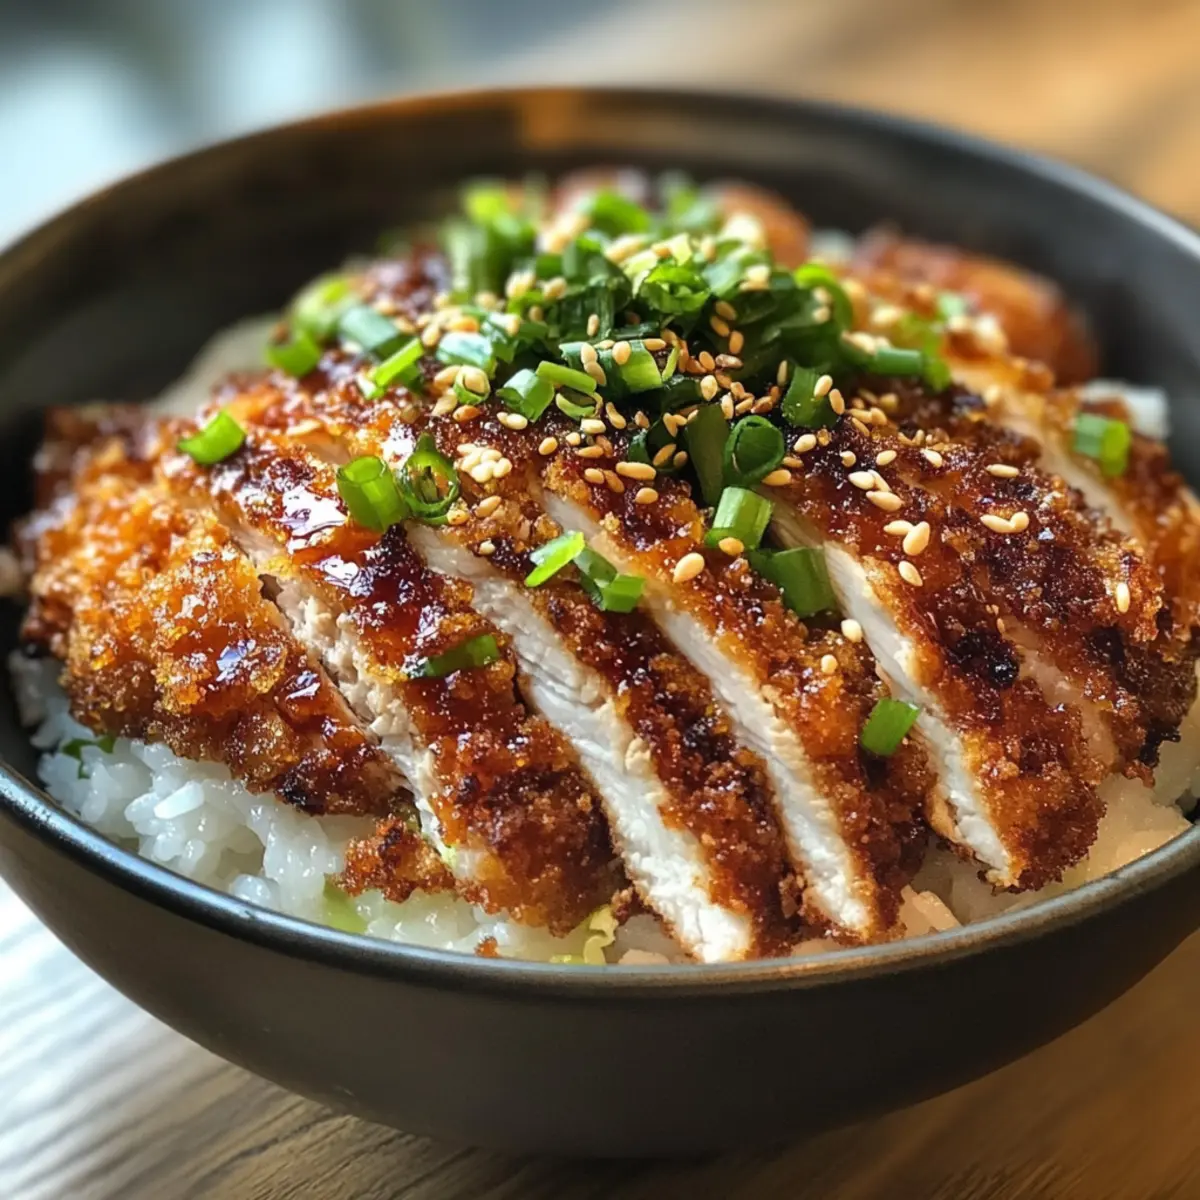
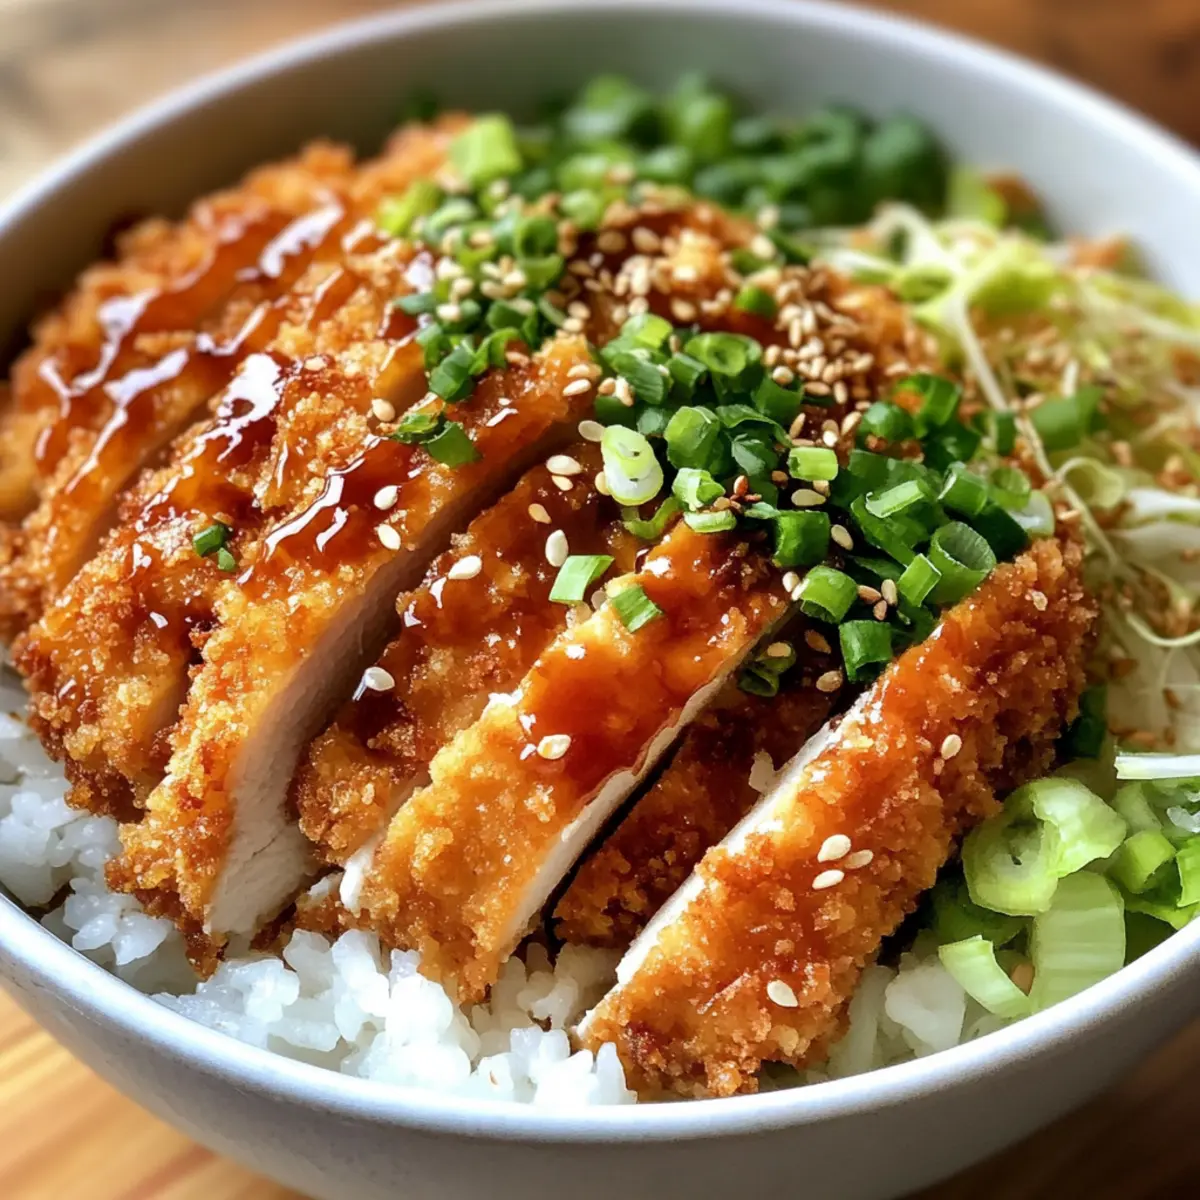
To serve, place a generous scoop of seasoned rice in each bowl. Layer the sliced katsu on top of the rice, ensuring a beautiful presentation. Drizzle a generous helping of the prepared sauce over the katsu, letting it cascade down into the rice. Finally, top each bowl with shredded cabbage, chopped green onions, and a sprinkle of sesame seeds for freshness and crunch, finishing with optional pickled ginger for a lovely garnish.
What to Serve with Japanese Katsu Bowls
Japanese Katsu Bowls deserve a star-studded lineup to create a heartwarming meal that tantalizes the taste buds.
- Crisp Cucumber Salad: The refreshing crunch of cucumber drizzled with rice vinegar perfectly complements the warm, crunchy katsu. This light salad balances the heavier components, offering a delightful contrast.
- Steamed Edamame: These delicate, tender green soybeans sprinkled with sea salt provide a satisfying snack. Their mild flavor enhances the overall experience, making them a great side.
- Miso Soup: This warm, umami-rich soup warms the soul and pairs beautifully with the dish. The light broth with seaweed and tofu adds an authentic touch to your meal.
- Pickled Vegetables: A vibrant mix of pickled daikon and carrots offers a tangy kick that cuts through the richness of the katsu, providing balance and bright flavor.
- Soft Boiled Eggs: Creamy yolks add a touch of luxury to the meal, enriching each bite with silkiness that marries well with the crispy katsu.
- Japanese Green Tea: An aromatic cup of this tea serves as a perfect palate cleanser. Its gentle bitterness offsets the savory flavors and enhances the overall dining experience.
Expert Tips for Japanese Katsu Bowls
- Hot Oil Test: Always test if the oil is hot enough by placing a small piece of bread in it; it should sizzle to ensure perfect frying of your katsu.
- Don’t Crowd the Pan: Fry in batches if necessary. Overcrowding lowers the oil temperature and can result in soggy katsu instead of that desired crunch.
- Rest the Rice: Allowing your rice to rest covered after cooking is crucial. It helps achieve that perfect fluffy texture—don’t skip this step!
- Variations Are Key: Feel free to swap proteins! Try pork or even plant-based options like tofu for a delightful twist on your Japanese Katsu Bowls.
- Make Your Sauce Extra Special: Enhance your tonkatsu sauce by adding a splash of hot sauce for a kick or using homemade versions for a personal touch.
How to Store and Freeze Japanese Katsu Bowls
Fridge: Store leftovers in an airtight container in the refrigerator for up to 3 days. Ensure the katsu and rice are kept separate to maintain crispiness.
Freezer: For longer storage, freeze katsu separately in freezer-safe bags for up to 2 months. Wrap tightly to prevent freezer burn.
Reheating: To reheat, place the katsu in an oven at 350°F (175°C) for about 10-15 minutes until warmed through and crispy. Pair it with freshly cooked rice for the best taste.
Tip: Enjoy your homemade Japanese Katsu Bowls fresh for an optimal experience, but the storage suggestions above will keep your meal delightful for another day!
Make Ahead Options
These Japanese Katsu Bowls are ideal for meal prep, allowing you to create a delicious dinner with minimal effort on busy weeknights! To make ahead, you can bread the chicken and refrigerate it for up to 24 hours, ensuring it stays fresh and ready to fry. Additionally, cook the rice and season it with rice vinegar; it will stay tasty in the refrigerator for up to 3 days. When you’re ready to enjoy, simply fry the katsu to golden perfection and reheat the rice gently in the microwave. With these prep tips, you can savor restaurant-quality Japanese Katsu Bowls without the rush, making mealtime a comforting experience!
Japanese Katsu Bowls Variations & Substitutions
Feel free to make this comforting dish your own with delightful swaps and twists!
- Dairy-Free: Substitute the eggs with a flaxseed mixture (1 tbsp ground flaxseed + 2.5 tbsp water) for a vegan option.
- Gluten-Free: Use a gluten-free all-purpose flour and gluten-free panko breadcrumbs to cater to dietary needs without compromising crunch.
- Meat Swaps: Use pounded pork loin for a classic katsu alternative, or opt for crispy fried tofu or eggplant for a vegetarian delight.
- Spicy Kick: Mix some Sriracha or chili sauce into your tonkatsu sauce for a zesty heat that amplifies flavor.
- Sauce Variations: Try a homemade ponzu sauce for a citrusy twist or a creamy spicy mayo on top for a modern take!
- Flavorful Toppings: Enhance your katsu bowl with a soft-boiled egg or avocado slices—both additions introduce creaminess and richness.
- Rice Alternatives: Swap Japanese short-grain rice with fluffy jasmine rice or even quinoa for a nutritious, high-protein bowl base.
- Pickled Veggies: Add some pickled daikon or carrots as optional garnishes to bring a fresh crunch and vibrant color to your plate.
For more creative and comforting recipe ideas, don’t miss out on my delicious Roll Sushi Bowls that make for a fun twist on traditional sushi!
Japanese Katsu Bowls Recipe FAQs
What kind of chicken should I use for Katsu?
Absolutely! Boneless chicken breasts are ideal for making Katsu because they provide that deliciously crispy texture when breaded and fried. If you prefer, pork loin is an excellent alternative that also delivers fantastic flavor. If you’re looking for a plant-based version, tofu or even eggplant can work beautifully as substitutes.
How should I store leftover Katsu Bowls?
Very! To store leftovers, place them in an airtight container in the refrigerator, where they will stay fresh for up to 3 days. For optimal texture, keep the katsu and rice separate; this prevents the chicken from becoming soggy. When reheating, I recommend using an oven to maintain that crispy exterior!
Can I freeze leftover Katsu?
Absolutely! You can freeze your Katsu for future meals. To do this, allow the katsu to cool completely, then wrap it tightly in plastic wrap or place it in freezer-safe bags. They can be stored in the freezer for up to 2 months. When ready to enjoy, simply reheat in the oven at 350°F (175°C) for about 10-15 minutes until heated through and crispy again.
What if my Katsu isn’t crispy?
The more the merrier! If your Katsu comes out less than crispy, here are a few troubleshooting tips: First, ensure your oil is hot enough before frying; you can test this with a small piece of bread—it should sizzle. Don’t overcrowd the pan, as this lowers the oil temperature and can lead to sogginess. Lastly, consider using fresh panko breadcrumbs, as old crumbs can lack crunch.
Are there any dietary considerations for Katsu?
Very! The traditional recipe does contain gluten due to the breadcrumbs, but you can easily make a gluten-free version by using gluten-free panko and flour. If allergies are a concern, be sure to check the labels when substituting sauces like soy sauce with its gluten-free alternatives like tamari. For those avoiding eggs, a flaxseed mixture can replace the eggs in the breading process effectively.
Crispy Japanese Katsu Bowls for Ultimate Comfort Food Bliss
Ingredients
Equipment
Method
- Begin by rinsing 1 cup of Japanese short-grain rice under cold water until the water runs clear, then soak the rice for 30 minutes to enhance texture. In a saucepan, combine soaked rice with 1.5 cups of water, bringing it to a boil. Once boiling, reduce the heat to low, cover, and simmer for 15 minutes. Afterward, let the rice rest for 10 minutes, covered, before mixing in a seasoned vinegar blend gently.
- While the rice cooks, take 2 boneless chicken breasts and pound them to an even thickness for uniform cooking. Season both sides with salt and pepper. Set up a breading station with separate dishes for flour, beaten eggs, and panko breadcrumbs. Dredge the chicken in flour, dip it into the eggs, and coat thoroughly with panko.
- Heat ½ inch of vegetable oil in a large skillet over medium-high heat, ensuring the oil reaches around 350°F for optimal frying. Carefully place the breaded chicken in the hot oil, frying for 4-5 minutes per side or until golden brown and cooked through. Once cooked, remove the chicken and drain on paper towels before slicing into strips.
- In a mixing bowl, combine ¼ cup of tonkatsu sauce, 1 tablespoon each of soy sauce and Worcestershire sauce, and 1 tablespoon of ketchup if desired. Stir together until well blended.
- To serve, place a generous scoop of seasoned rice in each bowl. Layer the sliced katsu on top, drizzle with prepared sauce, and top with shredded cabbage, chopped green onions, sesame seeds, and optional pickled ginger.
Leave a Reply