
The aroma of freshly baked cookies wafting through the kitchen is like a warm hug on a chilly winter day. These Twisted Christmas Cookies with Almond & Citrus Icing are my go-to treat for spreading holiday cheer—a delightful blend of soft, buttery goodness infused with zesty orange and nostalgic almond flavors. What I love most about this recipe is its versatility; not only are they perfect for gifting, but they’re also a charming addition to any festive spread. With quick prep and a stunning finish, they’re a delightful way to create lasting memories with family and friends. Ready to whip up a batch? Let’s dive into the world of holiday baking and make some cookie magic!

Why Are These Cookies So Irresistible?
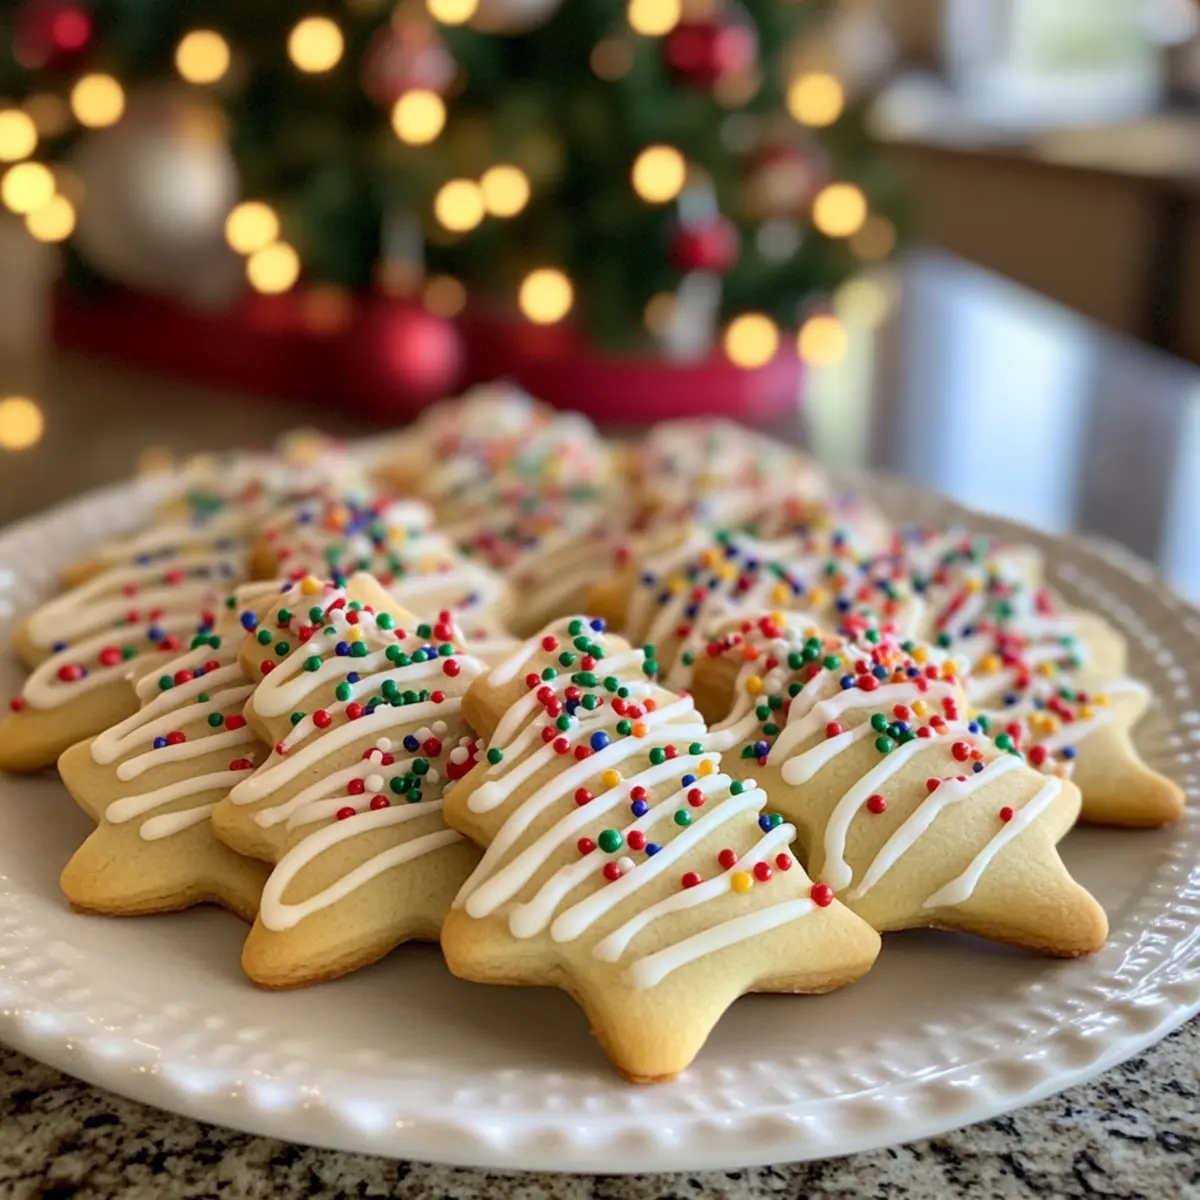
Soft, Buttery Texture: Each cookie offers a melt-in-your-mouth experience, combining a rich buttery flavor with just the right amount of sweetness.
Festive Flavors: The infusion of almond and zesty orange adds a delightful twist that screams holiday cheer.
Gifting Perfection: These cookies are not just tasty; they’re beautifully decorated throughout with smooth royal icing and fun sprinkles, making them ideal gifts or festive centerpiece treats.
Easy to Make: With a straightforward recipe and simple ingredients, even novice bakers can create these delicious treats! Check out my Cinnamon Roll Cookies for another easy festive option.
Versatility: Swap out the almond extract for hazelnut or add a sprinkle of cinnamon for a unique spin. You can also adapt them to suit different occasions!
Get ready to bake some magical cookies and spread joy this holiday season!
Twisted Christmas Cookies Ingredients
For the Cookie Dough
- White Sugar – Sweetness enhancer; ensure to cream well with the butter for a fluffy texture.
- Butter (14 oz / 400g) – Provides richness and moisture; use softened butter, not melted.
- Eggs (2) – Binds ingredients and adds moisture; room temperature works best for better mixing.
- Vanilla Extract (2 tsp) – Enhances overall flavor; can substitute with more almond extract for a bolder taste.
- Almond Extract (1 tsp) – Infuses nostalgic festive flavor; feel free to increase if desired.
- Orange Zest (from 1 orange) – Adds brightness and a fresh aroma; can easily swap with lemon zest for a different twist.
- Plain Flour (6 cups) – Main structure for the cookies; measure accurately and avoid overmixing for the best texture.
For the Royal Icing
- Meringue Powder (6 tbsp) – Stabilizes royal icing; can substitute with egg white powder if needed.
- Water (8 tbsp + extra) – Hydrates icing; use sparingly to achieve your desired consistency without it being too runny.
- Lemon Juice (2 tsp) – Adds tang and helps with icing consistency; fresh juice is preferred for the best flavor.
- Powdered Sugar (7 cups, sifted) – Sweetens and thickens icing; always sift to avoid lumps for a smooth finish.
For Decorating
- Gel Food Coloring (red, green, gold, white) – Essential for decorating; choose colors that beautifully match your holiday theme.
- Sprinkles, Edible Glitter, or Crushed Candy Canes – Fun decorative options; optional but enhances festive appeal.
Dive into the delicious world of Twisted Christmas Cookies, and with these ingredients at your side, festive baking awaits!
Step‑by‑Step Instructions for Twisted Christmas Cookies
Step 1: Preheat Your Oven
Begin by preheating your oven to 350°F (175°C) and lining your baking sheets with parchment paper. This essential step ensures your Twisted Christmas Cookies bake evenly and won’t stick to the pan, making cleanup a breeze. While the oven heats, you can gather and prepare your ingredients for the next steps.
Step 2: Creaming Time
In a large mixing bowl, combine the softened butter and white sugar. Using an electric mixer, beat them together on medium speed until the mixture is light and fluffy, which should take about 2-3 minutes. This process incorporates air into the dough, contributing to a tender texture in your cookies, so be patient and let the ingredients blend well.
Step 3: Add the Wet Ingredients
Next, beat in the eggs one at a time, followed by the vanilla extract, almond extract, and fresh orange zest. Continue mixing until everything is well incorporated and the mixture appears smooth, which should take about another minute. The almond and citrus notes will start to fill your kitchen with a delightful aroma at this point!
Step 4: Combine Dry Ingredients
Gradually add the plain flour to your wet mixture, mixing on low speed until a dough starts to form. If the dough seems too sticky, feel free to add a splash of milk to achieve the perfect consistency. This is a crucial moment for your Twisted Christmas Cookies; aim for a dough that holds together but isn’t overly dry.
Step 5: Roll and Cut the Dough
Roll the dough out on a lightly floured surface to about ¼-inch thickness. Using cookie cutters in festive shapes, cut out your cookies and place them on the prepared baking sheets. Choose various holiday shapes to bring a fun twist to your presentation! This step creates the classic look for your Christmas cookies.
Step 6: Chill the Cookies
Once your cut cookies are on the baking sheets, chill them in the refrigerator for about 10-15 minutes. This helps the cookie shapes maintain their form while baking and gives you a softer cookie texture. Chilling is especially important if your dough has become warm during rolling.
Step 7: Bake to Perfection
Bake the chilled cookies in your preheated oven for 10-12 minutes, or until the edges turn a golden brown. Keep a watchful eye during the last few minutes to ensure they don’t overbake. Once done, remove them from the oven and allow them to cool completely on wire racks before decorating.
Step 8: Make the Royal Icing
In a clean mixing bowl, whisk together the meringue powder, lemon juice, and water. Gradually stir in the sifted powdered sugar, mixing until the icing is glossy and maintains stiff peaks. This royal icing will beautifully coat your Twisted Christmas Cookies and add a festive flair, so take your time to achieve the right texture.
Step 9: Decorate with Joy
Once the cookies have cooled completely, divide the royal icing into different bowls for coloring. Use gel food coloring to tint each batch as desired, then decorate your cookies with intricate designs. Allow the icing to set fully for a few hours before stacking or packaging them for gifting; this will keep your decorations looking fresh and beautiful!
Expert Tips for Twisted Christmas Cookies
-
Dough Consistency: Ensure your dough is not too sticky; if needed, add flour gradually until manageable. Proper consistency is key for beautiful Twisted Christmas Cookies.
-
Chill In Between: Don’t skip chilling the cut cookies before baking. This will help them maintain their shape and create a softer texture after baking.
-
Avoid Overmixing: When adding flour, mix just until incorporated. Overmixing can lead to tough cookies; keep them tender and melt-in-your-mouth!
-
Icing Perfection: Allow the royal icing to achieve a glossy finish with stiff peaks for easy decorating. Let the cookies cool completely to avoid melting the icing.
-
Storage Wisdom: Consider freezing un-iced Twisted Christmas Cookies for later use. They keep well up to three months, making holiday baking less stressful!
-
Flavor Variations: Experiment with extracts or zests. Swap out the almond extract for hazelnut or lemon zest to add unique flavors to your festive cookies!
Twisted Christmas Cookies Variations
Feel free to get creative and make these Twisted Christmas Cookies uniquely yours!
-
Extract Swap: Substitute almond extract with hazelnut or vanilla for a new flavor twist. Both options offer their own delightful profiles, enhancing the festive spirit in your cookies.
-
Citrus Variation: Replace orange zest with lemon or lime zest for a bright alternative. This change brings a refreshing zing that pairs beautifully with the sweetness of the icing.
-
Spice It Up: Add a pinch of cinnamon or nutmeg to the dough for a cozy, spiced flavor. These warm spices evoke the essence of holiday baking and add an aromatic touch to each bite.
-
Gluten-Free Option: Use a gluten-free flour blend instead of plain flour for a gluten-free twist. Just ensure your blend has a 1:1 ratio for best results!
-
Nutty Surprise: Fold in some chopped nuts like walnuts or pecans into the dough for added crunch. A nutty flavor complements the almond essence and gives a great texture contrast.
-
Chocolate Drizzle: Drizzle melted dark or white chocolate over the decorated cookies for an indulgent touch. The rich chocolate adds a luxurious layer that is hard to resist!
-
Decorative Themes: Create fun seasonal themes with your icing! Think snowflakes, Christmas trees, or even polka dots. This will make your cookies visually stunning and even more appealing for gifting.
-
Mini Versions: Make mini cookies using smaller cookie cutters for bite-sized treats. Perfect for holiday gatherings or to fill decorative tins—everyone loves a cute mini cookie!
No matter which variations you choose, these cookies are sure to become a beloved staple in your holiday traditions. Happy baking! You might also enjoy whipping up some classic Chocolate Chip Cookies or baking these delightful Chocolate Oat Cookies for more festive treats.
How to Store and Freeze Twisted Christmas Cookies
Room Temperature: Keep baked Twisted Christmas Cookies in an airtight container at room temperature for up to a week to maintain their soft texture and flavors.
Fridge: If you live in a warmer climate, store cookies in the refrigerator for up to 2 weeks to prevent spoilage. Just remember to bring them back to room temperature before enjoying!
Freezer: Un-iced cookies freeze beautifully! Wrap them tightly in plastic wrap and a layer of aluminum foil. They can last up to 3 months; thaw before icing and decorating.
Reheating: For warm cookies, gently microwave a few cookies for about 10-15 seconds. This rejuvenates that freshly baked taste, perfect for an evening treat!
Make Ahead Options
These Twisted Christmas Cookies are perfect for busy home cooks looking to streamline their holiday baking! You can prepare the cookie dough up to 3 days in advance; simply wrap it tightly in plastic wrap and refrigerate. For even longer storage, freeze the dough for up to 3 months. When you’re ready to bake, thaw the dough overnight in the fridge, roll it out, and cut into shapes just before chilling for 10-15 minutes. The royal icing can also be made ahead—store it in an airtight container at room temperature for 24 hours for the best results. Remember to let the iced cookies set completely before stacking or storing to keep them just as delightful as the day you made them!
What to Serve with Twisted Christmas Cookies
The holiday season is all about creating joyful moments, and pairing these delightful cookies with the right accompaniments can elevate your festive gatherings.
- Classic Hot Chocolate: This warm, rich beverage beautifully complements the buttery sweetness of the cookies, offering a cozy treat perfect for chilly evenings. A hint of whipped cream makes it extra special!
- Eggnog: Indulge in this creamy, spiced drink that pairs wonderfully with the almond and citrus flavors, bringing a traditional festive taste to your dessert table.
- Fruit Platter: A vibrant mix of seasonal fruits like pomegranates and citrus enhances the zestiness of the cookies while providing a refreshing balance of flavors.
- Decadent Fruitcake: With its rich spices and dried fruits, fruitcake echoes the holiday spirit and offers a hearty contrast to the lightness of the cookies.
- Creamy Vanilla Ice Cream: Serve a scoop alongside the cookies for a delightful cold-and-warm experience, melting as it mingles with the festive flavors.
- Festive Tea: A spiced chai or peppermint tea can provide a soothing companion, enhancing the joyful atmosphere with its aromatic notes and warming qualities.
- Gingerbread Men: Create a cookie platter that includes these traditional treats to playfully engage guests with familiar holiday flavors while celebrating the spirit of baking.
- Milk: Simple and classic, a glass of cold milk is the ultimate companion for cookies, enhancing their sweetness while making each bite even more satisfying!
Elevate your holiday celebrations by mixing and matching these pairings for a delightful and memorable experience!

Twisted Christmas Cookies Recipe FAQs
What is the best way to select ripe oranges for zesting?
Absolutely! When choosing oranges, look for ones that are firm but not rock-hard, with a vibrant color and a slightly glossy surface. Give them a gentle squeeze—if they yield slightly, they’re ripe and juicy. Avoid any with dark spots or blemishes, as these can affect the flavor.
How should I store my Twisted Christmas Cookies after baking?
Very! Store your baked Twisted Christmas Cookies in an airtight container at room temperature for up to a week. If your home is particularly warm, you can keep them in the fridge to maintain freshness for up to 2 weeks. Just remember to allow them to warm to room temperature before enjoying, as this enhances their flavor and texture.
Can I freeze the dough for Twisted Christmas Cookies?
Definitely! You can freeze the cookie dough for up to 3 months. To do this, form it into a disc, wrap it tightly in plastic wrap, and place it in a freezer-safe bag. When you’re ready to bake, simply thaw it in the refrigerator overnight before rolling out and cutting your cookies. This way, you can enjoy freshly baked cookies any time!
What should I do if my royal icing is too runny?
If your royal icing ends up too runny, don’t worry! Start by adding more sifted powdered sugar, stirring gently until you reach the desired consistency. A good rule of thumb is to add about 1/4 cup at a time until it thickens. To check if it’s ready, lift a spoon of icing and see if it holds its shape for a few seconds before sinking back in. If needed, you can also add a splash of lemon juice to ease the mixing process.
Are there any allergy considerations for the Twisted Christmas Cookies?
Absolutely! These cookies contain common allergens such as eggs, butter, and almonds. If you’re baking for someone with nut allergies, feel free to substitute the almond extract with an additional vanilla extract. Always be sure to check labels of any packaged ingredients as they may contain traces of allergens. It’s wise to inform anyone you’re sharing these cookies with about the ingredients used!
How should I decorate my Twisted Christmas Cookies to make them festive?
What a great question! After preparing your royal icing, divide it into small bowls, add gel food coloring to each, and mix until you achieve the desired shades. Use a piping bag or a resealable plastic bag with the tip cut off to decorate your cookies with fun designs like swirls, stripes, or festive messages. Once decorated, sprinkle with edible glitter or crushed candy canes while the icing is still wet for added sparkle!

Twisted Christmas Cookies for a Festive Holiday Treat
Ingredients
Equipment
Method
- Preheat your oven to 350°F (175°C) and line your baking sheets with parchment paper.
- In a large mixing bowl, combine softened butter and white sugar. Beat together on medium speed until light and fluffy, about 2-3 minutes.
- Beat in the eggs one at a time, followed by vanilla extract, almond extract, and fresh orange zest until smooth.
- Gradually add the plain flour, mixing on low speed until a dough forms. Add milk if the dough is too sticky.
- Roll dough to ¼-inch thickness on a lightly floured surface. Cut out shapes with cookie cutters and place on baking sheets.
- Chill cut cookies in the refrigerator for about 10-15 minutes.
- Bake cookies for 10-12 minutes or until edges are golden brown. Allow to cool completely on wire racks.
- In a mixing bowl, whisk meringue powder, lemon juice, and water. Gradually stir in sifted powdered sugar until glossy.
- Once cooled, tint royal icing with gel food coloring and decorate cookies. Allow icing to set.
Leave a Reply