
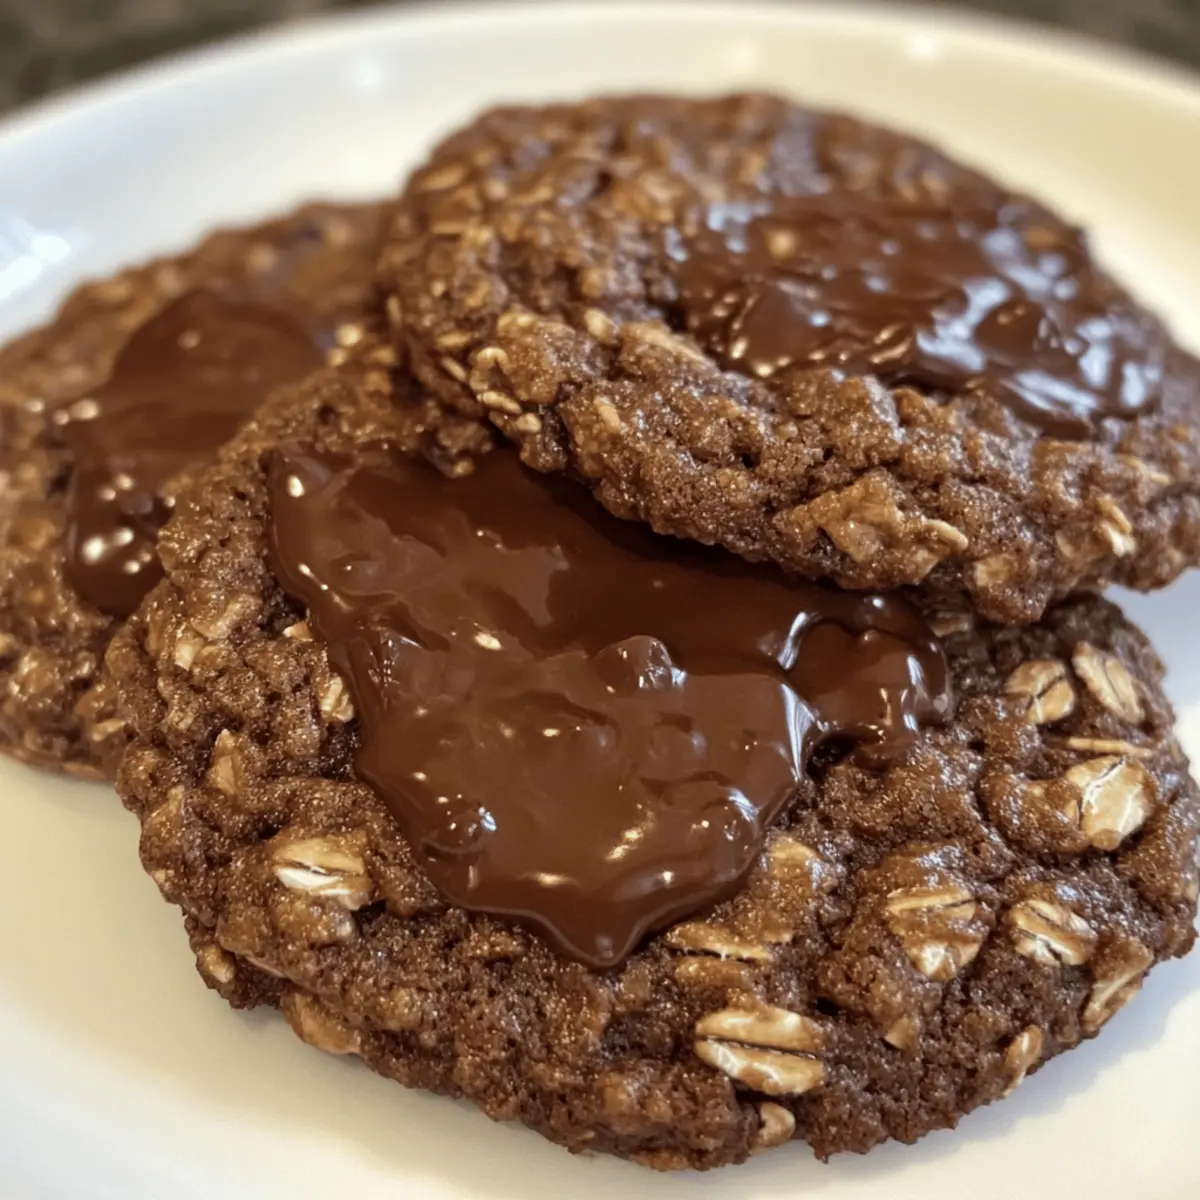
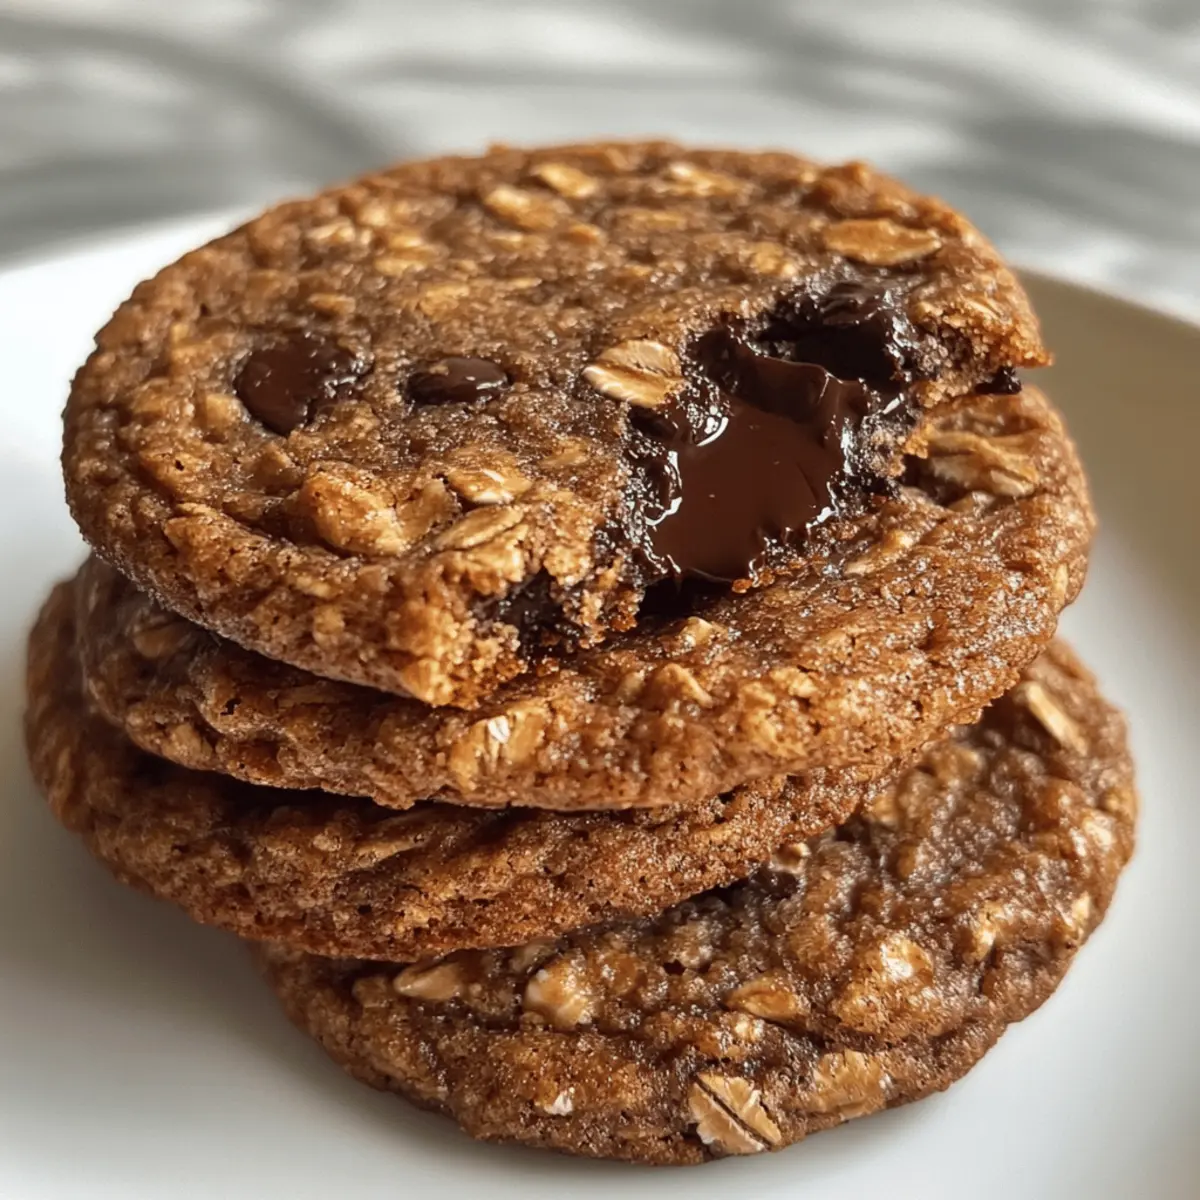
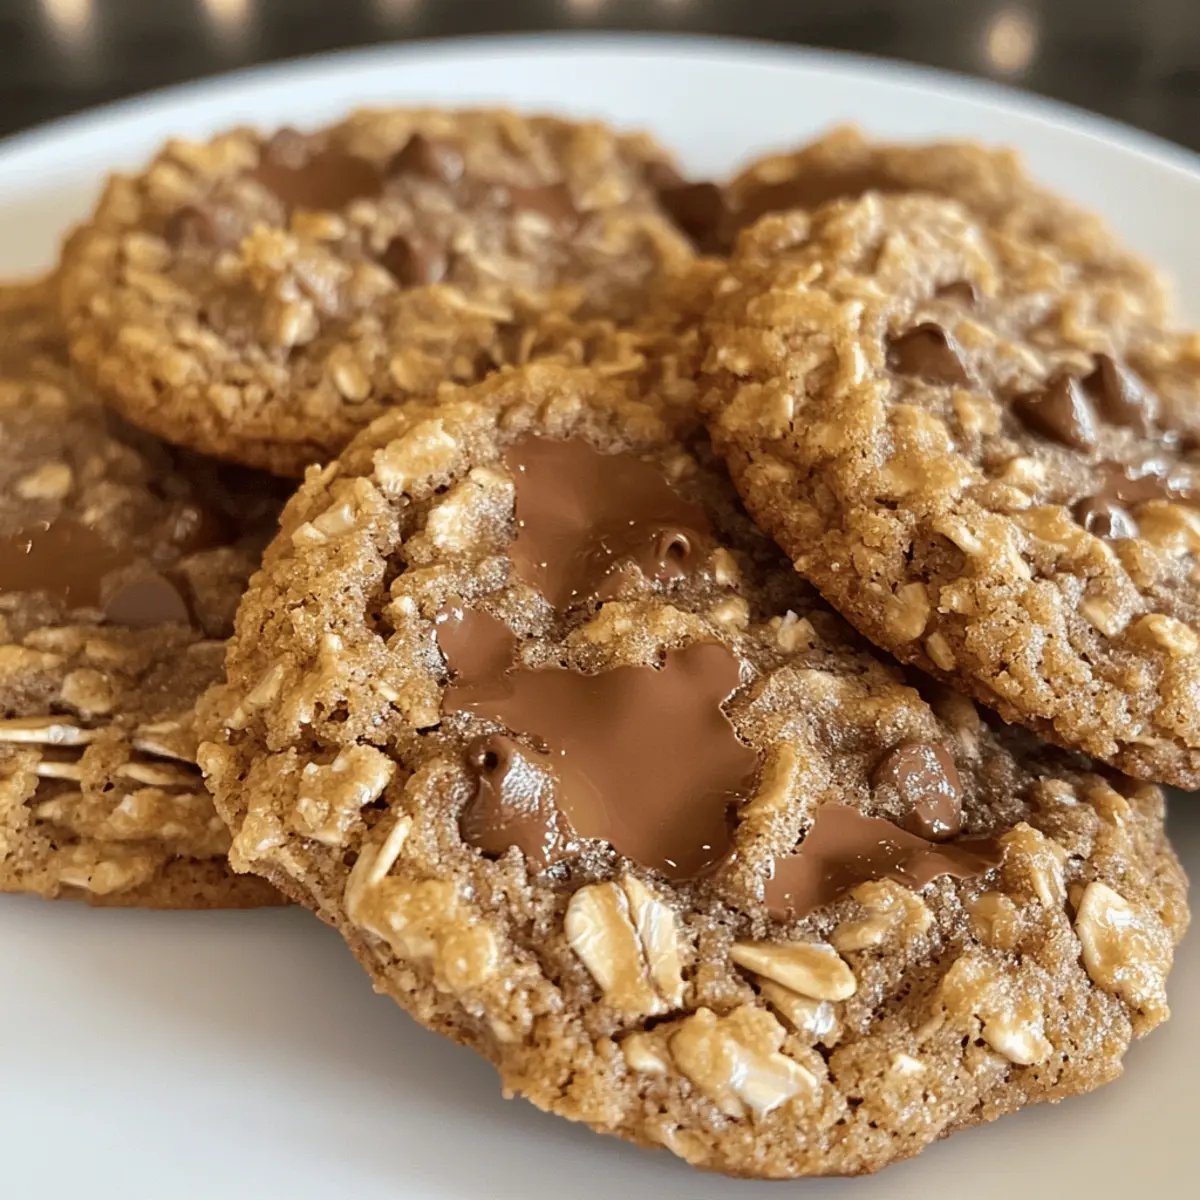
The enticing aroma of freshly baked cookies evokes memories of cozy afternoons spent in the kitchen. Today, I’m excited to share my recipe for 4-Ingredient Crispy Chocolate Oat Cookies—a delightful treat that’s not just easy to make but also gluten-free! With just four pantry staples, you can whip up these scrumptious cookies in under 30 minutes, making them perfect for satisfying sudden cravings or impressing unexpected guests. The combination of hearty oats and rich chocolate creates a wonderful texture that’s both crispy and chewy, giving you a wholesome indulgence that feels like a warm hug. Are you ready to elevate your cookie game with this quick and tasty recipe? Let’s get baking!
Why Are These Cookies So Irresistible?
Simplicity: With only four ingredients, these cookies come together with minimal effort and time. You’ll be amazed at how easy it is to create a delicious treat!
Wholesome Goodness: The blend of oats and nut butter not only satisfies your sweet tooth but also offers a boost of fiber and protein.
Versatile: Whether you’re team almond or team peanut butter, you can easily adapt this recipe. Plus, feel free to add your favorite mix-ins like nuts or dried fruit!
Quick Baking: In under 30 minutes, you’ll have a fresh batch of cookies that are perfect for snacking or sharing with friends.
Crowd-Pleaser: These cookies are sure to impress everyone—from your family to your next gathering. Who could resist that crispy-chewy texture with melty chocolate? Enjoy with a glass of milk or pair with a lovely cup of coffee for the ultimate experience!
Chocolate Oat Cookies Ingredients
Whip up a batch with these four simple ingredients!
For the Cookies
- Oats – A chewy base packed with fiber; opt for gluten-free oats for a gluten-free version.
- Nut Butter (almond or peanut butter) – Binds the mixture while adding healthy fats and protein; substitute with sunflower seed butter for nut-free cookies.
- Maple Syrup or Honey – A natural sweetener that keeps the cookies moist; agave syrup serves as a vegan alternative.
- Chocolate Chips – Infuses the cookies with a rich, sweet chocolate flavor; consider using semi-sweet, dark, or dairy-free options based on your preference.
This quick recipe for Chocolate Oat Cookies is sure to bring joy to your kitchen!
Step‑by‑Step Instructions for 4-Ingredient Crispy Chocolate Oat Cookies
Step 1: Preheat and Prepare
Begin by preheating your oven to 350°F (175°C). While the oven warms up, line a baking sheet with parchment paper to prevent sticking and ensure even baking. This will be the perfect surface for your cookies to bake on, allowing them to develop a delightful crispiness while maintaining a chewy center.
Step 2: Mix Wet Ingredients
In a large mixing bowl, combine your chosen nut butter and maple syrup until you achieve a smooth, well-blended mixture. This should take about 1-2 minutes of vigorous mixing. The creamy texture of the nut butter paired with the sweet liquid will create a delicious base for your 4-Ingredient Crispy Chocolate Oat Cookies.
Step 3: Combine with Oats
Add the oats to the bowl, merging them with the nut butter and syrup blend. Stir until the oats are evenly coated and everything is well combined, which should take another 1-2 minutes. You will notice the mixture becoming thicker and holding together, a sign that your cookie dough is coming together beautifully.
Step 4: Fold in Chocolate Chips
Now it’s time to add the chocolate chips! Gently fold them into the dough until they are evenly distributed throughout the mixture. The chocolate should be visible, adding a rich, inviting look to your batter. This step brings the delicious sweetness of chocolate to your cookies, ensuring each bite is a delightful surprise.
Step 5: Shape the Cookies
Using a spoon or cookie scoop, scoop small mounds of the cookie mixture and place them evenly on your prepared baking sheet. Ensure there’s enough space between each mound as they will spread slightly while baking. At this stage, the cookies should look generous and ready to be transformed into a crispy treat in the oven.
Step 6: Bake to Perfection
Place the baking sheet in the preheated oven and bake for 12-15 minutes. The cookies are done when the edges turn golden brown while the centers remain slightly soft. Keep an eye on them towards the end of the baking time to achieve that perfect crispy edge without over-baking.
Step 7: Cool and Enjoy
Once baked, remove the baking sheet from the oven and let the cookies cool on it for about 5 minutes. This allows them to set while still warm, making them easier to transfer. After cooling, move your cookies to a wire rack to cool completely, and get ready to savor every crispy, chocolatey bite of your homemade 4-Ingredient Crispy Chocolate Oat Cookies!
Expert Tips for Chocolate Oat Cookies
Combine Ingredients Well: Ensure the nut butter and syrup are blended smoothly before adding oats to create a cohesive dough that avoids crumbly cookies.
Watch the Baking Time: Keep an eye on the cookies as they bake. Overbaking can lead to an undesirable hard texture, so aim for golden edges.
Cooling is Key: Allow the cookies to cool fully on a wire rack to set their structure. They will be too fragile if moved too soon.
Mix-Ins Options: Feel free to experiment by adding nuts or dried fruits for more flavor and texture variations in your chocolate oat cookies.
Storage Tips: Store in an airtight container at room temperature for up to a week, ensuring you enjoy fresh cookies anytime!
How to Store and Freeze Chocolate Oat Cookies
Room Temperature: Store cookies in an airtight container at room temperature for up to 1 week, keeping them fresh and delicious for everyday snacking.
Fridge: If you prefer your cookies chilled, you can keep them in the fridge for up to 2 weeks. Just make sure to seal them tightly to maintain their texture.
Freezer: For longer storage, freeze the cookies in a single layer on a baking sheet, then transfer to a freezer-safe bag or container for up to 3 months.
Reheating: To enjoy them warm, simply thaw overnight in the fridge and pop them in the oven at 350°F (175°C) for about 5-7 minutes, letting the chocolate chips melt again for that gooey goodness!
Make Ahead Options
These 4-Ingredient Crispy Chocolate Oat Cookies are perfect for meal prep enthusiasts! You can prepare the cookie dough up to 24 hours in advance by mixing all the ingredients, then cover and refrigerate it to keep the flavors fresh. This not only saves time during busy weeknights but also allows the flavors to meld beautifully. When ready to bake, simply scoop the chilled dough onto a baking sheet and follow the baking instructions as usual. If you want to go a step further, you can bake the cookies and store them in an airtight container at room temperature for up to 3 days, ensuring they remain just as delicious and crispy! Enjoy the convenience of having homemade treats ready at your fingertips!
What to Serve with 4-Ingredient Crispy Chocolate Oat Cookies
Indulging in these delightful cookies creates the perfect opportunity to craft a complete and satisfying meal experience.
- Fresh Fruit Salad: Light and refreshing, a fruit salad brings brightness and sweetness to complement the rich chocolate flavors.
- Creamy Yogurt Parfait: Layered with yogurt and your favorite fruits, this creamy treat adds a satisfying contrast to the crunchy cookies.
- Nutty Trail Mix: A handful of mixed nuts enhances the textures and flavors while providing a healthy crunch that pairs well.
- Rich Cold Brew Coffee: The bold flavors of cold brew offer a lovely balance to the sweetness of the cookies, enhancing your afternoon delight.
- Decadent Dark Chocolate Squares: Add a touch of sophistication and an extra chocolate boost that will elevate your cookie indulgence to new heights.
- Spiced Chai Latte: Warm and comforting, a chai latte introduces aromatic spices that beautifully harmonize with the cookie’s flavors.
When it comes to desserts and snacks, each pairing adds an exciting contrast or a delightful complement to your chocolate oat cookies. Enjoy exploring these tasty combinations!
Customizing Your Chocolate Oat Cookies
Feel free to tailor these cookies to your taste—your imagination is the limit!
-
Nut-Free: Substitute almond or peanut butter with sunflower seed butter for a delightful nut-free option. Ensuring everyone can enjoy these cookies makes them inclusive for gatherings!
-
Sweetener Switch: If maple syrup isn’t your thing, try agave syrup for a vegan-friendly alternative. It’s another natural sweetener that keeps the batter just right.
-
Flavored Chocolate Chips: Swap standard chocolate chips for mint or sea salt caramel varieties to jazz things up! These flavorful twists can transform your cookies into a gourmet experience.
-
Add Texture: Toss in some chopped nuts or dried fruits for an exciting crunch and extra flavor. Pecans or cranberries add a lovely surprise with each bite!
-
Spice it Up: Want a little heat? Incorporate a dash of cayenne pepper for a spicy kick that balances perfectly with the sweetness.
-
Baking Time Variation: For those who love a softer cookie, reduce baking time by a couple of minutes. The centers will remain chewy and absolutely scrumptious.
-
Change It Up: Instead of traditional oats, experiment with oat flour for a smoother texture. It’s a neat alternative that keeps the essence of these yummy cookies intact!
-
Serve with Style: Pair your cookies with a tall glass of milk or a cup of coffee for an unforgettable snack experience. If you’re feeling adventurous, try these with a side of Dollys Chicken Stuffing for a savory-sweet combo delight!

Chocolate Oat Cookies Recipe FAQs
What type of oats should I use for this recipe?
Absolutely! For the best results, I recommend using gluten-free oats if you want to keep the recipe gluten-free. Look for rolled or old-fashioned oats, as they provide the perfect texture. If you only have quick oats, you can use those, but the cookie might turn out slightly softer.
How should I store the cookies after baking?
You can store your Chocolate Oat Cookies in an airtight container at room temperature for up to 1 week. Make sure to keep them sealed properly to retain their freshness and texture.
Can I freeze these cookies?
Yes, you can freeze the cookies! First, place them in a single layer on a baking sheet to freeze individually. Once solid, transfer them to a freezer-safe bag or container. They can be kept frozen for up to 3 months. When you’re ready to enjoy, simply thaw them in the fridge overnight and warm them in the oven at 350°F (175°C) for 5-7 minutes to get that lovely melt-in-your-mouth chocolate back.
What if my cookie mixture is too crumbly?
If you find that your mixture is crumbly and not coming together, it may need a bit more moisture. You can add an additional teaspoon of maple syrup or nut butter, mixing thoroughly until the dough holds together better. Remember, a well-combined mixture makes for better cookies!
Are these cookies suitable for those with nut allergies?
If you’re accommodating a nut allergy, it’s very easy to adapt this recipe! Simply substitute the nut butter with sunflower seed butter, which maintains the binding properties without the nuts. Be sure to also check that your chocolate chips are allergen-free, opting for dairy-free if necessary!
How do I know when the cookies are done baking?
Watch closely in the last few minutes of baking! The cookies are done when the edges are golden brown, while the centers should still look slightly soft. They will firm up as they cool. It’s a delicate balance, but so worth it for that crispy-chewy texture!
Spicy-Sweet Hot Honey Chicken Biscuits You’ll Crave
Ingredients
Equipment
Method
- Preheat your oven to 350°F (175°C) and line a baking sheet with parchment paper.
- Combine nut butter and maple syrup in a large mixing bowl until smooth.
- Add oats to the bowl and stir until everything is well combined.
- Fold in chocolate chips until evenly distributed.
- Scoop small mounds of cookie mixture onto the prepared baking sheet, ensuring space in between.
- Bake for 12-15 minutes until edges are golden brown and centers remain slightly soft.
- Cool cookies on the baking sheet for 5 minutes before transferring to a wire rack to cool completely.
Leave a Reply