
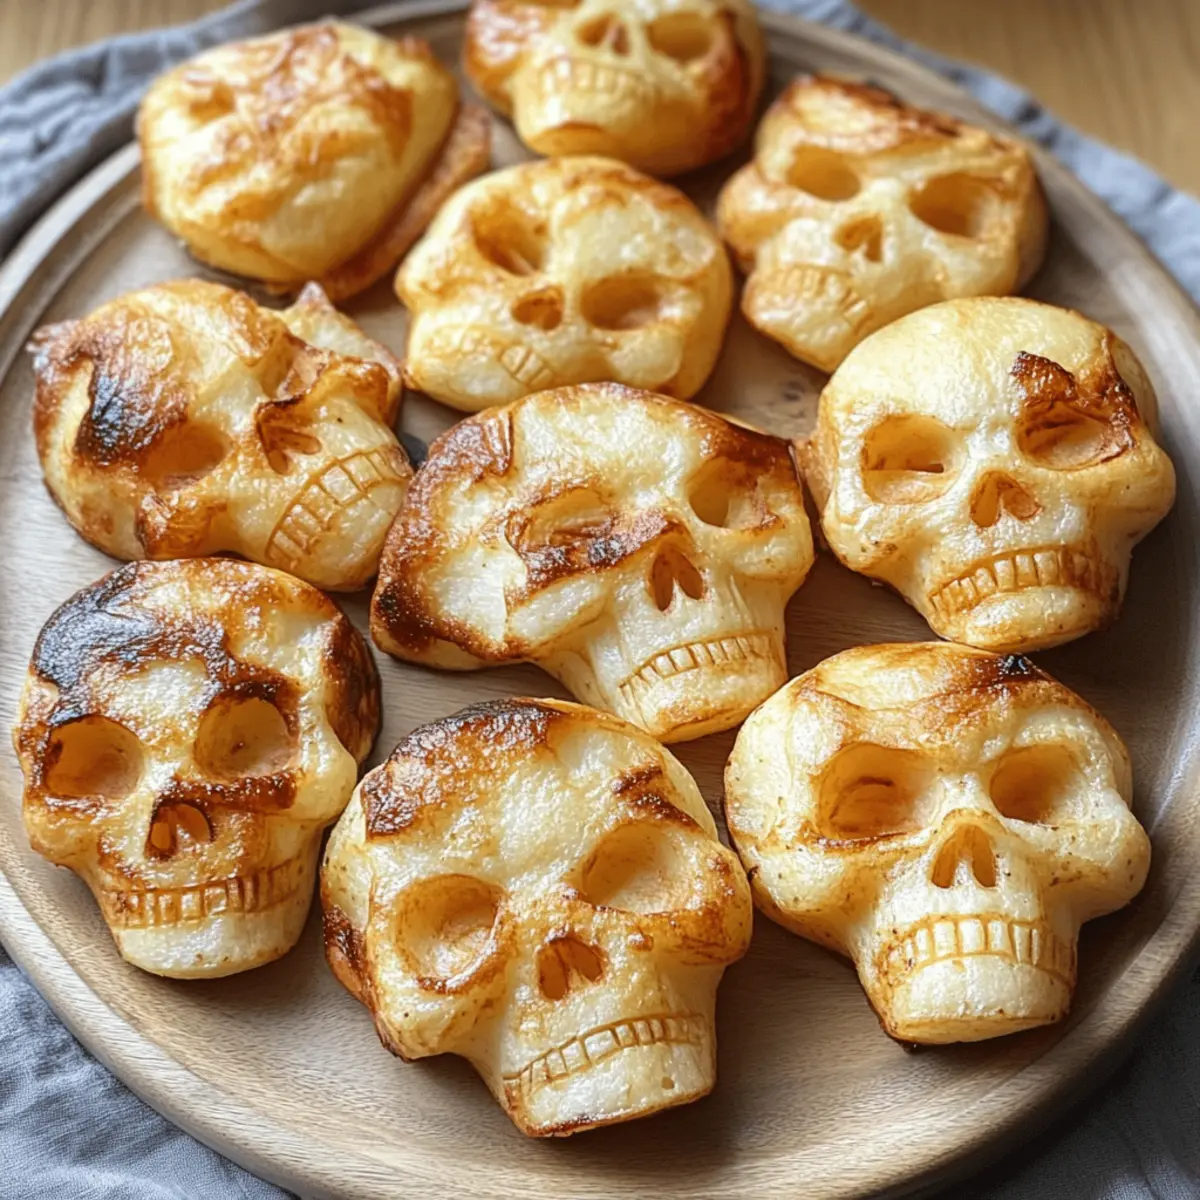
As the air turns crisp and the days grow shorter, there’s something enchanting about the shift into autumn. Halloween offers an opportunity to embrace the spooky spirit in a fun culinary way, and that’s where these Halloween Skull Potatoes come into play! This playful side dish not only delivers delightful crispy potatoes but also adds a whimsical touch to your Halloween festivities. They’re quick to prepare and are bound to be a hit with family and friends, making them an excellent alternative to sugary treats. Imagine serving these charming skull-shaped snacks at your next gathering—they’re sure to spark laughter and delight! Are you ready to elevate your Halloween menu with these creepy yet delicious bites?
Are You Ready for Spooky Snacks?
Crispiness Awaits: Get ready to indulge in Halloween Skull Potatoes that offer the perfect balance of crunch and fluffiness! Creative Presentation: The spooky skull shapes are not only fun to create but will also impress your guests, making them the star of your Halloween table. Quick to Prepare: These delightful potatoes come together in no time, allowing you to focus on other festive activities. Versatile Seasons: Feel free to customize your seasonings or even mix up the expressions on your skulls for added character! For a full Halloween spread, consider serving these alongside our delicious Garlic Parmesan Potatoes for a savory combo that everyone will love!
Halloween Skull Potatoes Ingredients
• Perfect for your spooky side dish!
For the Potatoes
- Mini Creamer Potatoes – The ideal base for carving, as they hold their shape and roast evenly; Baby Yukon Golds can be a tasty substitute.
- Oil – A drizzle creates that irresistible crispiness on the outside; olive or vegetable oil works great!
- Salt – A pinch enhances all flavors, ensuring your Halloween Skull Potatoes are savory and delicious.
For Seasoning
- Seasonings (1 tsp suggested) – Elevate the flavor with garlic powder, paprika, or your favorite spice mix; this is where you can add some personality to your spooky snack!
Step‑by‑Step Instructions for Halloween Skull Potatoes
Step 1: Preheat the Oven
Begin by preheating your oven to 425°F (220°C). This optimal temperature ensures your Halloween Skull Potatoes achieve the perfect golden crunch while roasting. While the oven heats up, prepare your baking sheet by lining it with parchment paper for easy cleanup and to prevent sticking.
Step 2: Prepare Potatoes
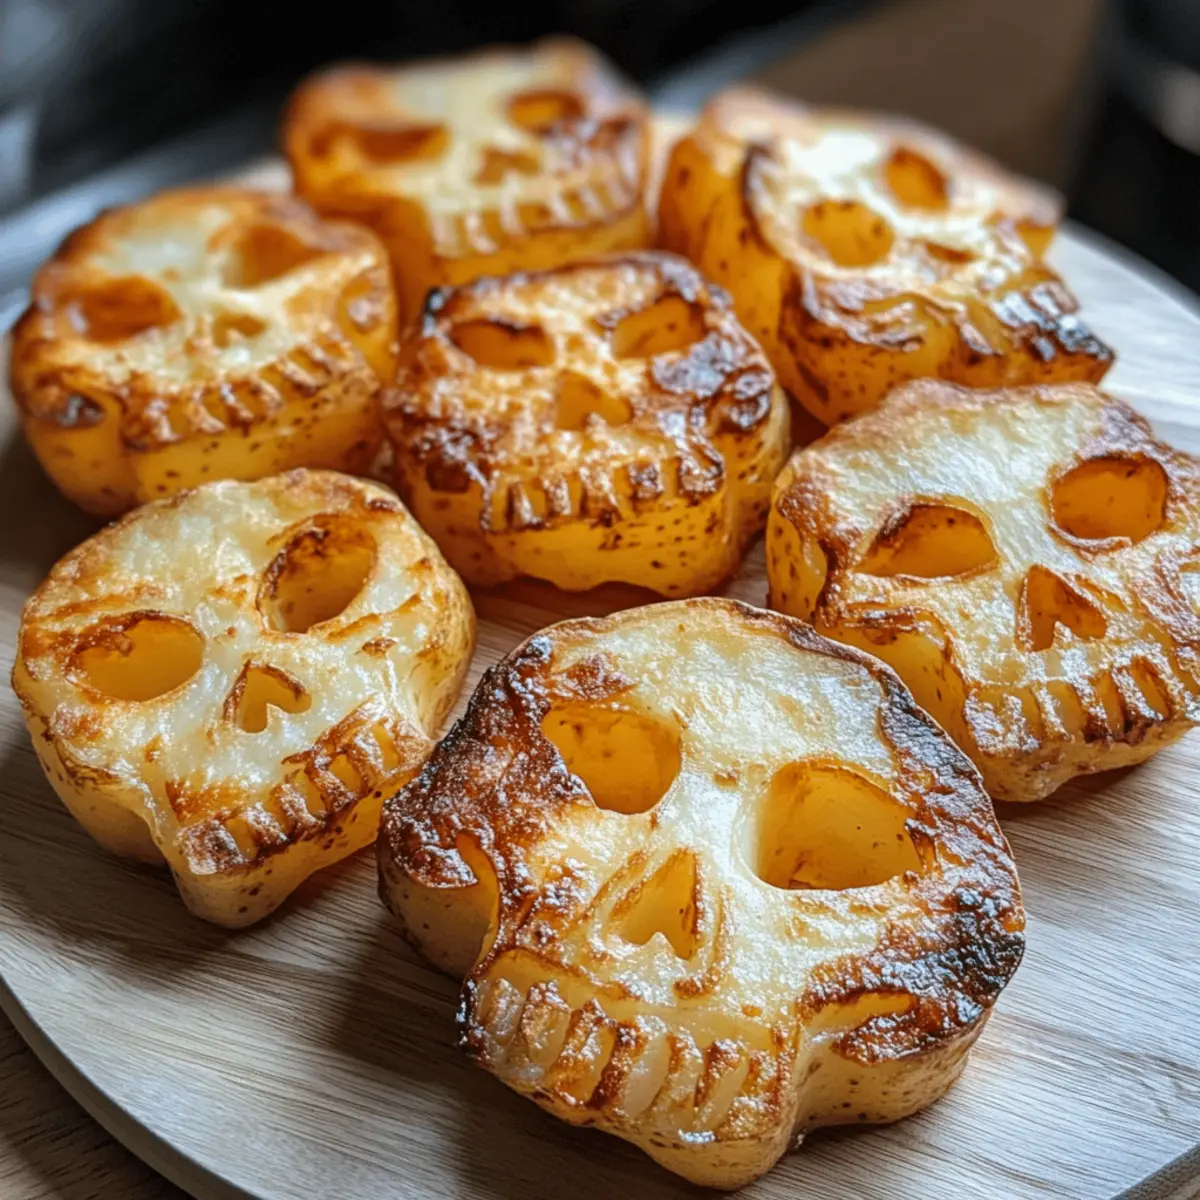
Wash and dry the mini creamer potatoes thoroughly to remove any dirt. Using a paring knife, carefully carve each potato into a skull shape, outlining features such as eye sockets and a mouth. Take your time with this step to ensure the details are visible; this will enhance the spooky appearance of each potato.
Step 3: Season and Coat
In a large mixing bowl, toss the carved skull potatoes with a drizzle of oil, ensuring they are evenly coated. Sprinkle in salt and your choice of seasonings, such as garlic powder or paprika, and mix well to distribute flavors. This seasoning will not only enhance taste but also promote that irresistible crispiness you want from Halloween Skull Potatoes.
Step 4: Arrange on Baking Sheet
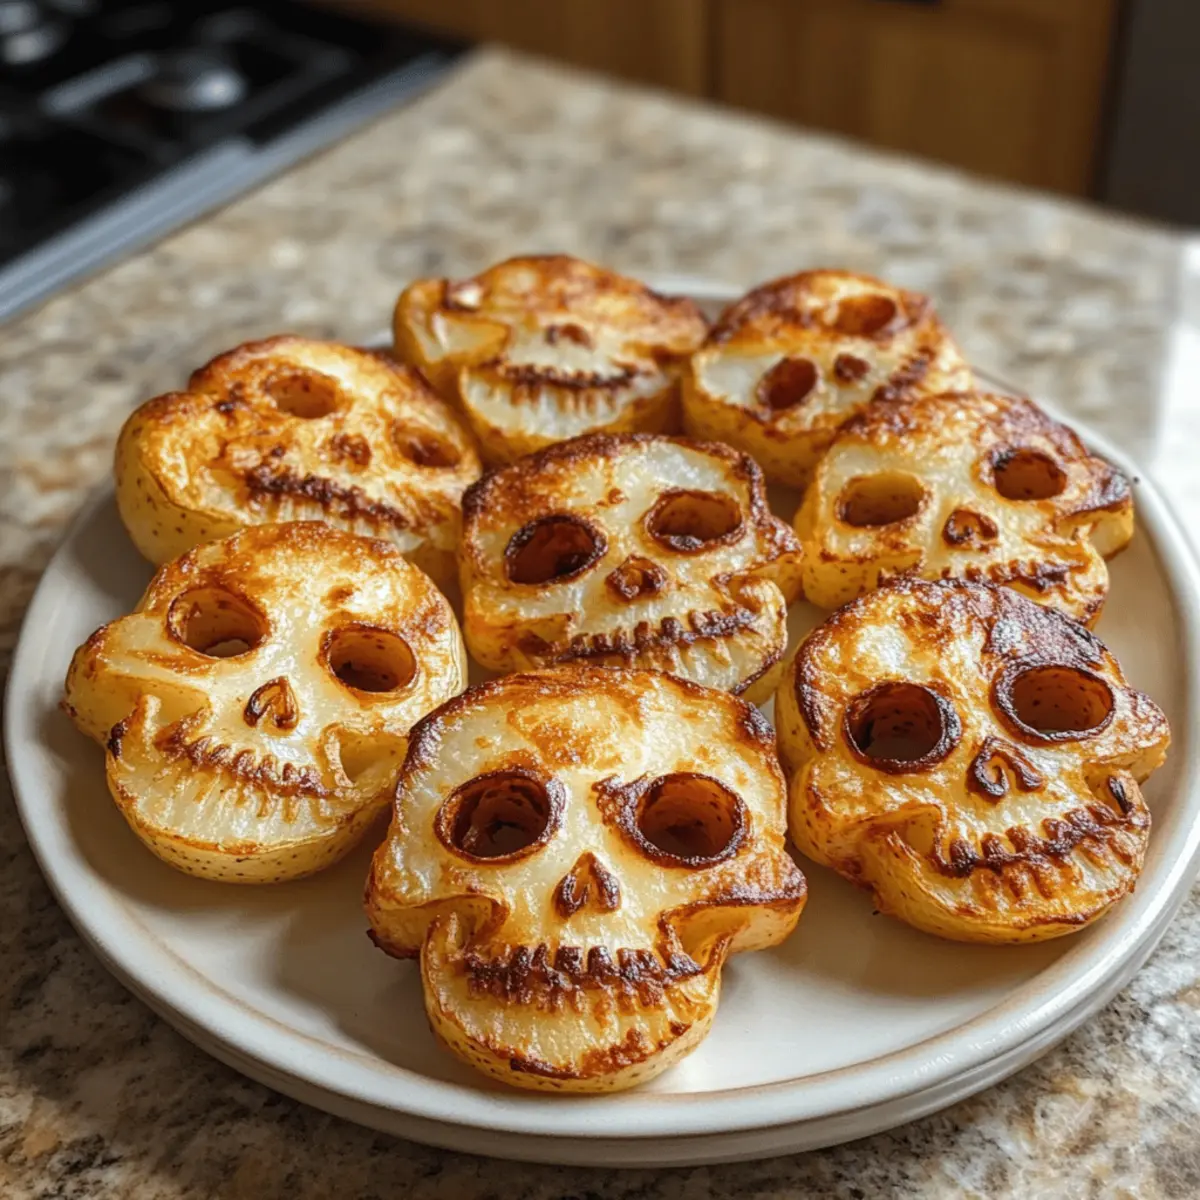
Transfer the seasoned potatoes to the prepared baking sheet, arranging them in a single layer without overcrowding. This spacing is crucial for achieving maximum crispiness; crowded potatoes tend to steam rather than roast. Make sure the cut-out faces are facing up to showcase their spooky designs!
Step 5: Bake and Check Doneness
Place the baking sheet in the preheated oven and bake for 25–30 minutes, or until your Halloween Skull Potatoes are golden brown and crispy. Flip the potatoes halfway through baking to promote even crisping on all sides. Keep an eye on them toward the end; you’ll know they’re done when they are beautifully browned and tender inside.
Step 6: Cool Before Serving
Once the potatoes are done, remove them from the oven and let them cool for about 5 minutes on the baking sheet. This cooling period allows them to develop extra crispiness. As you wait, prepare your serving platter, making it easy to present your delightful Halloween Skull Potatoes at your spooky gathering!
What to Serve with Halloween Skull Potatoes
Elevate your Halloween dining experience with sides and treats that enhance the spooky fun of these delightful skull-shaped snacks.
-
Monster Eyeball Meatballs: These meatballs topped with mozzarella and olives are not only delicious but add a playful horror touch that complements the potatoes.
-
Witch’s Brew Soup: A rich and creamy pumpkin soup garnished with ghostly whipped cream will balance the crispy texture of the skull potatoes while adding seasonal flavors to your spread.
-
Creepy Coleslaw: A tangy, crunchy slaw with apples and carrots adds freshness to your table and contrasts beautifully with the buttery notes of the Halloween Skull Potatoes. Enjoy the playful colors—it’s a visual treat!
-
Ghoulish Guacamole: Serve it alongside tortilla chips for a tasty dip; the creamy, zesty guacamole pairs perfectly with the crispy potatoes, making party snacking even more fun.
-
Terrifying Tacos: Spice things up with taco fillings that everyone can assemble themselves, offering a delightful and interactive dining experience while the skull potatoes add a dash of charm.
-
Freaky Fruit Platter: Consider a spooky fruit plate featuring apple slices shaped like bats or ghosts to provide a fresh, sweet contrast to your savory options.
-
Haunted Hot Chocolate: Pair the meal with rich hot chocolate topped with whipped cream and spooky marshmallows; it’s the perfect warm touch to complete your Halloween gathering!
Halloween Skull Potatoes Variations
Feel free to let your creativity shine as you customize these spooky treats to fit your taste and occasion!
- Cheesy Twist: Top your carved potatoes with shredded cheese before baking for a gooey, indulgent surprise.
- Herb-Infused: Add fresh herbs like rosemary or thyme to the seasoning mix for an aromatic flavor boost.
- Spicy Kick: Sprinkle with cayenne pepper or chili flakes for a thrilling heat that will awaken your taste buds!
- Vegan Option: Use olive oil and skip dairy toppings to create a delicious vegan-friendly version everyone can enjoy.
- Skull Expressions: Experiment with different facial expressions, ranging from silly to scary, to make each potato unique and fun! Having a themed party? This adds a special touch.
- Sweet Potatoes: Swap mini creamer potatoes for sweet potatoes for a sweet and nutritious twist that brightens up your Halloween spread.
- Balsamic Glaze: Drizzle balsamic reduction over the baked skulls for a sweet and tangy flavor to balance the savory notes.
- Accompaniments: Serve alongside our delicious Garlic Parmesan Potatoes or Crockpot Garlic Potatoes for a truly festive feast!
How to Store and Freeze Halloween Skull Potatoes
Fridge: Store leftover Halloween Skull Potatoes in an airtight container in the fridge for up to 2 days. This helps maintain their deliciousness while keeping them safe to eat.
Freezer: If you want to keep them longer, place fully cooled skull potatoes in a freezer-safe bag, ensuring to remove as much air as possible. They can be stored for up to 1 month.
Reheating: For the best crispy texture, reheat the potatoes in a preheated oven at 400°F (200°C) for about 10–15 minutes. This will restore their delightful crunch!
Tips: Always enjoy your Halloween Skull Potatoes fresh when possible, as the texture is most appealing right after baking.
Make Ahead Options
These Halloween Skull Potatoes are perfect for busy home cooks looking to save time without sacrificing flavor! You can carve the potatoes up to 24 hours in advance; simply store the cut skulls in a bowl of cold water in the refrigerator to prevent browning. When you’re ready to roast, drain, and pat them dry to ensure they become crispy. Additionally, you can prepare the seasoning mix ahead and store it in an airtight container. When it’s time to serve, toss the carved potatoes with oil and seasoning, arrange them on a baking sheet, and bake as directed. This prep will have you enjoying delightful and spooky side dishes with minimal effort!
Expert Tips for Halloween Skull Potatoes
-
Choose the Right Potatoes: Opt for mini creamer or baby Yukon Gold potatoes as they are easier to carve and roast evenly for perfect Halloween Skull Potatoes.
-
Mind the Overcrowding: Always arrange the potatoes in a single layer on your baking sheet. Overcrowding can lead to steaming rather than achieving that desired crispy texture.
-
Carve with Care: Use a sharp paring knife and always carve away from your hands. This will help avoid injuries while allowing you to create detailed features on your skulls.
-
Season Generously: Don’t skimp on seasonings! A good sprinkle of salt and your choice of spices will enhance flavor and help achieve the crispiness you crave.
-
Monitor Baking Time: Keep an eye on your potatoes during roasting. They should be golden brown and crispy; flipping them halfway helps ensure even cooking.
Halloween Skull Potatoes Recipe FAQs
What type of potatoes should I use for Halloween Skull Potatoes?
Absolutely! Mini creamer potatoes are your best bet for this recipe. They carve easily and roast evenly, making them perfect for achieving those spooky skull shapes. If you can’t find mini creamer potatoes, baby Yukon Golds work well as a tasty substitute.
How should I store leftover Halloween Skull Potatoes?
After your spooky gathering, you can store any leftover Halloween Skull Potatoes in an airtight container in the fridge for up to 2 days. Place them in a single layer to keep their shapes intact and maximize the crispiness when you reheat them.
Can I freeze Halloween Skull Potatoes?
Yes, of course! To freeze, allow the skull potatoes to cool completely after baking. Then, place them in a freezer-safe bag, removing as much air as possible to prevent freezer burn. You can keep them in the freezer for up to 1 month. When you’re ready to enjoy them again, simply reheat them in the oven to bring back that crunch!
How do I reheat Halloween Skull Potatoes for the best texture?
For the crispiest results, preheat your oven to 400°F (200°C) and place your skull potatoes on a baking sheet. Heat them for about 10–15 minutes, flipping halfway through to keep them evenly crispy. This method restores their delightful crunch, making them just as good as when you first baked them!
What should I do if my carved skull potatoes lose their shape while roasting?
If you notice that your skull potatoes are losing their shape, it could be due to the size of the potatoes or how deep you’ve carved them. To prevent this, make sure to carve just enough to define features without compromising the integrity of the potato. Additionally, using smaller potatoes helps them hold their shape better during roasting.
Are there any dietary considerations I should be aware of when making Halloween Skull Potatoes?
Yes! While the basic recipe is quite straightforward, it’s always wise to consider allergies. If you’re serving guests with dietary restrictions, check the labels on oils and seasonings, as some may contain allergens. If you’re accommodating pets, remember that potatoes should be served cooked and unseasoned, as raw potatoes can be harmful to them.
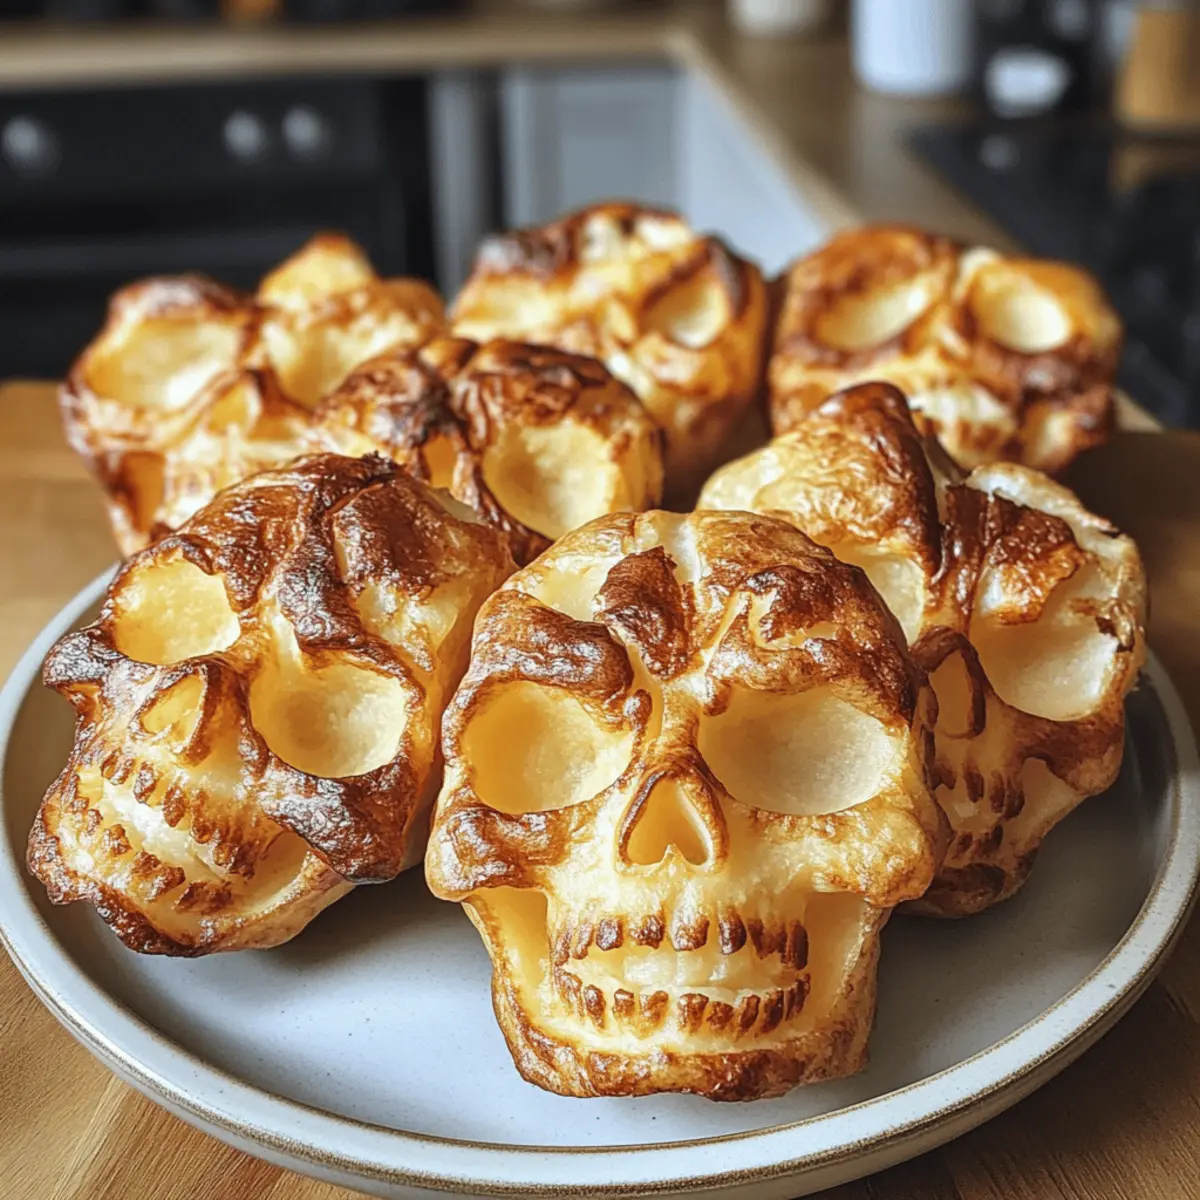
Crispy Halloween Skull Potatoes That Steal the Show
Ingredients
Equipment
Method
- Preheat your oven to 425°F (220°C) and line a baking sheet with parchment paper.
- Wash and dry the mini creamer potatoes, then carve them into skull shapes.
- In a large mixing bowl, toss the carved potatoes with oil, salt, and your choice of seasonings.
- Arrange the seasoned potatoes on the baking sheet in a single layer with faces facing up.
- Bake for 25–30 minutes, flipping halfway, until golden brown and crispy.
- Let the potatoes cool for about 5 minutes before serving.
Leave a Reply