
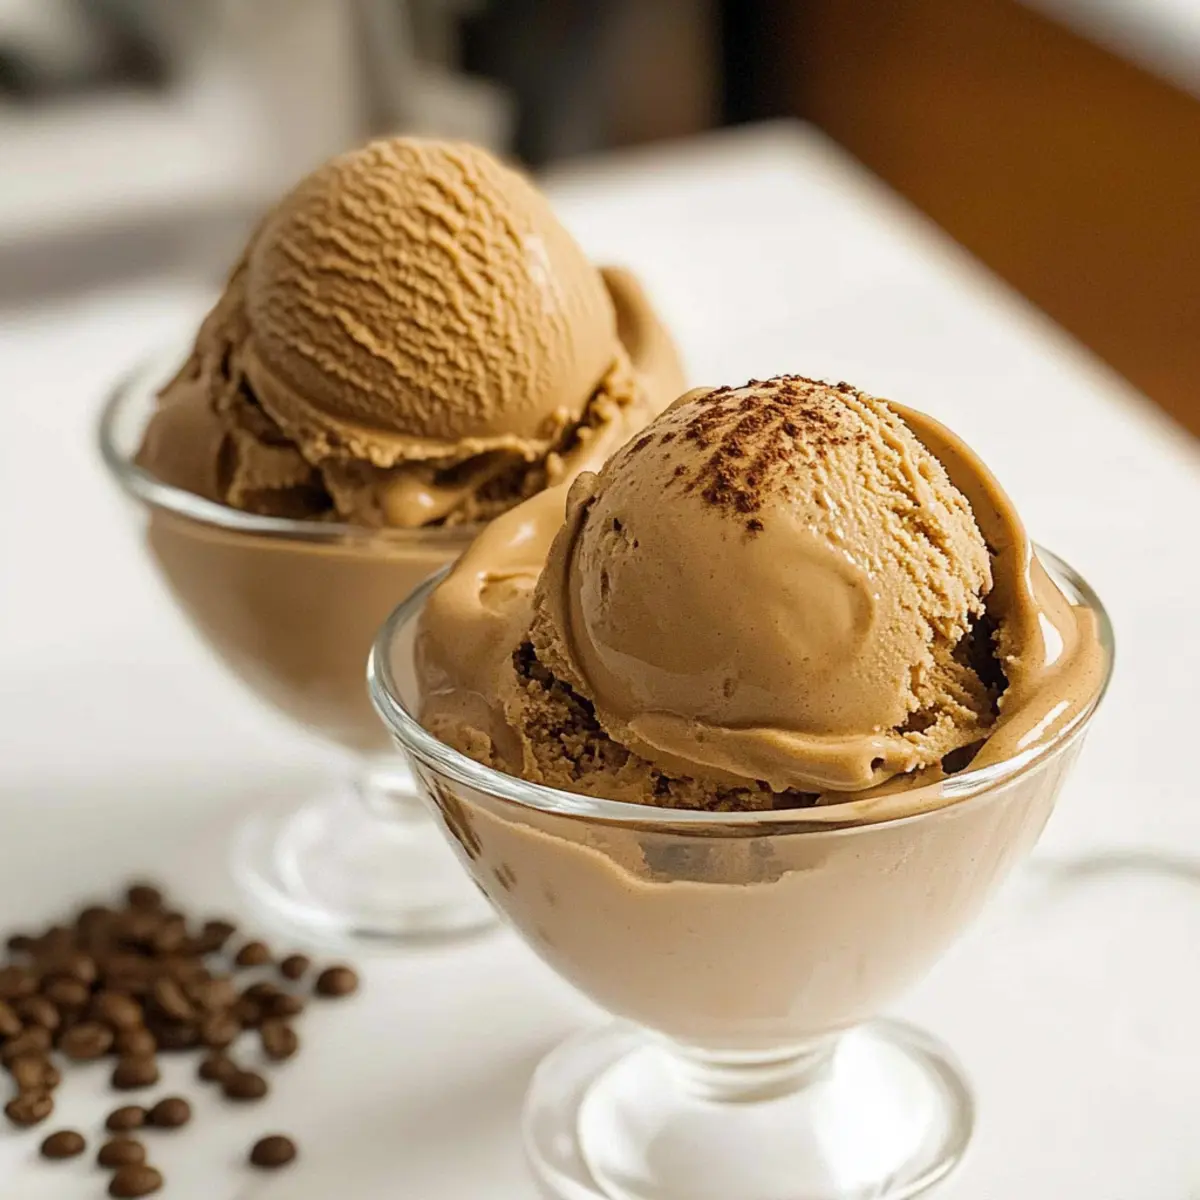
The minute I took a scoop of this rich and creamy homemade espresso coffee ice cream, I was transported to a cozy café nestled in the heart of Italy. It’s amazing how a simple custard base can transform into an indulgent treat that captures the warmth and elegance of a true coffee lover’s dream. This recipe is perfect for those yearning for a delightful dessert, offering a quick and fuss-free way to enjoy an artisanal ice cream experience right at home. With no artificial ingredients, you can customize each batch to your taste—imagine adding a dash of chocolate or a sprinkle of nuts for an exciting twist! Are you ready to treat yourself to a scoop of sumptuous satisfaction?
Why is this ice cream so special?
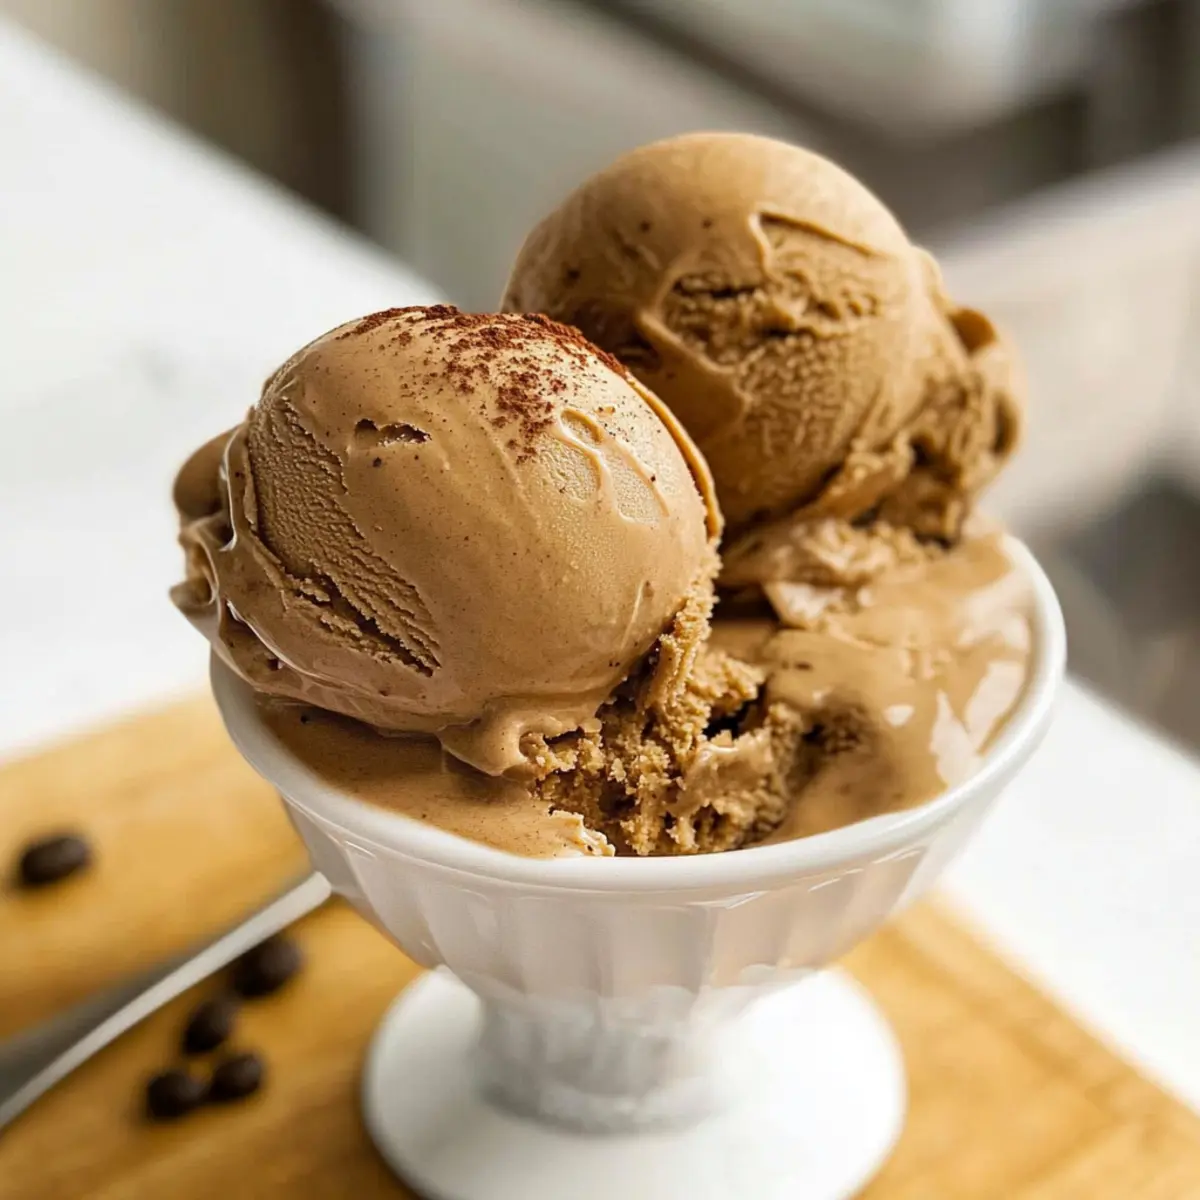
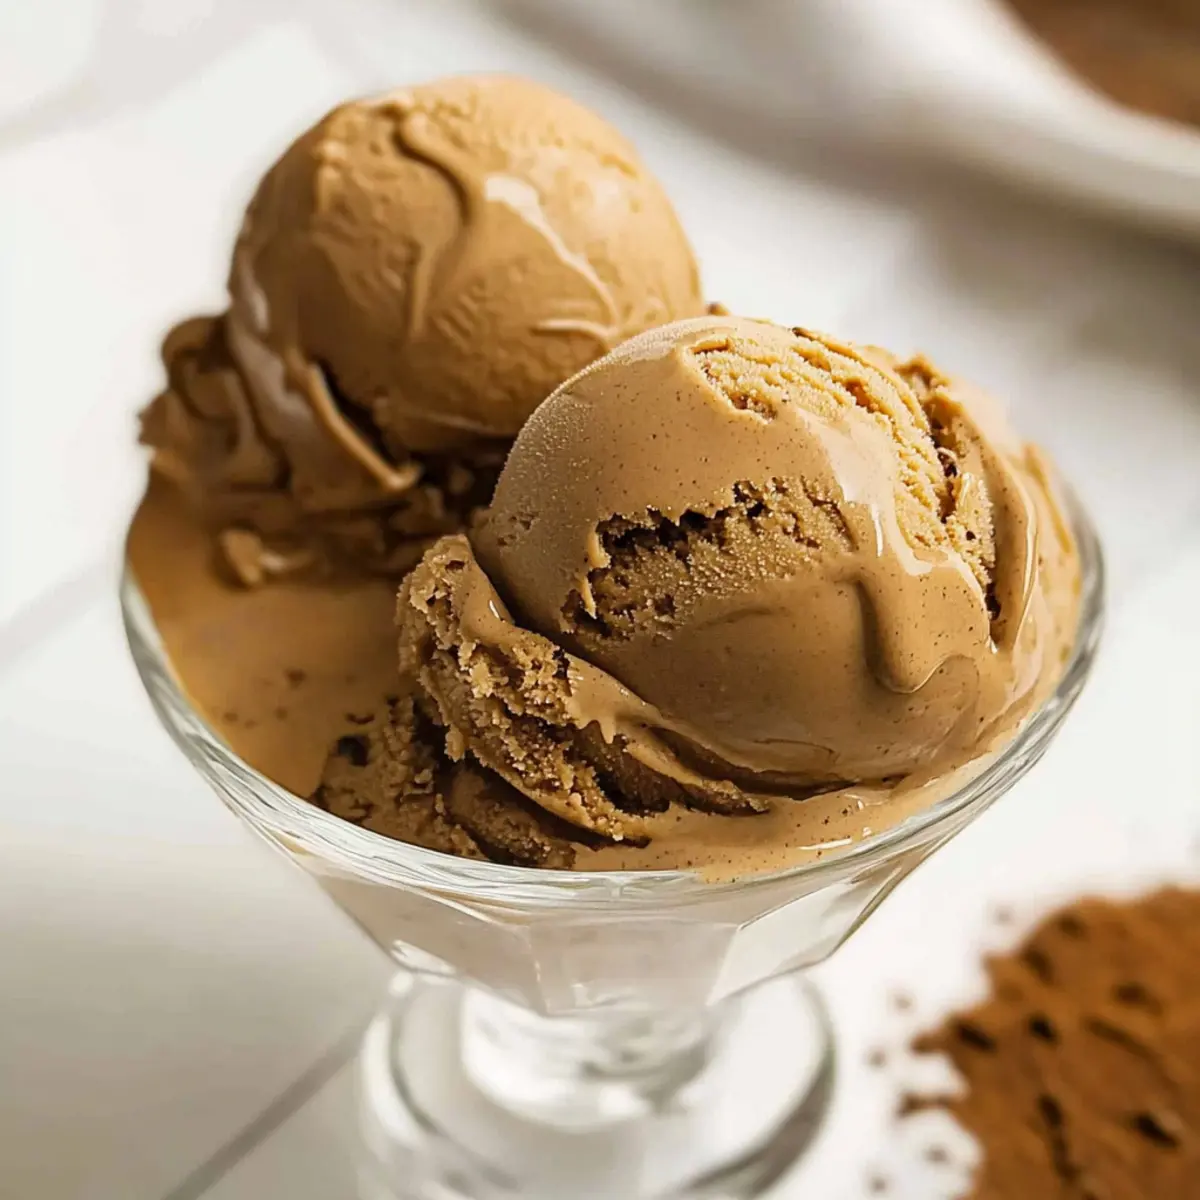
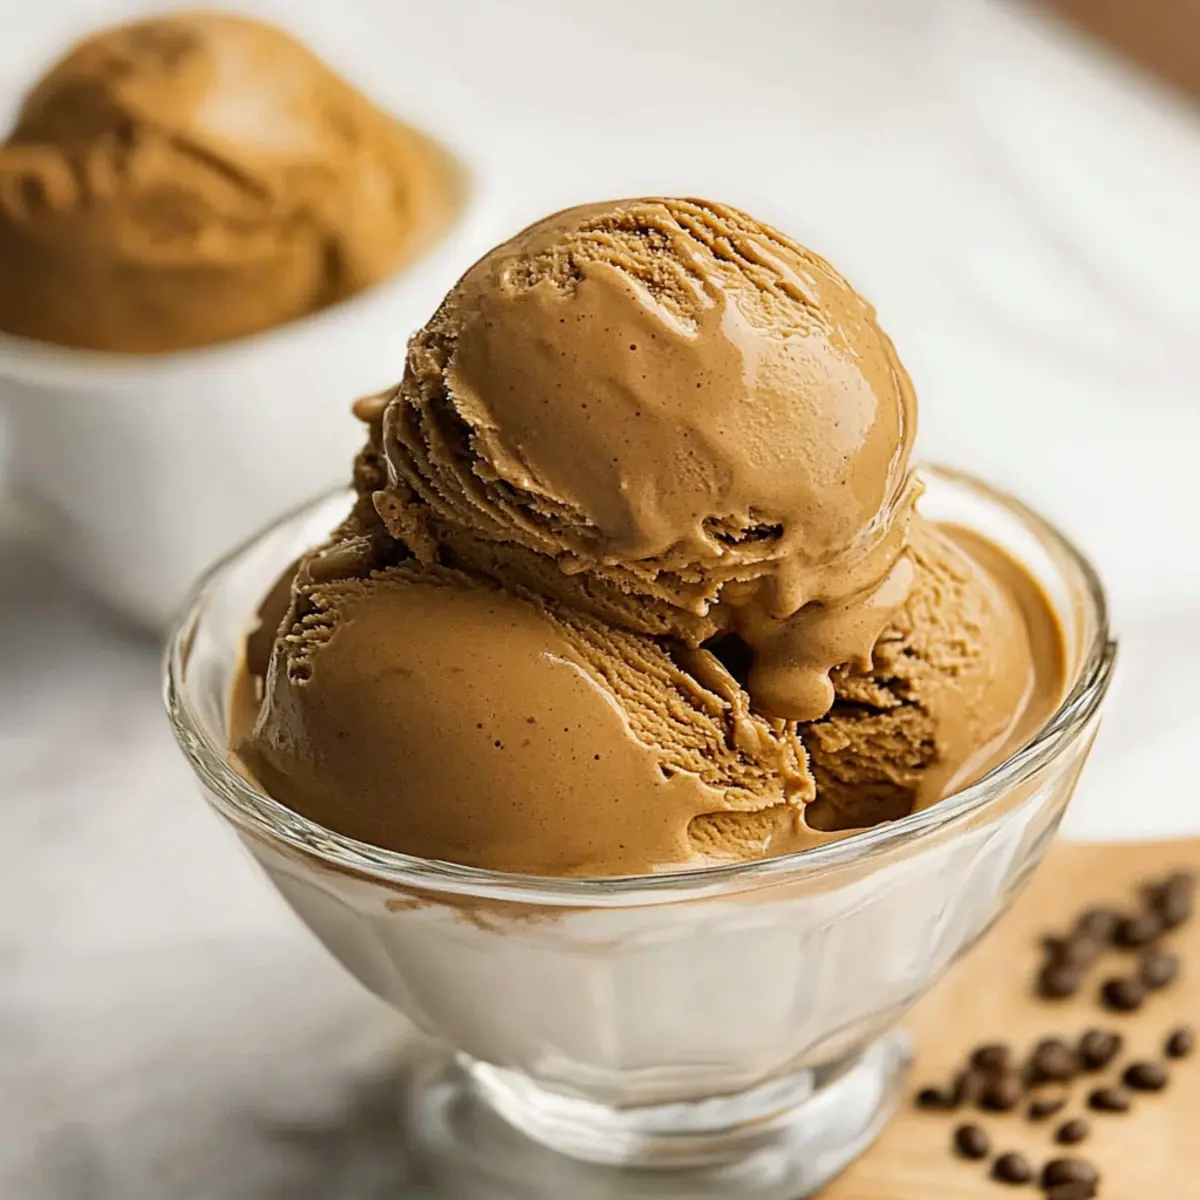
Decadent, homemade delight: This creamy espresso coffee ice cream brings café-quality indulgence right to your kitchen, inviting you to savor every rich bite.
Simple ingredients: Crafted with a handful of pantry staples, it showcases the beauty of fresh, real flavors without any artificial additives.
Customizable options: Whether you wish to add chocolate chips or create a mocha version, the possibilities are endless, making it a versatile dessert for everyone.
Impressive and crowd-pleasing: Serve it at gatherings or as a special treat for loved ones, and watch everyone ask for seconds—just like they do with Homemade Meatballs Savory or Sweet Coconut Cream.
Easy preparation: With straightforward instructions, you’ll impress your friends and family, no culinary degree necessary! Get ready to enjoy this luscious treat anytime you crave an espresso fix.
Homemade Espresso Coffee Ice Cream Ingredients
For the Custard Base
• Egg Yolks – Provides richness and helps create a creamy custard base; no substitutions are recommended for authenticity.
• Granulated Sugar – Sweetens the mixture and balances the espresso’s richness; brown sugar can be used for a hint of caramel flavor.
• Whole Milk – Essential for a luxurious texture; feel free to use 2% milk, but know the result will be less rich.
• Instant Espresso Powder – Delivers robust coffee flavor; can be substituted with strong brewed coffee for a different taste experience.
For the Creamy Mix
• Heavy Cream – Adds that indulgent creaminess we all love; using lower-fat alternatives will affect the final ice cream texture.
• Salt – A key ingredient to enhance the overall flavor; just a pinch does wonders.
• Vanilla Extract – Adds depth and complexity to the flavor; make sure it’s pure vanilla for the best result.
• Coffee Liqueur – Intensifies the coffee flavor; feel free to omit this or replace it with more vanilla extract for a non-alcoholic version.
Remember, this homemade espresso coffee ice cream is a delightful treat that you can easily whip up at home!
Step‑by‑Step Instructions for Homemade Espresso Coffee Ice Cream
Step 1: Prepare the Custard Base
In a medium saucepan, whisk together 4 egg yolks and ½ cup granulated sugar until the mixture turns a light, pale yellow, about 2 minutes. This will create a smooth base for your homemade espresso coffee ice cream. Set this aside temporarily while you prepare the milk mixture, ensuring everything is ready to come together seamlessly.
Step 2: Heat Milk Mixture
In a separate saucepan, combine 1 cup of whole milk and 2 tablespoons of instant espresso powder, heating it over medium heat until it just starts to simmer—about 5 minutes. Stir occasionally to prevent any sticking on the bottom. As the milk heats, the aroma of fresh espresso will fill your kitchen, teasing the senses and building excitement for the final product.
Step 3: Combine Mixtures
Slowly drizzle the warm milk mixture into the egg yolk mixture, whisking constantly to prevent the yolks from cooking or curdling. This step is crucial for a smooth custard base. Once combined, the mixture should be silky and well-blended, with a harmonious balance of sweetness and coffee flavor ready for the next stage.
Step 4: Cook Custard
Return the custard mixture to the stovetop over medium-low heat. Stir it continuously until the temperature reaches 165°F, which will take about 5-8 minutes. You’ll know it’s ready when the mixture coats the back of a spoon. This gentle cooking process allows the custard to thicken, ensuring a creamy texture for your homemade espresso coffee ice cream.
Step 5: Chill Custard
Once cooked, pour the custard into an airtight container and let it cool at room temperature for about 30 minutes before moving it to the refrigerator. Chill the mixture for at least 4 hours or overnight to ensure it’s completely cold. This step is essential for achieving the right texture during churning, as a well-chilled custard leads to a smoother ice cream.
Step 6: Churn Ice Cream
After chilling, mix in 1 cup of heavy cream, a pinch of salt, 1 teaspoon of vanilla extract, and 1 tablespoon of coffee liqueur into the custard, stirring until combined. Using an ice cream maker, churn the mixture according to the manufacturer’s instructions—typically around 20-25 minutes—until it reaches a soft-serve consistency. You’ll see the transformation into a luscious, creamy base for your espresso coffee ice cream.
Step 7: Serving Suggestion
Serve your freshly churned homemade espresso coffee ice cream immediately for a delightful soft-serve experience or transfer it to a freezer-safe container for at least 1 hour for a firmer texture. If frozen longer, allow it to sit at room temperature for a few minutes before scooping. This will enhance the enjoyment as you relish each rich, creamy scoop of goodness!
How to Store and Freeze Homemade Espresso Coffee Ice Cream
Fridge: Store any leftover ice cream in the refrigerator for up to 3 days, but note it may lose some of its creamy texture.
Freezer: For long-term storage, place the ice cream in an airtight container and freeze for up to 1 month. This ensures that your homemade espresso coffee ice cream remains fresh and flavorful.
Thawing: If frozen solid, allow the ice cream to sit at room temperature for 5-10 minutes before scooping, making it easier to serve and enjoy.
Reheating: If you accidentally over-churn your ice cream and it develops ice crystals, briefly microwave it for 10-15 seconds to soften it up again without compromising flavor.
Expert Tips for Homemade Espresso Coffee Ice Cream
• Custard Care: Ensure you cook the custard slowly to avoid scrambling the eggs; it should gently thicken without boiling.
• Chill for Success: Always chill the custard thoroughly before churning—this is key for achieving that perfect creamy texture in your homemade espresso coffee ice cream.
• Don’t Overchurn: Churn just until the mixture thickens; overchurning can introduce ice crystals, ruining the smoothness of your ice cream.
• Storage Savvy: To maintain the best flavor and texture, store it in a tightly sealed container in the freezer and consume within one month.
• Flavor Boost: For an added depth of flavor, consider using a little more coffee liqueur or experimenting with mix-ins during churning.
What to Serve with Rich and Creamy Espresso Coffee Ice Cream
Indulge in an exquisite dessert experience by complementing your espresso coffee ice cream with delightful pairings that elevate every scoop.
- Chocolate Lava Cake: This warm, gooey dessert contrasts perfectly with the cold, creamy ice cream, creating a blissful melted chocolate experience.
- Affogato: Pour a shot of hot espresso over a scoop of your ice cream for a decadent coffee treat that’s both warm and cool, rich and refreshing.
- Shortbread Cookies: Their buttery crumbiness adds a delightful crunch alongside the smooth texture of the ice cream, making each bite a delicious symphony of flavors.
- Roasted Nuts: Add some toasted almonds or hazelnuts for a crunchy contrast; their nutty flavor enhances the coffee notes wonderfully in your dessert.
- Fresh Berries: The tartness of raspberries or blueberries balances the rich sweetness of the ice cream, showcasing a delightful medley of contrasting flavors.
- Caramel Sauce: Drizzle warm caramel over scoops of ice cream for a sweet treat that plays beautifully with the espresso flavor while adding lush richness.
- Mint Chocolate Chip Cookies: These refreshing yet chocolaty cookies bring a hint of mint that pairs intriguingly with the bold coffee taste of the ice cream.
- Irish Coffee: A warm cup of Irish coffee can be the perfect adult companion, with its rich flavors harmonizing beautifully with the espresso ice cream.
- Hazelnut Praline: The crunchy, sweet nutty crunch elevates the overall experience, adding a sophisticated touch that coffee lovers will adore.
Homemade Espresso Coffee Ice Cream Variations
Feel free to let your creativity shine as you customize this rich and creamy ice cream recipe to delight your taste buds!
-
Mocha Bliss: Add 1/3 cup cocoa powder to the milk mixture for a chocolatey twist that beautifully complements the espresso flavor.
-
Nutty Crunch: Fold in crushed walnuts or pecans during the last 5 minutes of churning for a delightful crunch and extra richness.
-
Spiced Delight: A sprinkle of cinnamon or nutmeg can elevate the flavors, adding warmth and delicious depth to your homemade espresso coffee ice cream.
-
Vegan Version: Swap the egg yolks for a mixture of silken tofu and coconut milk, using a dairy-free heavy cream alternative for a creamy dairy-free delight.
-
Minty Fresh: A few drops of peppermint extract can turn this coffee treat into a refreshing after-dinner dessert that’s perfect for warm evenings.
-
Fruity Fusion: Mix in a tablespoon of coffee liqueur and a handful of chopped dark cherries during the last moments of churning for an intriguing flavor combination.
-
Choco-Chip Indulgence: Incorporate mini chocolate chips or crushed Oreo cookies for a fun and tempting texture in your ice cream. They add both crunch and sweetness!
-
Affogato Inspiration: Serve a scoop of this ice cream in an espresso shot for a delightful affogato experience, combining hot and cold for a perfect dessert.
For more delicious ideas, consider trying out the decadent flavors of Kit Kat Cream or the sweetness of a Banana Walnut Cream. Enjoy the journey of customizing your homemade espresso coffee ice cream!
Make Ahead Options
Preparing your homemade espresso coffee ice cream ahead of time is a fantastic way to simplify dessert planning! You can create the custard base and chill it up to 24 hours in advance, allowing the flavors to meld beautifully. Just follow the cooking steps up to chilling the custard—once it’s cooled, store it in an airtight container in the refrigerator. For even better results, churn the ice cream immediately before serving; it can also be frozen and stored for up to 1 month. If stored, let it sit at room temperature for a few minutes before scooping to ensure it’s just as creamy and delightful when ready to serve. This way, you can enjoy a rich and satisfying homemade espresso coffee ice cream whenever the craving strikes!
Homemade Espresso Coffee Ice Cream Recipe FAQs
What type of coffee should I use for the best flavor?
Absolutely! For the richest taste, I recommend using high-quality instant espresso powder, as it delivers a deep, robust flavor throughout the ice cream. If you prefer, you can substitute it with freshly brewed strong coffee, but ensure it’s concentrated enough to maintain the desired coffee essence in your homemade espresso coffee ice cream.
How can I store leftover ice cream?
A great question! You can store any leftover ice cream in the refrigerator for up to 3 days; however, keep in mind that the texture may become a bit firmer and less creamy. For longer storage, transfer it into an airtight container and freeze it for up to 1 month. This way, your homemade espresso coffee ice cream remains fresh and delightful!
Can I freeze the ice cream for longer than a month?
While it’s technically possible to freeze the ice cream for longer, I recommend aiming to consume it within 1 month for optimal flavor and texture. If you freeze it beyond that, you might encounter ice crystals that can occur after prolonged freezing. When you’re ready to enjoy it again, just let it sit at room temperature for about 5-10 minutes to soften slightly before scooping.
What do I do if my ice cream is too hard after freezing?
Very good point! If you find your homemade espresso coffee ice cream is too hard after freezing, simply let it thaw for about 5-10 minutes at room temperature before scooping. This will make it much easier to serve. Be careful with the thawing—too long can lead to melting; just a little warmth will help restore that lovely creaminess!
Are there any dietary considerations for this recipe?
Absolutely! This homemade espresso coffee ice cream is inherently gluten-free, making it a fantastic option for those with gluten sensitivities. However, it contains eggs, dairy, and sugar, which may pose concerns for certain dietary restrictions or allergies. If you have specific dietary needs, feel free to substitute heavy cream with a non-dairy alternative and opt for egg substitutes when creating your custard base. Always read labels on any added ingredients for allergies.
How can I enhance the flavor of my espresso coffee ice cream?
Great question! To boost the flavor of your homemade espresso coffee ice cream, try adding additional mix-ins like chocolate chips, crushed nuts, or even a swirl of fudge during the last few minutes of churning. For a mocha version, consider mixing in cocoa powder into the milk mixture to add a delicious chocolatey depth. Trust me, the more the merrier when it comes to customizing your frozen treat!
Creamy Homemade Espresso Coffee Ice Cream You’ll Love
Ingredients
Equipment
Method
- In a medium saucepan, whisk together 4 egg yolks and ½ cup granulated sugar for 2 minutes until pale yellow.
- In a separate saucepan, combine 1 cup of whole milk and 2 tablespoons of instant espresso powder. Heat until simmering, about 5 minutes.
- Slowly drizzle the warm milk mixture into the egg yolk mixture, whisking constantly to prevent curdling.
- Return the custard mixture to medium-low heat, stirring until it reaches 165°F, about 5-8 minutes.
- Pour the custard into an airtight container and let it cool for 30 minutes before chilling in the refrigerator for at least 4 hours or overnight.
- Mix in 1 cup of heavy cream, a pinch of salt, 1 teaspoon of vanilla extract, and 1 tablespoon of coffee liqueur into the custard. Churn in an ice cream maker.
- Serve immediately for a soft-serve experience or freeze for at least 1 hour for a firmer texture.
Leave a Reply