
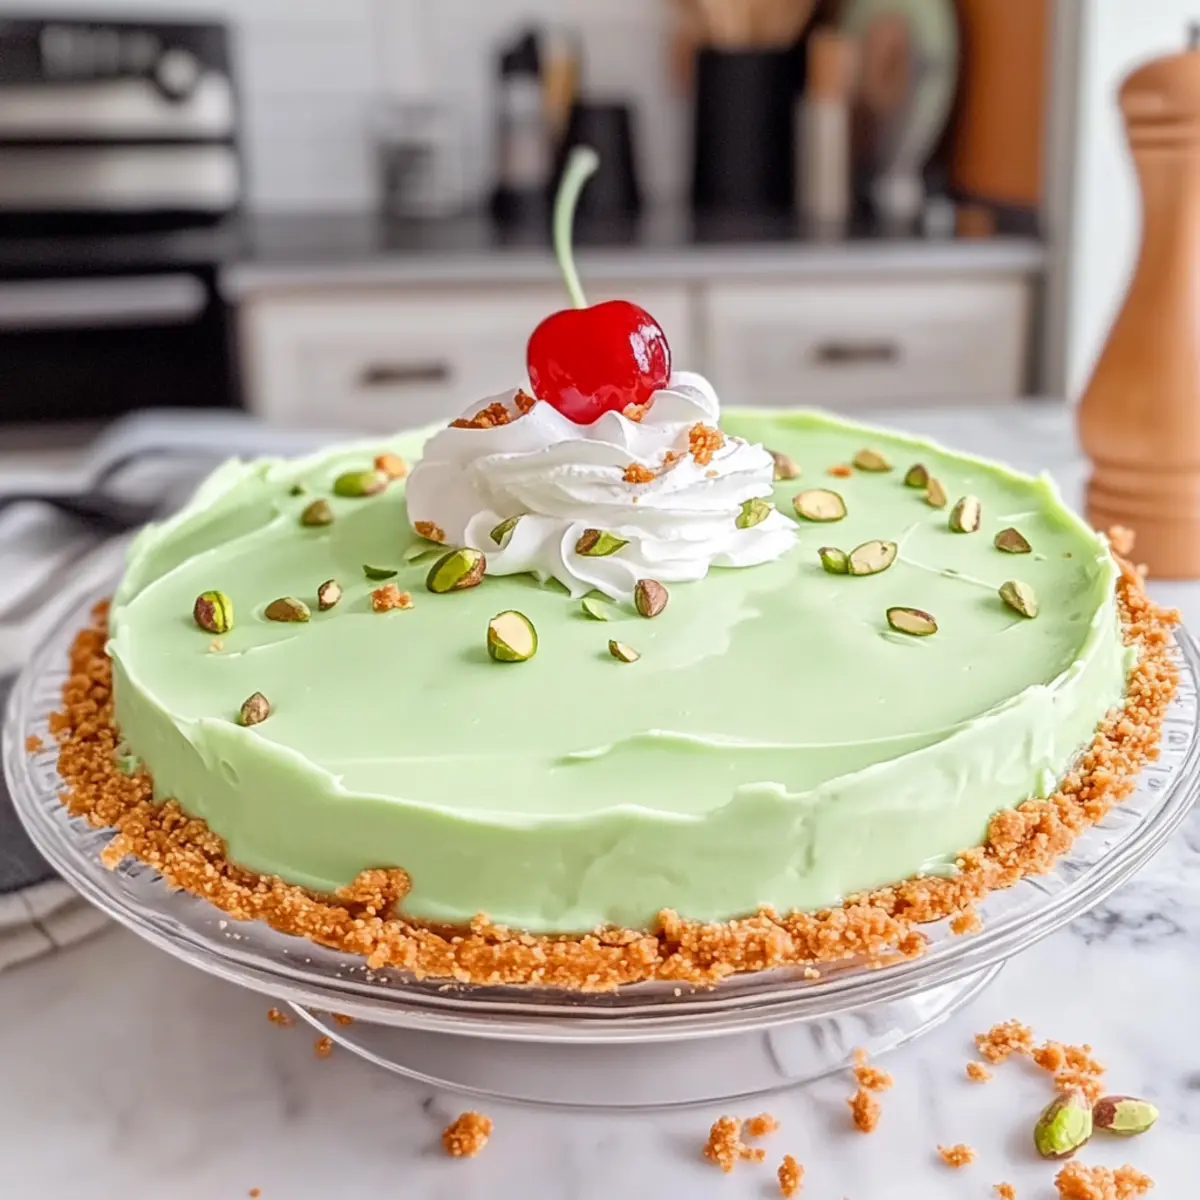
As I placed my pie dish in the fridge, the vibrant green hue of my No Bake Pistachio Pie made me smile, promising a delightful dessert experience ahead. This creamy indulgence is not just a feast for the eyes; it’s an effortless, no-bake treat that takes mere minutes to prepare. Perfect for gatherings or cozy evenings at home, it’s a soothing respite from the usual hustle, bringing a luxurious touch without the hassle of turning on the oven. With its rich flavor and easy gluten-free options, you can enjoy this dreamy dessert whether you’re a novice cook or a seasoned chef. Curious about how this delicious pie comes together? Let’s dive into the details!
Why is No Bake Pistachio Pie a Must-try?
Effortless Preparation: This pie is quick and easy, requiring minimal effort for maximum flavor. Just mix, pour, and chill—no baking required!
Decadent Flavor: Indulge in the rich pistachio essence that will have everyone asking for seconds. It’s a delightful twist that elevates your dessert game!
Visual Appeal: The pie’s vibrant green color makes it a show-stopping centerpiece at any gathering, sure to impress your guests.
Versatile Options: Gluten-free? No problem! You can easily use gluten-free graham crackers or a nut-based crust to cater to everyone’s preferences.
Make Ahead Convenience: Simplify your entertaining with a dessert that can be made in advance—it only gets better with time! It’s a perfect companion to your favorite coffee or tea.
With tips to enhance your indulgence, you might also enjoy this creamy dessert alongside a slice of Salted Honey Pie or serve it after a hearty meal like my Crockpot Loaded Steak and Potato Bake.
No Bake Pistachio Pie Ingredients
For the Filling
• Cream Cheese – Provides a rich, creamy base for the filling. Note: Ensure it is softened for easy mixing.
• Instant Pistachio Pudding Mix – Imparts the distinct pistachio flavor and thickens the filling. Note: Use two 3-ounce boxes for the best texture.
• Milk – Blends with the pudding mix and cream cheese to create a smooth filling. Substitution: Any type of milk can be used; almond milk for a dairy-free option.
• Cool Whip – Adds lightness and fluff to the filling. Substitution: Whipped cream can be substituted for a more homemade touch.
For the Crust
• Graham Cracker Pie Crust – Acts as the base providing crunch and a contrast to the creamy filling. Substitution: Gluten-free graham crackers or a nut-based crust can be used for a gluten-free version.
For Decoration
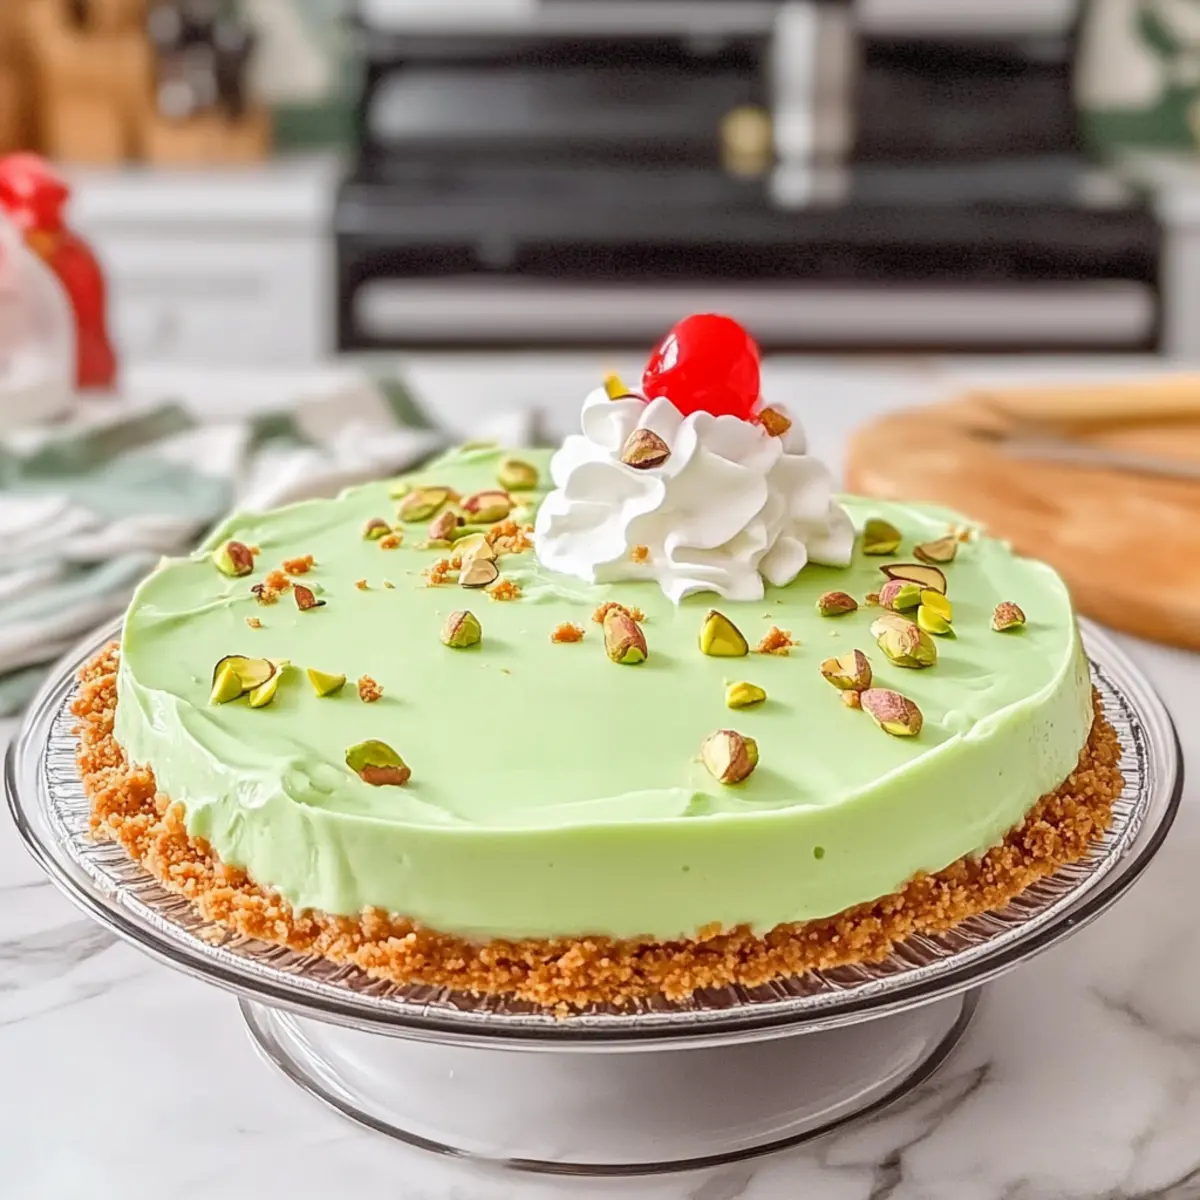
• Whipped Cream/Maraschino Cherries – Enhance the pie’s visual appeal. Optional: Crushed pistachios can also be added for topping.
This No Bake Pistachio Pie is not just a treat but a delightful experience in both flavor and ease of preparation!
Step‑by‑Step Instructions for No Bake Pistachio Pie
Step 1: Prepare the Creamy Base
In a mixing bowl, combine 8 ounces of softened cream cheese and two 3-ounce boxes of instant pistachio pudding mix. Using an electric mixer, beat on medium speed for about 2-3 minutes until the mixture is smooth and creamy, with no lumps remaining. Make sure the cream cheese is well blended before moving to the next step.
Step 2: Add the Milk
Gradually pour in 2 cups of milk while continuing to mix. Beat the mixture on medium speed for another 1-2 minutes until it thickens significantly and resembles a creamy custard-like consistency. The filling for the No Bake Pistachio Pie should be rich and fluffy, so pause briefly to check that it’s lump-free and well combined.
Step 3: Fold in the Cool Whip
Gently fold in 8 ounces of thawed Cool Whip, using a spatula to maintain its lightness. Carefully incorporate the Cool Whip into the pistachio filling for about 1-2 minutes until evenly mixed while preserving its airy texture. You’ll know it’s ready when the filling looks wonderfully fluffy and the green color is uniform throughout.
Step 4: Pour into Crust
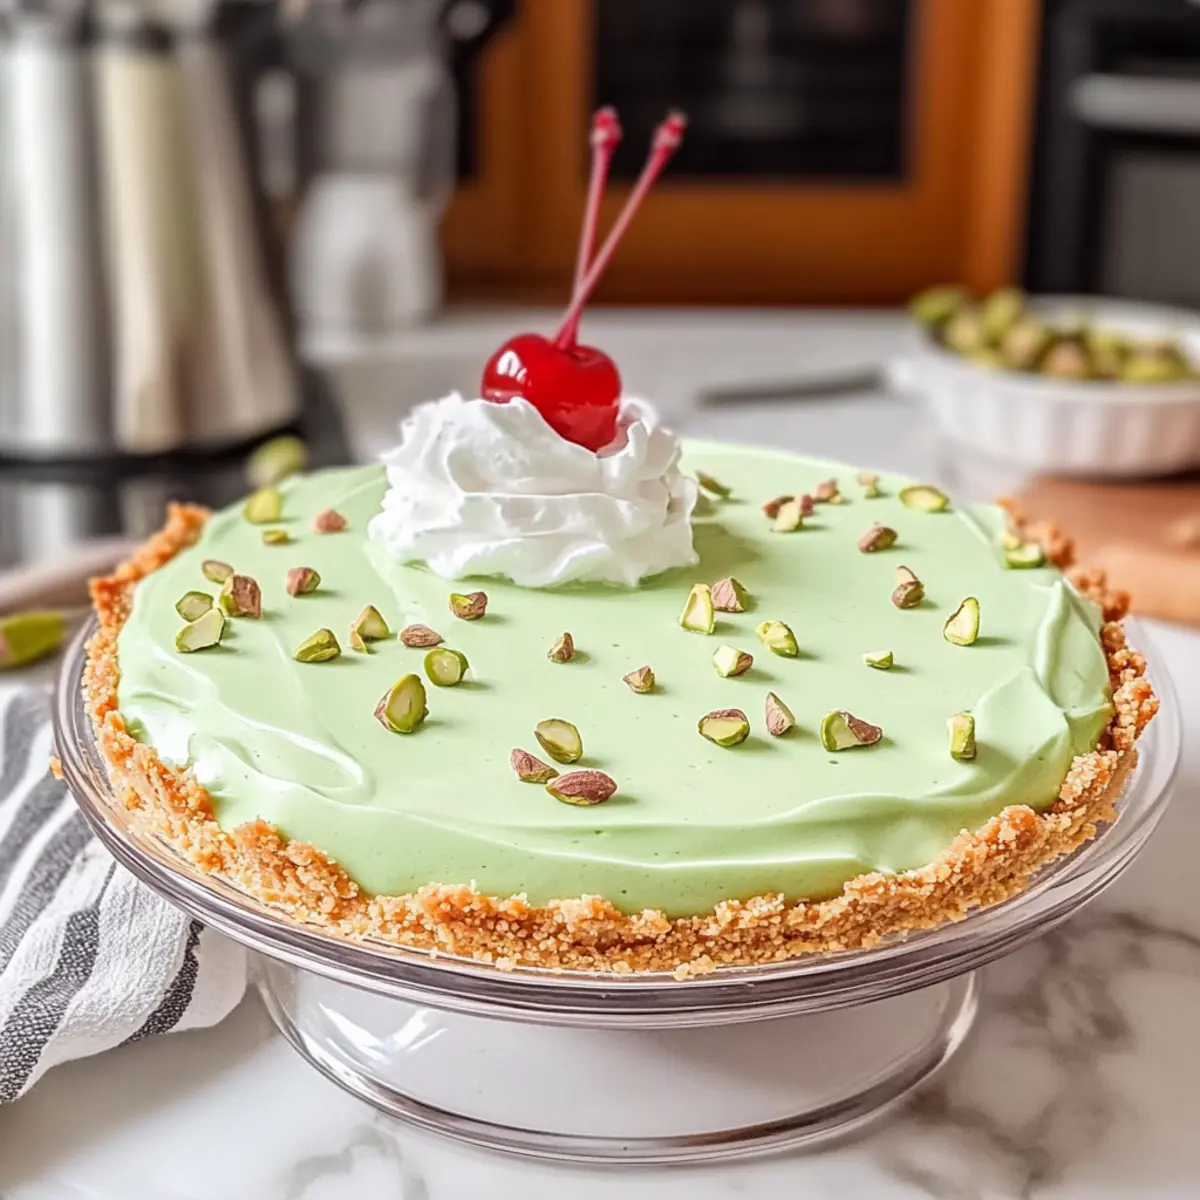
Take a pre-made graham cracker pie crust and pour the pistachio filling into it, smoothing the top with a spatula. Ensure the filling is evenly distributed and the surface appears smooth and inviting. This vibrant green layer will be the star of your No Bake Pistachio Pie, so take a moment to admire your work before chilling.
Step 5: Chill to Set
Cover the pie with plastic wrap and refrigerate for at least 4 hours, or overnight if you prefer. This chilling step is crucial as it allows the pie to set properly, making it easier to slice and serve. The waiting may be tough, but the rewards will be worth it when you’re ready to enjoy this creamy delight!
Step 6: Decorate for Presentation
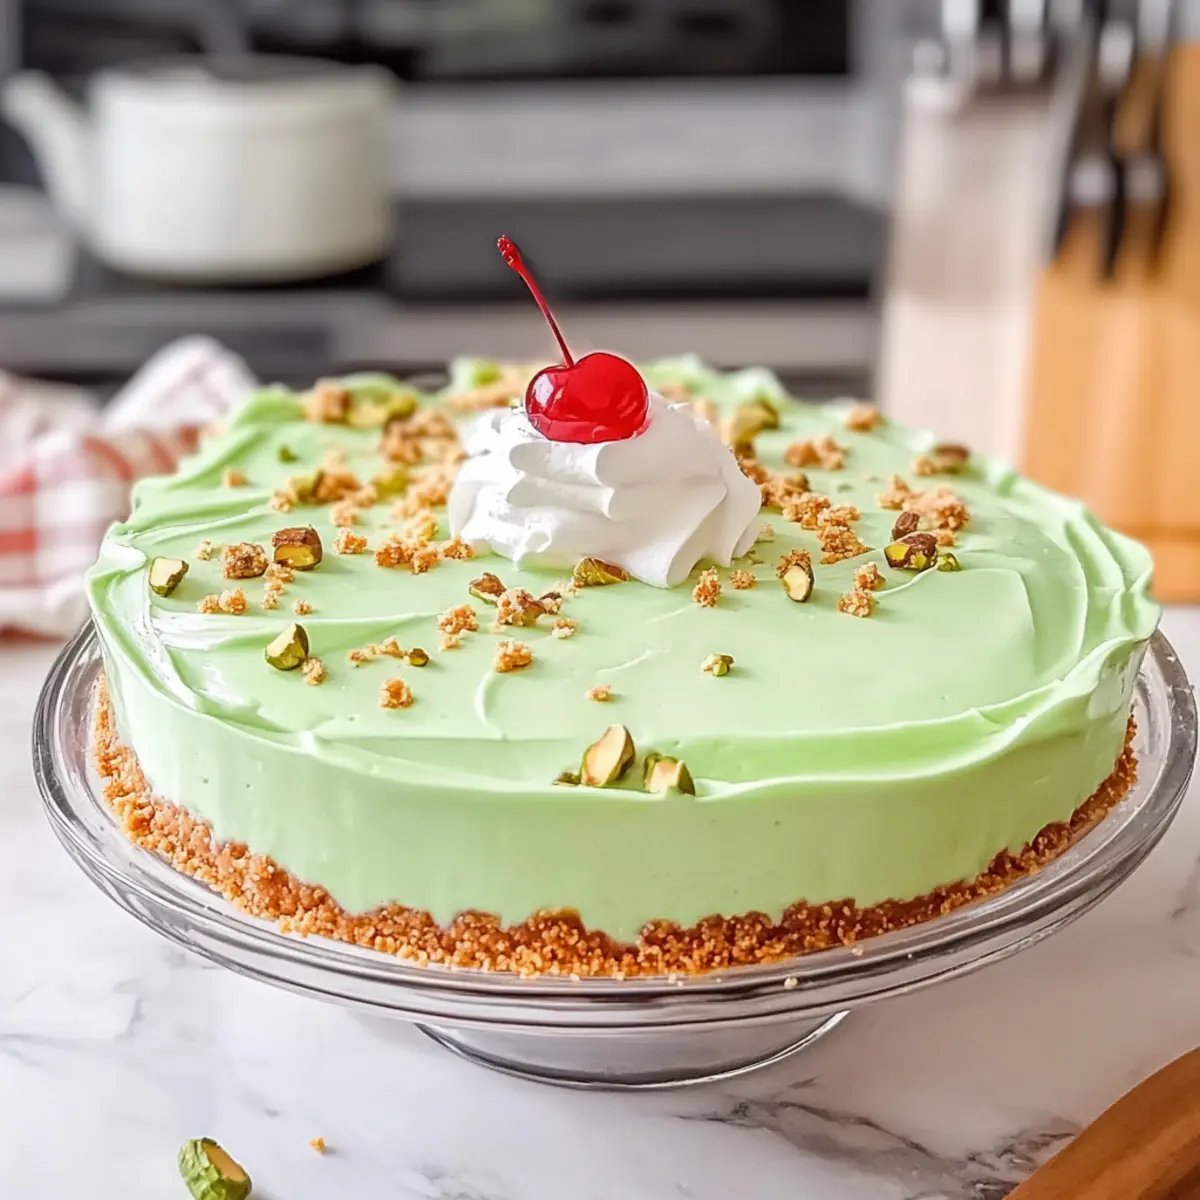
Once set, carefully remove the pie from the fridge. Decorate the top with dollops of whipped cream and garnishes like maraschino cherries or crushed pistachios for an extra touch. This final step enhances the visual appeal of your No Bake Pistachio Pie, making it a show-stopping dessert ready to impress your guests!
Expert Tips for No Bake Pistachio Pie
-
Perfect Cream Cheese: Ensure the cream cheese is fully softened to avoid lumps in your filling; room temperature is ideal.
-
Thick and Creamy: Gradually adding milk is crucial; mix until you achieve a thick, custard-like consistency for the perfect filling texture.
-
Gentle Folding: When incorporating Cool Whip, always use a spatula and fold gently to maintain the airy, light texture of the No Bake Pistachio Pie.
-
Chill Time Matters: Never skip the chilling step! It allows the pie to set properly, resulting in cleaner slices and a deliciously refreshing dessert.
-
Decorate with Flair: For a beautiful presentation, don’t hold back on the whipped cream and toppings; they not only add flavor but also stunning visual appeal!
What to Serve with No Bake Pistachio Pie
Indulge in a delightful meal experience that complements the creamy bliss of your dessert!
-
Fresh Berries: Their tartness balances the sweet, rich pie, adding a refreshing contrast that brightens every bite.
-
Coffee or Tea: A warm beverage enhances the pie’s flavors beautifully, making each slice a moment of cozy enjoyment.
-
Chocolate Drizzle: A decadent touch that adds depth; the bitterness of dark chocolate pairs elegantly with the pie’s sweetness.
-
Vanilla Ice Cream: This creamy companion melts into the pie’s warmth, creating an extra layer of deliciousness, like a dreamy cloud on your plate.
-
Lemon Sorbet: Adding a citrusy burst, the tart sorbet cuts through the richness of the pie, leaving a refreshing finish.
-
Crushed Pistachios: Sprinkle some on top for a delightful crunch, echoing the pie’s flavor while adding an appealing visual element.
A neatly arranged platter of these accompaniments can elevate your dessert presentation, ensuring a feast for both the eyes and the palate!
Make Ahead Options
These No Bake Pistachio Pies are a fantastic choice for busy home cooks looking to save time while still delivering a delicious dessert! You can prepare the filling up to 24 hours in advance; simply follow the first four steps and store the pistachio filling in an airtight container in the refrigerator. To maintain the pie’s creamy texture, avoid adding any toppings until just before serving. When you’re ready to indulge, pour the prepared filling into the graham cracker crust, chill for at least 4 hours (or overnight), then decorate with whipped cream and cherries. This make-ahead approach ensures your dessert is just as delightful with minimal effort when it’s time to enjoy it!
No Bake Pistachio Pie Variations & Substitutions
Feel free to personalize your delightful No Bake Pistachio Pie with these fun variations that will elevate your dessert experience!
-
Dairy-Free: Substitute cream cheese with a dairy-free cream cheese alternative and use almond milk for a tasty version.
You’ll maintain that creamy consistency while making it suitable for lactose intolerance! -
Chocolate Twist: Swap out the instant pistachio pudding mix with chocolate pudding mix for a rich, indulgent flavor.
The chocolatey goodness blends beautifully with the crust, creating an entirely new dessert experience. -
Nutty Flavor: Use an almond or walnut crust instead of the graham cracker base for a delightful crunch.
These nut crusts bring an added depth of flavor that complements the creamy filling perfectly. -
Berry Bliss: Top your pie with fresh berries like raspberries or sliced strawberries for a refreshing touch.
The tartness of the berries will beautifully contrast the creamy sweetness of your No Bake Pistachio Pie. -
Sugar-Free Option: Consider using sugar-free pudding mix and light whipped topping for a guilt-free treat.
You can enjoy the same great taste without the added sugars; it’s perfect for health-conscious guests! -
Coconut Delight: Add shredded coconut to the filling for a tropical flair that pairs perfectly with the pistachio flavor.
This twist adds chewy texture and an interesting layer of flavor that everyone will love. -
Whipped Cream Substitution: Replace Cool Whip with homemade whipped cream for a fresher taste.
Just whip heavy cream with a bit of sugar and vanilla extract until soft peaks form, bringing a delightful homemade touch.
Dive into these variations to discover your new favorite version of this creamy delight! And if you’re ever in the mood for something else, try this alongside a slice of Mashed Potato Bake or a comforting Slow Cooker Pie for a satisfying meal!
How to Store and Freeze No Bake Pistachio Pie
Fridge: Store the No Bake Pistachio Pie in an airtight container for up to 3 days. This keeps it fresh while maintaining that delightful creamy texture.
Freezer: For longer storage, wrap the pie tightly in plastic wrap or aluminum foil and freeze for up to 2 months. Just remember, the crust may lose some crunch after thawing.
Thawing: To enjoy, thaw in the refrigerator overnight before serving. This helps preserve the fluffy consistency of the filling, making it just as delicious!
Serving Suggestion: If you’re serving it straight from the fridge, garnish with additional whipped cream or crushed pistachios to refresh its appearance.
No Bake Pistachio Pie Recipe FAQs
What type of cream cheese should I use for the filling?
Absolutely! You’ll want to use full-fat cream cheese for a rich, creamy filling. Ensure it’s softened to room temperature for easy mixing—this helps avoid lumps and gives you that smooth texture we all love!
How should I store the No Bake Pistachio Pie?
For best results, keep the pie in an airtight container in the fridge for up to 3 days. This way, it stays fresh and retains its creamy goodness. If you’re looking for longer storage, wrap the pie tightly and freeze it for up to 2 months.
Can I freeze the No Bake Pistachio Pie?
Yes, you can absolutely freeze it! To freeze, wrap the pie well in plastic wrap or aluminum foil, making sure it’s tightly sealed to prevent freezer burn. When you’re ready to enjoy, simply thaw it overnight in the fridge for the best quality and texture.
What should I do if my pie doesn’t set properly?
If your pie is too soft after chilling, it might be due to insufficient refrigerating time. Ensure you chill it for at least 4 hours—or even overnight. If you’re still facing issues, a little extra instant pudding mix can be whipped in to help thicken it, but be careful not to overmix after adding it.
Are there any dietary considerations when making this pie?
Great question! This pie can be modified for various dietary needs. To make it gluten-free, use a gluten-free graham cracker crust or a nut-based crust. Additionally, if allergies are a concern, be mindful of the pudding mix and Cool Whip, as they may contain allergens like dairy or nuts. Always check labels!
What can I do to enhance the flavor of my No Bake Pistachio Pie?
For added depth, consider blending in a splash of almond extract along with the filling—it pairs beautifully with the pistachio flavor. You could also fold in some finely chopped nuts for an extra crunch or layer some chocolate sauce between the crust and filling for a delightful contrast!
Irresistible No Bake Pistachio Pie for Effortless Indulgence
Ingredients
Equipment
Method
- In a mixing bowl, combine 8 ounces of softened cream cheese and two 3-ounce boxes of instant pistachio pudding mix. Using an electric mixer, beat on medium speed for about 2-3 minutes until smooth and creamy.
- Gradually pour in 2 cups of milk while continuing to mix. Beat on medium speed for another 1-2 minutes until thick and custard-like.
- Gently fold in 8 ounces of thawed Cool Whip with a spatula until evenly mixed, maintaining its airy texture.
- Pour the pistachio filling into a pre-made graham cracker pie crust, smoothing the top with a spatula.
- Cover the pie with plastic wrap and refrigerate for at least 4 hours, or overnight if preferred.
- Once set, decorate the top with whipped cream and garnishes like maraschino cherries or crushed pistachios.
Leave a Reply