
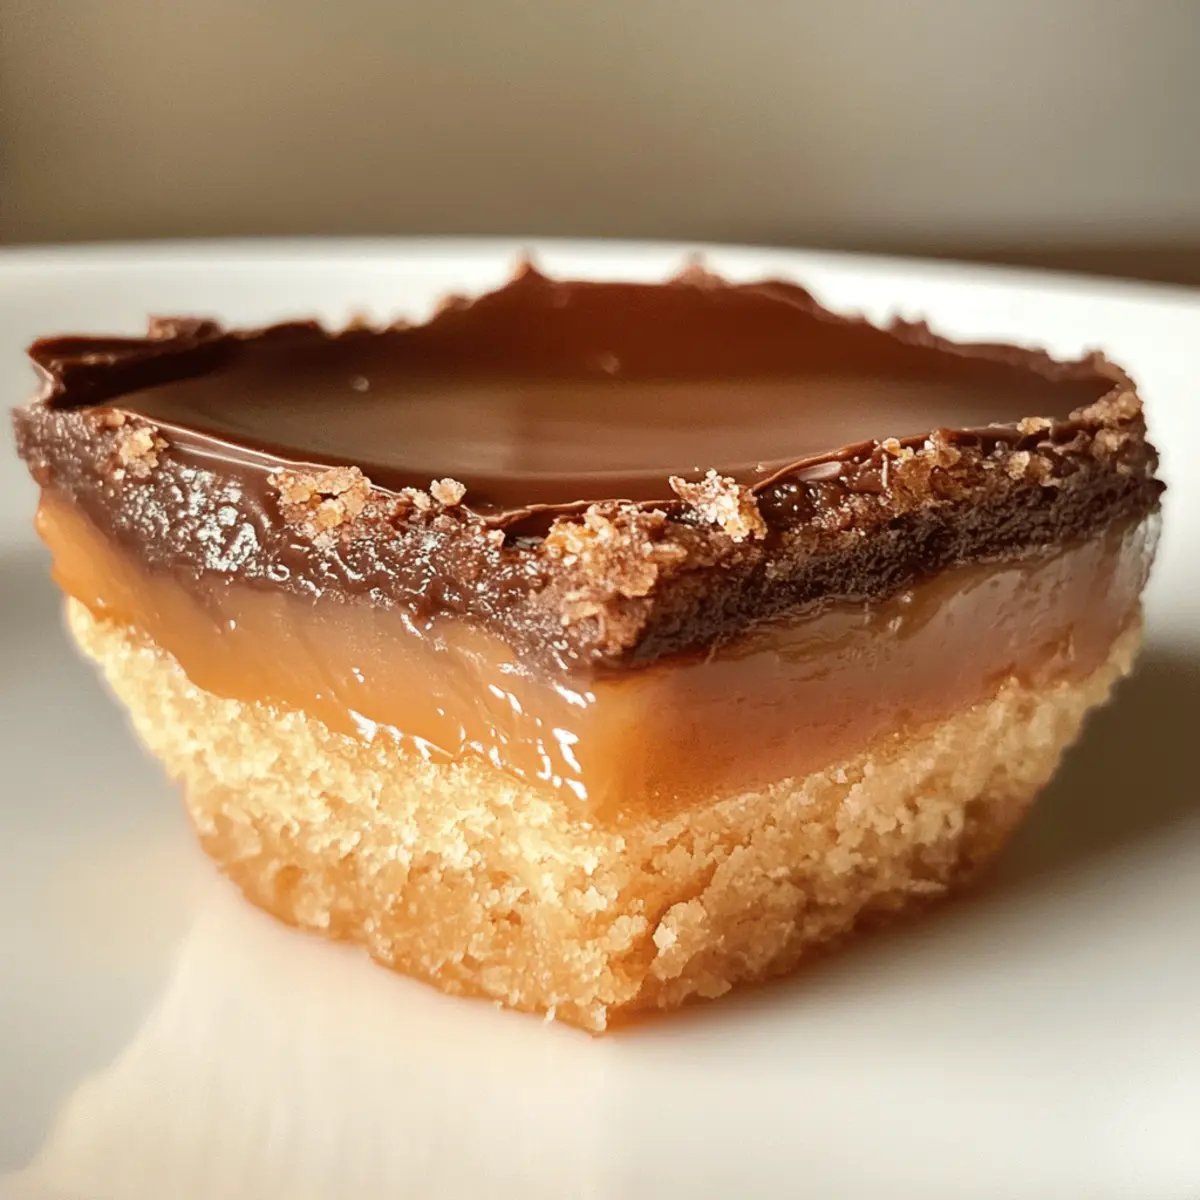
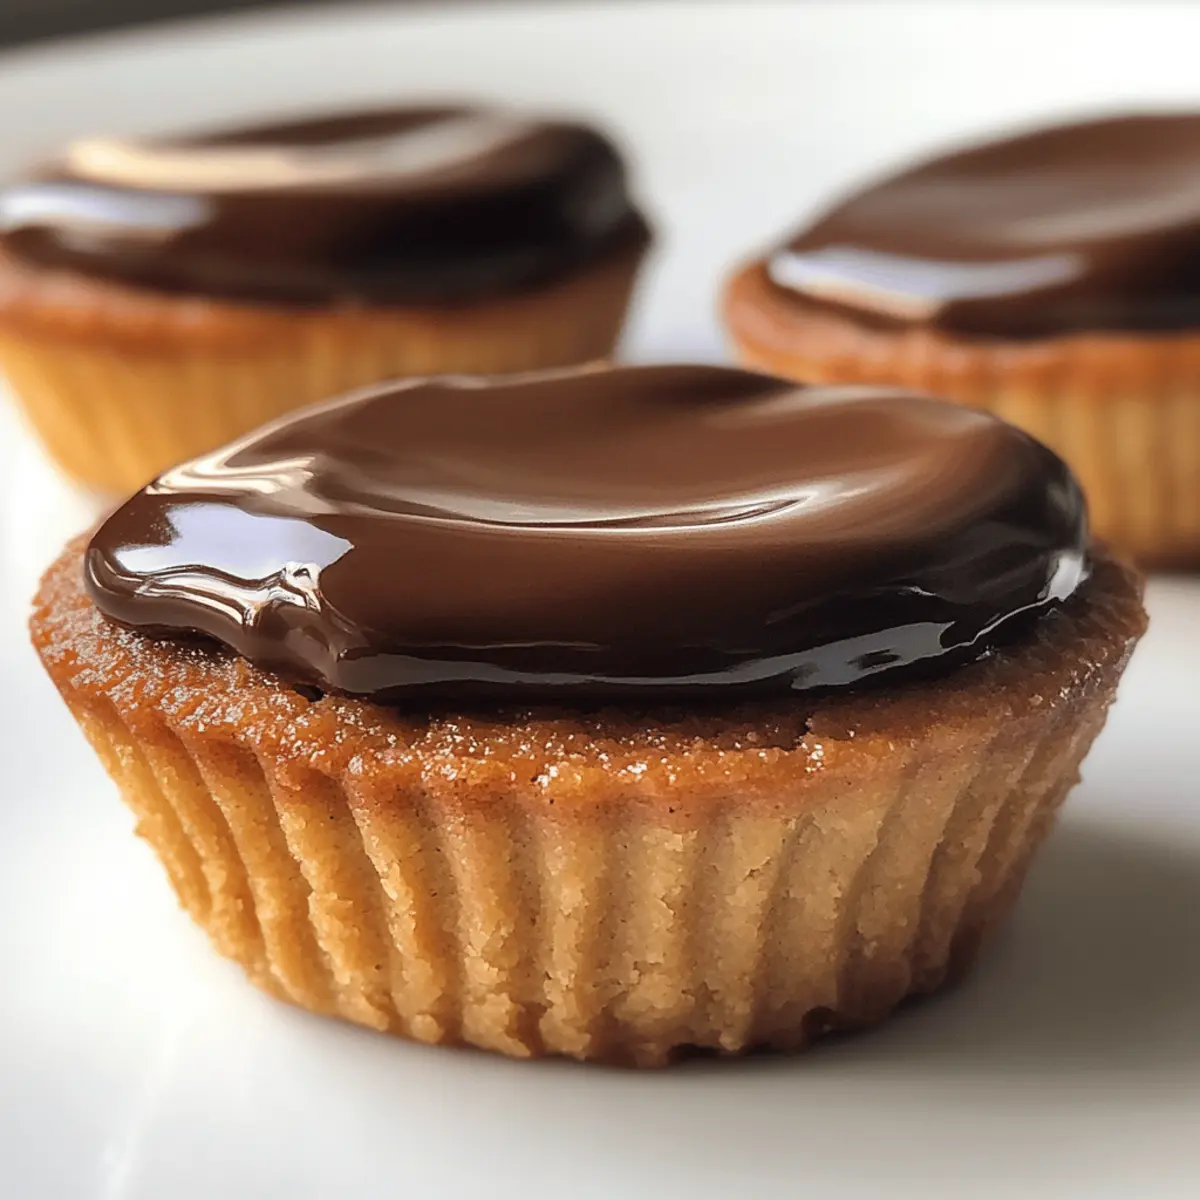
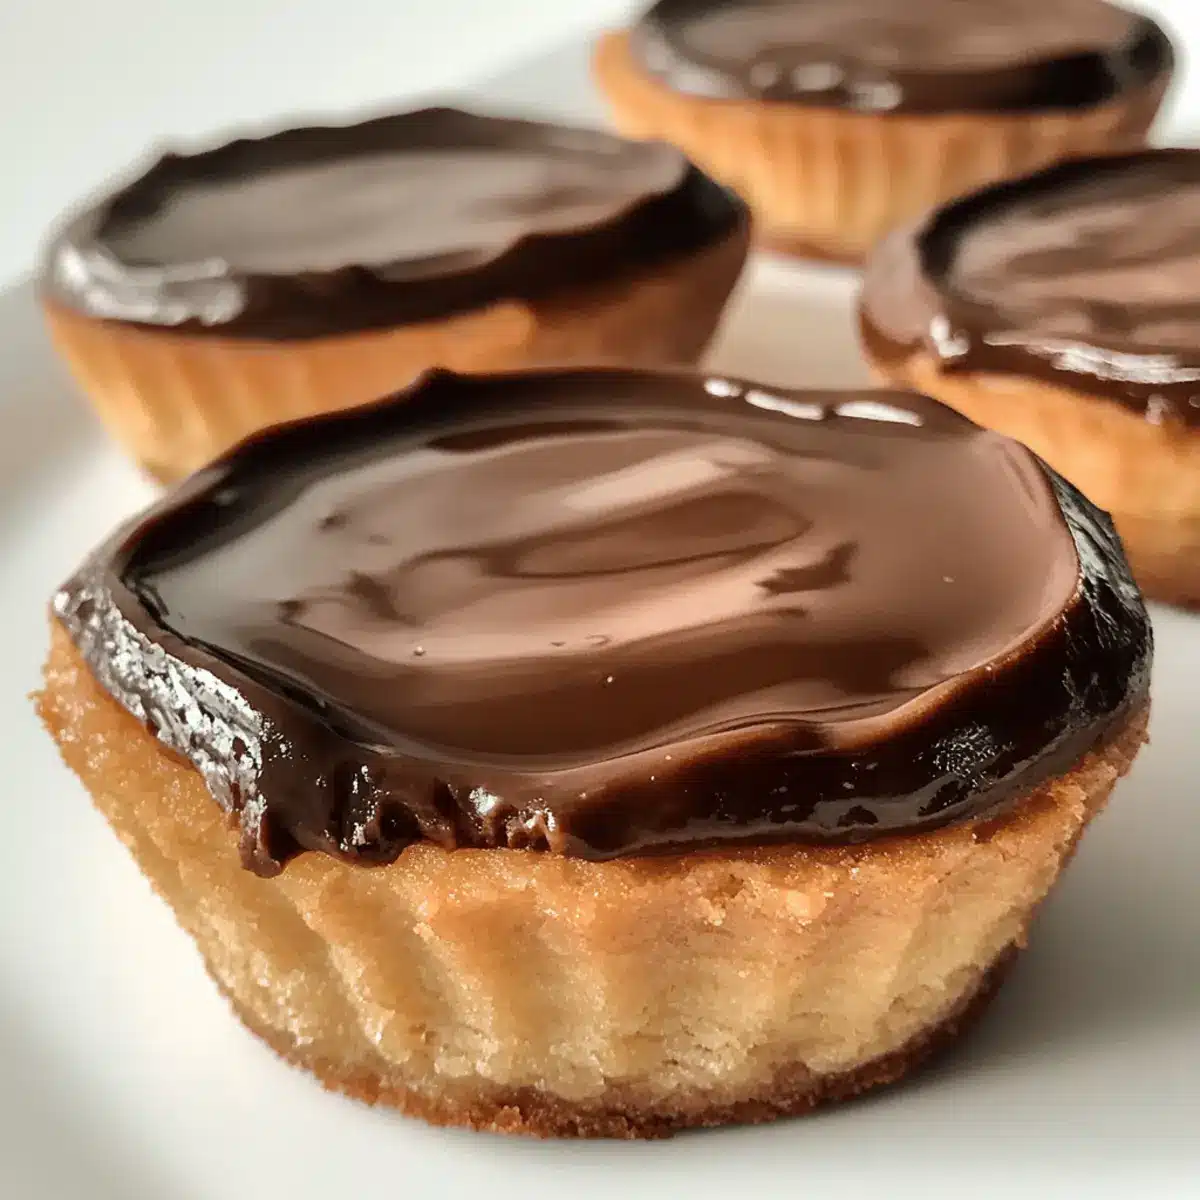
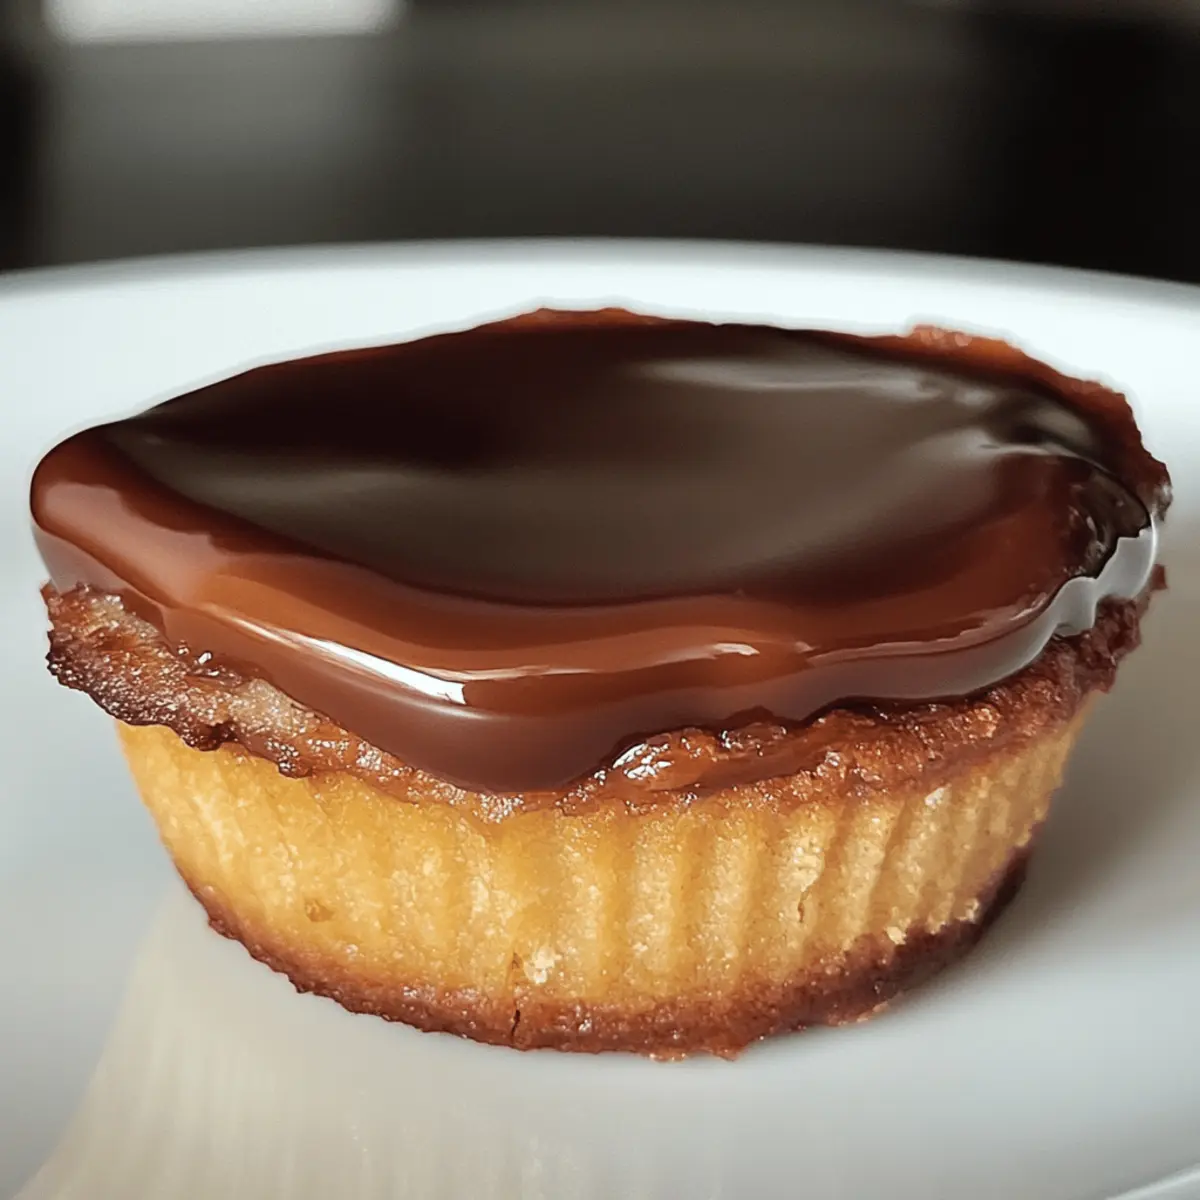
The moment I pulled these homemade Twix Cookie Cups from the oven, I was instantly transported back to my childhood, where every sweet bite felt like a chocolate-covered hug. These delightful treats combine a soft sugar cookie base with creamy caramel and a luscious chocolate topping, creating the perfect blend of textures and flavors. The best part? They’re surprisingly quick to whip up, making them ideal for any occasion when you crave a little indulgence without the fuss. Plus, with endless topping variations suggested by fellow bakers, you can customize them to suit any palate. Are you ready to indulge in some nostalgia and elevate your dessert game with these Twix Cookies? Let’s dive into the deliciousness!
Why are Twix Cookies a must-try?
Indulgent Treat: The combination of a soft sugar cookie crust, gooey caramel, and smooth chocolate creates a dessert that feels like pure luxury.
Quick and Easy: You won’t need hours in the kitchen; these cookies come together in no time! Perfect for when sweet cravings strike.
Endless Variations: From Peanut Butter Twix to Turtle Cookies, there’s a flavor twist for everyone to enjoy! Get creative based on what you have at home.
Nostalgic Flavor: These treats will remind you of your favorite candy bar, making them a perfect addition to any gathering.
Perfect for Sharing: Whether it’s a potluck or a cozy night in, they’re sure to impress friends and family alike. For more delicious cookie ideas, check out these Cinnamon Roll Cookies and Chocolate Chip Cookies.
Twix Cookies Ingredients
For the Cookie Cups
• Salted Butter – Provides richness and moisture in the cookie dough; unsalted butter is a great alternative for a milder taste.
• Granulated Sugar – Adds the perfect sweetness and helps create a tender cookie; you can swap it for brown sugar for a deeper flavor.
• Vanilla Extract – Enhances the overall flavor of the cookies; opt for pure vanilla for maximum taste.
• Egg White – Acts as a binder and contributes to the cookie’s structure; a flaxseed meal substitute works well for an egg-free option.
• All-Purpose Flour – Gives the cookies their essential structure; for a gluten-free take, use a gluten-free flour blend.
• Baking Powder – Helps the cookies rise slightly; always check the expiration date for best results.
For the Topping
• Caramels (unwrapped) – The heart of the cookie cups, providing that classic Twix flavor; soft caramels melt best, or opt for homemade caramel sauce for a twist.
• Milk – Assists in melting the caramels into a smooth topping; any type of milk or milk alternative will work beautifully.
• Milk Chocolate Chips – Forms the final luscious layer; swapping in dark chocolate can give your Twix Cookies a richer flavor.
These Twix Cookies will not only satisfy your sweet tooth but also remind you of the candy bar we all adore! Get all your ingredients ready and let’s start baking!
Step‑by‑Step Instructions for Twix Cookies
Step 1: Preheat Your Oven
Begin by preheating your oven to 350°F (175°C), ensuring the temperature is just right for baking those delectable Twix Cookies. While the oven heats up, gather your ingredients and equipment, including a mixing bowl, a whisk, and a baking sheet lined with parchment paper or a silicone mat.
Step 2: Cream the Butter and Sugar
In a large mixing bowl, cream together 1 cup of salted butter and 1 cup of granulated sugar until the mixture is light and fluffy, about 2-3 minutes. This process is crucial as it incorporates air, resulting in a tender cookie. The mixture should be pale in color when done; set it aside.
Step 3: Add Egg White and Vanilla
Next, mix in one egg white and 1 teaspoon of pure vanilla extract to the creamed butter and sugar. Beat the ingredients together until fully incorporated, ensuring a smooth, uniform consistency. This step adds flavor and binds the dough, essential for your Twix Cookies’ structure.
Step 4: Combine Flour and Baking Powder
In a separate bowl, whisk together 2 cups of all-purpose flour and 1 teaspoon of baking powder until well combined. Gradually add this dry mixture into the wet ingredients, stirring gently until a smooth dough forms. Be careful not to overmix; stop as soon as you see no flour streaks for the best texture.
Step 5: Cut Out Cookie Circles
Roll out the dough to a thickness of 1/4 to 1/2 inch on a lightly floured surface. Use a 2.5-inch round cutter to cut out circles. You should see a soft, pliable dough that retains its shape well. Place each cookie circle onto the prepared baking sheet, leaving space between them for even baking.
Step 6: Bake the Cookie Cups
Place the baking sheet in the preheated oven and bake the cookies for 6-8 minutes or until they are puffy and no longer glossy. The edges should look slightly set but not browned. Once ready, remove them from the oven and allow the cookies to cool completely on a wire rack.
Step 7: Prepare the Caramel Topping
While the cookie cups cool, in a microwave-safe bowl, combine unwrapped caramels and a few tablespoons of milk. Microwave in 30-second intervals, stirring in between, until the mixture is completely melted and smooth. The caramel should have a thick, pourable consistency; this will form the luscious layer of your Twix Cookies.
Step 8: Spoon Caramel onto Cookies
Once the cookies have cooled down, take spoonfuls of the melted caramel and dollop it generously onto each cookie cup, spreading it evenly across the top. Allow the caramel to settle and seep slightly into the cookie base. This step really brings out that beloved Twix flavor!
Step 9: Chill to Set the Caramel
To ensure the caramel sets perfectly, place the cookie cups in the refrigerator for 10-15 minutes. Keep an eye on them; the caramel should become firm but maintain a gooey texture. This chilling time is essential for the layers to adhere well before adding the chocolate topping.
Step 10: Melt and Spread the Chocolate
In the meantime, melt 1 cup of milk chocolate chips in the microwave, stirring at 30-second intervals until completely smooth. Remove the cookie cups from the refrigerator and carefully pour the melted chocolate over the set caramel layer, ensuring an even spread that coats all the cookies thoroughly.
Step 11: Final Chill and Set
Allow the chocolate to cool and set at room temperature for about 10-15 minutes. For a quicker set, you can place the cookie cups back in the refrigerator for an additional 5-10 minutes. Once fully set, you’ll be ready to dive into your delightful, homemade Twix Cookies!
What to Serve with Homemade Twix Cookie Cups?
Indulging in these heavenly treats means you’ll want to curate a perfect pairing for a complete dessert experience.
-
Vanilla Ice Cream: A scoop of creamy vanilla ice cream adds a cool, refreshing contrast to the rich cookie cups, enhancing their delightful sweetness. Imagine each bite of warm cookie bliss melting into the cold, creamy goodness.
-
Coffee or Espresso: The boldness of freshly brewed coffee balances the sweetness of the Twix Cookie Cups, providing a cozy, comforting vibe. A warm cup served alongside will turn your dessert into a delightful afternoon pick-me-up.
-
Whipped Cream: A dollop of fluffy whipped cream adds a light, airy texture that complements the dense cookie base and gooey caramel. It’s an elegant finish that encourages you to savor every last bite.
-
Chocolate Sauce Drizzle: A drizzle of rich chocolate sauce elevates the decadence of the cookie cups, adding an extra layer of flavor and visual appeal. It’s like double-dipping into chocolate heaven!
-
Fresh Berries: Juicy strawberries or raspberries introduce a refreshing burst of tartness that cuts through the sweetness, giving each bite a lively twist. The contrast not only balances the flavors but also adds a pop of color to your dessert presentation.
-
Milkshakes: Pair your Twix Cookie Cups with a thick milkshake for a nostalgic treat that feels just like a candy bar dream come true. The creamy texture and rich flavor will have you swooning with every scoop.
Each of these offerings adds an extra touch of magic to your dessert table, ensuring that your Twix Cookie Cups shine even brighter!
How to Store and Freeze Twix Cookies
Room Temperature: Store your Twix Cookies in an airtight container at room temperature for up to 4-5 days to keep them fresh and delicious.
Fridge: If you want to extend their shelf life, refrigerate the cookies for up to a week. The chilled environment helps maintain their texture and flavor.
Freezer: For longer storage, wrap the cookie cups individually in plastic wrap and place them in a freezer-safe bag. They can be frozen for up to 3 months without losing their delightful taste.
Reheating: To enjoy your cookies warm, simply pop them in the microwave for about 10-15 seconds. This will bring back their soft, gooey charm!
Twix Cookies Variations & Substitutions
Feel free to play around with these Twix Cookies to elevate the flavors and make them uniquely yours!
- Dairy-Free: Swap in coconut oil and dairy-free chocolate chips for a vegan-friendly option.
- Gluten-Free: Use a gluten-free flour blend to cater to dietary needs without sacrificing taste.
- Nutty Twist: Add crushed almonds or hazelnuts on top of the chocolate layer for an added crunch that enhances the texture.
- Salted Caramel: Drizzle a bit of sea salt over the caramel after it sets for a delicious sweet-and-salty bite.
- Minty Fresh: Incorporate mint extract into the dough for a refreshing twist reminiscent of peppermint candies.
- S’mores Style: Top with mini marshmallows and graham cracker crumbs for a fun and gooey S’mores-inspired version.
- Flavor Boosts: Try using flavored extracts like almond or rum to elevate the cookie base, delivering an unexpected twist.
- Dessert Platter: Pair these cookies with a scoop of vanilla ice cream or alongside other favorites like Cinnamon Roll Cookies and Chocolate Chip Cookies for a delightful dessert spread.
Explore these delightful variations, and let your creativity shine while baking!
Expert Tips for Twix Cookies
• Oven Accuracy: Always check your oven’s temperature with a thermometer. An inaccurate oven can lead to undercooked or overbaked Twix Cookies.
• Proper Chilling: Make sure to chill the caramel-covered cookies adequately. This step is crucial to prevent the caramel from mingling with the chocolate layer.
• Dough Consistency: Avoid overmixing the cookie dough when incorporating the flour. This will keep your Twix Cookies tender and delicious.
• Quality Ingredients: Use good quality chocolate and fresh ingredients. This elevates the overall taste, making your cookies taste just like a candy bar dream come true.
• Experiment with Toppings: Don’t fear creativity! Try different toppings or flavored extracts in the caramel or dough to discover new Twix Cookie variations that you’ll love.
Make Ahead Options
These Twix Cookies are perfect for busy home cooks looking to save time during the week! You can prepare the cookie cups up to 24 hours in advance by baking them and letting them cool completely. Just store the cooled cookie cups in an airtight container at room temperature to maintain their soft texture. Additionally, you can melt the caramel and chocolate and store them separately in the fridge for up to 3 days. When you’re ready to serve, simply reheat the caramel and chocolate if needed, then dollop the caramel onto each cookie and top with chocolate for that indulgent, freshly-made experience!
Twix Cookies Recipe FAQs
What type of butter should I use?
For these Twix Cookies, salted butter is recommended to provide richness and a slightly savory flavor that complements the sweetness. However, if you prefer a more controlled saltiness, unsalted butter is a great substitute. Just remember to adjust the salt in your recipe accordingly.
How can I store the Twix Cookies?
Store your Twix Cookies in an airtight container at room temperature for up to 4-5 days. If you’re aiming for longer freshness, refrigerating them is a great option, extending their shelf life to about a week. Just be sure to let them sit at room temperature before indulging, as the textures soften beautifully!
Can I freeze Twix Cookies, and if so, how?
Absolutely! To freeze your Twix Cookies, wrap each cookie cup individually in plastic wrap to prevent freezer burn, then place them in a freezer-safe bag. They will keep well for up to 3 months. When you’re ready to enjoy them, simply thaw at room temperature or warm in the microwave for about 10-15 seconds for that fresh-baked feel.
What if my dough is too sticky?
If your cookie dough feels overly sticky, it could be due to warm ingredients or too much moisture. Simply sprinkle a little extra flour as you knead it gently, working it in until you achieve a manageable consistency. If you find it’s still sticky after that, refrigerate the dough for about 30 minutes, which will help firm it up for easier handling.
Can I make a gluten-free version of Twix Cookies?
Yes, you can! For a gluten-free option, simply substitute the all-purpose flour with a gluten-free flour blend. Be sure that the blend contains a binder like xanthan gum to ensure your cookies hold their shape and have a great texture. You won’t even miss the gluten with how delicious these cookies turn out!
Are these Twix Cookies safe for pets?
As tempting as they are, these Twix Cookies contain ingredients like chocolate and caramel that can be harmful to pets, especially dogs. Always keep your baked treats out of reach of furry friends and enjoy them for yourself!
Twix Cookies that Taste Like a Candy Bar Dream Come True
Ingredients
Equipment
Method
- Preheat your oven to 350°F (175°C) and prepare your baking sheet.
- Cream together the salted butter and granulated sugar until light and fluffy.
- Mix in the egg white and vanilla extract until fully incorporated.
- Combine the all-purpose flour and baking powder in a separate bowl, then blend into the wet mixture.
- Roll out the dough and cut into 2.5-inch circles, placing them on the baking sheet.
- Bake for 6-8 minutes until puffy and slightly set, then cool on a wire rack.
- In a microwave-safe bowl, melt caramels with milk until smooth.
- Spoon caramel onto each cooled cookie cup, allowing it to spread evenly.
- Chill the cookies in the refrigerator for 10-15 minutes to set the caramel.
- Melt milk chocolate chips and pour over the set caramel layer.
- Allow the chocolate to cool and set at room temperature for 10-15 minutes.
Leave a Reply