
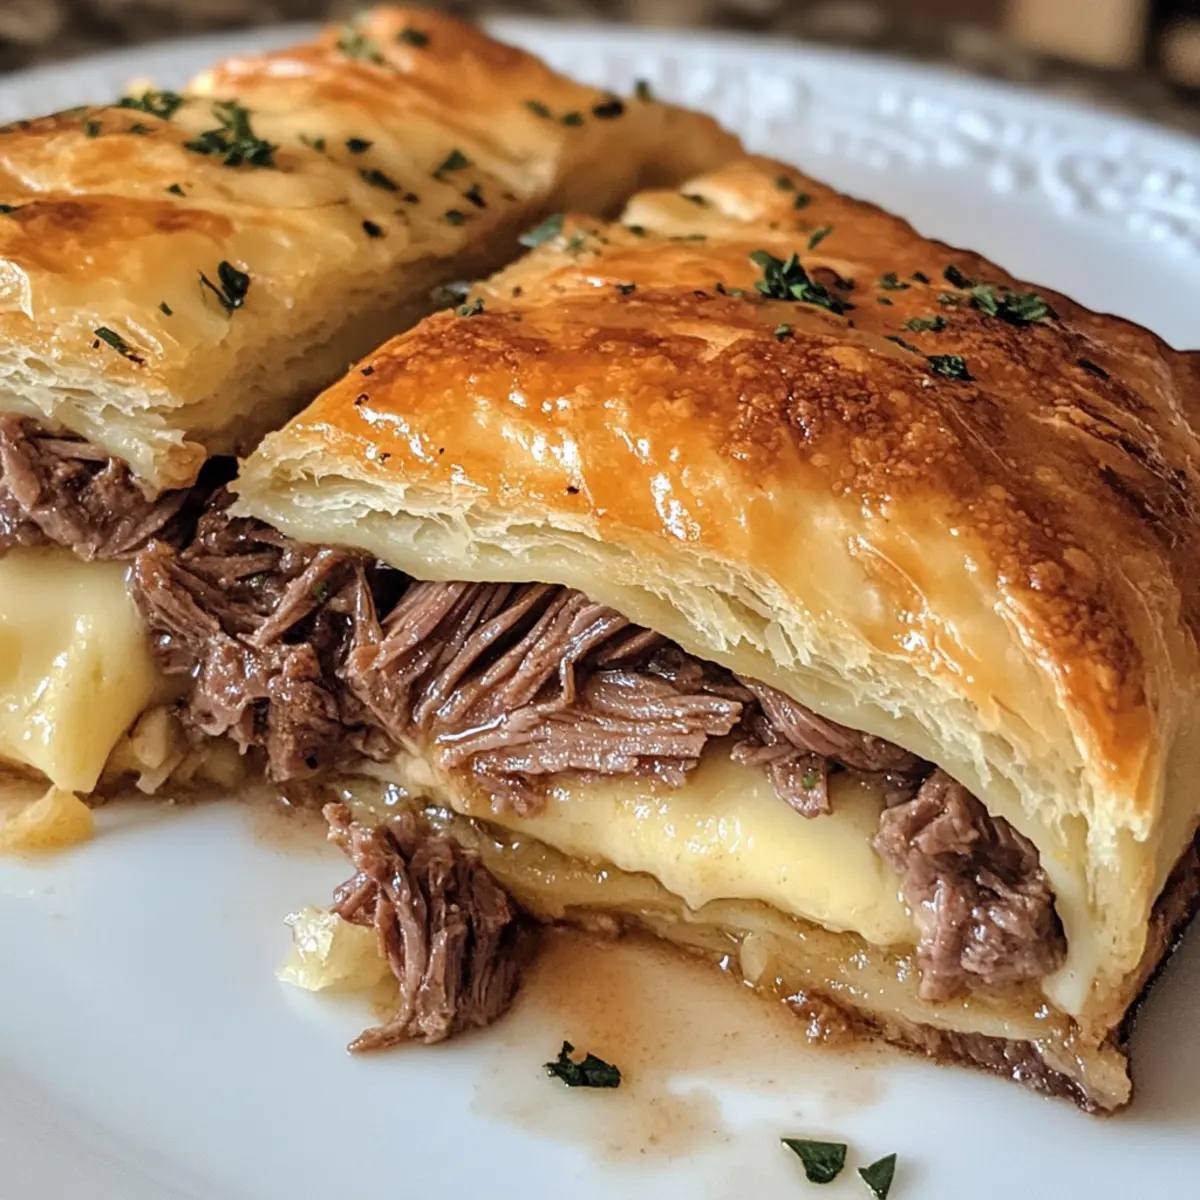
In a cozy corner of my kitchen, the aroma of melting cheese and savory roast beef begins to dance through the air, setting the stage for a captivating culinary experience. These Easy French Dip Squares transform the beloved French Dip sandwich into a delightful casserole that’s perfect for sharing. With the buttery, flaky crescent roll crust cradling layers of tender deli roast beef and gooey Swiss cheese, this dish offers a comforting twist with minimal prep time—ideal for potlucks or cozy weeknight dinners. Plus, it’s incredibly easy to customize, allowing you to experiment with different cheeses or meats based on what’s in your fridge. Are you ready to create a dish that will have everyone coming back for seconds? Let’s dive into this delicious recipe together!
Why Are French Dip Squares So Irresistible?
Comfort Food Reimagined: This recipe takes classic French Dip flavors and transforms them into a shareable casserole, making it perfect for gatherings.
Quick Prep Time: In just a few easy steps, you can have a comforting meal ready in under 30 minutes!
Endless Variations: Feel free to swap in different meats or cheeses, like using French Butter Cake for a sweet twist or adding sautéed mushrooms for extra depth.
Dipping Delight: Serve warm with beef broth for dipping—a traditional experience that elevates every bite!
Crowd Pleaser: Whether it’s a casual weeknight or a special occasion, these squares are sure to impress and keep everyone coming back for more.
French Dip Squares Ingredients
• Everything you need for the perfect dish!
For the Crust
- Refrigerated Crescent Rolls – Offers a buttery, flaky foundation that resembles traditional sandwich bread. Substitution: Puff pastry can create a different texture if preferred.
For the Filling
- Deli Roast Beef – Provides the main protein and tender flavor. Note: Pre-sliced saves time during prep!
- Swiss Cheese – Melts beautifully, adding a mild, nutty flavor to the mix. Substitution: Cheddar or provolone can offer a tasty variation.
- Dry Onion Soup Mix – Infuses the dish with savory onion notes. Substitution: Sautéed onions with beef bouillon can mimic the flavor effectively.
For the Sauce
- Butter – Adds richness to the casserole. Usage Note: Ensure it’s melted before mixing into the sauce.
- Worcestershire Sauce – A splash enhances the savory depth of taste. Tip: Add it to beef broth for extra flavor!
- Garlic Powder – Provides a subtle zing and richness. Substitution: Fresh minced garlic can give a bolder flavor punch.
For Dipping
- Beef Broth – Essential for replicating the classic dipping element of French Dip Squares. Note: Season to taste for a perfect finishing touch.
Step‑by‑Step Instructions for French Dip Squares
Step 1: Preheat the Oven
Begin by preheating your oven to 375°F (190°C). While the oven warms up, prepare a 9×13 inch baking dish by spraying it generously with non-stick spray. This will ensure your French Dip Squares come out easily, creating a delightful presentation at the end of baking.
Step 2: Create the Bottom Layer
Unroll one can of crescent rolls and lay the dough flat in the prepared baking dish. Press the seams together firmly to create a seamless base. Make sure the dough is evenly spread, covering the bottom completely, as this flaky crust will cradle the flavorful fillings of your French Dip Squares.
Step 3: Add the Beef and Cheese
Evenly spread the deli-sliced roast beef over the layer of crescent roll dough, ensuring every corner is filled with this tender protein. Next, sprinkle a generous layer of grated Swiss cheese atop the beef, allowing the cheese to melt beautifully during baking, infusing the dish with its rich and nutty flavor.
Step 4: Prepare the Savory Sauce
In a bowl, combine melted butter, dry onion soup mix, Worcestershire sauce, and garlic powder. Mix well until the ingredients are fully integrated. Drizzle this flavorful sauce over the cheese layer, ensuring that it seeps down and enhances every bite of your French Dip Squares with savory goodness.
Step 5: Add the Top Layer
Unroll the second can of crescent rolls and lay it gently over the entire filling, sealing the seams tightly to prevent any leakage during baking. It’s important that this top layer covers the filling completely, creating a delightful crust that will be golden and flaky once baked.
Step 6: Bake to Perfection
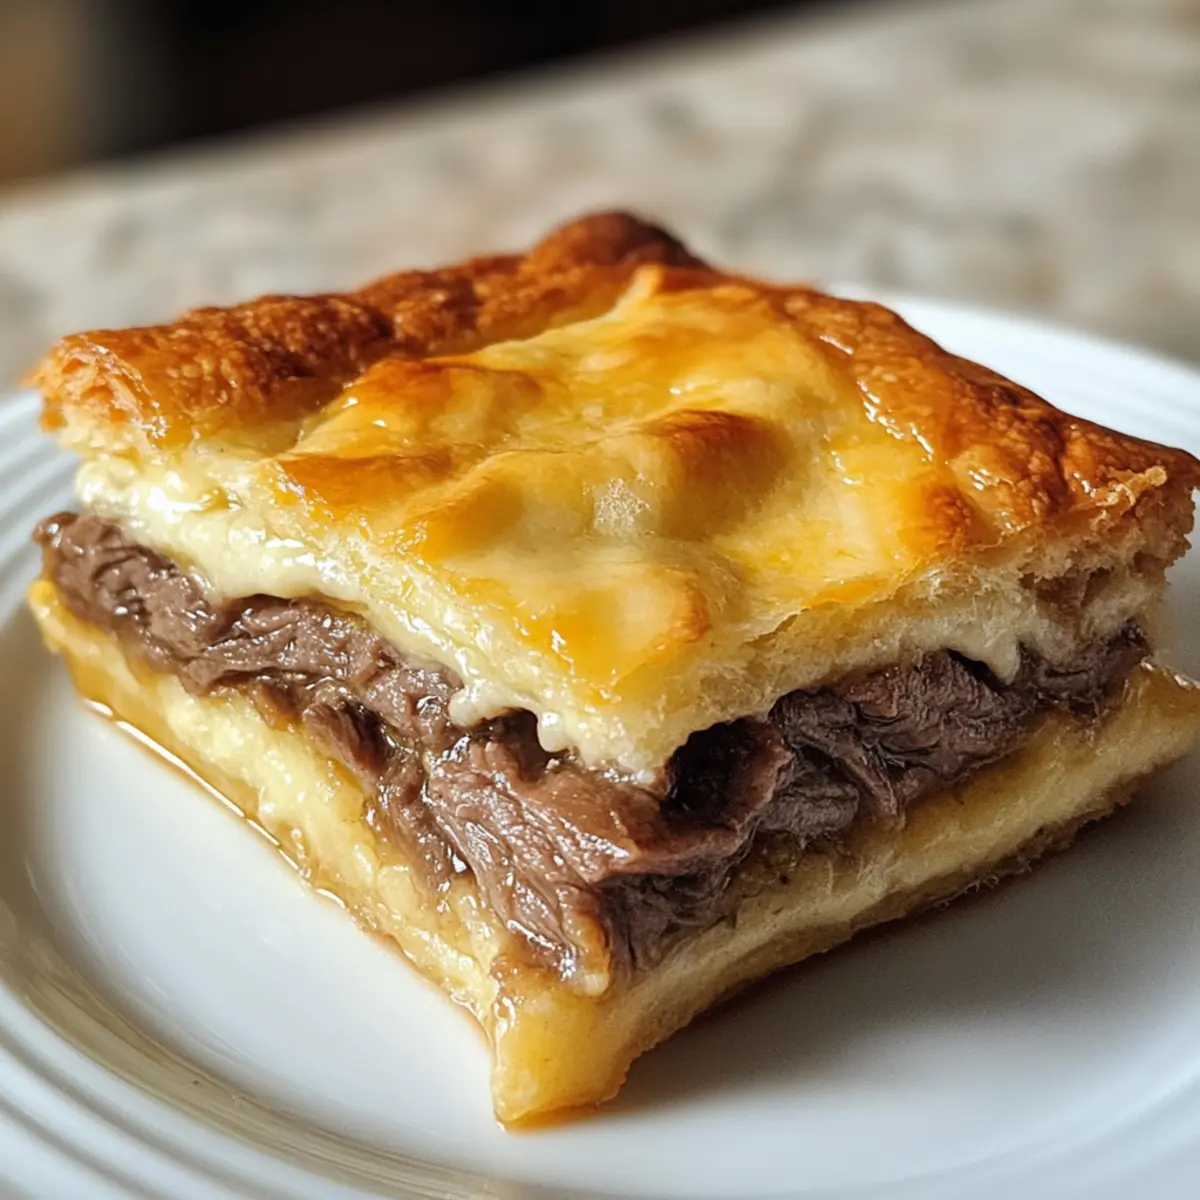
Place the prepared dish in the preheated oven and bake for 15-20 minutes. Keep an eye on the squares as they bake; you’re looking for a golden brown color on top that signals the crust is perfectly cooked. The irresistible aroma will fill your kitchen as the French Dip Squares come together.
Step 7: Warm the Dipping Sauce
While the French Dip Squares are baking, warm the beef broth in a medium pot over medium heat. Stir occasionally and allow it to come to a gentle simmer. This savory broth will be the perfect dipping companion for your French Dip Squares, replicating the classic sandwich experience.
Step 8: Cool and Serve
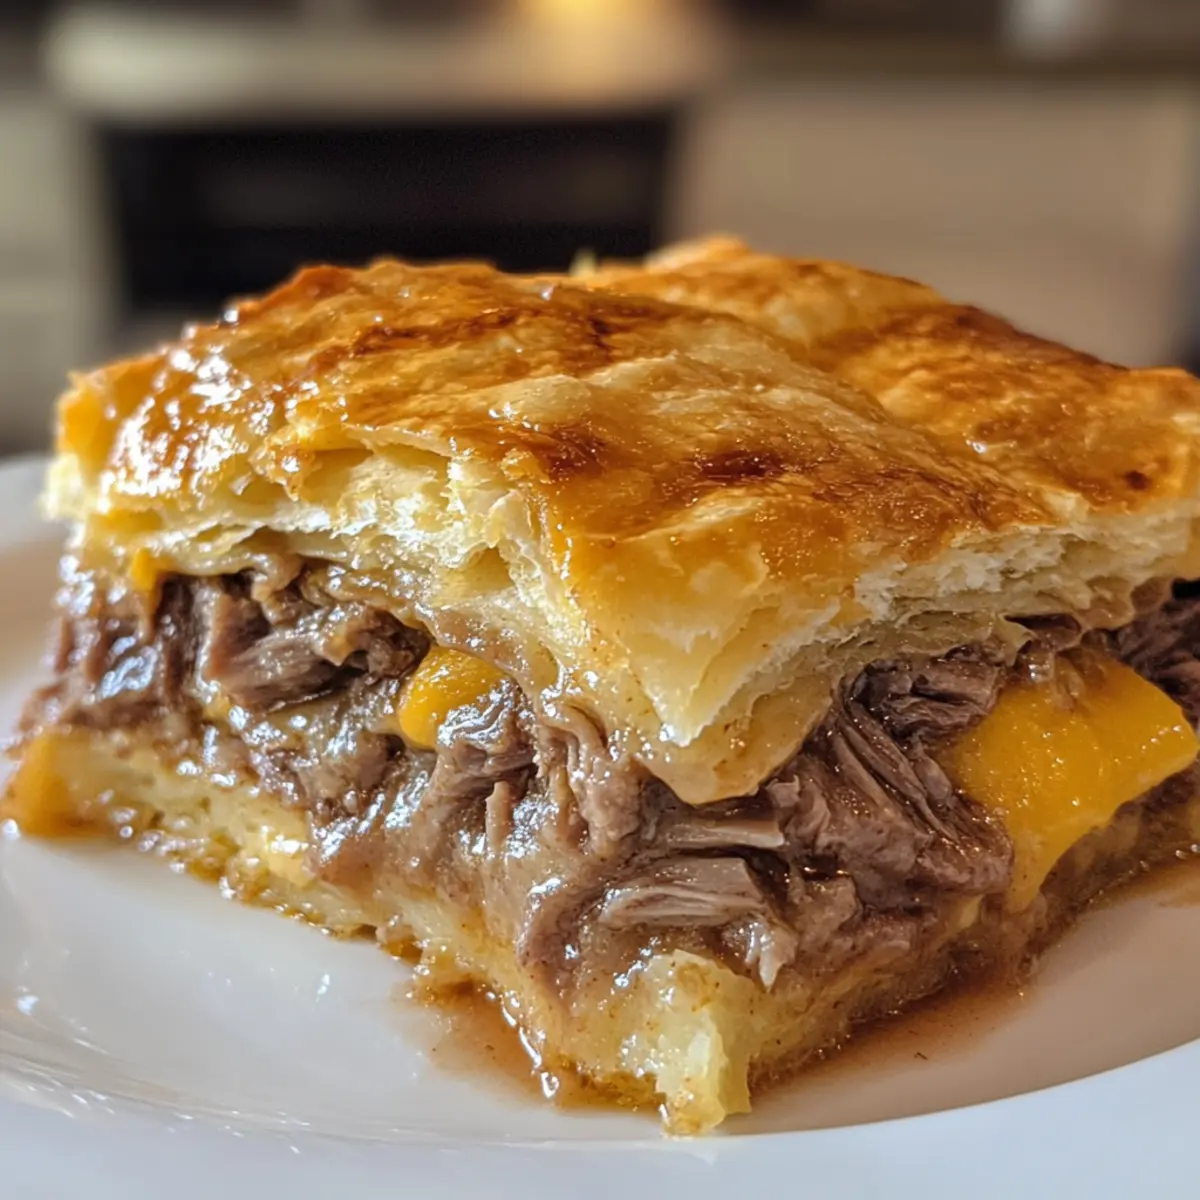
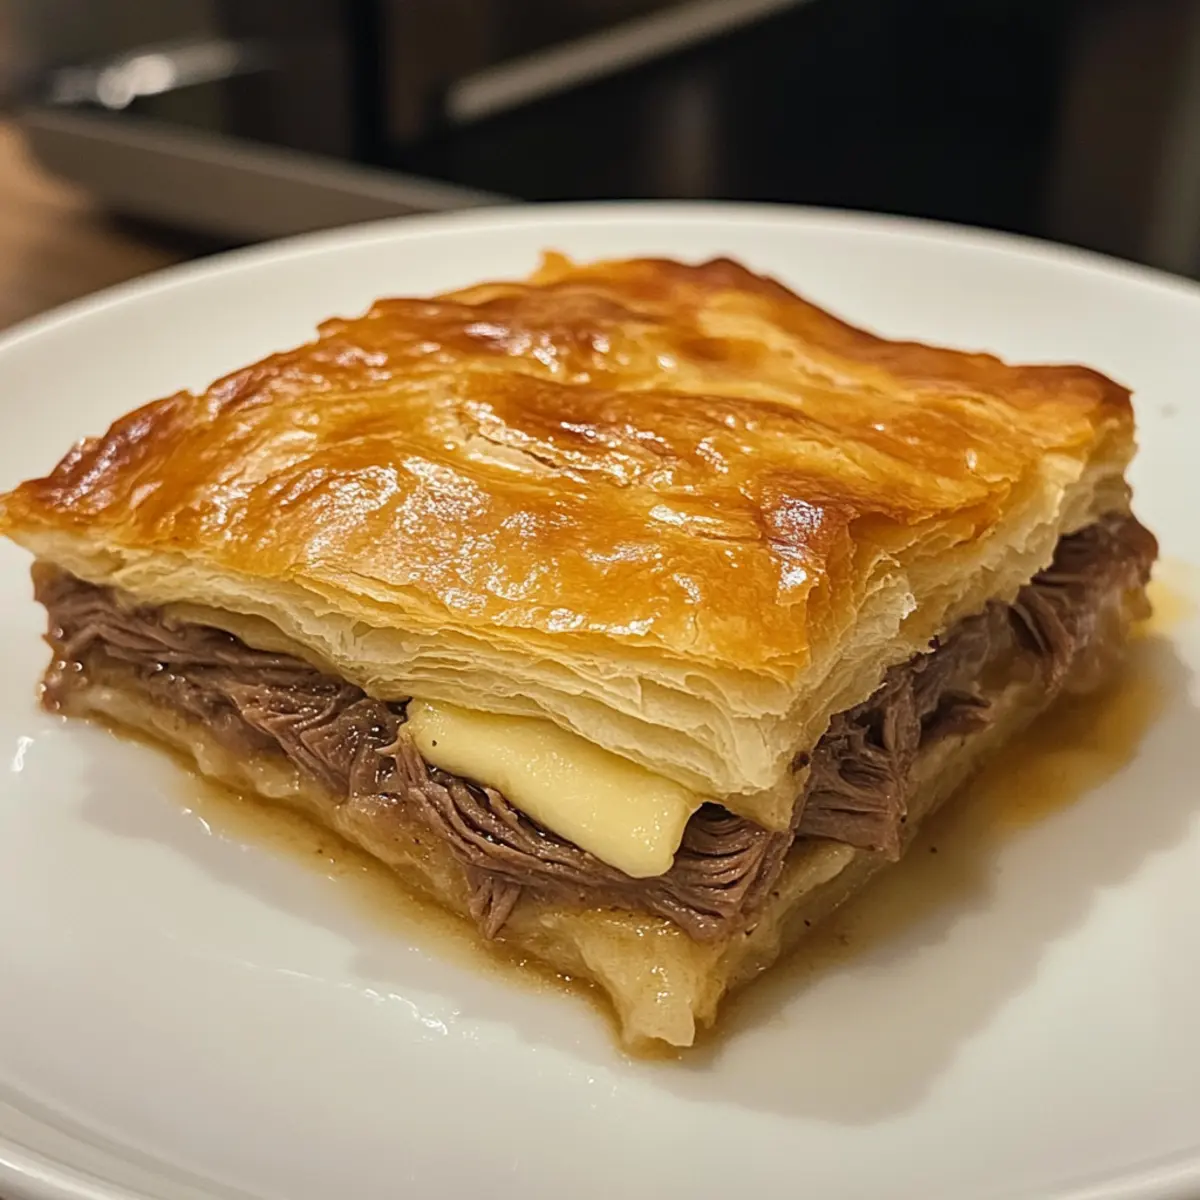
Once baked, remove your dish from the oven and let the French Dip Squares cool for about 5-10 minutes. This short wait allows the filling to set and makes cutting easier. Slice into squares and serve warm with the heated beef broth on the side for an authentic and comforting dining experience.
French Dip Squares: Exciting Variations
Embrace your creative culinary spirit and make these French Dip Squares your own with delightful twists and swaps!
- Turkey Substitute: Swap roast beef for sliced turkey for a lighter, yet still satisfying option.
- Cheese Varieties: Use cheddar or provolone instead of Swiss for a burst of bold flavor. Each cheese brings its unique character to the dish.
- Veggie Boost: Add sautéed onions or mushrooms to enhance flavors and texture for a heartier filling. The earthy tones of mushrooms contrast beautifully with the savory beef.
- Spicy Kick: Incorporate horseradish or Dijon mustard into your filling for an exciting heat that elevates the overall taste experience.
- Herb Infusion: Sprinkle fresh herbs like thyme or rosemary on the meat layer for a fragrant and fresh twist. A touch of nature’s bounty adds complexity to the dish.
- Sweet and Savory: Include a layer of caramelized onions for a deliciously sweet contrast to the savory beef. This combination will leave everyone yearning for more!
- Different Dips: Experiment with homemade au jus or creamy horseradish sauce for dipping, offering a variety of flavors to enhance your French Dip experience.
- Make it Mini: Turn the squares into bite-sized portions by using mini crescent rolls to create delightful appetizers perfect for parties.
With variations like these, you’ll find the perfect combination that suits your taste buds, ensuring every serving is special. Don’t forget to pair your creations with a fresh green salad or crispy fries for a winning meal!
Make Ahead Options
These French Dip Squares are perfect for meal prep, making busy weeknights a breeze! You can assemble the entire dish up to 24 hours in advance. Simply follow the steps to layer the crescent rolls, roast beef, and cheese, then prepare the sauce and drizzle it over before covering tightly with plastic wrap. When you’re ready to serve, simply preheat your oven and bake as instructed. For the best flavor, refrigerate any leftovers and enjoy them within 3 days; just warm them up in the oven or microwave before serving. This method ensures you’ll have delicious, homemade French Dip Squares on hand, saving you valuable time and effort!
What to Serve with French Dip Squares?
Enjoying these delectable French Dip Squares? Let’s elevate your meal with some fantastic pairings that complement their rich, savory flavors.
-
Crisp Green Salad: A fresh salad adds a light crunch, balancing the hearty flavors of the squares beautifully. Toss in some tangy vinaigrette for a zesty kick!
-
Sweet Potato Fries: Their natural sweetness and crispy texture provide a lovely contrast, making each bite even more satisfying and delicious.
-
Roasted Vegetables: A medley of seasonal roasted veggies brings brightness to the table, enhancing your meal with vibrant colors and nutritious goodness.
-
Garlic Bread: Soft, buttery garlic bread is perfect for soaking up any leftover dipping broth, adding a delightful touch to your dining experience.
-
Coleslaw: A crunchy coleslaw dressed in a tangy sauce adds a refreshing crunch that complements the rich, meaty squares.
-
Pickles or Giardiniera: Sharp and tangy pickles introduce an element of acidity, cutting through the richness and elevating every bite.
-
Beer or Light Red Wine: Pairing with a crisp lager or a light-bodied red wine can enhance the flavors of the dish, making for a delightful gastronomic experience.
-
Creamy Potato Salad: The creaminess offsets the savory squares wonderfully, providing a comforting counterpart to your meal that everyone will love.
Expert Tips for French Dip Squares
- No Gaps Allowed: Ensure the crescent roll layers are sealed tightly to prevent filling leakage during baking, keeping every bit of flavor inside.
- Golden Tops: If your French Dip Squares brown too quickly, loosely cover them with foil to avoid burning while the inside cooks thoroughly.
- Let It Rest: Allow the dish to cool for 5-10 minutes before cutting to achieve clean, even squares that hold their shape.
- Flavor Boost: For extra depth, consider adding a teaspoon of beef bouillon to your beef broth for dipping. This elevates the dipping experience!
- Customize Wisely: Experiment with different cheeses and meats, but make sure to maintain balance so the flavors complement the classic French Dip Squares taste.
How to Store and Freeze French Dip Squares
Fridge: Store cooked French Dip Squares in an airtight container for up to 3 days. Make sure to cover them well to retain moisture and flavor.
Freezer: For longer storage, wrap individual squares tightly in plastic wrap and place them in a freezer-safe bag or container. They can be frozen for up to 3 months.
Reheating: To reheat, thaw in the refrigerator overnight, then warm in the oven at 350°F (175°C) for about 10-15 minutes until heated through, keeping the crust crisp.
Make-Ahead Tip: Prepare the dish up to 24 hours in advance by assembling but not baking it. Cover and refrigerate until you’re ready to bake.
French Dip Squares Recipe FAQs
What type of crossaints should I use for the crust?
I recommend using refrigerated crescent rolls for their buttery, flaky texture. They create a delightful base that resembles traditional sandwich bread. If you’re looking for a different texture, feel free to substitute with puff pastry, but be aware that it may alter the final flavor slightly.
How long can I store leftovers in the fridge?
You can store cooked French Dip Squares in an airtight container for up to 3 days. Make sure to cover them well to retain their moisture and flavor. If you prefer them crispy, consider reheating them in the oven rather than the microwave.
Can I freeze French Dip Squares?
Absolutely! For longer storage, wrap individual squares tightly in plastic wrap and place them in a freezer-safe bag or container. They can be frozen for up to 3 months. When you’re ready to enjoy them, thaw in the fridge overnight and reheat in the oven at 350°F (175°C) for about 10-15 minutes to get that crispy crust back.
What if my crescent roll layers have gaps?
If you notice gaps in the crescent roll layers, it’s crucial to seal them tightly to prevent any filling from leaking out during baking. Press the seams together firmly and ensure there’s an even coverage over the filling. If your squares do leak, don’t worry—it’ll still taste delicious!
Can my pet have any leftovers?
While some ingredients like beef might be safe for pets in small amounts, I recommend avoiding giving them any leftovers. The seasoning and butter may not be suitable for their diet, so it’s best to stick to their regular food.
I have a garlic allergy; what can I do?
If you’re allergic to garlic, simply omit it from the recipe. While garlic does add a nice flavor, these French Dip Squares will still be delicious without it. You could consider adding a splash of lemon juice or some herbs like thyme or rosemary for extra flavor instead!
Savor the Comfort of Homemade French Dip Squares
Ingredients
Equipment
Method
- Preheat your oven to 375°F (190°C). Prepare a 9x13 inch baking dish by spraying it generously with non-stick spray.
- Unroll one can of crescent rolls and lay the dough flat in the prepared baking dish, pressing the seams together firmly.
- Spread the deli-sliced roast beef evenly over the layer of crescent roll dough, then sprinkle the grated Swiss cheese atop the beef.
- Combine melted butter, dry onion soup mix, Worcestershire sauce, and garlic powder in a bowl, and drizzle it over the cheese layer.
- Unroll the second can of crescent rolls and lay it over the entire filling, sealing the seams tightly.
- Bake in the preheated oven for 15-20 minutes until golden brown.
- Warm the beef broth in a medium pot over medium heat until it comes to a gentle simmer.
- Remove the dish from the oven and let it cool for about 5-10 minutes before slicing into squares and serving warm with the heated beef broth.
Leave a Reply