
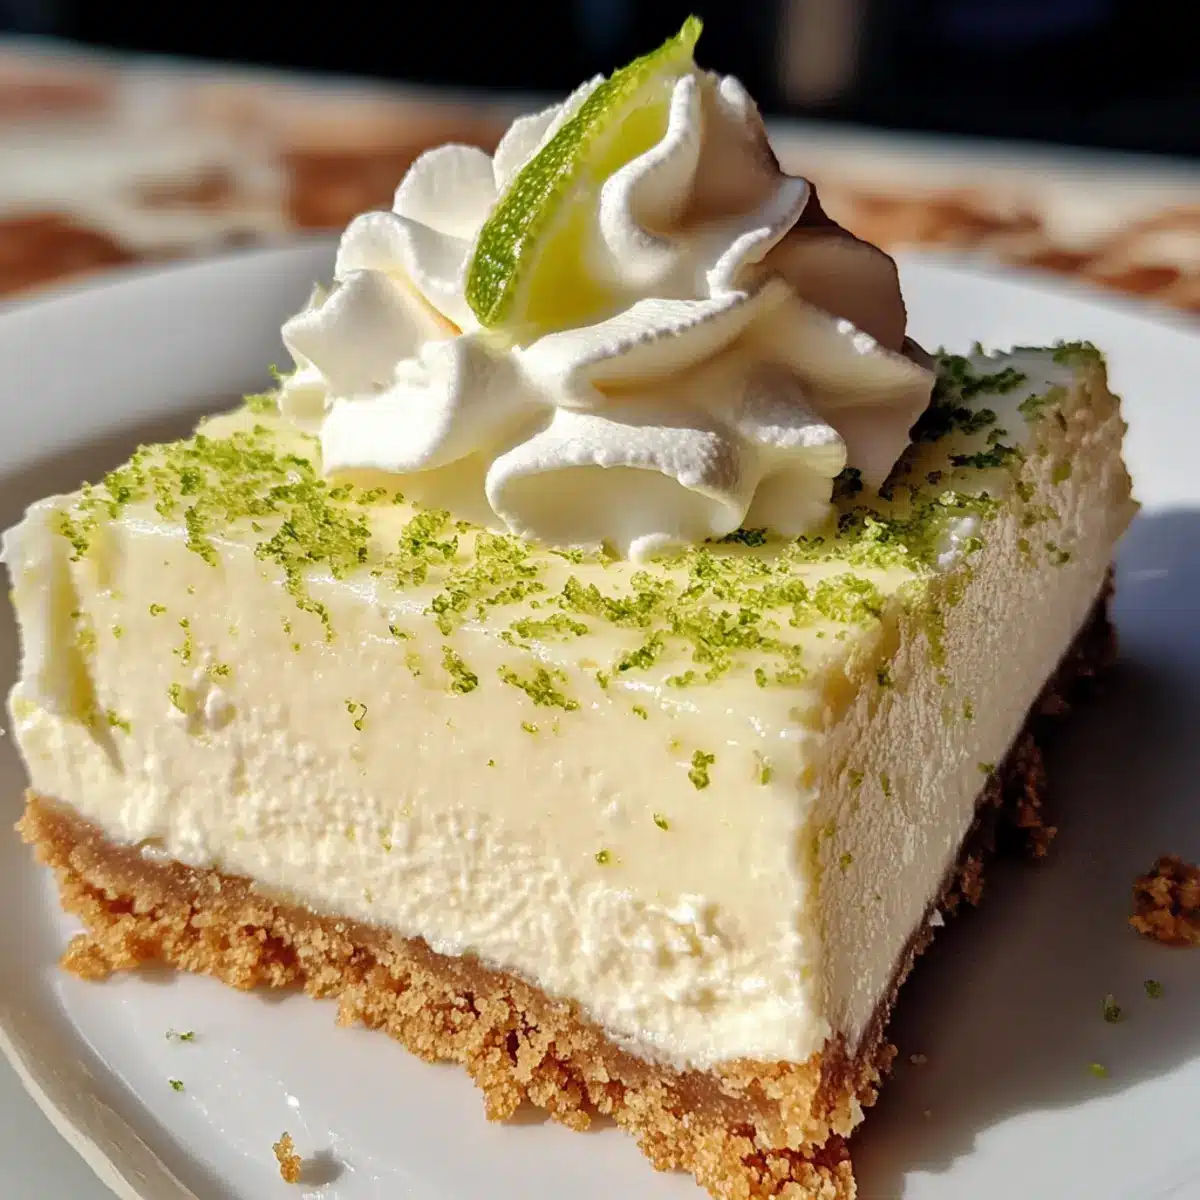
As I stood in my kitchen, the summer sun streaming through the window, I could almost taste the refreshing zing of citrus. That’s when the idea struck: tangy Key Lime Pie Bars! This vibrant dessert captures the essence of summer, balancing sweet, tart, and creamy flavors in a delightful bite. These bars are not only easy to whip up, but they also transform classic Key lime pie into a fun, no-bake treat that’s perfect for warm days or any casual gathering. With a crunchy vanilla wafer crust and cool, luscious filling, they are guaranteed to be a crowd-pleaser. And the best part? They chill beautifully, making them an ideal make-ahead dessert to impress your family and friends. Ready to dive into this tantalizing recipe and explore some delicious variations? Let’s get started!
Why are these Key Lime Pie Bars irresistible?
Simplicity shines through these bars, requiring minimal effort for maximum flavor. Creamy, Tangy Filling balances perfectly with a crunchy crust, making every bite a taste sensation. Versatile Variations let you experiment with different cookie bases or swap key limes with lemons. These treats make for a fantastic make-ahead dessert, easily stored in the fridge and served chilled. Perfect for summer gatherings or a refreshing end to any meal, these Key Lime Pie Bars will leave your guests asking for more! For similar summer delights, check out our Salted Caramel Apple Crumble Bars and Salted Honey Pie.
Key Lime Pie Bars Ingredients
• These Key Lime Pie Bars are as simple to prepare as they are delicious!
For the Crust
- Vanilla Wafer Cookies – The perfect base for a sweet crust; feel free to swap with graham crackers for a classic touch.
- Brown Sugar – Adds a hint of caramel sweetness that enhances the crust’s flavor.
- Unsalted Butter – Binds everything together with richness; melted for easy mixing.
For the Filling
- Egg Yolks – Provide structure and a creamy texture to the filling; a must for that luscious mouthfeel.
- Lime Zest – Infuses intense citrus flavor into the bars; always go for fresh zest when possible!
- Sweetened Condensed Milk – Serves as a thick, creamy base; avoid substitutions as they impact texture.
- Lime Juice – The key ingredient for that iconic tartness; fresh is highly recommended for best results.
For the Topping
- Heavy Whipping Cream – Whip until thick for a delightful, airy topping that complements the zesty filling.
Let’s gather these delightful ingredients and create a refreshing treat that embodies summer’s essence!
Step‑by‑Step Instructions for Key Lime Pie Bars
Step 1: Prepare the Crust
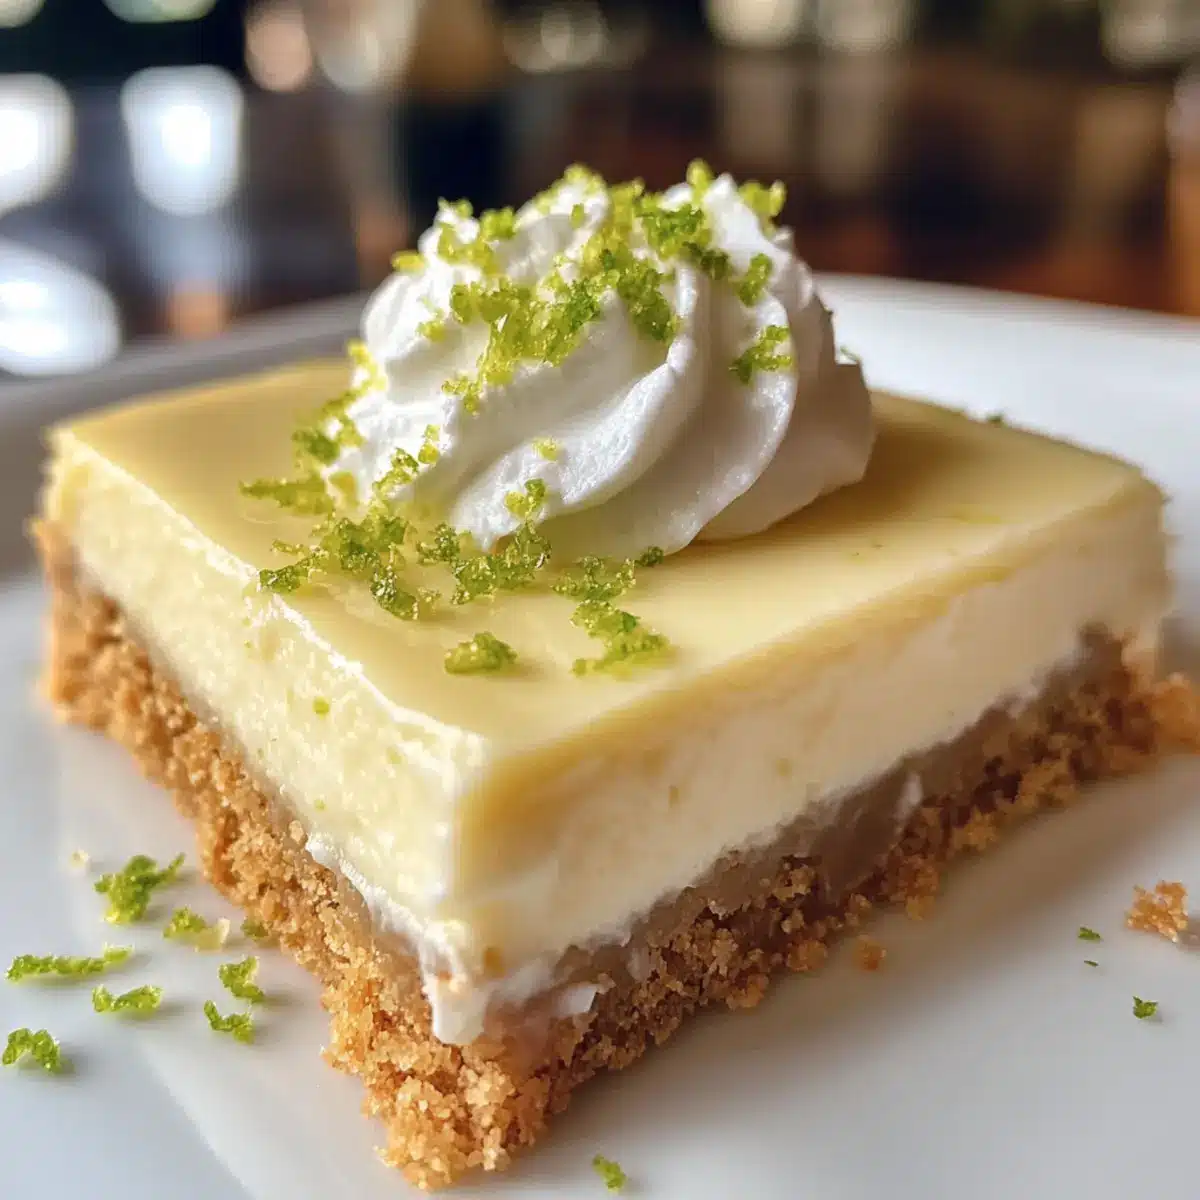
Begin by preheating your oven to 350°F (175°C). In a medium bowl, crush vanilla wafer cookies until finely ground, resembling sand. Mix in brown sugar and melted unsalted butter until evenly combined. This mixture should be moist yet crumbly. Press it firmly into an 8×8 inch pan lined with parchment paper to create a solid crust base, ensuring it’s even across the bottom.
Step 2: Bake the Crust
Once your crust mixture is shaped in the pan, bake it in your preheated oven for 13-15 minutes. Keep an eye on the edges; they should turn a light golden brown, while the center should remain slightly soft. After baking, let the crust cool for about 30 minutes, allowing it to set properly before adding the filling.
Step 3: Make the Filling
In a large mixing bowl, whisk together three egg yolks until smooth. Add freshly grated lime zest to bring out the citrus flavor. Slowly pour in the sweetened condensed milk and fresh lime juice, stirring until the mixture is completely smooth. This creamy filling should have a rich consistency, perfect for those irresistible Key Lime Pie Bars.
Step 4: Pour and Bake the Filling
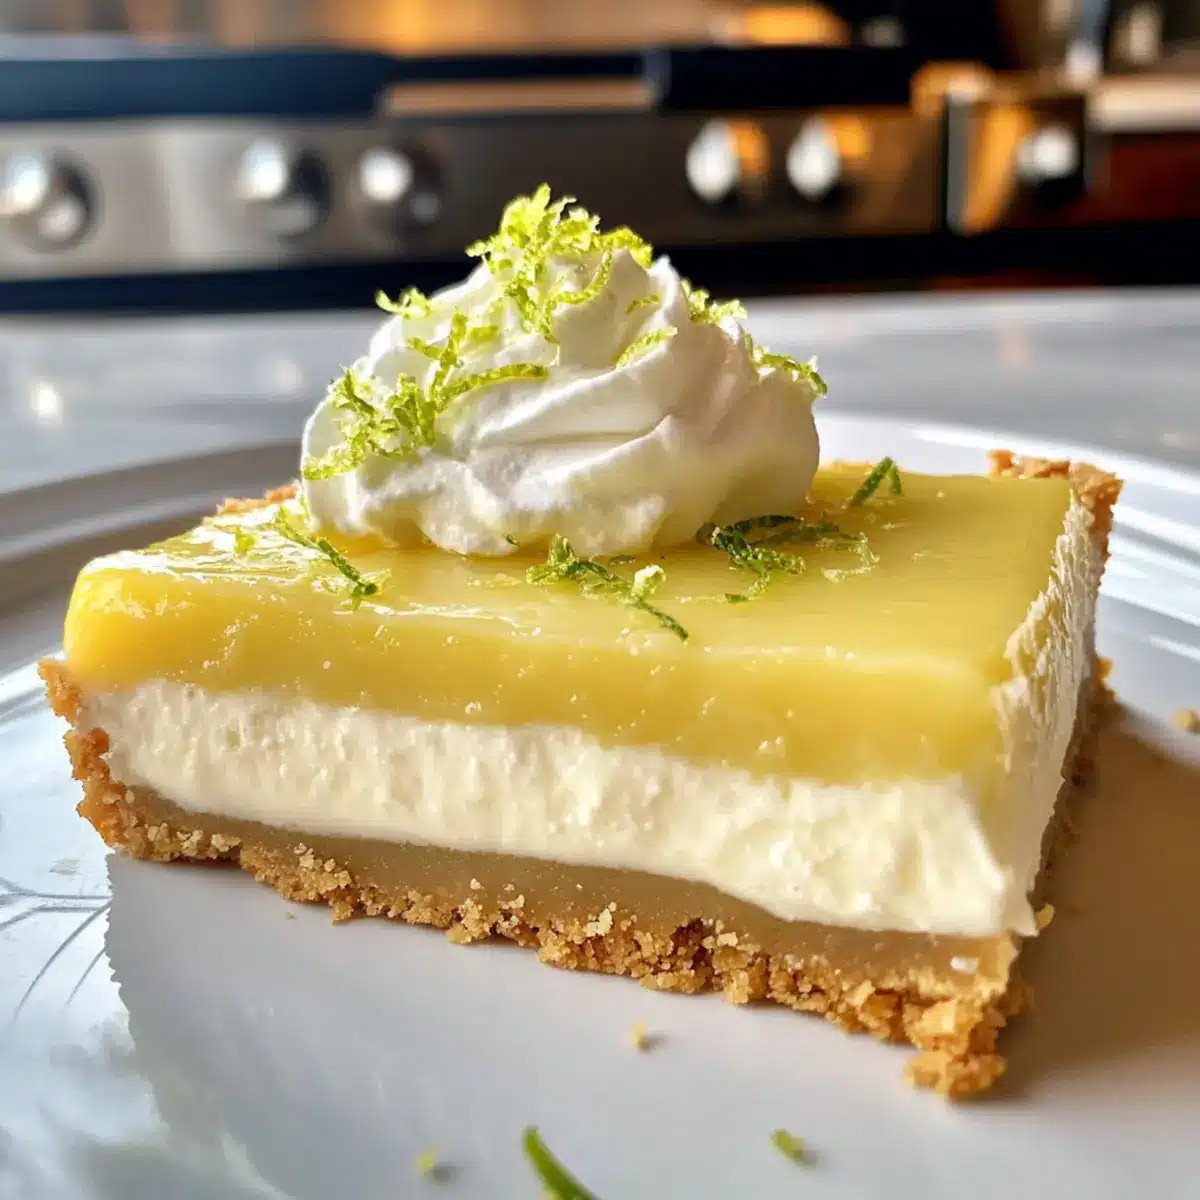
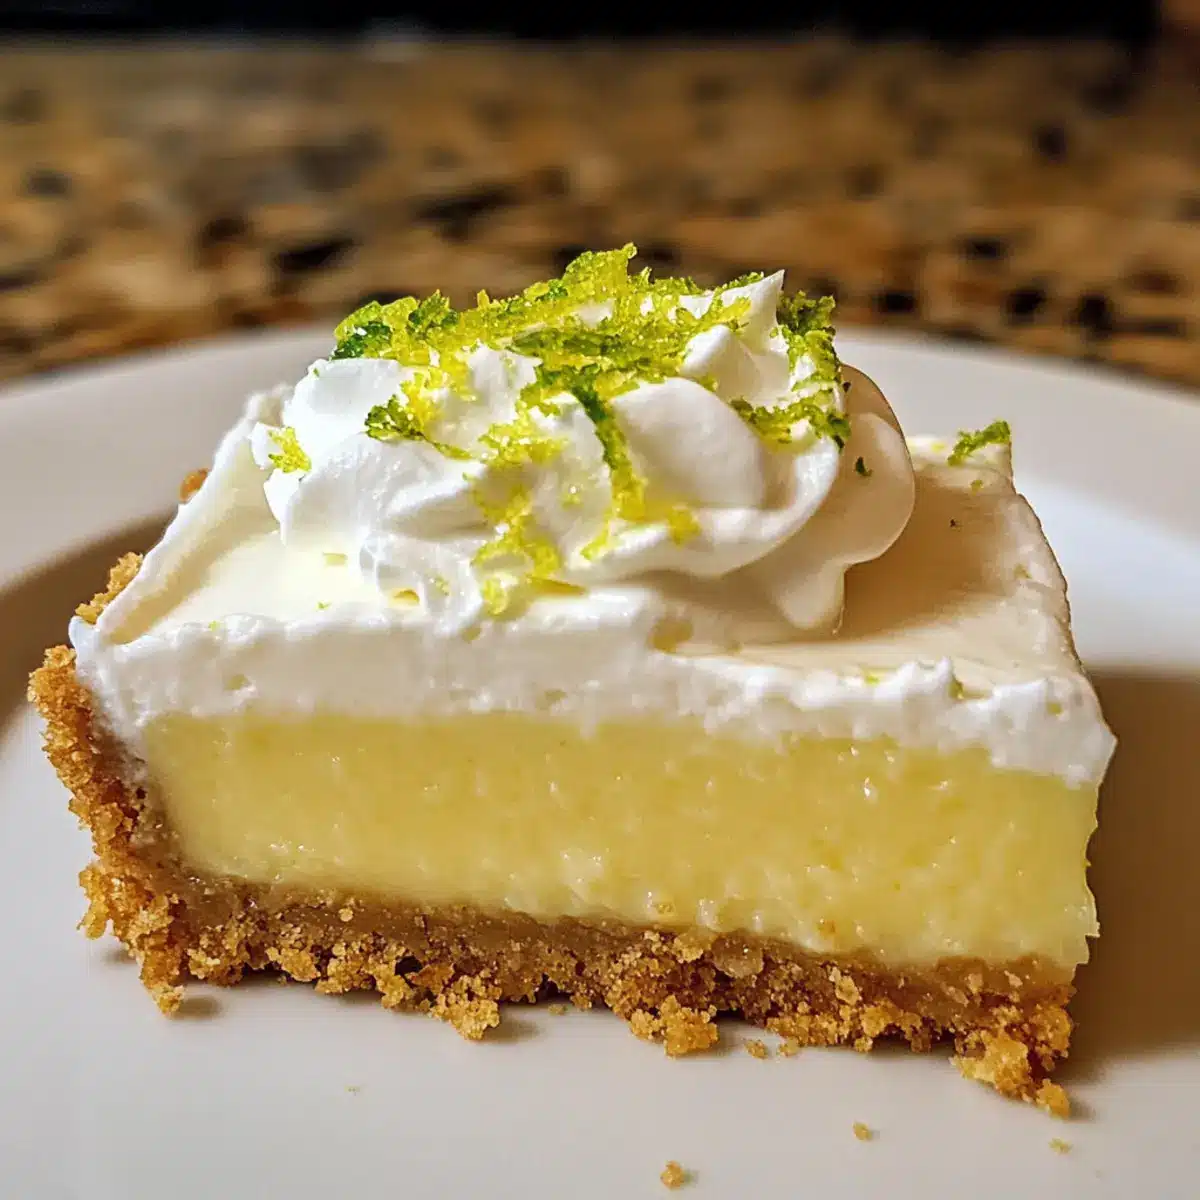
Pour the luscious lime filling over the cooled crust, smoothing it out with a spatula for an even layer. Return the pan to the oven and bake for an additional 15-17 minutes. Look for the edges to be set while the center remains slightly jiggly, giving you that custard-like texture essential for these bars.
Step 5: Cool and Chill
After baking, remove the pan from the oven and let it cool at room temperature for 30 minutes. This step allows the filling to firm up a bit more. Following this, refrigerate the Key Lime Pie Bars for at least 3 hours, or until fully chilled. The cool temperature enhances the flavors and helps set the filling perfectly.
Step 6: Whip the Cream and Serve
When ready to serve, whip heavy cream in a mixing bowl until thick and airy. Spread or dollop this delightful whipped cream over the chilled Key Lime Pie Bars for an indulgent topping. Slice the bars into squares, and display them on a platter. They’re now ready to brighten up any gathering with their refreshing zing!
What to Serve with Key Lime Pie Bars
The perfect summer treat deserves an equally delightful array of accompaniments to create a full experience.
-
Fresh Fruit Salad: A colorful mix of seasonal fruits adds brightness and freshness, perfectly balancing the tartness of the bars.
-
Cool Mint Iced Tea: This refreshing drink offers a sweet and herbal contrast, keeping you cool and hydrated on warm days.
-
Coconut Whipped Cream: A luscious dairy-free topping that enhances the tropical feel while adding a creamy, dreamy texture to the dessert.
-
Crispy Tortilla Chips: Serve with a zesty mango salsa for a fun, sweet-savory contrast that will surprise your guests.
-
Chocolate-Covered Strawberries: The rich chocolate complements the tangy flavor of the bars, creating a deliciously indulgent pairing.
Indulging in these sweet delights alongside your Key Lime Pie Bars ensures a memorable meal that captures summer’s essence!
Make Ahead Options
These Key Lime Pie Bars are a fantastic choice for meal prep, allowing you to savor their fresh flavor without the last-minute rush. You can prepare the crust up to 24 hours in advance by baking it and then storing it covered at room temperature. The filling can also be made ahead and kept in the refrigerator for up to 3 days. Just mix all the filling ingredients, pour it over the crust, and refrigerate until you are ready to bake. When you’re ready to serve, simply bake the assembled bars and chill them for at least 3 hours. This way, you’ll achieve that delightful creamy texture while saving time on busy days!
How to Store and Freeze Key Lime Pie Bars
Fridge: Store the Key Lime Pie Bars tightly covered in the refrigerator for up to 4 days. This keeps them fresh and ready for a quick treat!
Freezer: For longer storage, freeze the bars plain (without the whipped cream) in an airtight container for up to 3 months. Thaw in the fridge overnight before serving.
Airtight Packing: Ensure the bars are completely cool before storing, as this prevents condensation from making them soggy. Wrap tightly with plastic wrap or foil first, then place them in a container.
Reheating: Enjoy the bars chilled directly from the fridge; there’s no need to heat them up, as the cold enhances their refreshing flavor!
Key Lime Pie Bars Variations
Feel free to put your own spin on these delightful Key Lime Pie Bars for an even more personalized treat!
-
Lemon Twist: Swap key limes with fresh lemons for a bright, zesty variation that still packs a punch.
-
Graham Cracker Crust: For a traditional touch, use crushed graham crackers instead of vanilla wafers, infusing a familiar flavor into your bars.
-
Gluten-Free Option: Substitute gluten-free cookies for the crust to cater to gluten-sensitive friends without sacrificing taste.
-
Coconut Cream: For a tropical twist, replace the whipping cream topping with whipped coconut cream for a deliciously light and dairy-free option.
-
Spice It Up: Add a pinch of cayenne pepper or chili powder to the filling for a surprising layer of heat that balances the sweetness.
-
Fruit Splash: Top these bars with fresh berries or a mango salsa to enhance the flavors and add a pop of color for presentation.
-
Chocolate Drizzle: For those chocolate lovers, a drizzle of melted dark chocolate over the whipped cream adds a decadent touch everyone will adore.
-
No-Bake Option: To skip the baking entirely, use a no-bake graham cracker crust, simply mix the crushed crackers with melted butter and press into the pan.
These variations offer exciting new flavors and textures that keep the delicious essence of the original recipe while introducing some delightful surprises! If you’re in the mood for more tangy delights, you might want to try my Boston Cream Pie as well!
Expert Tips for Key Lime Pie Bars
-
Ingredient Quality Matters: Use fresh limes and high-quality sweetened condensed milk for the most flavorful Key Lime Pie Bars. Avoid substitutes to ensure the right texture.
-
Avoid Overbaking: Keep an eye on the filling while baking; it should be slightly jiggly in the center for that creamy finish. Overbaking can lead to a tough texture.
-
Chill for Best Results: Refrigerate the bars for at least 3 hours, or overnight if possible, for optimal flavor development and texture. Cold bars are always a hit in warm weather.
-
Cut with Care: For perfect slices, rinse your knife in hot water between cuts. This technique will help achieve clean lines, making your Key Lime Pie Bars look as good as they taste.
-
Sweeten to Taste: If you prefer a sweeter bar, feel free to adjust the amount of sweetened condensed milk slightly. Just remember that it should balance the tartness of the limes.
Key Lime Pie Bars Recipe FAQs
How do I select ripe limes for my Key Lime Pie Bars?
Absolutely! Look for limes that are firm yet slightly soft to the touch, indicating they have plenty of juice. A rich green color is ideal, and if you notice any dark spots, it’s best to choose another lime. Freshness is key for that vibrant flavor!
What’s the best way to store my Key Lime Pie Bars?
To keep your Key Lime Pie Bars fresh, store them tightly covered in the refrigerator for up to 4 days. I recommend using an airtight container to maintain their taste and texture. Before sealing, ensure they’re completely cool to avoid sogginess from condensation.
Can I freeze Key Lime Pie Bars?
Yes! To freeze your Key Lime Pie Bars, first, let them cool completely. Wrap them tightly in plastic wrap or foil, then place in an airtight container. They can be frozen for up to 3 months. When you’re ready to enjoy, simply thaw them in the refrigerator overnight before serving. This approach preserves their freshness beautifully!
What should I do if my filling is too runny?
If your filling is runny after baking, likely it needs more time. Keep baking until the edges are set, while the center remains slightly jiggly. If you’ve already baked it and it’s still runny, consider chilling it longer in the fridge to help it firm up; the cooling will also enhance the flavors.
Are Key Lime Pie Bars safe for people with allergies?
It’s essential to be cautious! This recipe contains egg yolks, dairy, and possibly gluten, depending on the cookie base used. If you have allergies, consider substituting with gluten-free cookies and using dairy-free condensed milk to create a version that accommodates your dietary needs. Always verify the ingredient labels to ensure safety!
How can I ensure clean cuts for my bars?
For beautifully sliced Key Lime Pie Bars, I highly recommend chilling them overnight. This extra cooling time makes them even firmer, allowing for cleaner cuts when you slice. Additionally, rinse your knife in hot water between cuts; this technique helps reduce sticking and maintains a tidy presentation!
Zesty Key Lime Pie Bars: Your New Favorite Summer Treat
Ingredients
Equipment
Method
- Preheat your oven to 350°F (175°C). Crush vanilla wafer cookies until finely ground. Mix in brown sugar and melted butter until combined. Press firmly into an 8x8 inch pan lined with parchment paper.
- Bake in preheated oven for 13-15 minutes until edges are golden brown. Allow to cool for about 30 minutes.
- Whisk together egg yolks until smooth. Add lime zest, condensed milk, and lime juice, stirring until completely smooth.
- Pour filling over cooled crust and bake for an additional 15-17 minutes until edges are set and center is slightly jiggly.
- Cool at room temperature for 30 minutes, then refrigerate for at least 3 hours until fully chilled.
- Whip heavy cream until thick and airy, then spread over the chilled Key Lime Pie Bars. Slice and serve.
Leave a Reply