
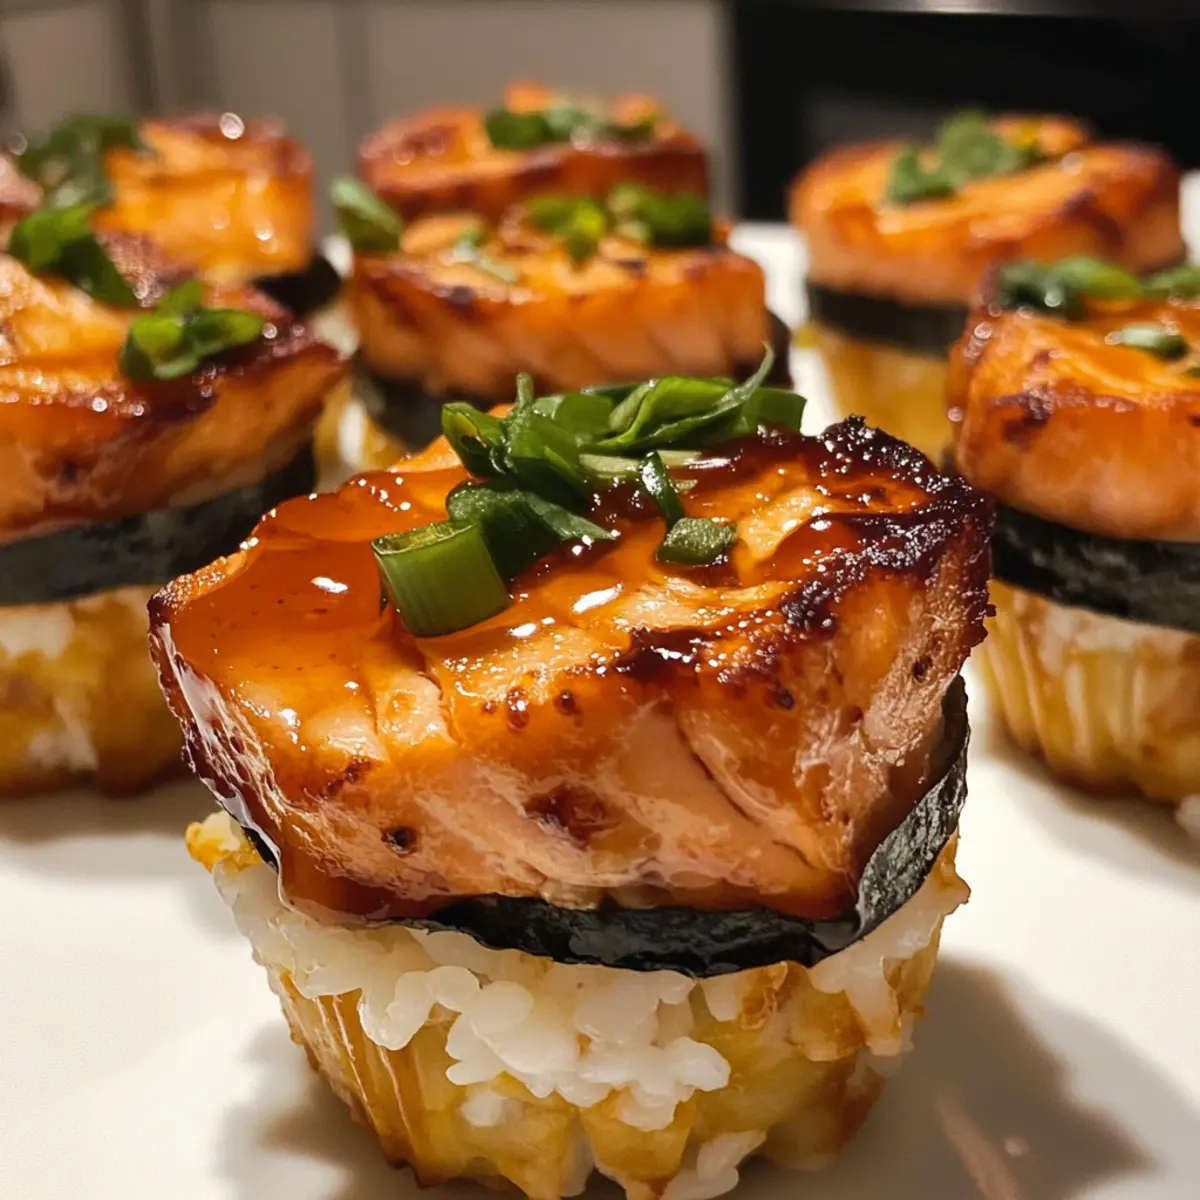
As I took my first bite, I was instantly transported to a cozy sushi bar, where the delicate flavors of the ocean meet warm comfort. These Easy Baked Salmon Sushi Cups are my latest culinary delight, offering a playful twist on the classic sushi experience. With tender salmon nestled in perfectly cooked sushi rice and a delightful kick from sriracha and creamy Kewpie mayo, these little cups are not just appetizers; they’re a sensation! They whip up quickly, making them ideal for both bustling weeknights and casual gatherings. Plus, they’re freezer-friendly, so you can indulge in delicious homemade sushi anytime you crave it. Curious how to create these scrumptious bites that will impress both family and friends? Let’s dive into the recipe!
Why are Sushi Bake Cups a Must-Try?
Irresistible Flavor: Each bite explodes with the rich taste of salmon and umami from soy sauce, making them utterly addictive.
Versatile Base: Feel free to experiment with toppings like avocado or different seafood, tailoring them to your taste!
Crowd-Pleasing Appetizer: Perfect for gatherings, these cups impress guests with their unique presentation and delightful flavor.
Quick and Easy: With just a few steps, you can whip up these sushi-inspired treats in no time, ideal for busy weeknights.
Freezer-Friendly: Make a double batch, and store half in the freezer for an effortless snack anytime.
For a complete sushi experience, consider serving these delicious cups with pickled ginger or pair them with a side of refreshing cucumber salad!
Sushi Bake Cups Ingredients
For the Salmon Mixture
- Salmon – Cubed for tenderness and flavor; you can also use cooked salmon or tuna for a different taste.
- Light Soy Sauce – Adds umami flavor and enhances the salmon; tamari is a great gluten-free option.
- Kewpie Mayo – Provides a rich creaminess; regular mayo works, but the flavor will change.
- Sriracha – Adds a delightful kick; feel free to adjust the amount based on your spice preference.
- Sesame Oil – Adds a nutty depth to the dish; can be omitted if you prefer a lighter flavor.
For the Sushi Rice
- Uncooked Sushi Rice – This forms the structure of the cups; short-grain rice can be a suitable alternative.
- Rice Vinegar – Adds acidity to enhance the rice flavor; regular vinegar can substitute but lacks authenticity.
- White Sugar – Balances the vinegar’s acidity; honey or agave syrup can be used for a natural sweetness.
For Assembly
- Nori Sheets – Wraps the sushi cups and imparts a sea-like flavor; rice paper wrappers can be a substitute if necessary.
- Furikake – A traditional Japanese seasoning for garnish; it’s optional if you don’t have it on hand.
- Green Onion – Adds a fresh touch as a garnish; chives or scallions are great substitutes.
Whip up these Sushi Bake Cups with these ingredients, and watch as they transform into delicious, visually stunning bites!
Step‑by‑Step Instructions for Easy Baked Salmon Sushi Cups
Step 1: Prepare Sushi Rice
Begin by cooking your uncooked sushi rice according to the package instructions, typically around 18-20 minutes until tender. While the rice is cooking, combine rice vinegar with sugar in a microwave-safe bowl and heat until the sugar dissolves, about 30 seconds. Once the rice is cooked, gently mix in the vinegar mixture and set aside to cool slightly.
Step 2: Prepare Salmon Mixture
In a separate bowl, mix together the cubed salmon with light soy sauce, Kewpie mayo, sriracha, and sesame oil. Use a spatula to ensure all ingredients are well combined and the salmon is evenly coated. Let this mixture sit while you preheat the oven to 400°F (200°C) to allow the flavors to meld.
Step 3: Preheat Oven
Make sure your oven reaches 400°F (200°C) for optimal baking. While the oven is preheating, prepare your muffin tin by greasing it lightly with cooking spray to prevent sticking later on. The temperature ensures that your sushi bake cups will turn golden and cook through perfectly.
Step 4: Prepare Nori
Cut nori sheets into squares that fit the cups of your muffin tin. Each square should be large enough to cover the bottom and sides of each muffin cup. This will serve as the flavorful wrap for your sushi bake cups, imparting a delightful ocean taste to each bite.
Step 5: Assemble Sushi Cups
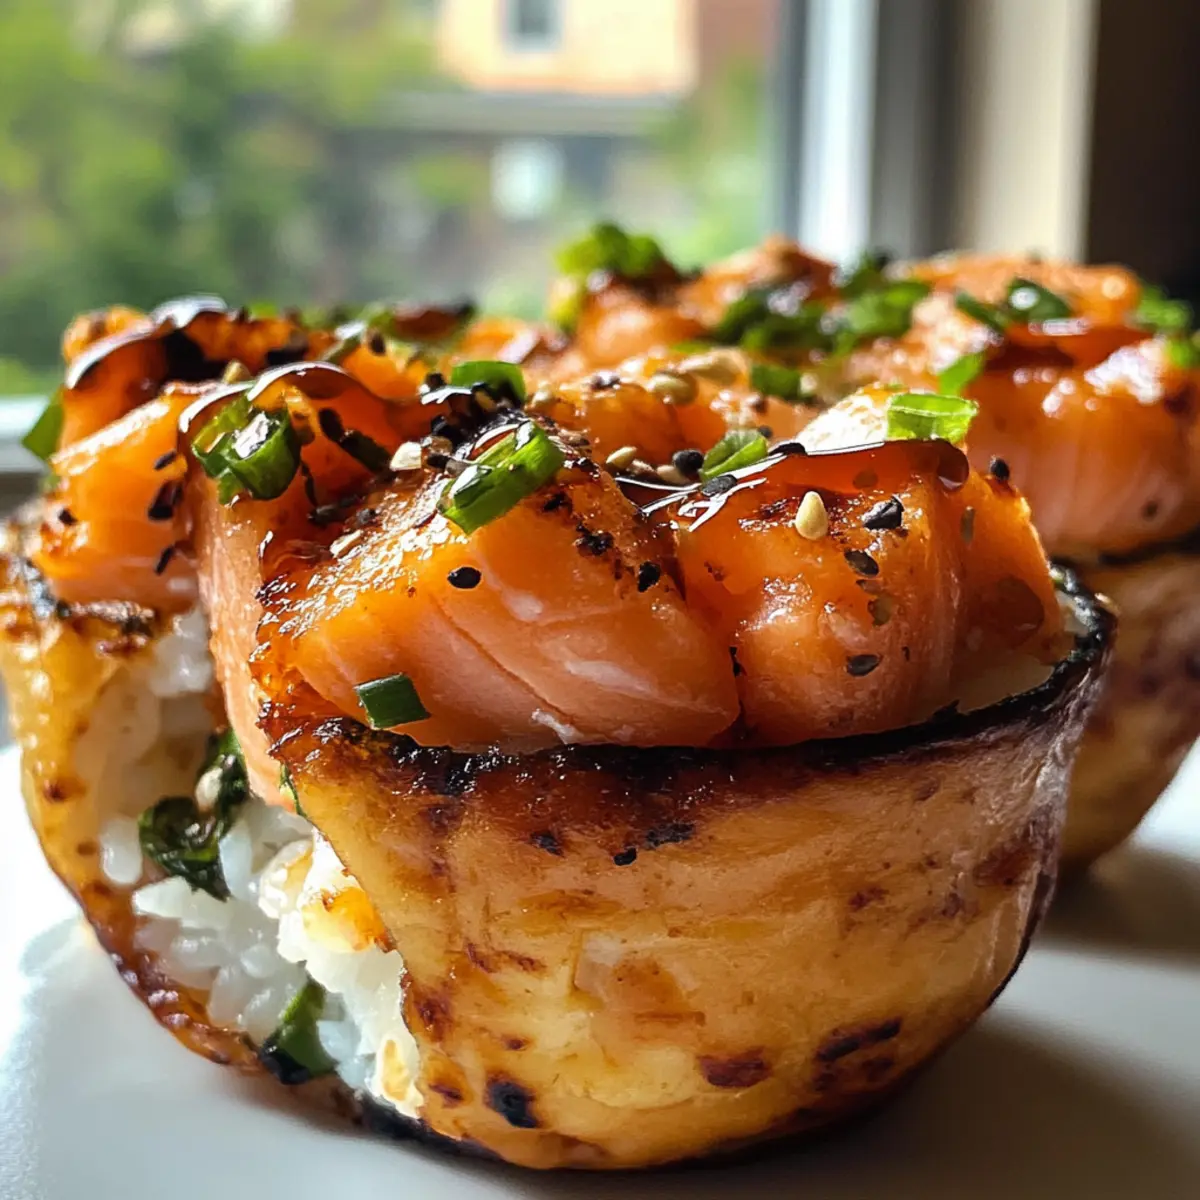
Place a nori square into each greased muffin cup, gently pressing it down to form a base. Next, spoon a generous amount of sushi rice into each nori-lined cup, pressing it down to create a compact layer. Top the rice with the prepared salmon mixture, ensuring an even distribution across all cups.
Step 6: Bake
Carefully place the muffin tin in the preheated oven and bake for about 15 minutes. You’ll know the sushi cups are done when the tops are golden-brown and the salmon is cooked through. Keep an eye on them, as time can vary depending on your oven.
Step 7: Garnish
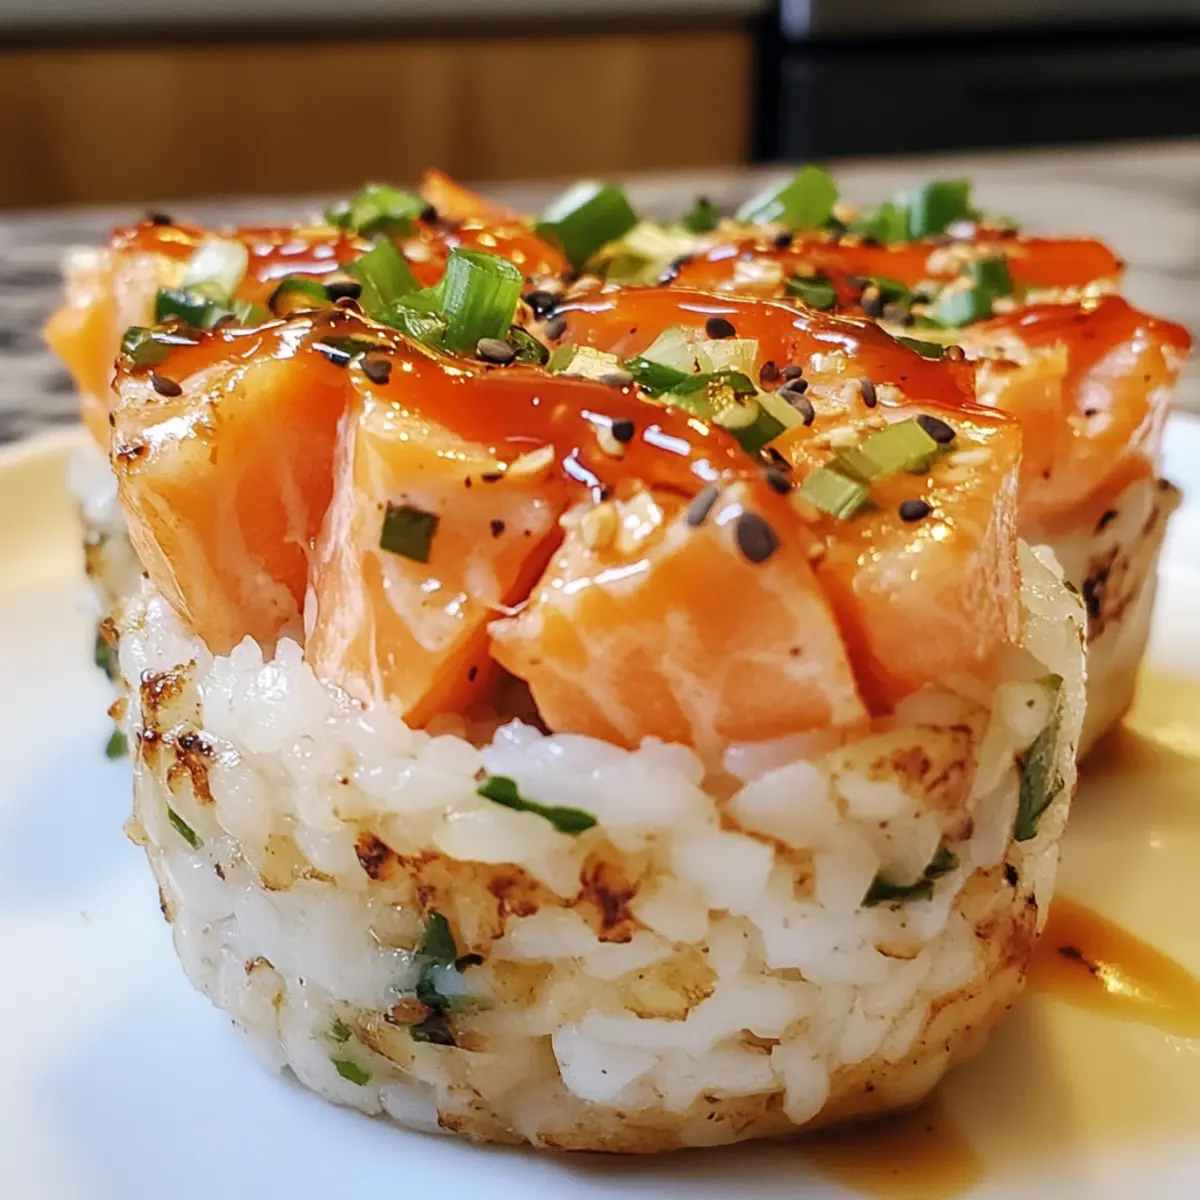
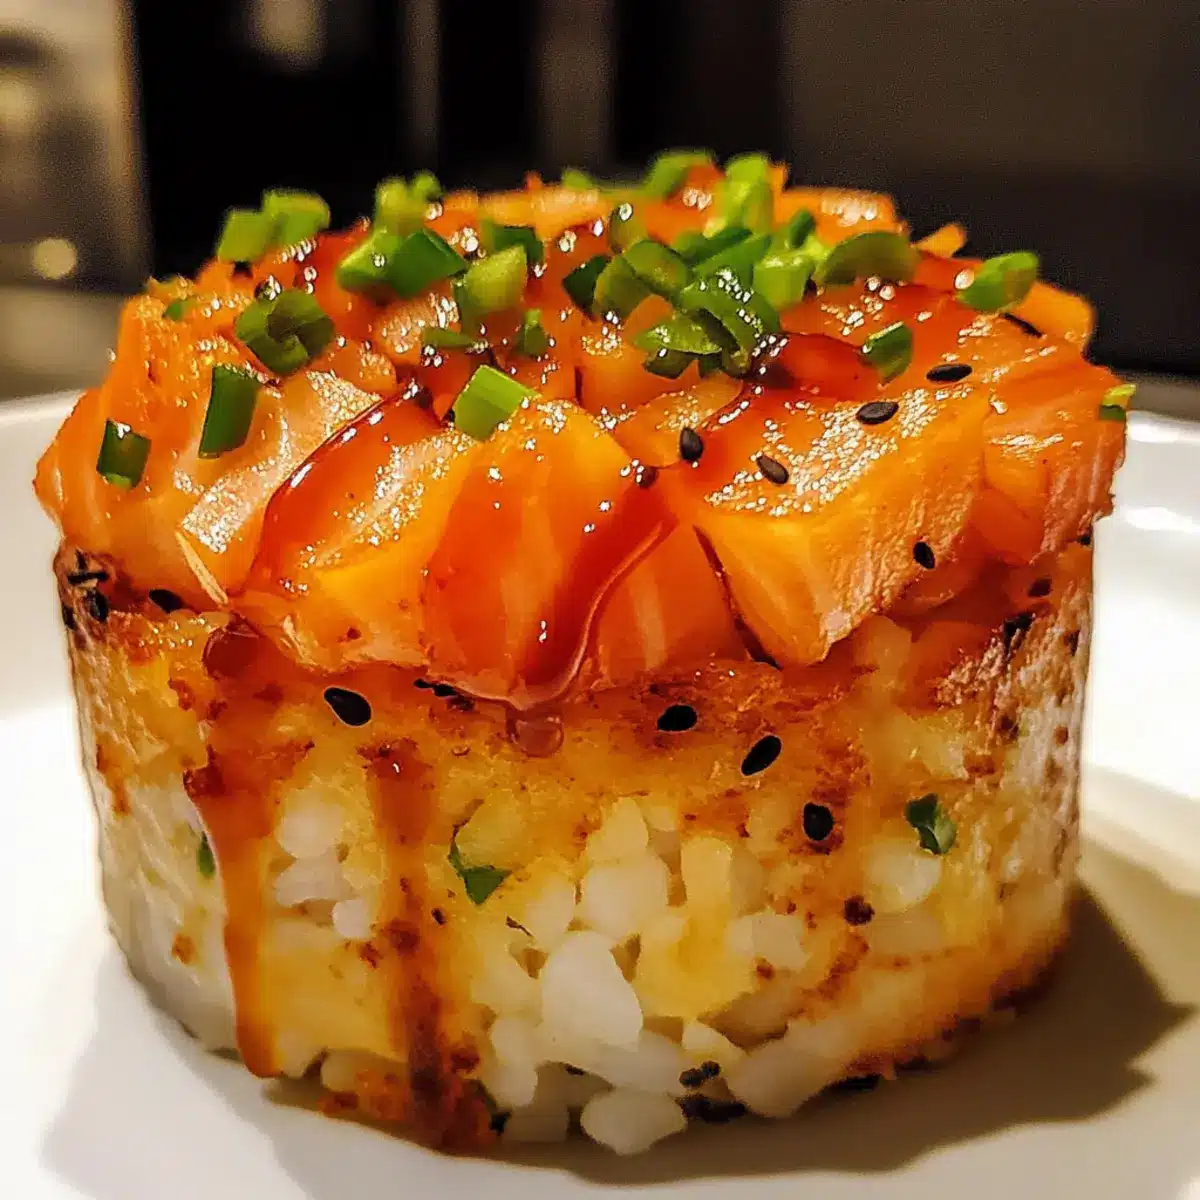
Once out of the oven, let the sushi bake cups cool for a minute before carefully removing them from the tin. Drizzle with additional sriracha or spicy mayo for that extra kick, then sprinkle with furikake and garnish with sliced green onions. Serve these delicious Easy Baked Salmon Sushi Cups warm for the best experience!
Expert Tips for Sushi Bake Cups
- Fresh Salmon: Use only fresh salmon to ensure maximum flavor and texture; frozen salmon can result in a less enjoyable bite.
- Avoid Overfilling: Don’t overstuff your muffin tins; this can lead to messy cups that don’t hold together well once baked.
- Right Rice Texture: Make sure to cook the sushi rice to the right consistency; mushy rice won’t hold your sushi bake cups effectively.
- Keep Nori Firm: Ensure nori squares fit snugly in the tins; overly loose nori can lead to uneven cooking and flavors.
- Serve Warm: For the best taste experience, serve the Sushi Bake Cups warm straight from the oven, where they showcase their tender fillings!
Make Ahead Options
These Easy Baked Salmon Sushi Cups are fantastic for meal prep, saving you precious time during busy weeknights! You can prepare the sushi rice and salmon mixture up to 24 hours in advance; just be sure to store them separately in airtight containers in the refrigerator to maintain freshness. When you’re ready to serve, simply assemble the sushi cups as directed, placing the prepped mixture into the nori-lined muffin tins, then bake for 15 minutes at 400°F (200°C) until golden. This way, you’ll enjoy delicious, restaurant-quality sushi cups with minimal effort—just as fantastic as if you made them from scratch on the day!
Sushi Bake Cups: Flavorful Variations Await
Feel free to customize these delightful sushi bake cups to suit your cravings and dietary preferences!
- Dairy-Free: Substitute Kewpie mayo with a dairy-free mayo for a creamy texture without the dairy.
- Gluten-Free: Use tamari instead of light soy sauce and ensure your nori sheets are gluten-free certified.
- Spicy Kick: Add diced jalapeños to the salmon mixture for an extra layer of heat that will excite your taste buds.
- Veggie Boost: Mix in finely diced vegetables like bell peppers or grated carrot with the salmon to enhance flavor and nutrition.
- Alternative Seafood: Swap salmon for shrimp or crab meat for a completely different profile while keeping that beloved seafood essence.
- Herb Infusion: Stir in some chopped cilantro or basil to the salmon mixture for a fresh, aromatic twist.
- Sushi Bowl Variation: For a deconstructed twist, layer the salmon mixture, sushi rice, and toppings in a bowl for a sublime sushi-inspired experience.
- Tropical Touch: Try adding small chunks of mango or pineapple for a sweet and tangy contrast to the savory salmon flavors.
And if you’re looking for more creative dishes, consider whipping up some Crockpot Loaded Bake or treat yourself to the delicious Cheesecake Cookie Cups for dessert!
What to Serve with Easy Baked Salmon Sushi Cups
Elevate your meal with vibrant sides and delightful additions that complement the warm, savory flavors of these sushi cups.
- Cucumber Salad: A refreshing crunch balances the rich salmon, adding a light and crisp contrast to the dish.
- Pickled Ginger: This traditional accompaniment cleanses the palate, enhancing the sushi experience with its tangy zest.
- Spicy Edamame: Tossed in chili flakes, these provide a flavorful, protein-packed side that adds a warm kick to your meal.
- Miso Soup: A comforting bowl of miso soup brings a soothing warmth and umami depth, perfect for pairing with sushi flavors.
- Garlic Soy Broccoli: Sautéed in garlic and soy sauce, this side offers a nutrient-rich, savory complement filled with delightful textures.
- Fried Rice: Packed with vegetables and soy sauce, fried rice introduces a hearty element that completes your dinnertime spread.
- Sweet Potato Fries: Crispy and slightly sweet, these offer a delightful contrast that pairs beautifully with the savory richness of the sushi cups.
- Chilled Sake: A glass of chilled sake not only complements the flavors but also elevates the dining experience, making it feel special.
- Mochi Ice Cream: End your meal with a fun and sweet mochi ice cream, providing a delightful bite-sized dessert that contrasts the savory main.
Storage Tips for Sushi Bake Cups
- Fridge: Store any leftover Sushi Bake Cups in an airtight container for up to 3 days. This keeps them fresh and ready for a quick snack or meal.
- Freezer: For longer storage, these delightful cups freeze well. Wrap them individually in plastic wrap, then place in a freezer-safe bag for up to 2 months.
- Reheating: To enjoy your frozen sushi cups, thaw them in the refrigerator overnight, then reheat in the oven at 350°F (175°C) for 10-15 minutes until warmed through.
- Serving: Serve reheated Cups with a drizzle of Kewpie mayo or sriracha for that added burst of flavor!
Easy Baked Salmon Sushi Cups Recipe FAQs
How do I select the best salmon for this recipe?
Absolutely! When choosing salmon, look for fresh fillets that are bright in color and have no dark spots all over. Fresh salmon should have a clean, ocean-like smell. If you’re opting for frozen, choose vacuum-packed for the best quality.
What’s the best way to store leftover Sushi Bake Cups?
Very! To keep leftovers fresh, store your Sushi Bake Cups in an airtight container in the refrigerator for up to 3 days. You can easily reheat them in the oven or microwave until warmed through for a quick snack!
Can I freeze Sushi Bake Cups? If so, how?
Definitely! To freeze your Sushi Bake Cups, allow them to cool completely, then wrap each cup individually in plastic wrap. Place them in a freezer-safe bag or container, and they can be stored for up to 2 months. When you’re ready to enjoy, thaw them overnight in the fridge, then reheat in the oven at 350°F (175°C) for 10-15 minutes or until heated through.
What can I do if my sushi rice is too sticky?
If your sushi rice turns out too sticky, try cooking it with slightly less water next time. If you find yourself in a sticky situation, adding a touch of rice vinegar can help balance out the texture. It’s essential to cool it down sufficiently before assembling your cups, which helps with maintaining the right consistency.
Are these Sushi Bake Cups safe for my dog or pets?
Great question! While salmon can be a healthy treat for dogs in moderation, be cautious with added ingredients like soy sauce and sriracha, which are not ideal for pets. It’s best to set aside some unseasoned cooked salmon for your furry friend if you want to share!
Sushi Bake Cups: Irresistibly Easy and Flavor-Packed Treats
Ingredients
Equipment
Method
- Cook sushi rice according to package instructions, typically 18-20 minutes until tender.
- Combine rice vinegar with sugar in a bowl and heat until sugar dissolves, about 30 seconds.
- Mix the vinegar mixture into the cooked rice and set aside to cool slightly.
- In another bowl, mix cubed salmon with soy sauce, Kewpie mayo, sriracha, and sesame oil.
- Preheat the oven to 400°F (200°C) and grease a muffin tin with cooking spray.
- Cut nori sheets into squares that fit into each muffin cup.
- Press a nori square into each cup, then add sushi rice, pressing down to create a compact layer.
- Top the rice with the prepared salmon mixture, ensuring even distribution.
- Bake in the preheated oven for about 15 minutes until golden brown.
- Let cool for a minute, then drizzle with sriracha and garnish with furikake and green onions.
Leave a Reply