
The aroma of freshly baked apples fills the air, whisking me back to cozy autumn days spent in the kitchen. Today, I’m thrilled to share my favorite dessert transformation: the Apple Crisp Cheesecake. This delightful treat strikes a perfect balance between the creamy richness of cheesecake and the comforting texture of a warm apple crisp, making it a guaranteed crowd-favorite for any gathering. Not only is it simple to prepare, but it also allows for endless variations, letting you experiment with different apple types or spices. Whether you’re serving it with a decadent caramel drizzle or alongside a scoop of vanilla ice cream, get ready to be the star of your next dessert table! Are you curious about how to create this luscious dessert? Let’s dive into the recipe!
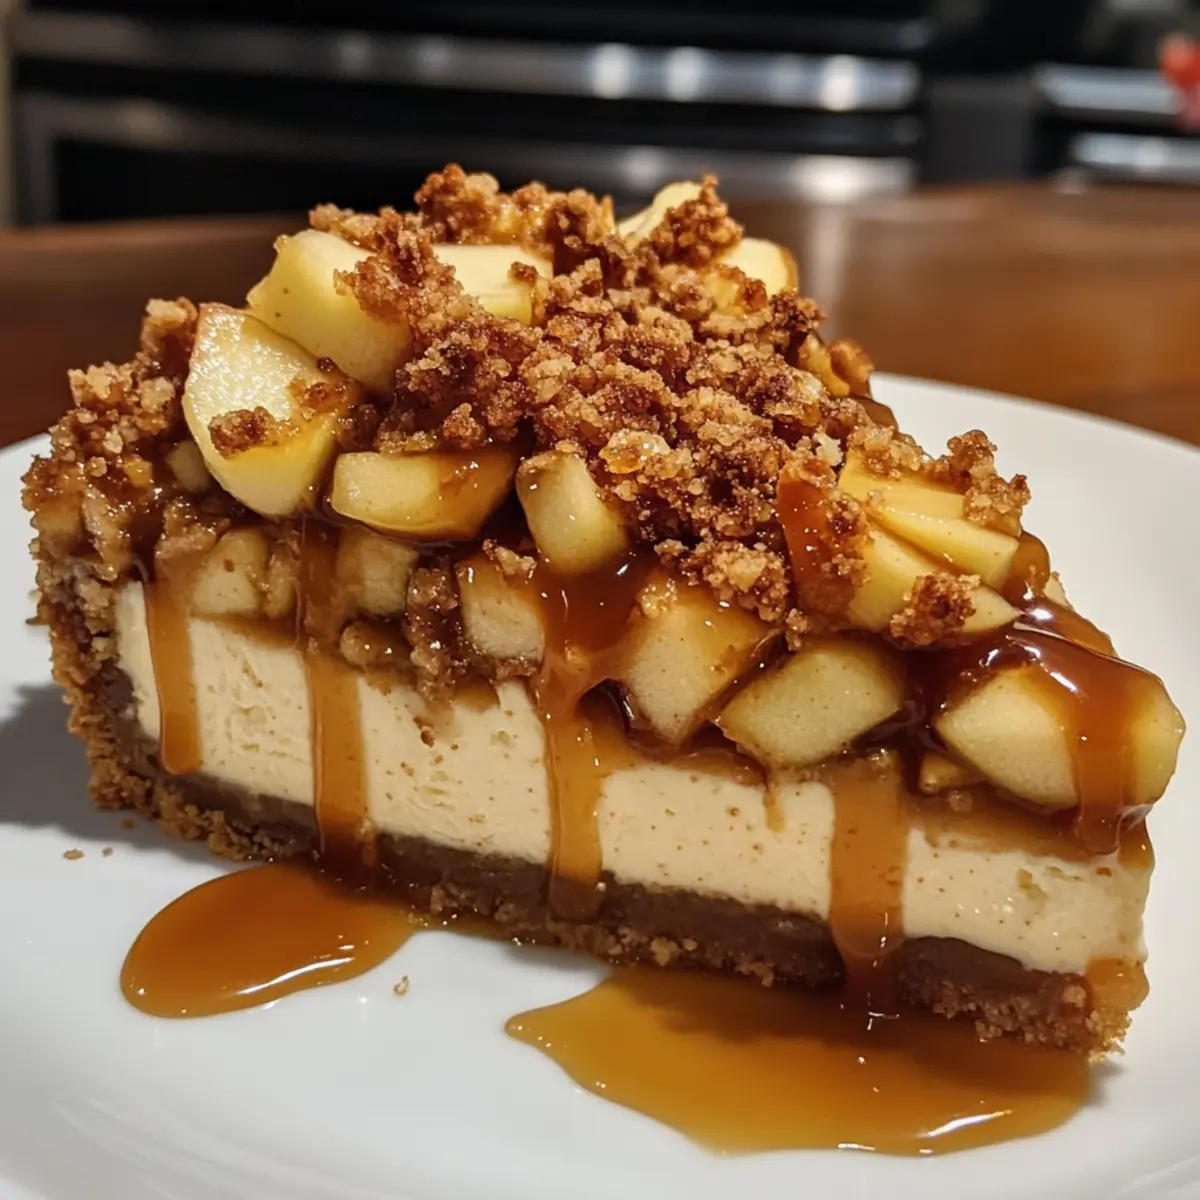
Why is This Cheesecake So Irresistible?
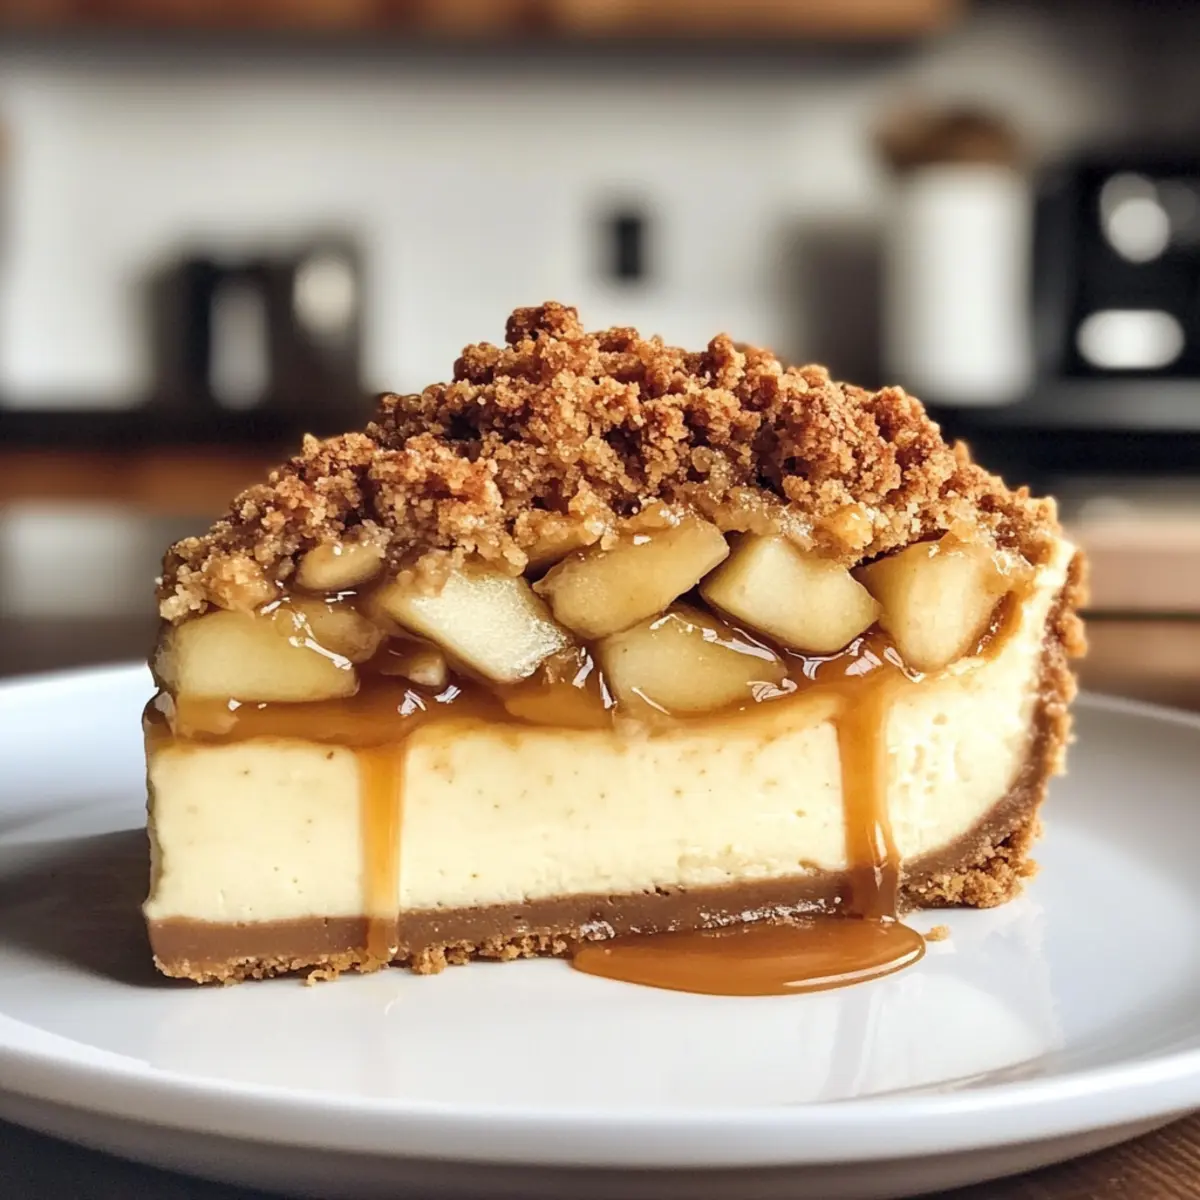
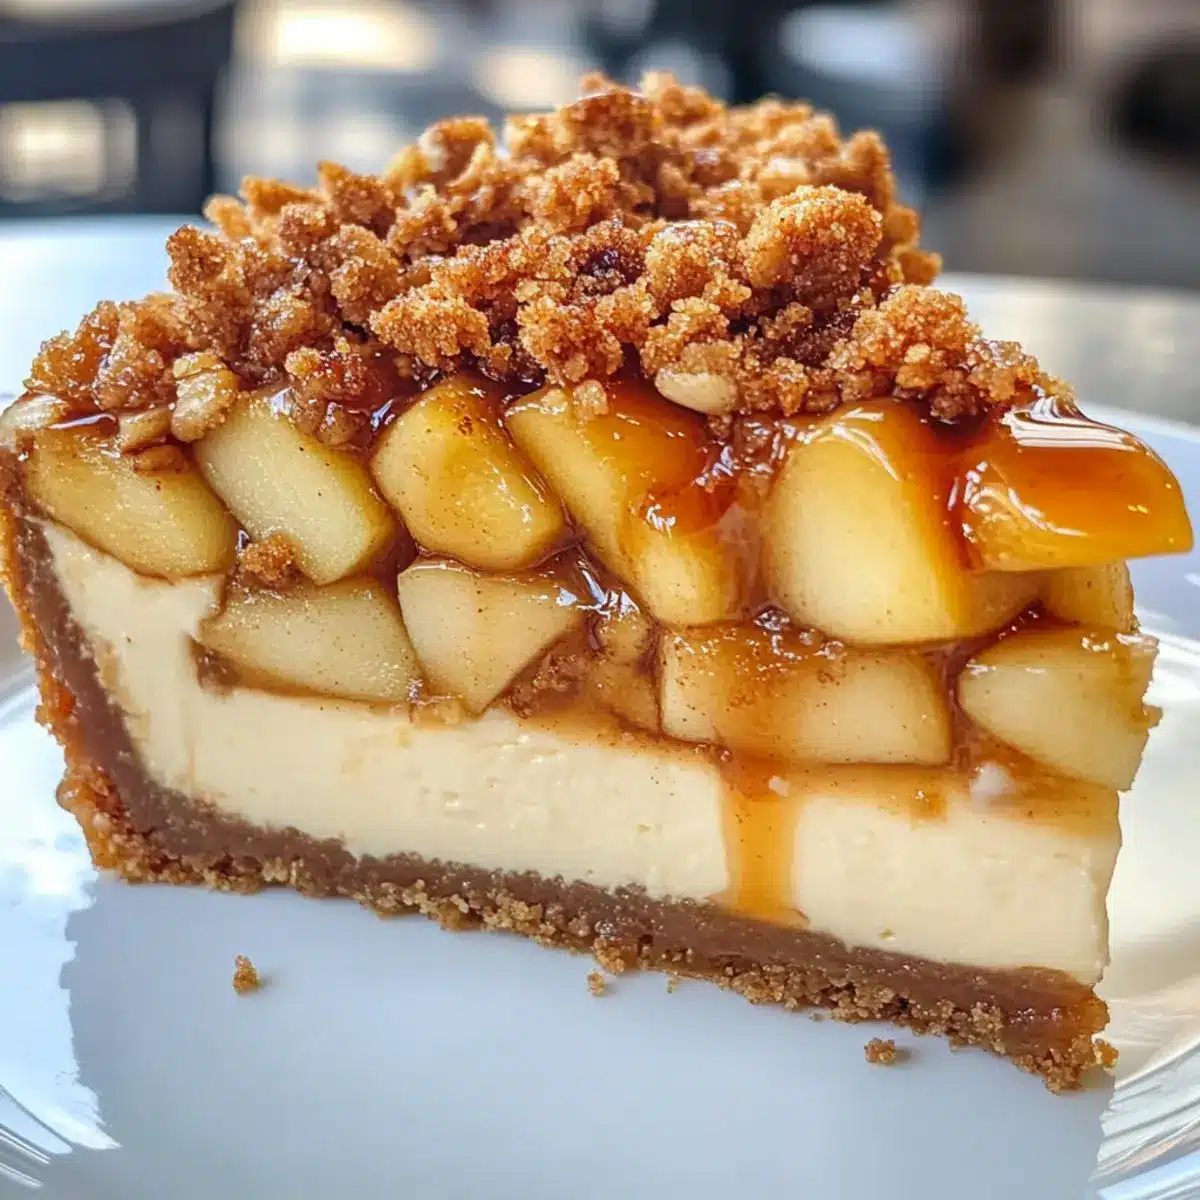
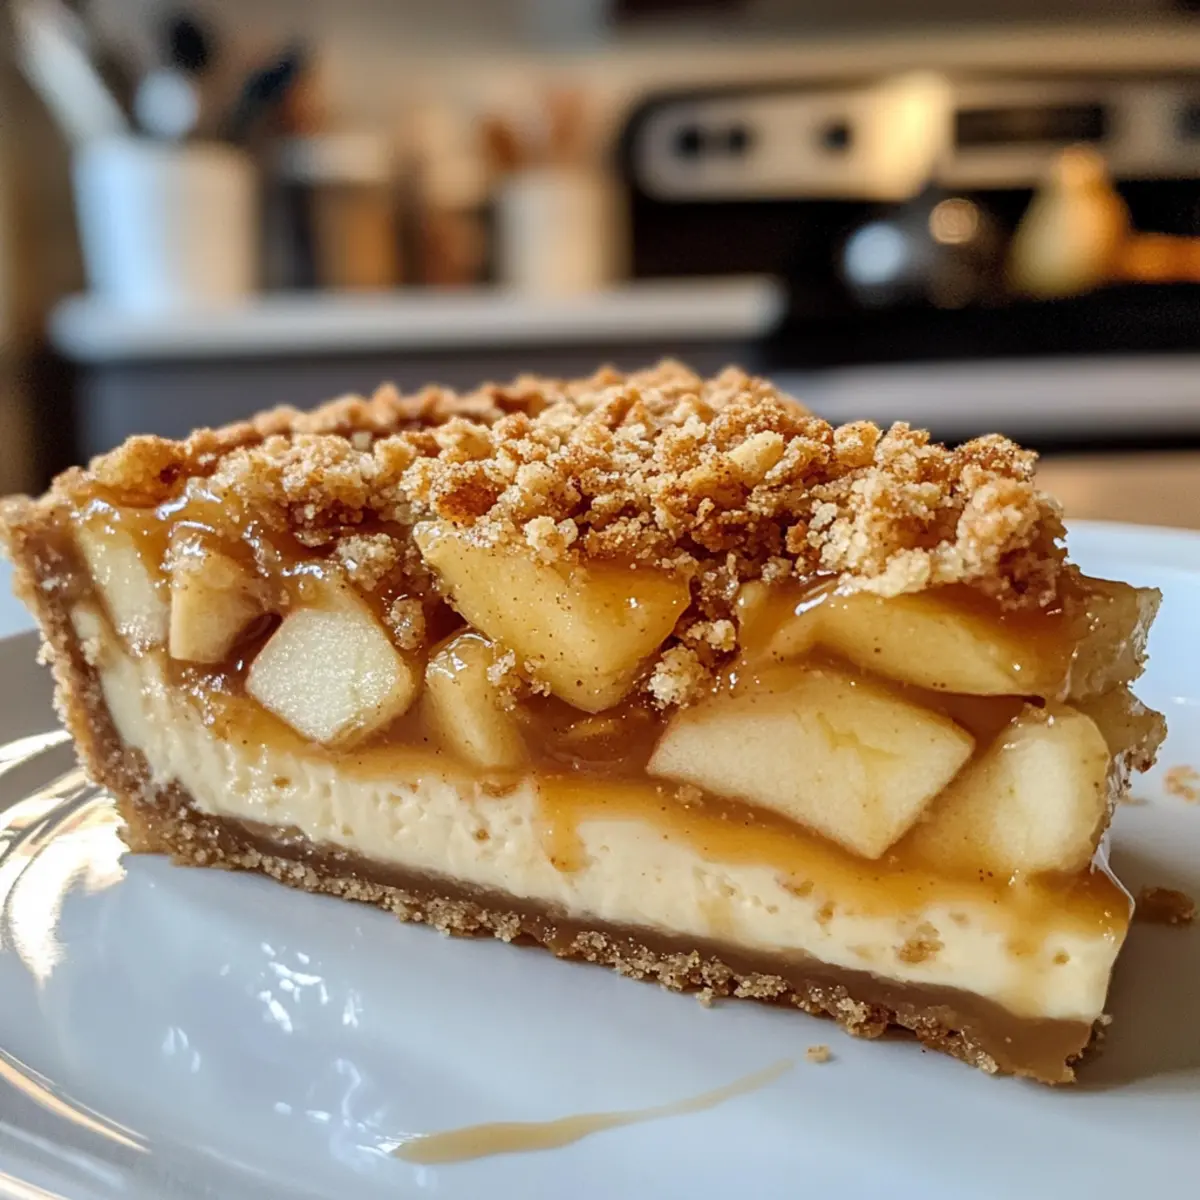
Decadent Layering: The creamy cheesecake base perfectly complements the fresh apples, creating a delicious juxtaposition.
Crowd-Pleasing Flavor: With the classic taste of apple crisp combined with creamy cheesecake, it’s a fantastic dessert for any gathering.
Simple Preparation: This recipe is straightforward, making it ideal for both beginners and seasoned bakers.
Versatile Ingredients: Feel free to customize the flavors by trying different apple varieties or adding nuts to the crumble for extra crunch!
Make-Ahead Magic: Prepare this Apple Crisp Cheesecake up to two days in advance for stress-free entertaining. Enjoy every slice as a delightful representation of autumn flavors—perfect with a drizzle of caramel from Fried Strawberry Cheesecake or alongside a dollop of whipped cream!
Apple Crisp Cheesecake Ingredients
For the Crust
- Graham Cracker Crumbs – Provides the crust base; substitute with gluten-free graham crackers for a delicious alternative.
- Granulated Sugar – Sweetens both the crust and filling; feel free to adjust or use coconut sugar for a hint of caramel flavor.
- Melted Butter – Binds the crust together; if needed, use coconut oil for a dairy-free version.
For the Cheesecake Filling
- Cream Cheese – The star of this Apple Crisp Cheesecake; ensure it’s at room temperature to achieve a smooth texture.
- Plain Greek Yogurt – Adds creaminess with a slight tang; sour cream can work as a substitute in a pinch.
- Eggs – Provides structure and stability; using room temperature eggs will yield the best results.
For the Apple Topping
- Apples (peeled and sliced) – Bring that apple crisp flavor; using a mix of Granny Smith and Gala apples offers a delightful balance.
- Cinnamon – Adds warmth; freshly grated cinnamon gives the apples a more intense flavor.
- All-purpose Flour – Helps thicken the apple filling; cornstarch can be used for a gluten-free option if desired.
For the Crumble Topping
- Rolled Oats – Add texture to the crunchy topping; almond flour makes for a wonderful grain-free substitute.
- Brown Sugar – Enhances flavor in the crumble; swap with coconut sugar for a healthier twist.
Optional Topping
- Salted Caramel Sauce – Drizzle before serving for an indulgent finish; chocolate sauce can offer a delightful flavor contrast as well.
Step‑by‑Step Instructions for Apple Crisp Cheesecake
Step 1: Preheat the Oven
Preheat your oven to 325°F (163°C) to ensure it’s hot enough for the crust. While the oven warms up, prepare your springform pan by greasing it lightly; this will help with easy removal later. You’ll want the oven ready for the graham cracker crust shortly, so keep an eye on the temperature.
Step 2: Make the Crust
In a medium bowl, combine the graham cracker crumbs, sugar, and melted butter. Mix until all crumbs are evenly coated and resemble damp sand. Press this mixture firmly into the bottom and slightly up the sides of your prepared springform pan. Once even, bake the crust for 10-12 minutes until it’s dry and set; let it cool while you prepare the filling.
Step 3: Lower the Oven Temperature
After removing the crust from the oven, lower the temperature to 275°F (135°C) to create the perfect environment for your cheesecake. This lower heat will help prevent cracks in the Apple Crisp Cheesecake as it bakes. Give the oven a few moments to adjust before moving on to the next step.
Step 4: Prepare the Cake Filling
In a large mixing bowl, beat the softened cream cheese with a hand mixer or stand mixer until smooth and creamy, about 2-3 minutes. Make sure you scrape the sides to fully incorporate all ingredients. Add in the Greek yogurt, sugar, vanilla, and room temperature eggs, mixing gently just until combined; be careful not to overmix to avoid cracks.
Step 5: Assemble the Cheesecake
Pour the smooth cheesecake filling into your cooled graham cracker crust, spreading it evenly with a spatula for a nice, flat top. This is the foundation for your Apple Crisp Cheesecake, so take your time here to ensure it looks perfect.
Step 6: Add the Apples
In a separate bowl, toss the sliced apples with a bit of sugar and cinnamon until they’re coated evenly. Layer the sweetened apples carefully over the cheesecake filling, ensuring an even distribution. This step adds the wonderful apple flavor that pairs delightfully with the creamy base.
Step 7: Create the Crumble Topping
In another bowl, combine rolled oats, flour, brown sugar, and a pinch of cinnamon. Drizzle in melted butter and use your fingers or a fork to mix until the crumbs hold together. Sprinkle this crumble topping generously over the apples, creating a delightful crunch on top of your Apple Crisp Cheesecake.
Step 8: Bake the Cheesecake
Place the assembled cheesecake in the oven and bake for 1.5 to 2 hours. The cheesecake is done when the center registers about 150°F (65°C) on an instant-read thermometer. It should be set around the edges but still slightly jiggly in the center as it continues to firm up while cooling.
Step 9: Cool in the Oven
Once baked, turn off the oven and gently prop the door open with a wooden spoon. Allow the Apple Crisp Cheesecake to cool in the oven for about 1 hour. This gradual cooling process helps prevent cracks and ensures a smooth texture.
Step 10: Chill the Cheesecake
Carefully remove the cheesecake from the oven and let it cool at room temperature. Once it’s no longer warm, transfer it to the refrigerator to chill overnight. This allows the flavors to meld beautifully and results in a creamy texture that’s perfect for slicing.
Step 11: Serve with Caramel
When ready to serve, remove the cheesecake from the refrigerator and drizzle with warm caramel sauce if desired. Use a sharp knife to slice through the layers, making sure to cut all the way through the crust. Your Apple Crisp Cheesecake is now ready to be a delicious centerpiece at your gathering!
What to Serve with Apple Crisp Cheesecake
Indulging in a slice of this luscious dessert calls for perfect pairings that elevate the dining experience.
-
Whipped Cream: A dollop of freshly whipped cream balances the rich cheesecake and adds an airy lightness. It’s like a cloud of sweetness atop a cozy fall classic!
-
Vanilla Ice Cream: Creamy vanilla ice cream melts beautifully on warm cheesecake, creating an irresistible contrast between temperatures and textures.
-
Caramel Sauce: Drizzled atop the cheesecake, a rich caramel sauce enhances the sweetness of the apples, adding a delectable twist.
-
Hot Spiced Cider: A warm cup of spiced cider brings comforting autumn flavors to the table, perfectly complementing the apple and cinnamon in the dessert.
-
Coffee: A bold cup of coffee can cut through the creaminess of the cheesecake, making it a delightful companion for any time of day.
-
Nutty Toppings: Add toasted pecans or walnuts on top for an extra crunch and a hint of nuttiness that pairs wonderfully with the apple flavors.
-
Pumpkin Spice Latte: For a cozy, seasonal twist, serve alongside a pumpkin spice latte; the complementary flavors make for a perfect fall treat.
-
Chocolate Sauce: Looking for a twist? A drizzle of rich chocolate sauce can offer a decadent contrast, adding a new dimension to the classic apple flavor.
Expert Tips for Apple Crisp Cheesecake
-
Room Temperature Ingredients: Ensure your cream cheese and eggs are at room temperature; this prevents lumps and helps achieve a smoother filling.
-
Avoid Overmixing: Mix the filling until just combined to avoid cracks in the cheesecake; overmixing can incorporate too much air.
-
Watch Your Bake Time: Use an instant-read thermometer for accuracy; the cheesecake should be set around the edges while still jiggly in the center.
-
Cool Gradually: Let the cheesecake cool in the oven with the door ajar; this gradual cooling minimizes cracking for a perfect Apple Crisp Cheesecake.
-
Flavor Variations: Don’t hesitate to experiment with different apple varieties and spices; mixing flavors can create a unique twist on this classic recipe!
Variations & Substitutions for Apple Crisp Cheesecake
Invite your creativity to shine while making this delightful dessert! Feel free to switch things up and cater to your taste buds.
-
Different Apples: Use other varieties like Honeycrisp or Jonagold for distinct flavor profiles, and watch how each adds a unique twist to the cheesecake experience.
-
Nutty Crunch: Incorporate walnuts or pecans into the crumble for a delightful crunch, adding both nutrition and texture that enhances the overall flavor of this dish.
-
Spice it Up: Experiment with nutmeg or ginger in addition to cinnamon for a warm, spiced profile. The different spices can elevate the cheesecake to delightful new heights.
-
Gluten-Free Crust: Replace graham cracker crumbs with gluten-free alternatives like almond flour or gluten-free oats, making it friendly for those who avoid gluten but still craving deliciousness.
-
Reduced Sugar: Opt for natural sweeteners like maple syrup or honey in the filling and crumble for a healthier version, allowing the apples’ natural sweetness to shine through.
-
Choco-Crunch: Instead of the traditional crumble, try using crushed chocolate cookies mixed with oats for an indulgent, rich twist, pairing decadently with the creamy cheesecake.
-
Ice Cream Surprise: Layer in a scoop of your favorite vanilla or caramel ice cream between the cheesecake and topping for a surprise cold element in each slice—pure joy with every bite!
These variations not only enhance flavor but also add a personal touch that makes this dessert special. Don’t forget, you can also pair your Apple Crisp Cheesecake with a warm drizzle of caramel from the Salted Caramel Apple Crumble Bars for an extra layer of deliciousness!
How to Store and Freeze Apple Crisp Cheesecake
Fridge: Store the Apple Crisp Cheesecake covered in the refrigerator for up to 5 days. This keeps it fresh and ready for indulgent slices whenever the craving strikes.
Freezer: If you want to prepare it ahead, freeze the cheesecake for up to 3 months. Wrap it tightly in plastic wrap and then in aluminum foil to prevent freezer burn.
Thawing: To enjoy frozen cheesecake, transfer it to the fridge and let it thaw overnight. For quicker thawing, leave it at room temperature for about 2 hours before serving.
Serving After Storage: Reheat individual slices in the microwave for about 10-15 seconds to enhance the creamy texture, or enjoy it cold directly from the fridge!
Make Ahead Options
These Apple Crisp Cheesecakes are perfect for busy home cooks looking to save time and still impress! You can prepare the cheesecake filling and crust up to 24 hours in advance; simply cover them tightly and refrigerate to maintain freshness. The apple topping can also be prepped ahead—just toss the apples in sugar and cinnamon and store them in an airtight container for up to 3 days. When you’re ready to serve, layer the apples over the cheesecake filling, sprinkle the crumble topping, and bake as directed. This ensures that your dessert tastes just as delightful, while freeing up your day for other preparations!
Apple Crisp Cheesecake Recipe FAQs
Which apples are best for this cheesecake?
Absolutely! For the best flavor and texture, I recommend using a mix of Granny Smith and Gala apples. The tartness of the Granny Smith balances perfectly with the sweetness of the Gala, creating a delightful apple topping.
How should I store leftover Apple Crisp Cheesecake?
Very! You can store your Apple Crisp Cheesecake covered in the refrigerator for up to 5 days. Just be sure to use an airtight container or wrap it well with plastic wrap to maintain its freshness and flavor.
Can I freeze this cheesecake?
Absolutely! Freezing is a great option if you want to enjoy your Apple Crisp Cheesecake later. Wrap it tightly in plastic wrap, then in aluminum foil to prevent freezer burn. It can be kept in the freezer for up to 3 months. When you’re ready to enjoy it, let it thaw in the fridge overnight for the best texture.
What if my cheesecake cracks while baking?
Oh no, that can happen! To avoid cracks, make sure to avoid overmixing the filling and bake at the right temperature. If you do get cracks, don’t worry—simply cover them with caramel sauce when serving! It adds a lovely touch and makes the cheesecake look even more appealing.
Is this cheesecake suitable for people with allergies?
When it comes to dietary considerations, you can definitely adapt this recipe! To make it gluten-free, simply use gluten-free graham crackers and cornstarch instead of all-purpose flour. If you’re concerned about dairy, substitute the butter with coconut oil and the cream cheese with a dairy-free alternative. Always check labels for potential allergens.
Can I make this cheesecake ahead of time?
Very much so! You can make the Apple Crisp Cheesecake up to two days in advance. Just store it covered in the fridge, and it will remain delicious and ready to impress your guests when the time comes to serve!
Irresistible Apple Crisp Cheesecake: A Fall Favorite Delight
Ingredients
Equipment
Method
- Preheat your oven to 325°F (163°C) and grease your springform pan lightly.
- In a medium bowl, combine graham cracker crumbs, sugar, and melted butter. Press into the bottom of the prepared pan. Bake crust for 10-12 minutes and let cool.
- Lower the oven temperature to 275°F (135°C).
- In a large mixing bowl, beat the softened cream cheese until smooth. Add Greek yogurt, sugar, vanilla, and room temperature eggs, mixing just until combined.
- Pour the cheesecake filling into the cooled crust, spreading evenly.
- Toss sliced apples with sugar and cinnamon, then layer over the cheesecake filling.
- Combine rolled oats, flour, brown sugar, and cinnamon. Drizzle in melted butter and mix until crumbly, then sprinkle over apples.
- Bake for 1.5 to 2 hours until center registers 150°F (65°C) and is slightly jiggly.
- Turn off the oven and cool the cheesecake inside for 1 hour with the door ajar.
- Cool the cheesecake at room temperature, then refrigerate overnight.
- Drizzle with warm caramel sauce before serving. Slice and enjoy!
Leave a Reply