
As I navigated the bustling kitchen one evening, I was struck by an idea—why not reinvent the classic appetizer with a healthier twist? Enter the Baked Blooming Onions, a delightful creation that turns sweet onions into stunning, crispy masterpieces. Perfect for gatherings or cozy nights in, these floral wonders are a breeze to prepare, saving you from the hassle of greasy frying. Imagine sharing a platter of these golden, crispy treats with family and friends, all while knowing they’re baked instead of fried. With gluten-free options available, this appetizer caters to all, making it a true crowd-pleaser. Are you ready to impress your loved ones and take your appetizer game to the next level? Let’s dive into this delectable recipe!
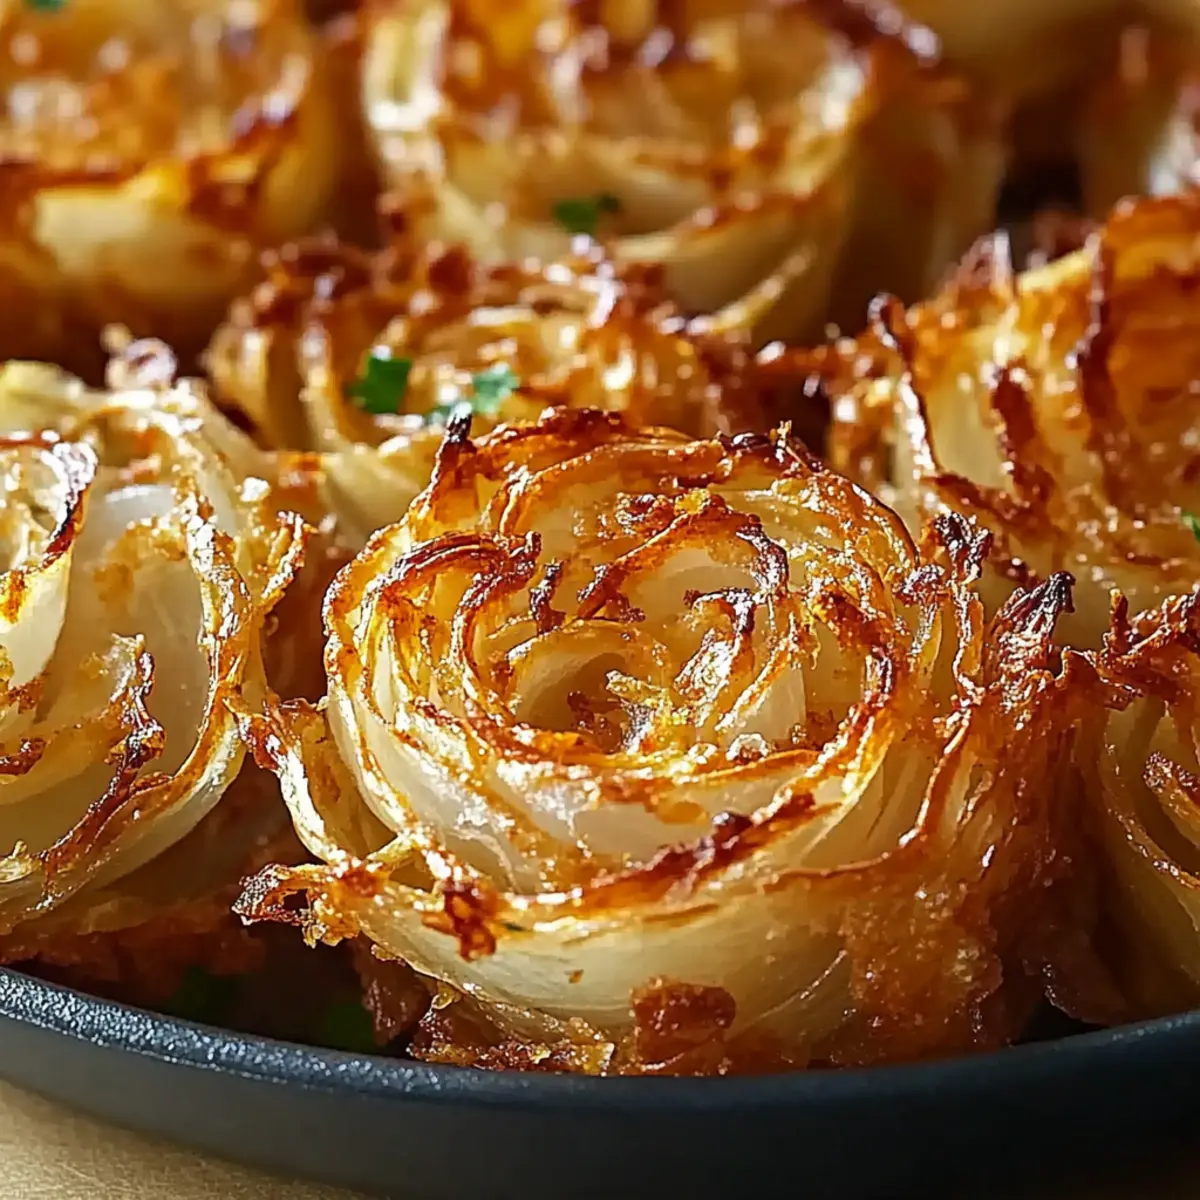
Why Are Baked Blooming Onions a Must-Try?
Irresistible Crunch: Each bite of these baked blooms brings a satisfying, crispy texture that’s just as delightful as their fried counterparts.
Healthier Alternative: With baking replacing frying, you can indulge guilt-free while enjoying a classic favorite.
Simple Preparation: This recipe is easy to follow, making it perfect for both novice cooks and seasoned chefs alike.
Customizable Flavors: Feel free to spice things up with a dash of cayenne pepper or try different types of cheese to suit your taste. For more ideas, check out our Baked Cream Cheese for a creamy side to pair with these.
Crowd-Pleaser: Whether for game day, a dinner party, or just a cozy movie night, these blooming onions will impress everyone at the table!
Baked Blooming Onions Ingredients
Here’s everything you need to create these delightful Baked Blooming Onions!
For the Onions
- Large Onions (2) – Sweet varieties like Vidalia or Walla Walla work best for a milder flavor.
For the Coating
- Olive Oil (1/4 cup) – This heart-healthy fat helps achieve that crispy texture you crave.
- All-purpose Flour (1 cup) – Provides a crunchy coating; gluten-free flour is a suitable substitute for gluten-free options.
- Paprika (1 tablespoon) – Adds a wonderful smoky flavor that enhances the sweetness of the onions.
- Garlic Powder (1 teaspoon) – Boosts the aroma and invites everyone to dig in!
- Onion Powder (1 teaspoon) – Intensifies the onion flavor for depth in every bite.
- Salt (1 teaspoon) – Essential for balancing flavors in your baked masterpiece.
- Black Pepper (1/2 teaspoon) – Gives a subtle kick that elevates the entire dish.
For Extra Crunch
- Bread Crumbs (1 cup) – Panko breadcrumbs provide an extra layer of crunch; feel free to swap for gluten-free alternatives.
- Parmesan Cheese (1/2 cup, grated, optional) – Adds a rich flavor; plant-based cheese can be used for a dairy-free twist.
Get ready to delight your taste buds with these crispy Baked Blooming Onions that are a healthier alternative to fried options!
Step‑by‑Step Instructions for Baked Blooming Onions
Step 1: Prep the Onions
Begin by peeling two large sweet onions, such as Vidalia or Walla Walla, and cutting off the tops to create a flat base. Carefully slice downward in a star shape, making about 12 cuts per onion without cutting all the way through to the bottom. This will help create the blooming effect when baked, revealing the beautiful layers.
Step 2: Mix the Coating
In a mixing bowl, combine 1 cup of all-purpose flour, 1 tablespoon of paprika, 1 teaspoon each of garlic powder and onion powder, 1 teaspoon of salt, and 1/2 teaspoon of black pepper. Whisk together until well blended, ensuring the spices are evenly distributed. This flavorful coating will enhance the taste of your Baked Blooming Onions, giving them that extra zing.
Step 3: Oil and Coat the Onions
Brush each prepared onion liberally with 1/4 cup of olive oil, making sure to get it into the crevices formed by your cuts. Once coated in oil, take the flour mixture and generously sprinkle it over each onion, ensuring it seeps into the cuts for thorough coverage. This will help create a crispy texture as the onions bake.
Step 4: Prepare for Baking
Preheat your oven to 400°F (200°C) and prepare a baking sheet lined with parchment paper to prevent sticking. Place the coated onions on the sheet, cut side up, spaced apart to ensure even airflow. This setup will allow your Baked Blooming Onions to cook evenly and achieve that gorgeous golden color.
Step 5: Add Crunch Topping
In a separate bowl, combine 1 cup of panko breadcrumbs with 1/2 cup of grated Parmesan cheese, if desired. Mix well and then sprinkle this crunchy topping over the coated onions, ensuring they are well covered. This step is crucial for achieving that irresistible crunch that everyone loves in Baked Blooming Onions.
Step 6: Bake to Perfection
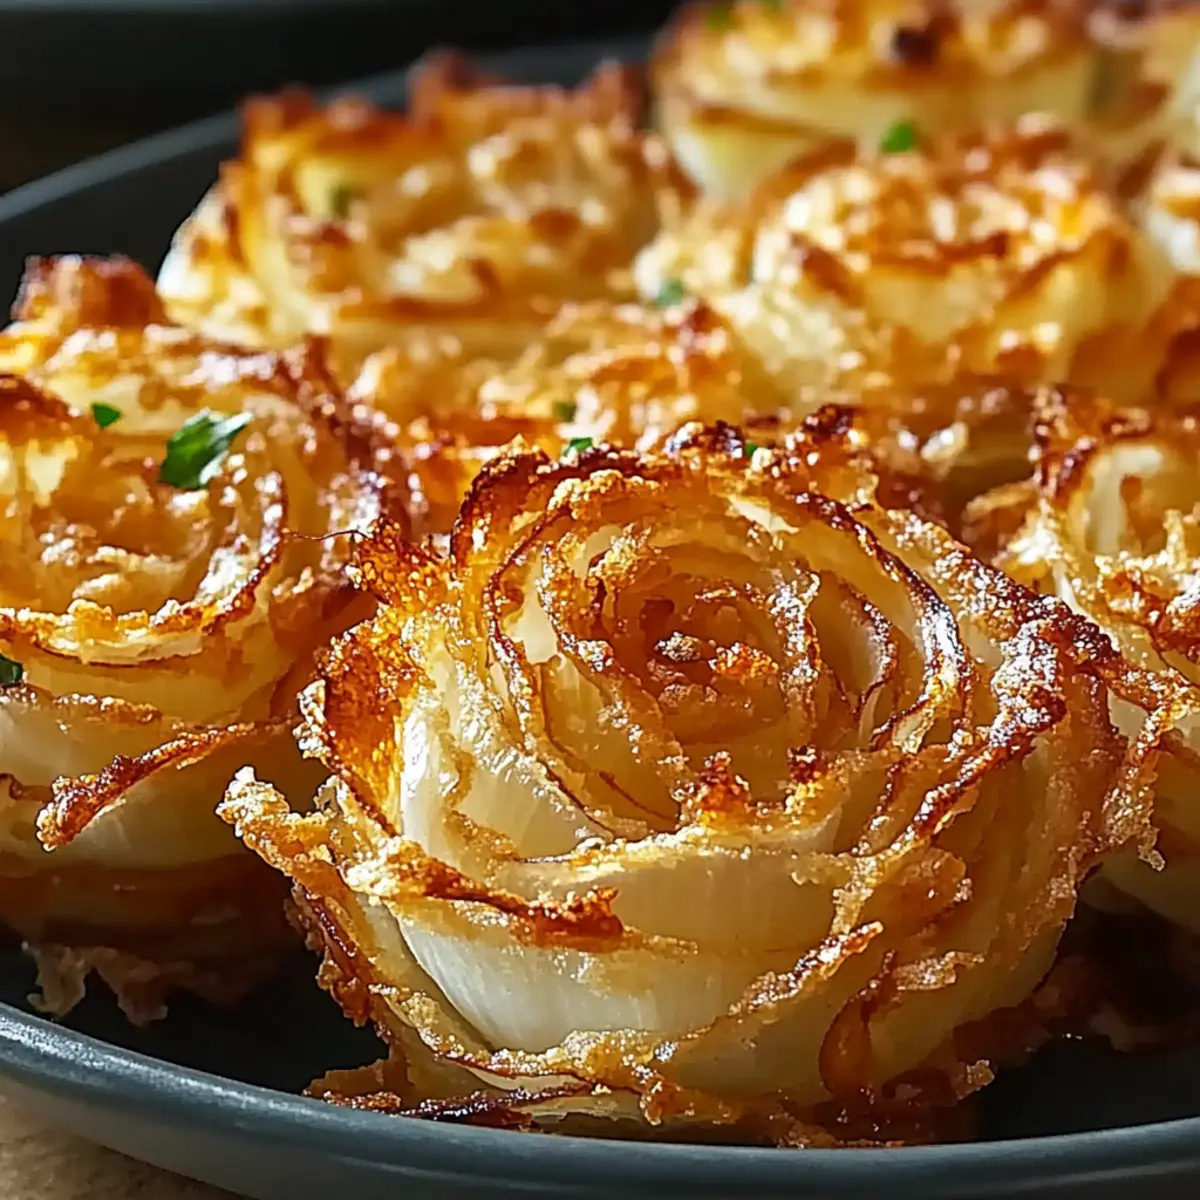
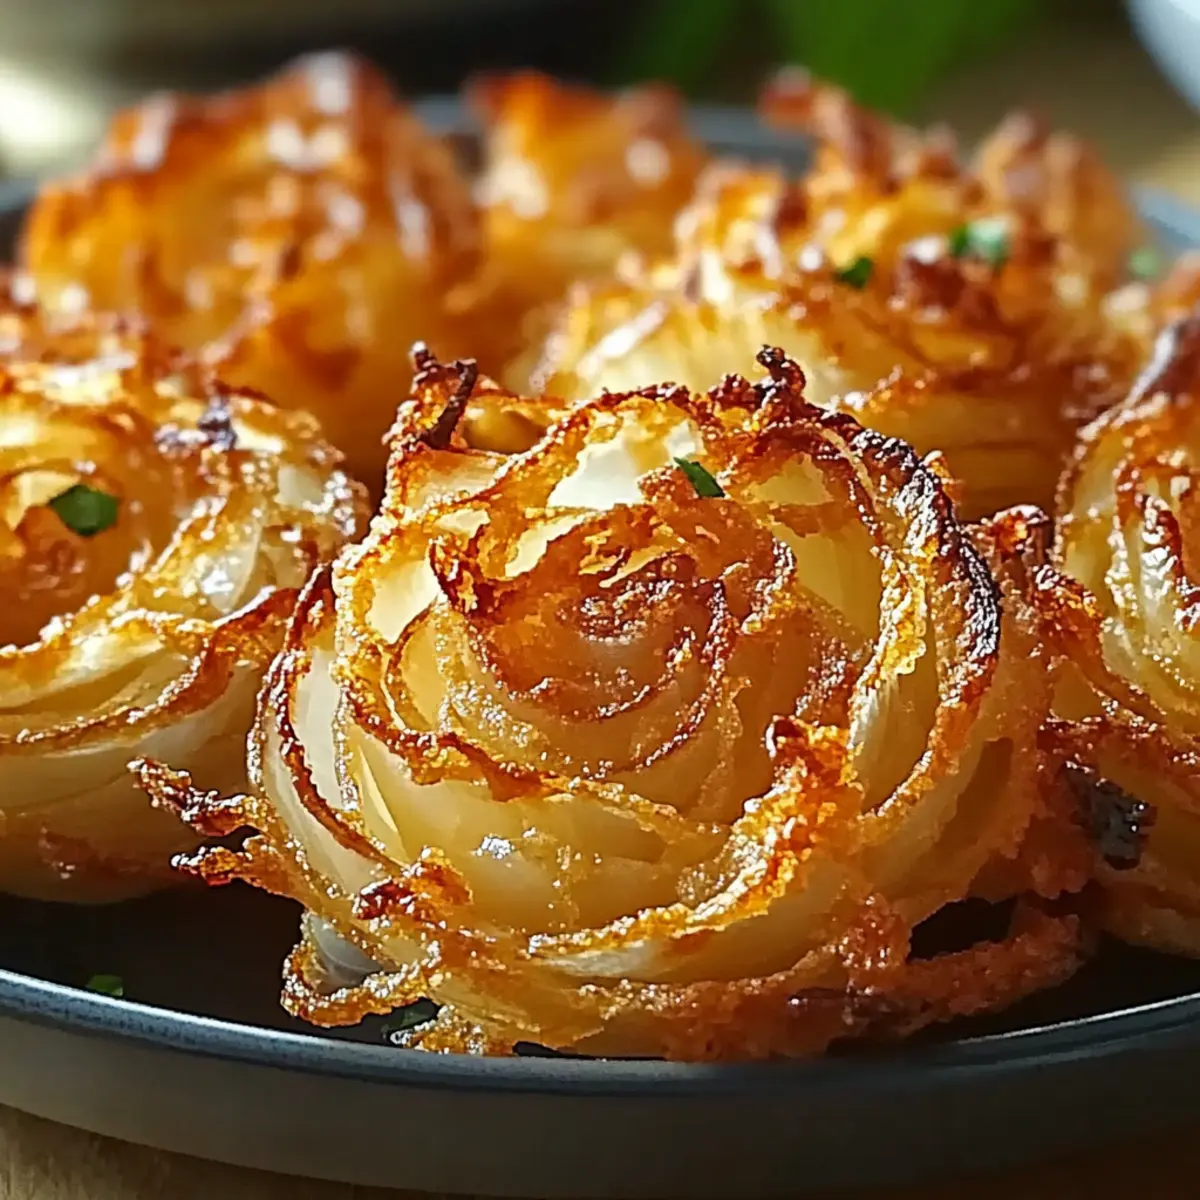
Carefully place the baking sheet in the preheated oven and bake for about 30 minutes. Keep an eye on the onions as they cook; they should turn beautifully golden brown and be tender on the inside. This visual cue will let you know your Baked Blooming Onions are ready to be served hot and enjoyed with your favorite dipping sauce.
Expert Tips for Baked Blooming Onions
-
Check for Doneness: Keep an eye on the onions, as they can brown quickly. Look for a golden exterior and tender inside to gauge if they’re perfectly baked.
-
Cutting Technique: Ensure you don’t slice through the bottom of the onions. This will help maintain their structure and allow for a beautiful bloom.
-
Bread Crumb Mix: For maximum crunch, mix your breadcrumbs with a bit of olive oil before sprinkling. This enhances the crispiness of your Baked Blooming Onions.
-
Flavor Twists: Don’t hesitate to experiment with spices in the coating—adding cayenne pepper or other seasonings can elevate the flavor profile to suit your taste buds.
-
Make-Ahead Tip: Prepare and coat the onions in advance, then refrigerate. Just bake them right before serving for a fresh, hot appetizer!
Baked Blooming Onions Variations & Substitutions
Feel free to explore these variations to make your baked onions even more delightful and tailored to your preferences!
-
Gluten-Free: Swap all-purpose flour and panko breadcrumbs for gluten-free alternatives to accommodate dietary needs.
-
Cheese-Free: Omit Parmesan cheese altogether or use nutritional yeast for a cheesy flavor without dairy.
-
Extra Heat: Add cayenne pepper or crushed red pepper flakes to the flour mixture for an unforgettable spicy kick.
-
Herb Infusion: Incorporate dried herbs like oregano or thyme into the coating for aromatic flavor boosts.
-
Mini Blooming Onions: Use smaller onions for bite-sized treats; just be mindful to adjust the baking time to avoid overcooking.
-
Flavor Fusion: Add a splash of hot sauce to the oil for an invigorating zing that will excite your taste buds.
-
Savory Garlic Twist: Mix minced fresh garlic into the breadcrumb topping for an extra flavor dimension.
If you enjoy these blooming creations, consider pairing them with our delightful Baked Cream Cheese for a luscious dip option that rounds out the experience. Dive into these variations, and let your creativity shine!
What to Serve with Baked Blooming Onions
Elevate your dining experience by pairing these crispy delights with complementary dishes that enhance their delicious flavor.
- Creamy Ranch Dip: This classic pairing provides a cool, tangy contrast that perfectly balances the savory crunch of the onions.
- Garlic Aioli: The rich, garlicky flavor of aioli offers a gourmet twist and enhances the appeal of each crispy bite.
Dive into a refreshing Mixed Green Salad with a light vinaigrette for a vibrant addition. The fresh greens provide a delightful crunch and brighten the meal, making it more satisfying.
- Sweet Chili Sauce: For a slightly spicy kick, this sauce adds a delightful sweetness that complements the natural flavors of the onions.
- Pasta Salad: A creamy pasta salad can serve as a comforting side, providing balance with its rich texture and subtle flavors.
- Crisp White Wine: Pair with a chilled Sauvignon Blanc for a refreshing drink option that enhances the sweetness of the baked blooms.
- Mini Chocolate Mousse: End your meal on a sweet note with a light chocolate mousse; its smoothness contrasts beautifully with the crispy appetizer.
- Homemade Coleslaw: A crunchy, tangy coleslaw adds a refreshing element that will make every bite of the blooming onion feel even more special.
How to Store and Freeze Baked Blooming Onions
-
Room Temperature: Store uneaten Baked Blooming Onions at room temperature for up to 2 hours. If they sit out longer, it’s best to refrigerate them to ensure food safety.
-
Fridge: Keep leftovers in an airtight container in the fridge for up to 3 days. Make sure they’re completely cooled before sealing to prevent moisture buildup.
-
Freezer: Wrap individual portions tightly in plastic wrap, then place them in a freezer bag. They can be frozen for up to 2 months for those late-night cravings!
-
Reheating: For crispy goodness, reheat baked onions in the oven at 350°F (175°C) for 10-15 minutes. Avoid the microwave, as it may make them soggy. Enjoy your Baked Blooming Onions anytime!
Make Ahead Options
Preparing Baked Blooming Onions ahead of time is a game-changer for busy home cooks! You can easily coat the onions up to 24 hours in advance. Simply follow the initial steps of peeling, slicing, and coating them with the oil and flour mixture. Once coated, wrap the onions tightly in plastic wrap and refrigerate to maintain their quality. When you’re ready to serve, just sprinkle the breadcrumb topping over the onions and pop them in the oven at 400°F (200°C) for about 30 minutes. This method not only saves you time but ensures that your Baked Blooming Onions are just as delicious and crispy as if they were made fresh!
Baked Blooming Onions Recipe FAQs
How do I select the right onions for this recipe?
Absolutely! For the best flavor and texture, choose large sweet onions like Vidalia or Walla Walla. These varieties are mild and sweet, creating a delightful contrast to the crispy coating. If you prefer a sharper taste, yellow onions can work as an alternative.
How should I store leftover Baked Blooming Onions?
I recommend storing leftovers in an airtight container in the fridge for up to 3 days. Make sure they are completely cooled before sealing to prevent moisture buildup. For added crunchiness, consume them quickly or reheat before serving.
Can I freeze Baked Blooming Onions?
Very! To freeze, wrap each cooled blooming onion tightly in plastic wrap and place them in a freezer-safe bag. They can be stored for up to 2 months. When you’re ready to enjoy, reheat by baking them directly from frozen at 350°F (175°C) for about 15-20 minutes.
What if my Baked Blooming Onions turn out soggy?
No worries! If your onions are soggy, it might be due to too much oil or moisture. Ensure you’re using the right amount of olive oil and allow them to cool completely before storage. To improve crispiness next time, consider brushing just the tops with oil or using more breadcrumbs.
Are Baked Blooming Onions safe for people with allergies?
Absolutely! However, make sure to consider dietary restrictions. While the recipe is naturally vegetarian and can be made gluten-free with specific flour and breadcrumbs, always check ingredient labels for allergens. If you’re serving others, it’s best to ask about any food sensitivities.
Can I prepare these onions ahead of time?
Definitely! You can prep and coat the onions up to a day in advance. Just cover them and refrigerate. When ready to serve, pop them in the oven, and you’ll have a steaming batch of crispy Baked Blooming Onions ready to delight your guests!
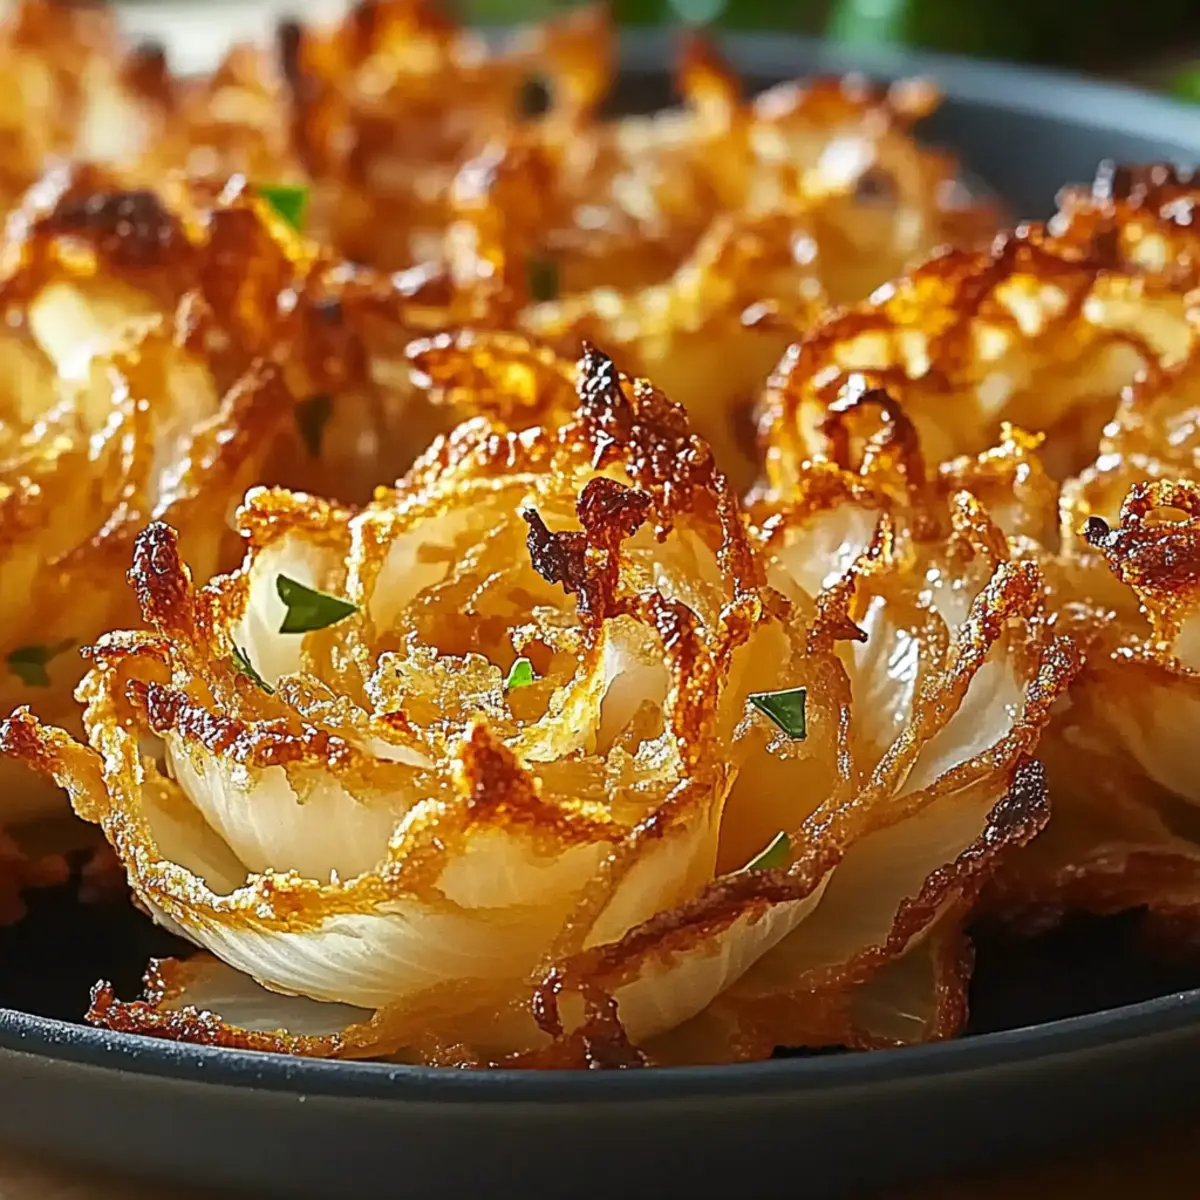
Baked Blooming Onions: Irresistibly Crispy & Healthier Snack
Ingredients
Equipment
Method
- Begin by peeling two large sweet onions, cutting off the tops, and slicing downward in a star shape, making about 12 cuts per onion without cutting through to the bottom.
- In a mixing bowl, combine 1 cup of all-purpose flour, 1 tablespoon of paprika, 1 teaspoon each of garlic powder and onion powder, 1 teaspoon of salt, and 1/2 teaspoon of black pepper. Whisk together until well blended.
- Brush each prepared onion liberally with 1/4 cup of olive oil. Coat with the flour mixture, ensuring it seeps into the cuts for thorough coverage.
- Preheat your oven to 400°F (200°C) and prepare a baking sheet lined with parchment paper. Place the coated onions cut side up, spaced apart on the sheet.
- In a separate bowl, combine 1 cup of panko breadcrumbs with 1/2 cup of grated Parmesan cheese. Mix well and sprinkle this crunchy topping over the coated onions.
- Bake for about 30 minutes until the onions are golden brown and tender on the inside.
Leave a Reply