
Imagine coming home after a busy day, and with just a simple twist of the jar, you’re ready to indulge in delicious homemade snacking. That’s the beauty of pressure canned French fries! This easy method not only preserves the classic taste of crispy fries but also offers the convenience of immediate satisfaction without the usual frying hassle. By mastering the art of canning French fries, you’ll enjoy fluffy interiors and golden exteriors—perfect as a side for any dinner or a quick snack that’s ready at a moment’s notice. Whether you’re a seasoned home chef or just starting your culinary journey, this recipe is a delightful way to enjoy comfort food on your terms. Are you ready to elevate your snacking game and discover how effortless homemade French fries can be?
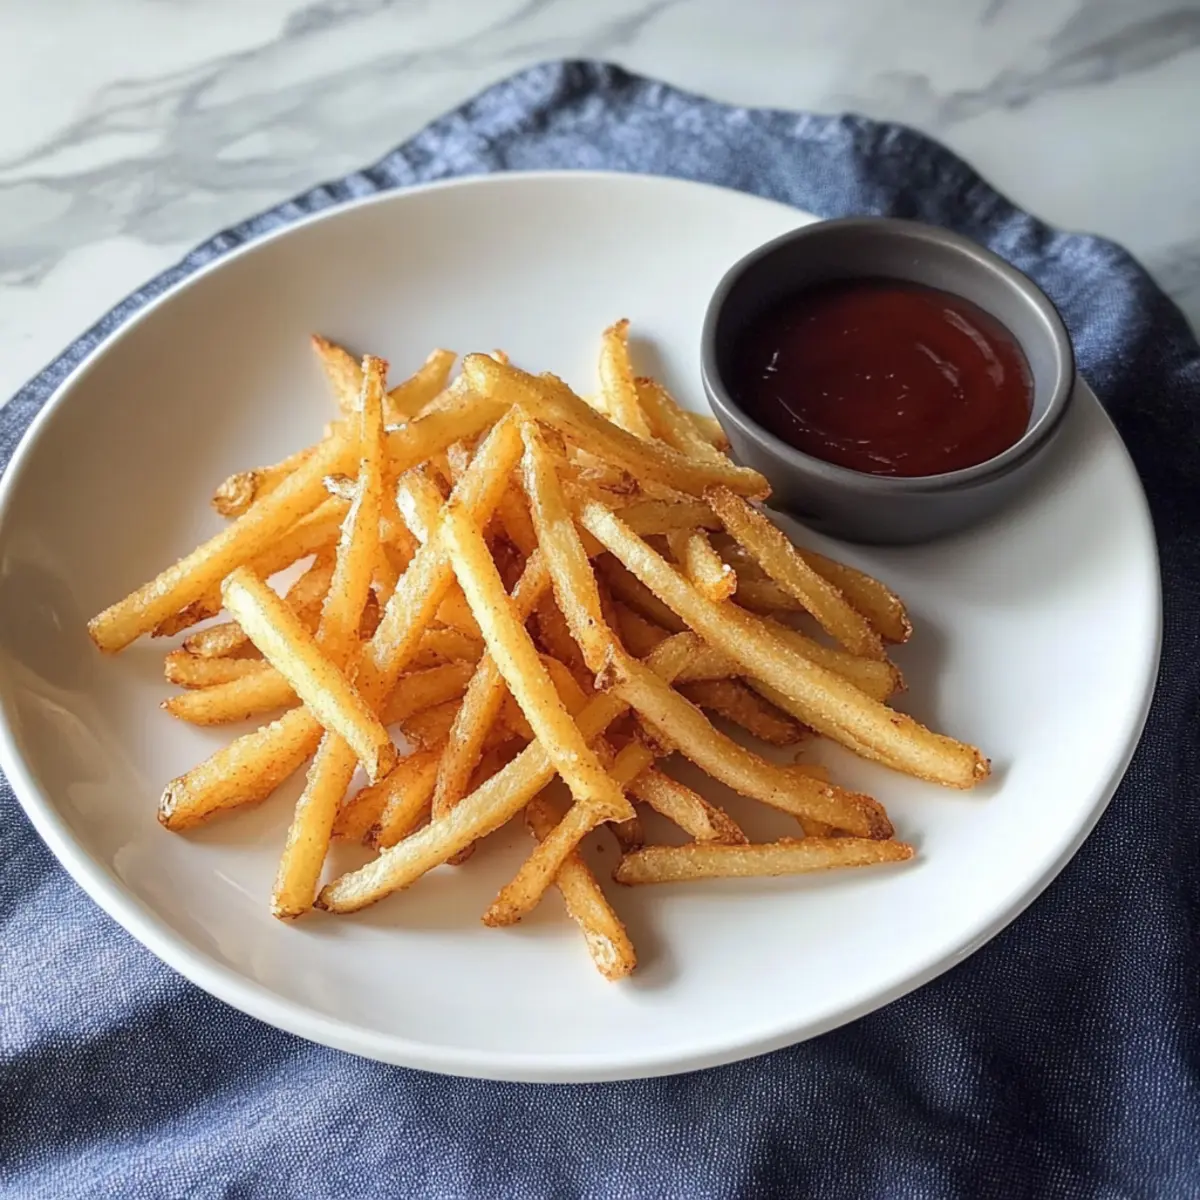
Why Can I Can French Fries?
Effortless convenience: With just a twist of the jar, you can enjoy crispy homemade fries whenever the craving strikes—perfect for busy weeknights or spontaneous snack moments.
Fresh Taste: These fries maintain their robust flavor and delightful texture through careful canning, making your homemade snacks taste just as good as fresh.
Quick Prep: This method allows you to prepare multiple jars at once, meaning less time in the kitchen for scrumptious fries that can be enjoyed anytime.
Versatile Side: Serve alongside a delicious meal like French Mustard Chicken or as a fun snack with your favorite dipping sauce.
Time-Saving: No more daily frying—your fries are ready to go! Stock up and save precious time in your busy schedule.
Fun for Everyone: It’s an easy, hands-on project the whole family can join in on, turning cooking into a delightful event!
Canning French Fries Ingredients
For the Fries
• Potatoes – Opt for large baking russet potatoes for the best fries. Avoid waxy varieties like Yukon Gold to prevent unwanted browning during canning.
• Water (for soaking) – Use room temperature water to soak the potatoes, which helps remove excess starch for a crisper final product.
• Salt – Enhance natural flavors with 1 tsp per quart or ½ tsp per pint; it’s optional for preservation but recommended for quality.
• Boiling Water – Ensure the fries are submerged by filling the jars with boiling water; typically about 2 cups per quart and 1 cup per pint.
Step‑by‑Step Instructions for Canning French Fries
Step 1: Prepare Potatoes
Begin by peeling your large baking russet potatoes. Cut them into uniform strips about ½ to ¾ inch wide to ensure even cooking. Once cut, soak the fries in room temperature water immediately to begin removing excess starch, which will help achieve that perfect crispy texture after canning.
Step 2: Soak Potatoes
Change the water three times over a period of about one hour for the best results. If you have time, soaking overnight is even better, as it allows more starch to be removed. You’ll know it’s effective when the water runs clear, resulting in fries that will maintain their lovely texture during and after the canning process.
Step 3: Pack Jars
Once your fries have soaked, it’s time to pack them into jars. Using wide-mouth jars, tightly pack the raw fries in an upright position, leaving about one inch of headspace at the top of each jar. This headspace is crucial for safe canning and ensures that the fries have room to expand during the pressure canning process.
Step 4: Add Salt and Water
After packing the jars, add the appropriate amount of salt—1 tsp per quart or ½ tsp per pint—into each jar for flavor enhancement. Next, carefully fill each jar with boiling water, ensuring the fries are fully submerged. This will help keep the fries intact and prevent them from browning during the canning process.
Step 5: Remove Air Bubbles
Using a non-metallic utensil, gently slide it around the inside edges of the jars to remove any trapped air bubbles—this step is vital for proper sealing. After that, wipe the rims of each jar with a clean cloth to ensure there are no residues that might hinder sealing during the canning process.
Step 6: Process Jars
Place the jars in your pressure canner, ensuring they are spaced out properly. Process the jars at 10 lbs pressure for 35 minutes for pint jars and 40 minutes for quart jars. Keep an eye on the pressure gauge to maintain the correct level. You will know it’s ready when you hear a soft hissing sound from the canner.
Step 7: Cool and Store
Once processing is complete, carefully remove the jars from the canner and allow them to cool completely on a clean kitchen towel or a cooling rack. After they’ve cooled, check the seals by pressing the center of each lid—if it doesn’t pop back, the seal is good. Store your sealed jars of canned French fries in a cool, dark place for ultimate freshness.
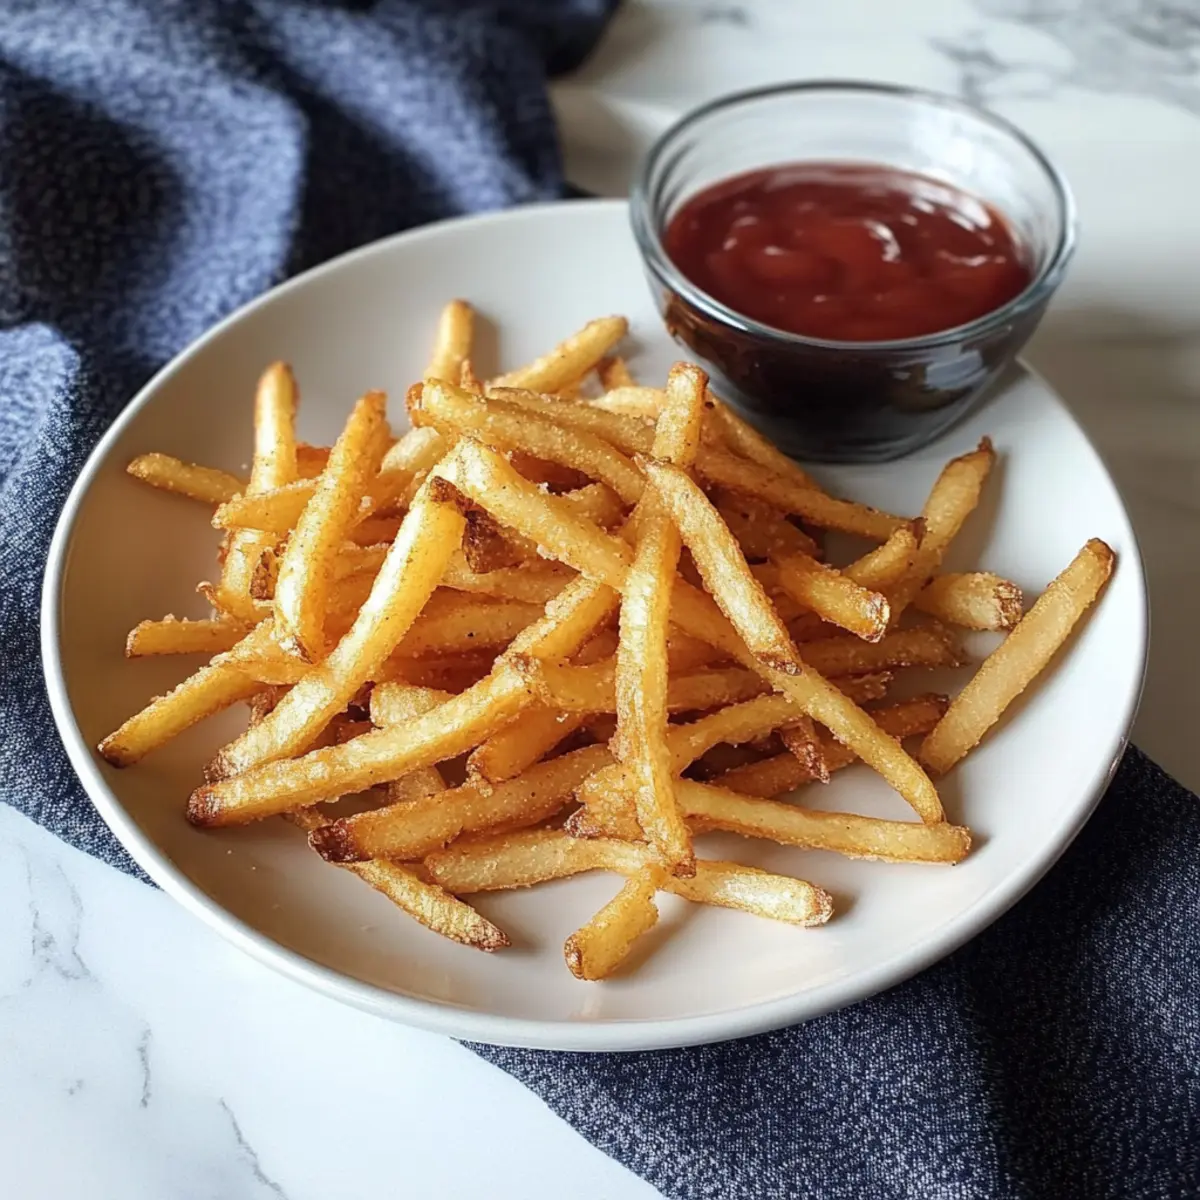
Canning French Fries Variations
Feel free to get creative and personalize this recipe to suit your taste buds and pantry!
-
Seasoned Twists: Mix in your favorite herbs or spices, like smoked paprika or Italian seasoning, to elevate the flavor profile.
-
Garlic Kick: Add a sprinkle of garlic powder when packing the jars; the aroma and taste will make your fries unforgettable. Garlic lovers rejoice!
-
Herb Infusion: Toss in fresh rosemary or thyme sprigs for an additional layer of flavor that complements your fries remarkably well.
-
Spicy Adventure: For those who crave heat, blend in some cayenne pepper or crushed red pepper flakes before sealing the jars. Spice up your snack time!
-
Oil Variation: Experiment with different oils like olive or avocado oil for frying to bring new depth to your fries.
-
Vegan-Friendly: Swap out salt for your favorite seasoning blends that are low in sodium—this gives a health-conscious twist while maintaining delicious taste.
-
Chunky Fries: Rather than making traditional fry strips, cut potatoes into larger pieces for a heartier fry experience with a twist in texture.
-
Quick Dip Suggestions: Serve these fries alongside homemade dips like garlic aioli or spicy ketchup to add a fun element to your snacking. Pair with these delicious options: French Butter Cake or any favorite flavor dips for a delightful snack!
With these variations, your canned French fries never have to be boring—they can adapt to whatever mood strikes! Enjoy your culinary adventure with pressure canning!
Expert Tips for Canning French Fries
• Potato Selection: Use only large baking russet potatoes for the best fries. Avoid waxy varieties like Yukon Gold to prevent undesired browning.
• Pre-Soaking Essentials: Don’t skip the soaking! This crucial step removes excess starch, yielding crispier fries after canning. Aim for clear water.
• Headspace Matters: Ensure you leave one inch of headspace at the top of each jar. This is vital for expansion during the pressure canning process.
• Air Bubble Elimination: Gently remove air bubbles with a non-metallic utensil. Trapped air can impact the seal and quality of your canned fries.
• Follow Processing Times: Adhere strictly to processing times—35 minutes for pints and 40 minutes for quarts—at 10 lbs pressure for safe and effective canning.
• Storage Tips: Store sealed jars in a cool, dark place for optimal freshness, ideally using them within 8 to 12 months post-canning for the best quality.
Make Ahead Options
These Pressure Canned French Fries are perfect for meal prep enthusiasts! You can soak and pack the potatoes into jars up to 24 hours in advance, allowing you to maximize your time. Simply peel and cut the potatoes into uniform strips, then soak them in room temperature water for about an hour (or overnight for the best results) before packing them into jars. When you’re ready to can, just add the boiling water and salt, seal the jars, and process them. To maintain the quality of your fries, ensure they are completely submerged in the boiling water and stored in a cool, dark place after sealing. This way, you’ll have delicious, crispy fries ready to enjoy at a moment’s notice!
What to Serve with Pressure Canned French Fries
Imagine a cozy dinner setting where crispy, golden fries steal the spotlight, inviting you to build a delightful meal around them.
-
Juicy Hamburgers: These flavorful patties pair perfectly with your fries, offering a satisfying bite of classic comfort food. Enjoy a backyard barbecue vibe any day of the week!
-
Crispy Chicken Tenders: The combination of tender chicken and crunchy fries brings a familiar childhood favorite to your table. Dip them in honey mustard or barbecue sauce for an extra flavor kick.
-
Homemade Chili: A hearty bowl of chili complements your fries beautifully. The rich and savory notes ensure each bite is filled with warmth and homey flavors. Perfect for chilly nights!
-
Grilled Vegetables: Add some fresh elements by serving grilled seasonal vegetables on the side. Their smoky taste and vibrant colors create a visually appealing and nutritious addition to your meal.
-
Classic Coleslaw: Serve alongside a zesty coleslaw to balance the richness of the fries. The crunchy texture and tangy dressing bring a refreshing contrast perfect for summer picnics.
-
Creamy Dipping Sauces: Offer a variety of dipping sauces like garlic aioli, ranch, or spicy ketchup to enhance the experience. These add layers of flavor and fun, enticing each guest to customize their fries to their liking.
-
Ice-cold Lemonade: Refresh your palate with a chilled glass of lemonade. Its sweet and tart notes can perfectly complement the savory goodness of your fries, making every bite even more enjoyable.
-
Warm Chocolate Brownies: End your meal on a sweet note with fudgy brownies. The contrast of warm, gooey chocolate with the crispy fries is a delightful surprise that everyone will love.
Storage Tips for Canning French Fries
Fridge: Keep opened jars of canned French fries in the refrigerator and consume within 3 days for the best flavor and texture.
Freezer: For longer-term storage, transfer fries to a freezer-safe bag or container and freeze for up to 6 months.
Airtight Storage: Store sealed jars of canned French fries in a cool, dark place; they can last 8 to 12 months for optimal quality, up to 18 months if sealed correctly.
Reheating: To enjoy, simply fry the canned fries in hot oil until golden and crispy, preserving that delightful texture you expect from freshly made fries.
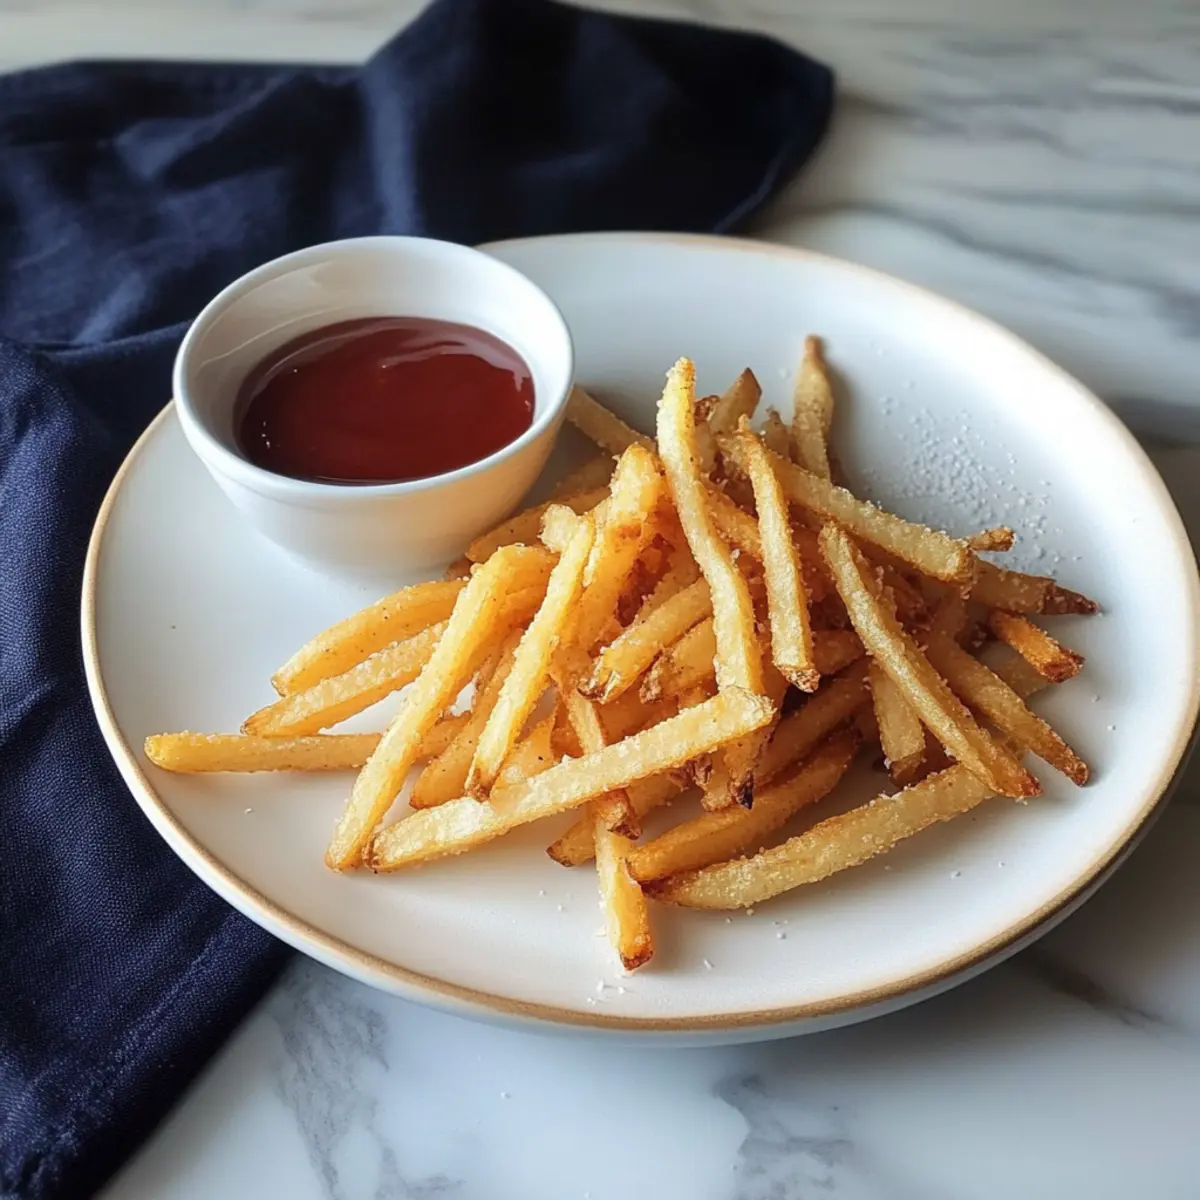
Canning French Fries Recipe FAQs
What type of potatoes should I use?
For the best results when canning French fries, opt for large baking russet potatoes. These starchy potatoes yield the ideal texture and prevent browning during the canning process. Waxy potatoes like Yukon Gold should be avoided, as they can caramelize and affect the final product.
How should I store my canned French fries?
Once processed and sealed properly, store your jars of canned French fries in a cool, dark place. They can maintain optimal quality for 8 to 12 months, but if sealed correctly, they can last for up to 18 months. Always check for seal integrity before consuming.
Can I freeze the canned French fries for later use?
Absolutely! While canned French fries are typically stored in jars, if you need longer-term storage, you can transfer them to a freezer-safe bag or container. They will maintain their quality in the freezer for up to 6 months. Just remember, freshness is key, so use them within that timeframe for best results!
What should I do if the fries are mushy after canning?
If your canned French fries turn out mushy, don’t worry! This is often a result of over-soaking or not using the correct type of potato. In the future, soak your fries for the recommended time, and always use russet potatoes for the best texture. Also, ensure you are packing them tightly and leaving the appropriate headspace to avoid excess room in the jar.
Are canned French fries safe for all diets, including pets?
While the canned French fries are safe for most people, it’s essential to consider individual dietary needs. The fries themselves are just potatoes, salt, and water. However, it’s wise to avoid feeding them to pets, as too much salt can be harmful to animals. Always consult your veterinarian regarding specific dietary concerns for pets.
How should I reheat the canned French fries for the best texture?
To enjoy your canned French fries, simply heat some oil in a pan until it’s hot, then fry the fries until they are golden and crispy. This method helps restore that delightful texture you’d expect from freshly made fries. Aim for about 3-5 minutes depending on the heat levels—keep an eye on them to avoid burning!
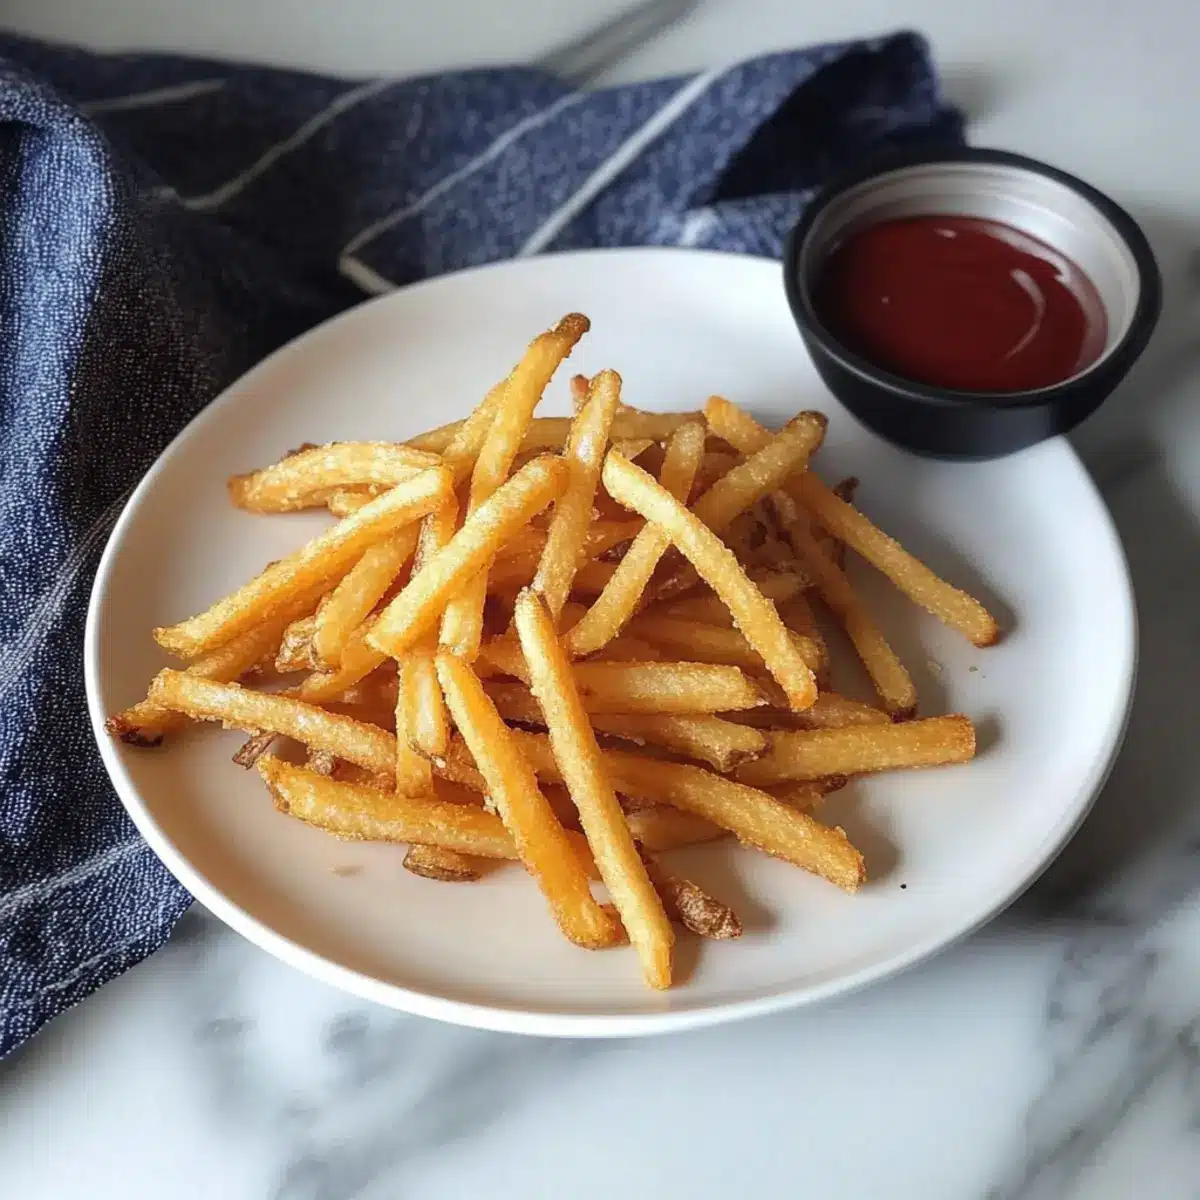
Canning French Fries for Easy, Crispy Home Snack Time
Ingredients
Equipment
Method
- Prepare by peeling and cutting potatoes into strips about ½ to ¾ inch wide.
- Soak potatoes in room temperature water, changing it three times over one hour.
- Pack raw fries into wide-mouth jars, leaving one inch of headspace.
- Add salt and fill jars with boiling water, ensuring fries are submerged.
- Remove air bubbles with a non-metallic utensil and wipe jar rims.
- Process jars at 10 lbs pressure for 35 minutes for pints and 40 minutes for quarts.
- Cool jars on a clean towel and check seals before storage.
Leave a Reply