
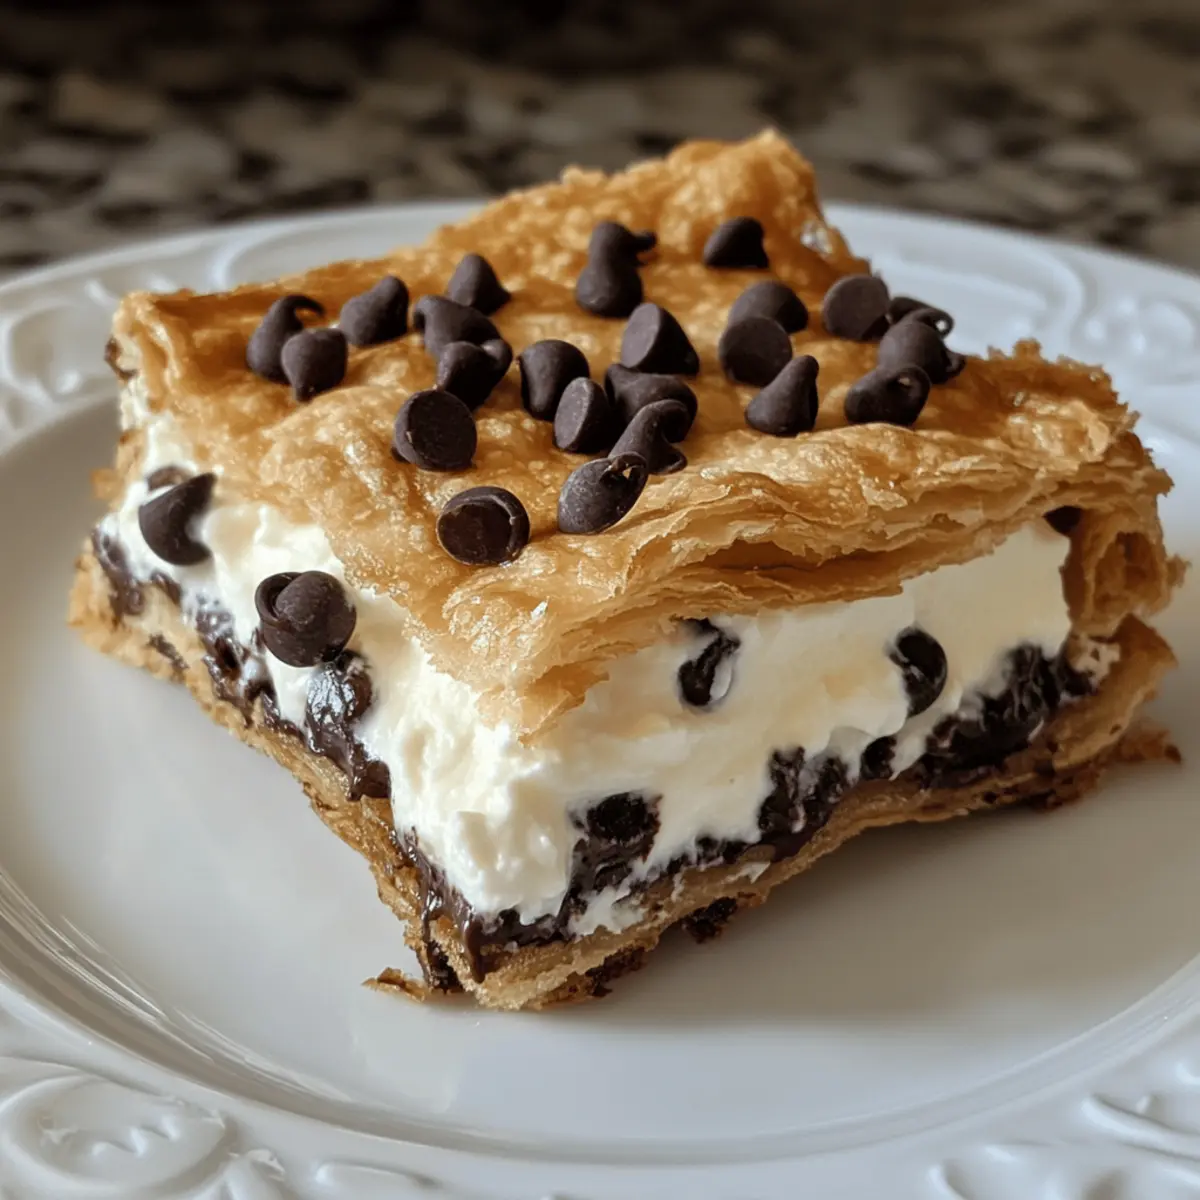
When I first stumbled upon the idea of making Cannoli Squares, I couldn’t help but feel a rush of excitement. These delightful treats bring the essence of Italian dessert straight to your home without the fuss of traditional cannoli. The crispy, flaky crust envelops a creamy ricotta filling, making them not just an easy option for dessert lovers, but a surefire crowd-pleaser at any gathering. Plus, they’re perfect for make-ahead preparations—just whip them up the day before your event, and you’ll have a delicious treat ready to impress your guests. With endless variations, from dairy-free to gluten-free options, there’s no reason not to give these Classic Cannoli Squares a try. Curious to explore the simple steps to this heavenly dessert? Keep reading!
Why Are Cannoli Squares So Irresistible?
Easy to Make: Whipping up these Classic Cannoli Squares takes minimal time and effort, making them a go-to recipe for busy home cooks.
Crowd-Pleaser: Their luscious, creamy filling and crispy crust mean they’re always a hit at parties or family gatherings.
Versatile Options: With variations like dairy-free and gluten-free, you can cater to everyone’s preferences.
Make-Ahead Friendly: Prep them a day in advance for extra convenience; they’re just as delicious after chilling overnight!
Authentic Flavor: Experience traditional Italian dessert goodness in a simpler square format—every bite is a delightful homage to classic cannoli.
Explore more on how to make these tasty squares and impress your friends and family with your culinary skills!
Cannoli Squares Ingredients
Discover the essential ingredients to create creamy, dreamy Cannoli Squares with ease!
For the Filling
- Ricotta Cheese – Provides creaminess and structure; use whole milk for a richer texture.
- Powdered Sugar – Adds sweetness; can be substituted with coconut sugar for a healthier option.
- Vanilla Extract – Enhances flavor; opt for pure vanilla for the best taste.
- Cinnamon – Adds warmth and spice; omit if a traditional cannoli flavor is preferred.
- Mini Chocolate Chips – Introduces sweetness and texture; dark chocolate enhances richness.
For the Crust
- Pre-made Pie Crusts – Forms the base and top layers for the squares; homemade crusts are an alternative.
- Large Egg – For an egg wash, creating a glossy finish on the top crust.
- Sugar (for sprinkling) – Provides a sweet crunch when baked.
Optional Toppings
- Chopped Pistachios – Adds crunch and color, optional for a festive touch.
- Maraschino Cherries – Offers a pop of sweetness and beautiful decoration.
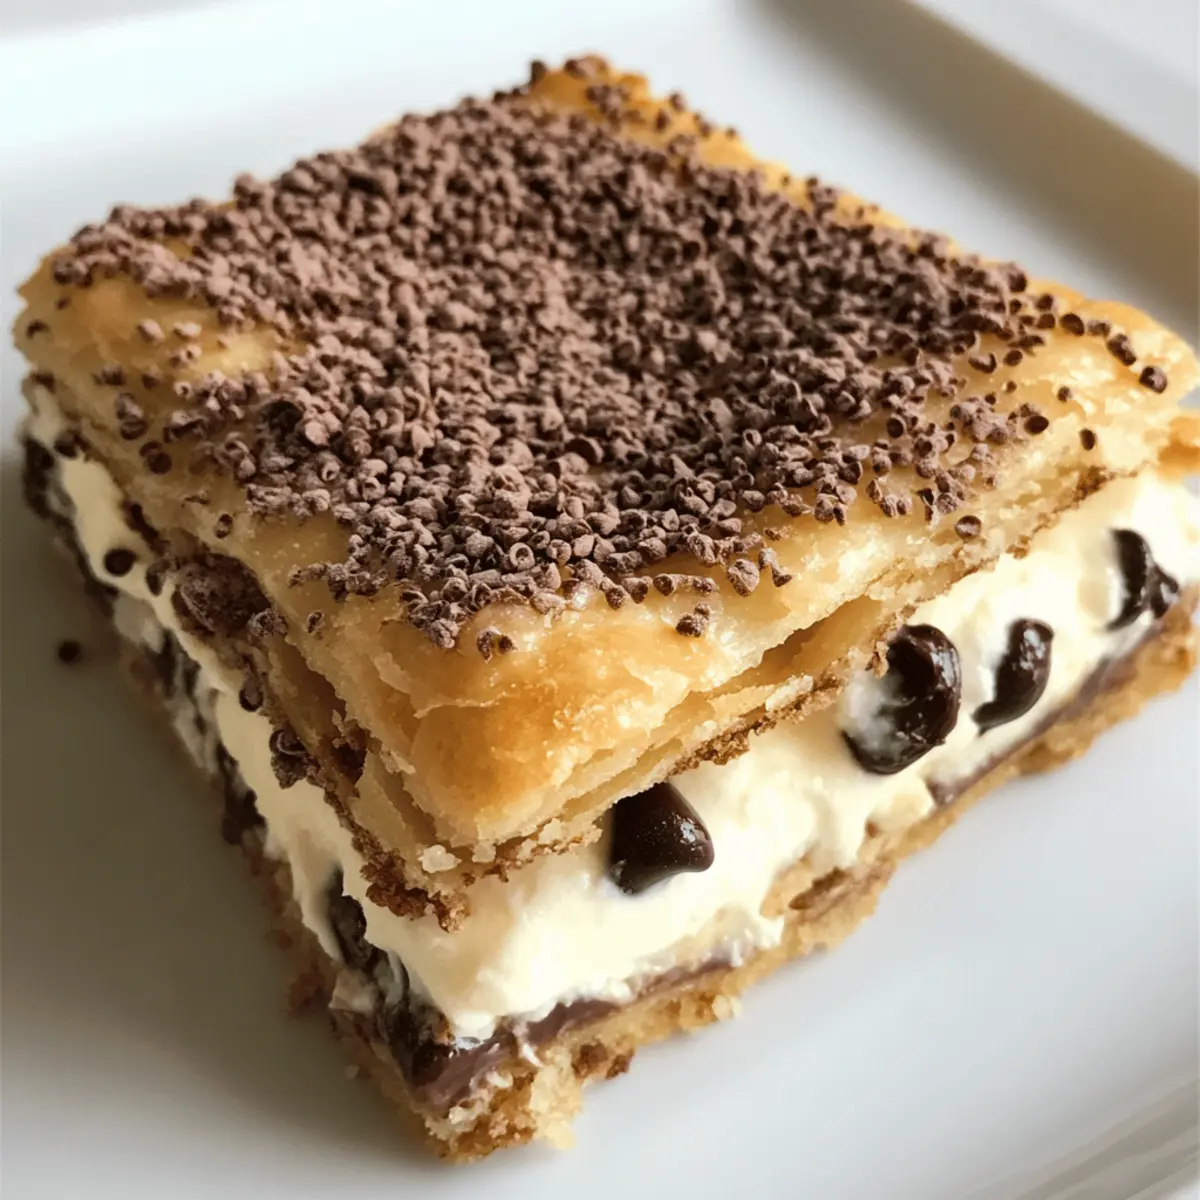
- Extra Chocolate Chips – For those who love an extra chocolate kick in their Cannoli Squares.
Gather these delightful ingredients to make your version of cannoli squares, a dessert that’s sure to impress!
Step‑by‑Step Instructions for Cannoli Squares
Step 1: Prepare the Filling
In a medium bowl, combine 15 ounces of ricotta cheese, 1 cup of powdered sugar, 1 teaspoon of vanilla extract, ½ teaspoon of cinnamon, and ½ cup of mini chocolate chips. Mix until silky and smooth, ensuring there are no lumps. Set aside your creamy filling while you prep the crust, keeping in mind that this delicious mixture is the heart of your Cannoli Squares.
Step 2: Preheat the Oven
Preheat your oven to 375°F (190°C) to ensure the optimal baking environment for your Cannoli Squares. While the oven heats, take a moment to gather your baking dish and ensure it’s ready for the first layer of crust. A warm oven guarantees that your dessert will puff up beautifully and attain that golden brown crust you desire.
Step 3: Prepare the Bottom Crust
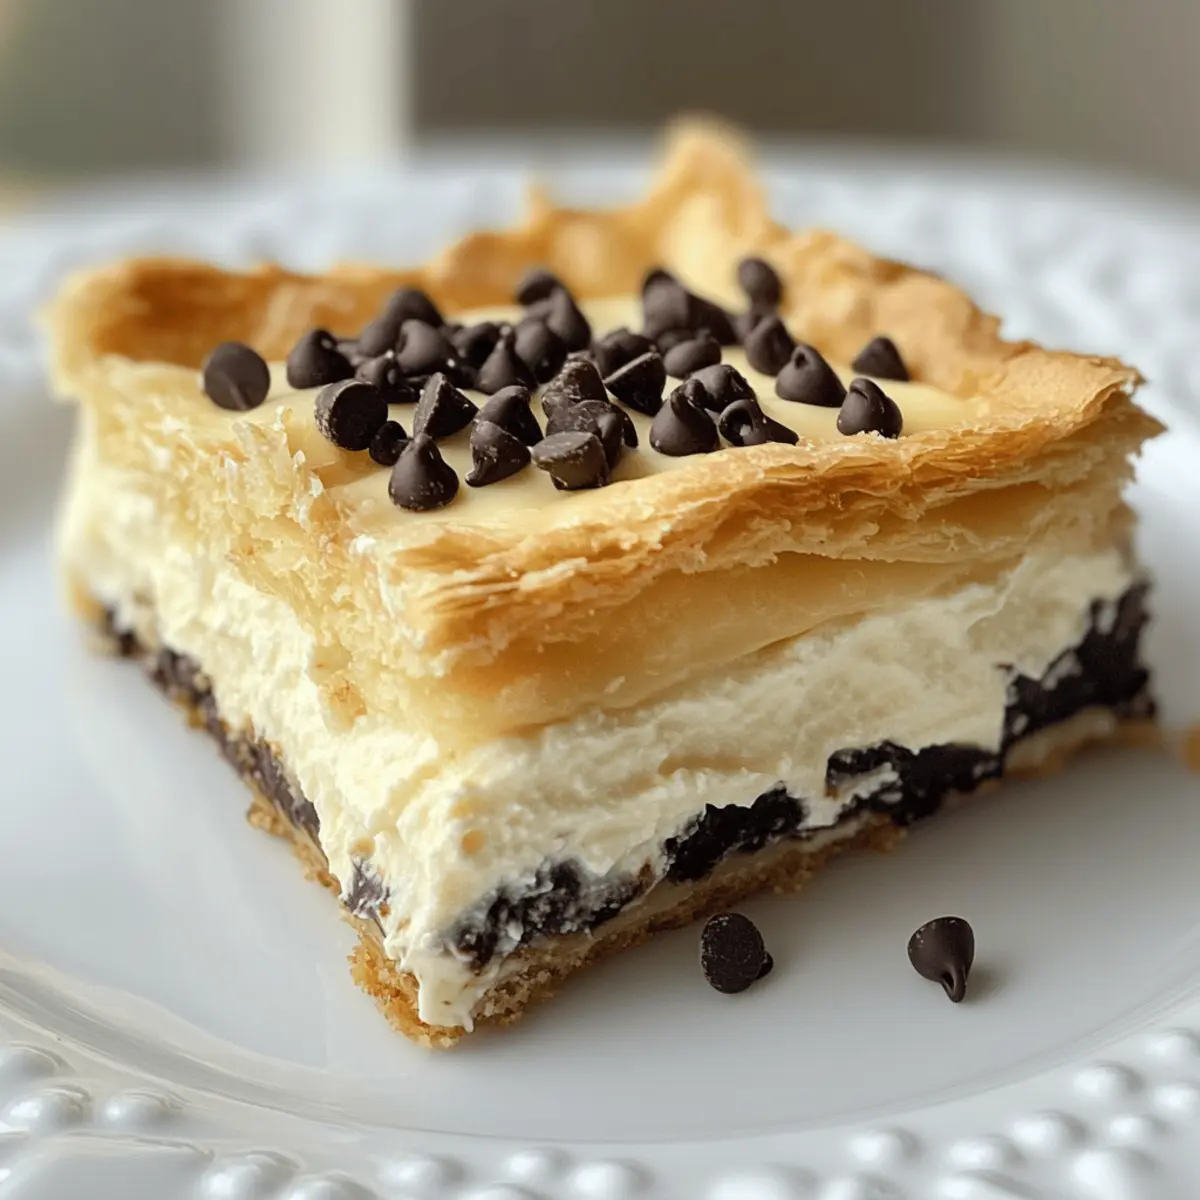
Place a pre-made pie crust into a 9×9-inch baking dish, gently pressing it into the corners and up the sides to create a snug fit. Trim any excess crust hanging over the edges. This crust serves as a sturdy base and will hold the luscious filling, ensuring a satisfying bite when you indulge in your homemade Cannoli Squares.
Step 4: Add the Filling
Spoon the prepared creamy filling onto the bottom crust, spreading it evenly but leaving about a ½-inch edge around the sides. The filling should be thick and generous, offering the essence of traditional cannoli in a simplified form. This step is crucial, as it sets the stage for the chewy, delicious squares that await.
Step 5: Top with Second Crust
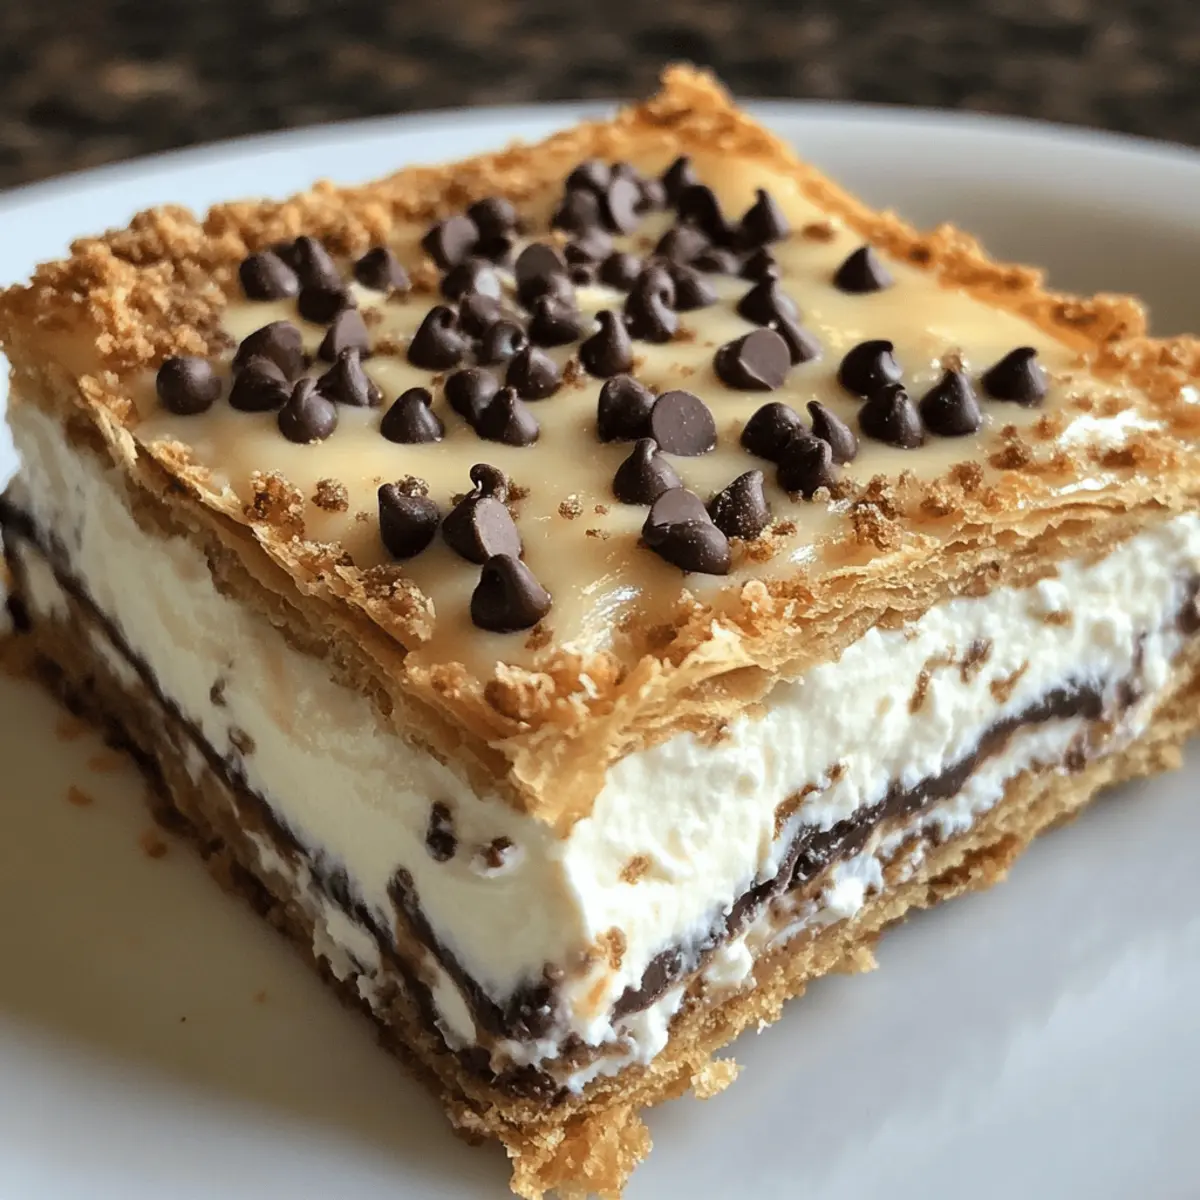
Gently place the second pie crust over the filled dish, sealing the edges by crimping them with your fingers or a fork. Brush the top with a beaten egg, which will create a glossy finish during baking. Finish off by sprinkling sugar over the crust for added sweetness and texture, enhancing the overall look of your Cannoli Squares.
Step 6: Bake
Place the baking dish in the preheated oven and bake for 30–35 minutes, watching closely for a beautiful golden color and bubbling edges. The aroma of baking Cannoli Squares will fill your kitchen, inviting everyone to gather around. Once done, remove from the oven and let it cool slightly to set the filling and crust.
Step 7: Cool and Serve
Allow your Cannoli Squares to cool for at least 30 minutes before slicing them into squares. This waiting period is essential for the squares to hold their shape when you serve them. Once cooled, you can garnish with optional toppings like chopped pistachios or maraschino cherries for that extra touch of elegance.
How to Store and Freeze Cannoli Squares
Fridge: Store leftover Cannoli Squares in an airtight container in the refrigerator for up to 3 days. This keeps the filling fresh and the crust crisp.
Freezer: Freeze individual squares wrapped in plastic wrap and then placed in a freezer bag for up to 2 months. Thaw overnight in the fridge before enjoying.
Reheating: If you prefer warm squares, reheat them in the oven at 350°F (175°C) for about 10 minutes, ensuring they get lovely and warm without compromising texture.
Make-Ahead: For convenience, prepare the filling and crust separately up to a day in advance; simply assemble and bake when ready!
Expert Tips for Cannoli Squares
-
Quality Matters: Use high-quality ricotta cheese for a richer flavor; it truly enhances the overall taste of your Cannoli Squares.
-
Drain the Ricotta: Don’t forget to drain excess moisture from the ricotta. A thicker filling prevents sogginess and keeps your squares from falling apart.
-
Careful Baking: Keep a close eye on your Cannoli Squares as they bake. If the top begins over-browning, gently cover it with foil to ensure they bake evenly.
-
Cool Before Cutting: Patience is key! Allow the squares to cool for at least 30 minutes before slicing. This helps maintain the structure and prevents the filling from oozing out.
-
Experiment with Flavors: Feel free to mix in different extracts, like almond or even a hint of lemon zest, for a fun twist and to elevate your classic Cannoli Squares!
Make Ahead Options
These Classic Cannoli Squares are perfect for busy home cooks who want to enjoy delicious desserts without the last-minute rush! You can prepare the filling and crust separately up to 24 hours in advance: simply mix the filling ingredients (ricotta, powdered sugar, etc.) and store it in an airtight container in the refrigerator. For the crust, keep it wrapped in plastic to maintain freshness. When it’s time to bake, just assemble the squares by layering the filling and crust, brush with egg, sprinkle sugar, and pop them in the oven. You’ll have a delectable treat ready to impress while saving valuable time—just as delightful as if made fresh!
What to Serve with Classic Cannoli Squares
Delightful and creamy, these Italian treats are perfect when paired with complementary flavors and textures for a complete dessert experience.
-
Rich Gelato: The creamy texture and luscious flavors of gelato enhance the Cannoli Squares, offering a delightful contrast.
-
Fresh Berries: Juicy berries add a refreshing tartness that cuts through the sweetness of the filling, creating a balanced bite.
-
Warm Espresso: A bold espresso serves as the perfect drink to accompany your Cannoli Squares, enhancing the dessert’s Italian charm.
-
Chocolate Sauce: Drizzling warm chocolate sauce over the squares adds a luxurious touch, inviting chocolate lovers to indulge even more.
-
Chopped Nuts: A sprinkle of crushed pistachios or almonds on top not only adds crunch but also elevates the visual appeal.
-
Coconut Whipped Cream: Light and airy, coconut whipped cream provides a subtle tropical flavor that beautifully complements the dessert’s richness.
-
Maraschino Cherries: Garnishing with cherries offers a pop of color and a touch of sweetness that enhances the overall presentation and enjoyment.
-
Homemade Biscotti: For an added crunch, serving alongside almond-flavored biscotti gives a lovely texture contrast while keeping with Italian traditions.
Each pairing brings a unique flavor profile, creating a delightful experience that will leave your guests wanting more.
Cannoli Squares Variations & Substitutions
Feel free to experiment and make these Cannoli Squares uniquely yours with these tempting twists!
-
Dairy-Free: Substitute ricotta with blended silken tofu and add nutritional yeast for a creamy flavor boost. This variation is not just for dietary needs; the tofu adds a delightful creaminess that everyone can enjoy.
-
Gluten-Free: Use gluten-free pie crusts to create a deliciously inclusive dessert. Your gluten-sensitive friends will appreciate the thoughtful touch, and they won’t miss a beat when it comes to flavor!
-
Extra Zesty: Add a teaspoon of lemon zest for a refreshing citrus twist that livens up the rich filling. This bright addition elevates the classic flavors, making every bite feel like a sunny Italian afternoon.
-
Flavor Boost: Mix in almond extract alongside vanilla for a nutty richness that sets your Cannoli Squares apart. This simple swap will tantalize taste buds and add a sophisticated depth to the dessert.
-
Nutty Crunch: Add finely chopped nuts, like walnuts or almonds, to the filling for added texture. It’s a delightful surprise in every bite, creating that delightful contrast of creamy and crunchy!
-
Layered Delight: Incorporate fresh strawberries or raspberries between the crusts for a fruity burst of flavor. Not only do they taste amazing, but they also make for a stunning presentation that’ll wow your guests.
-
Chocolate Decadence: Swap in dark chocolate chips or use a chocolate pie crust for an indulgent twist. Chocolate lovers will rejoice with this rich variation that enhances the classic cannoli experience.
For even more ideas, consider pairing your Cannoli Squares with a refreshing coffee or a scoop of gelato, creating a perfect dessert experience that celebrates Italian tradition. Enjoy customizing your treat!
Classic Cannoli Squares Recipe FAQs
What type of ricotta cheese should I use for my Cannoli Squares?
Absolutely! For the best flavor and texture, use high-quality whole milk ricotta cheese. This ensures a rich and creamy filling that will really elevate your Cannoli Squares. If you’re in a pinch, look for brands that advertise “fresh” or “made daily”—they usually have the best taste!
How should I store leftover Cannoli Squares?
You can store your delicious Cannoli Squares in an airtight container in the refrigerator for up to 3 days. This keeps both the filling fresh and the crust crisp. It’s easy to pop them in and grab a square for a delightful treat!
Can I freeze Cannoli Squares, and if so, how?
Very! To freeze your Cannoli Squares, first let them cool completely. Then, wrap individual squares in plastic wrap and place them in a freezer-safe bag or container. They can be stored in the freezer for up to 2 months. When you’re ready to enjoy, simply thaw them overnight in the refrigerator for perfect taste and texture!
What if my filling is too runny?
If your filling turns out too runny, don’t fret! Try draining the ricotta cheese in advance by wrapping it in cheesecloth and pressing to remove excess moisture for about 30 minutes. You can also add a bit of powdered sugar—start with a tablespoon at a time—to thicken it. If it’s still runny after mixing, a small amount of cornstarch can help bind it while maintaining the flavor.
Can I make Cannoli Squares ahead of time?
Absolutely! To save time, prepare the filling and the crust a day in advance. Simply store them separately in the refrigerator and assemble them just before baking. This way, you can enjoy fresh squares without the last-minute fuss!
Are there allergy-friendly options for Cannoli Squares?
Yes, indeed! For a dairy-free option, simply substitute the ricotta with blended silken tofu and add a little nutritional yeast for that cheesy flavor. If you’re looking for gluten-free variations, use gluten-free pie crusts. There are always plenty of ways to cater to different dietary needs while still indulging in these delightful Cannoli Squares!
Deliciously Easy Cannoli Squares for Any Celebration
Ingredients
Equipment
Method
- In a medium bowl, combine 15 ounces of ricotta cheese, 1 cup of powdered sugar, 1 teaspoon of vanilla extract, ½ teaspoon of cinnamon, and ½ cup of mini chocolate chips. Mix until silky and smooth.
- Preheat your oven to 375°F (190°C).
- Place a pre-made pie crust into a 9x9-inch baking dish, pressing it into the corners and up the sides.
- Spoon the creamy filling onto the bottom crust, spreading it evenly but leaving a ½-inch edge.
- Gently place the second pie crust over the filled dish, crimp the edges, and brush with a beaten egg.
- Sprinkle sugar over the top crust.
- Bake for 30–35 minutes until golden brown.
- Allow cooling for at least 30 minutes before slicing.
Leave a Reply