
As I stood in my kitchen, I could almost hear the festive laughter from countless get-togethers, each one anchored by a vibrant dessert that never failed to impress: my Cherry Pistachio Cheesecake. This creamy delight combines the nutty richness of pistachios with the sweet-tart burst of cherries, making it a striking centerpiece for any celebration. Plus, it’s not just all flair—this cheesecake is incredibly easy to whip up ahead of time, ensuring you can enjoy the company while your dessert steals the show. Whether you’re marking a special occasion or simply treating yourself to something extraordinary, this recipe will elevate your dessert game to new heights. Are you ready to learn how to create this unique flavor experience? Let’s dive in!
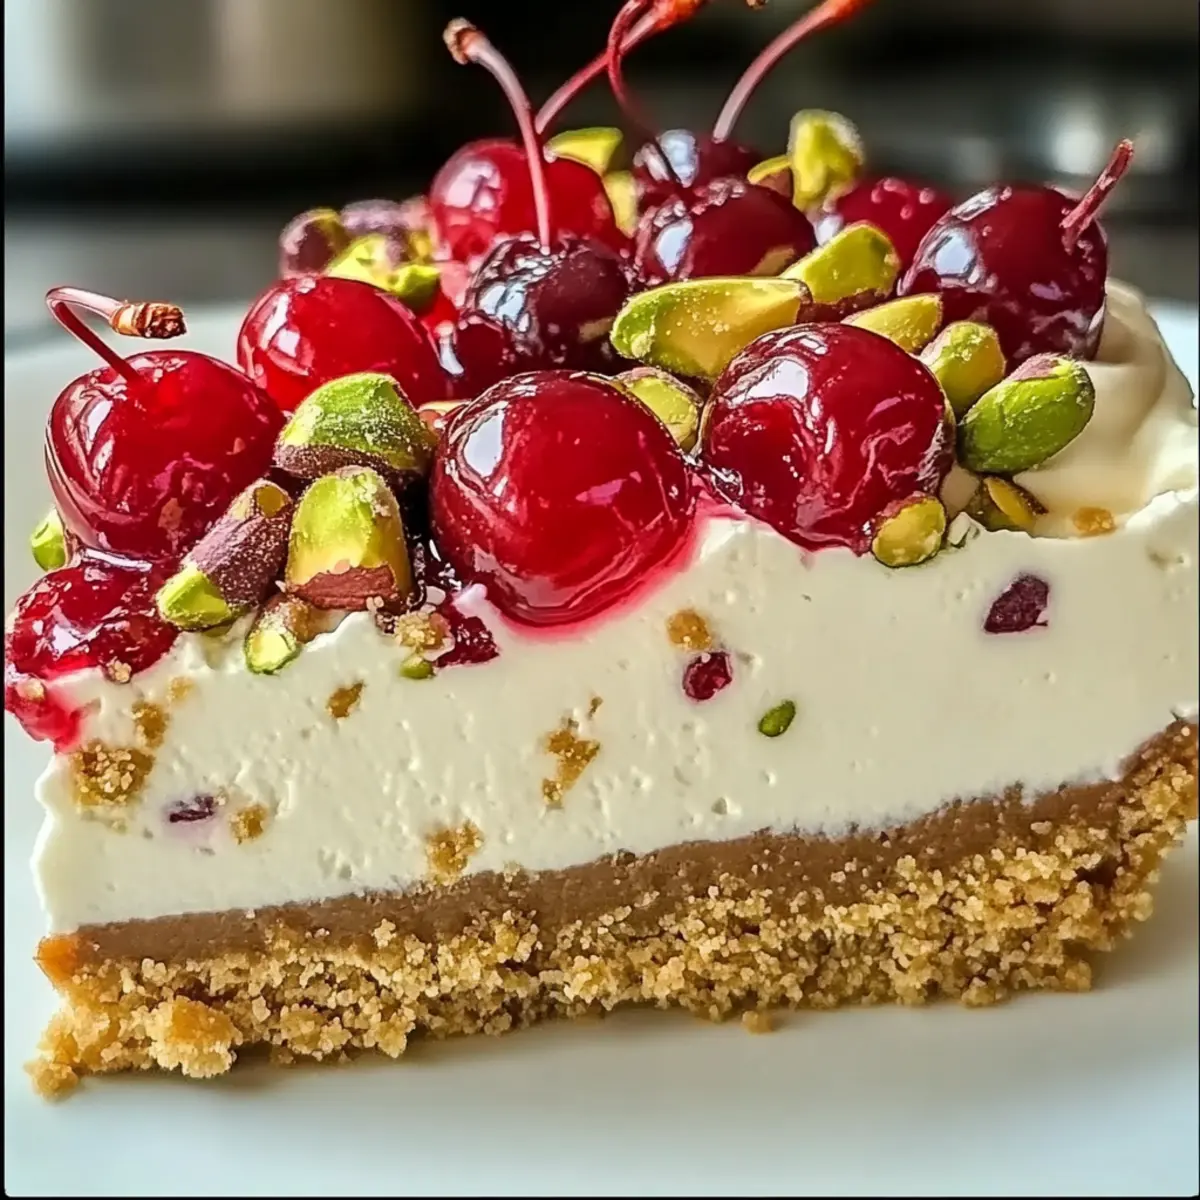
Why is Cherry Pistachio Cheesecake a Must-Try?
Uniquely Delightful: This cheesecake blends the nutty richness of pistachios with the sweet-tart flavor of cherries, creating a show-stopping dessert.
Make-Ahead Magic: Easily prepare this cheesecake a day in advance, freeing up your time on the special day.
Crowd-Pleasing Treat: Perfect for gatherings, it’s sure to impress guests and spark joy at celebrations.
Gorgeous Presentation: The vibrant colors of cherries and chopped pistachios make it visually stunning, like a piece of art on your table.
Versatile Serving Options: Dress it up with whipped cream or keep it simple—the choice is yours! For more indulgent cheesecake ideas, check out my Oreo Cheesecake Cookie or Millionaires Cheesecake for other delightful options.
Cherry Pistachio Cheesecake Ingredients
For the Crust
• Graham Cracker Crumbs – Provides the crust’s structure and sweetness, creating that perfect base.
• Ground Pistachios – Enhances the crust flavor; for a nut-free version, use ground almonds or skip.
• Granulated Sugar – Sweetens both the crust and filling, balancing out the flavors.
• Melted Butter – Binds crust ingredients together for a deliciously rich finish.
For the Filling
• Cream Cheese – The base of the cheesecake, providing creaminess and depth; make sure it’s at room temperature for the smoothest texture.
• Sour Cream – Adds richness and a slight tanginess to the filling, enhancing its overall flavor.
• Pistachio Pudding Mix – Contributes flavor and helps set the cheesecake with its creamy consistency.
• Vanilla Extract – Enhances the overall flavor of the filling, making it even more irresistible.
• Granulated Sugar – Sweetens the filling, working perfectly alongside the pistachios and cherries.
For the Topping
• Maraschino Cherries – Adds a sweet burst of flavor throughout the cheesecake, elevating every bite.
• Chopped Pistachios (for garnish) – Provides texture and visual appeal, making your cheesecake even more inviting.
This Cherry Pistachio Cheesecake is a true indulgence that will not only impress your guests but also leave them craving for more!
Step‑by‑Step Instructions for Cherry Pistachio Cheesecake
Step 1: Preheat the Oven
Begin by preheating your oven to 325°F (160°C). While the oven heats, prepare a 9-inch springform pan by greasing it lightly. This ensures your Cherry Pistachio Cheesecake will release easily once baked. You might also want to line the bottom with parchment paper for an extra layer of protection against sticking.
Step 2: Prepare the Crust
In a mixing bowl, combine 1 ½ cups of graham cracker crumbs, ½ cup of ground pistachios, and ⅓ cup of granulated sugar. Pour in ½ cup of melted butter and mix until the mixture resembles wet sand. Firmly press this mixture into the bottom of your prepared springform pan. Bake for 8 minutes until it begins to set and is lightly golden, then set aside to cool.
Step 3: Make the Filling
In a large mixing bowl, beat 16 oz of softened cream cheese and ¾ cup of granulated sugar until smooth and creamy, approximately 2-3 minutes. Add in 2 eggs, one at a time, ensuring each is well incorporated. Mix in 1 cup of sour cream, 1 package of pistachio pudding mix, and 1 tsp of vanilla extract until you achieve a velvety consistency, perfect for your Cherry Pistachio Cheesecake filling.
Step 4: Bake the Cheesecake
Pour the creamy filling over the cooled crust, smoothing the top with a spatula for an even surface. Carefully place your springform pan in the preheated oven and bake for 45-50 minutes. The cheesecake should be set at the edges while still slightly jiggly in the center, a sign of that delightful creaminess waiting within.
Step 5: Cool the Cheesecake
Once the baking time is up, turn off the oven and crack the oven door open. Allow your Cherry Pistachio Cheesecake to cool inside for 1 hour, which helps prevent cracks from forming on the surface as it cools gradually. After an hour, remove it from the oven and let it cool completely on a wire rack.
Step 6: Chill
Once fully cooled, cover the cheesecake with plastic wrap and refrigerate for at least 4 hours, or ideally overnight. This chilling time allows the flavors to meld beautifully and the cheesecake to set properly, ensuring a delightful texture for when you slice into it.
Step 7: Top and Serve
Before serving, gently spread a generous layer of maraschino cherry pie filling on top of the cheesecake for a sweet and vibrant finish. For an added touch, sprinkle chopped pistachios over the cherries. This not only enhances the flavor but also adds a visual flourish to your stunning Cherry Pistachio Cheesecake!
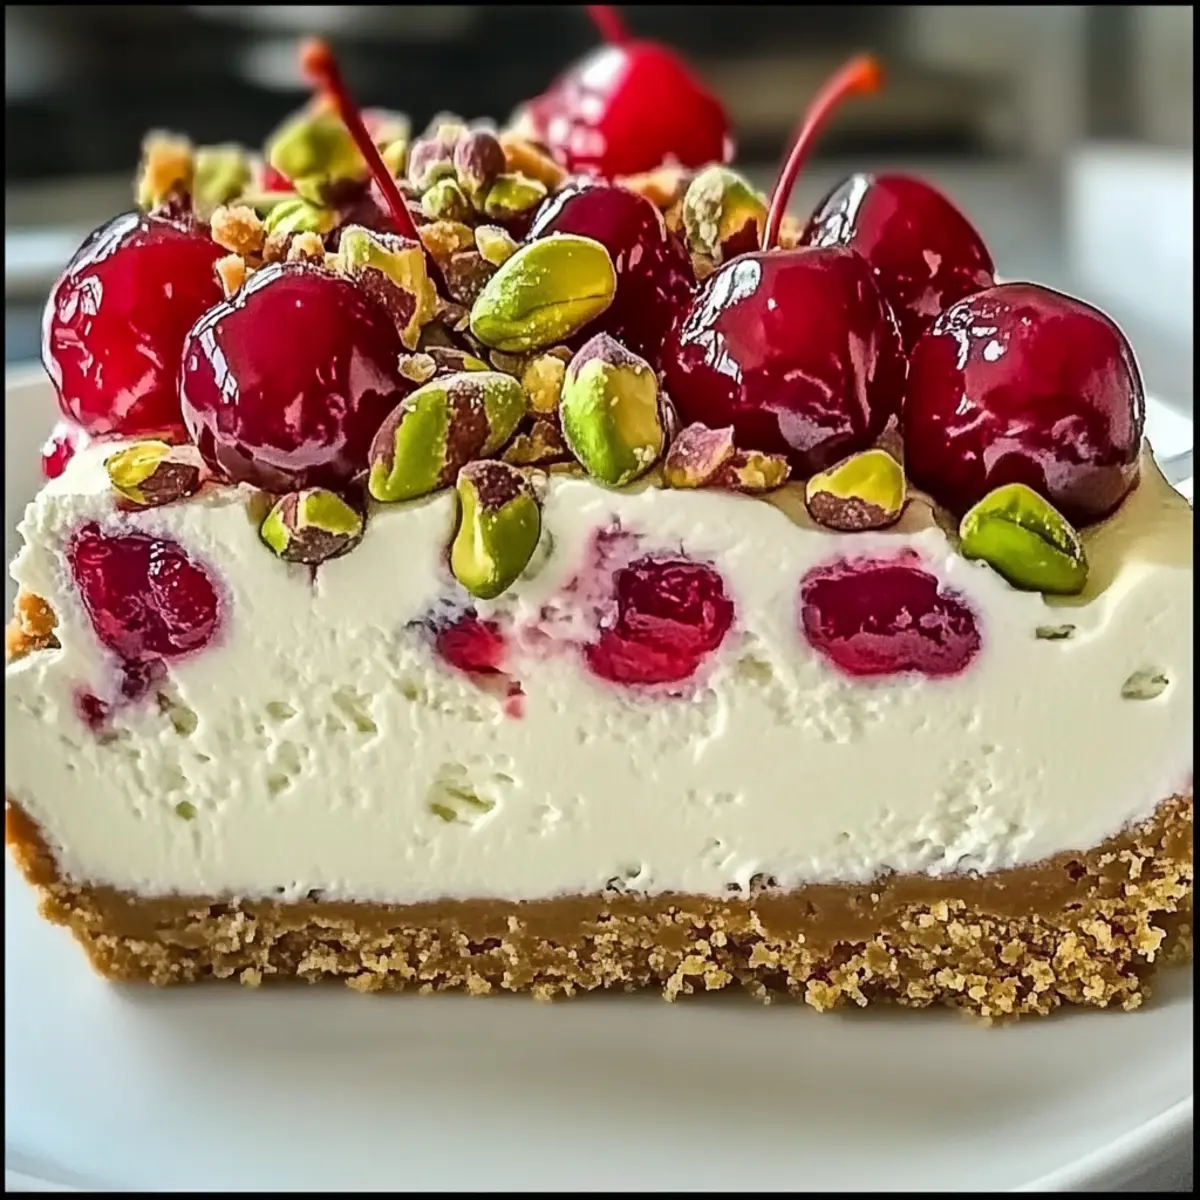
What to Serve with Cherry Pistachio Cheesecake?
Indulging in this luscious dessert, you’ll want to build a full meal that complements its unique flavors and balanced sweetness.
-
Fresh Fruit Salad: A refreshing mix of seasonal fruits offsets the cheesecake’s sweetness, enhancing the overall dining experience.
-
Crispy Salad: A cool, crisp green salad with a tangy vinaigrette brings brightness to the table, balancing the cheesecake’s rich creaminess.
-
Chocolate Ganache Tart: For those who adore chocolate, a small slice of this rich tart provides a decadent contrast to the pistachio flavors.
-
Chilled Sparkling Wine: A flute of bubbly complements the richness of the cheesecake, adding a festive touch to any celebration.
-
Chocolate-Covered Strawberries: Juicy strawberries dipped in chocolate pair excellently and provide a juicy bite alongside the creamy cheesecake.
-
Vanilla Ice Cream: A scoop of vanilla ice cream served alongside adds temperature contrast and textural delight against the smooth cheesecake.
-
Coffee or Espresso: Serving a hot cup enhances the overall experience, allowing the rich flavors of the dessert to shine even brighter.
-
Dark Chocolate Shavings: A sprinkle of dark chocolate curls on top adds a touch of elegance and a bittersweet flavor that pairs beautifully.
Each of these pairings encourages you to savor every moment, making your Cherry Pistachio Cheesecake the delightful centerpiece of your next gathering!
How to Store and Freeze Cherry Pistachio Cheesecake
Fridge: Store your Cherry Pistachio Cheesecake in the refrigerator, covered, for up to 5 days. This keeps the cheesecake fresh while maintaining its creamy texture.
Freezer: If you’d like to enjoy it later, wrap the cheesecake tightly in plastic wrap or aluminum foil and freeze for up to 2 months. When ready to eat, thaw it in the refrigerator overnight.
Reheating: While cheesecakes are best enjoyed cold, you can let it sit at room temperature for about 30 minutes before serving to soften slightly, enhancing its creamy goodness.
Toppings: Add maraschino cherries and chopped pistachios after thawing to maintain their fresh appearance and taste.
Cherry Pistachio Cheesecake Variations
Feel free to explore your culinary creativity with these fun swaps and additions to elevate your cheesecake experience!
-
Nut-Free: Substitute ground almonds or skip the nuts entirely for a delicious nut-free version. This keeps the essence delightful without compromising flavor.
-
Chocolate Twist: Add ½ cup of chocolate chips to the filling for a decadent chocolate-pistachio blend. The rich chocolate will create a heavenly contrast to the tart cherry topping.
-
Fresh Fruit: Use fresh, pitted cherries instead of maraschino cherries for a burst of freshness on top. This will give your cheesecake a delightful natural sweetness and a vibrant look.
-
Flavor Boost: Swap the vanilla extract for almond extract to add a nutty undertone. The subtle change will surprise and delight your taste buds!
-
Cream Cheese Alternative: For a lighter option, consider using Neufchâtel cheese instead of regular cream cheese. This brings down the calories without sacrificing much creaminess.
-
Graham Cracker Variation: For a more complex crust, substitute half of the graham cracker crumbs with crushed ginger snaps. The spice from the ginger will complement the cherries beautifully.
-
Spiked Version: Add a splash of amaretto or cherry liqueur to the filling for an adult twist that’ll tantalize your guests. Just remember to savor those rich flavors!
-
Yogurt Addition: Mix in ½ cup of Greek yogurt with the sour cream for an extra tangy zest. This addition will also enrich the creaminess of your cheesecake.
With these variations, you can truly make my Cherry Pistachio Cheesecake your own! Each twist adds something unique, creating a dessert that matches your tastes and preferences. For more delectable cheesecake inspirations, don’t forget to check out my Marshmallow Whip Cheesecake or the rich Burnt Basque Cheesecake. Enjoy experimenting!
Make Ahead Options
Preparing your Cherry Pistachio Cheesecake ahead of time is a fantastic way to save precious hours on the day of your event! You can make the cheesecake itself up to 24 hours in advance; simply follow all the baking and cooling instructions, then refrigerate it (covered) to maintain its creamy texture. The crust and filling will stay just as delicious, allowing the flavors to meld beautifully. If you need to prep even further, you can mix the crust ingredients and store them in an airtight container for up to 3 days. When you’re ready to serve, just spread the cherry pie filling on top before presenting this stunning dessert, and you’ll have a showstopper ready with minimal last-minute effort!
Expert Tips for Cherry Pistachio Cheesecake
Cream Cheese Check: Ensure that your cream cheese is fully softened before mixing. Cold cream cheese can lead to lumps in your cheesecake filling.
Avoid Overmixing: Once you’ve added the eggs, mix just until incorporated to prevent cracks from developing in your Cherry Pistachio Cheesecake.
Cooling Technique: Gradually cooling the cheesecake by leaving it in the oven helps maintain a smooth surface and prevents cracking as it sets.
Cherries Choice: If you’re using fresh or frozen cherries, make sure to pat them dry before incorporating them to avoid excess moisture ruining your filling.
Chill Thoroughly: Allow the cheesecake to chill in the fridge for at least 4 hours or overnight to achieve the perfect creamy texture.
Serving Style: Serve your Cherry Pistachio Cheesecake with a dollop of fresh whipped cream for an extra indulgent touch.
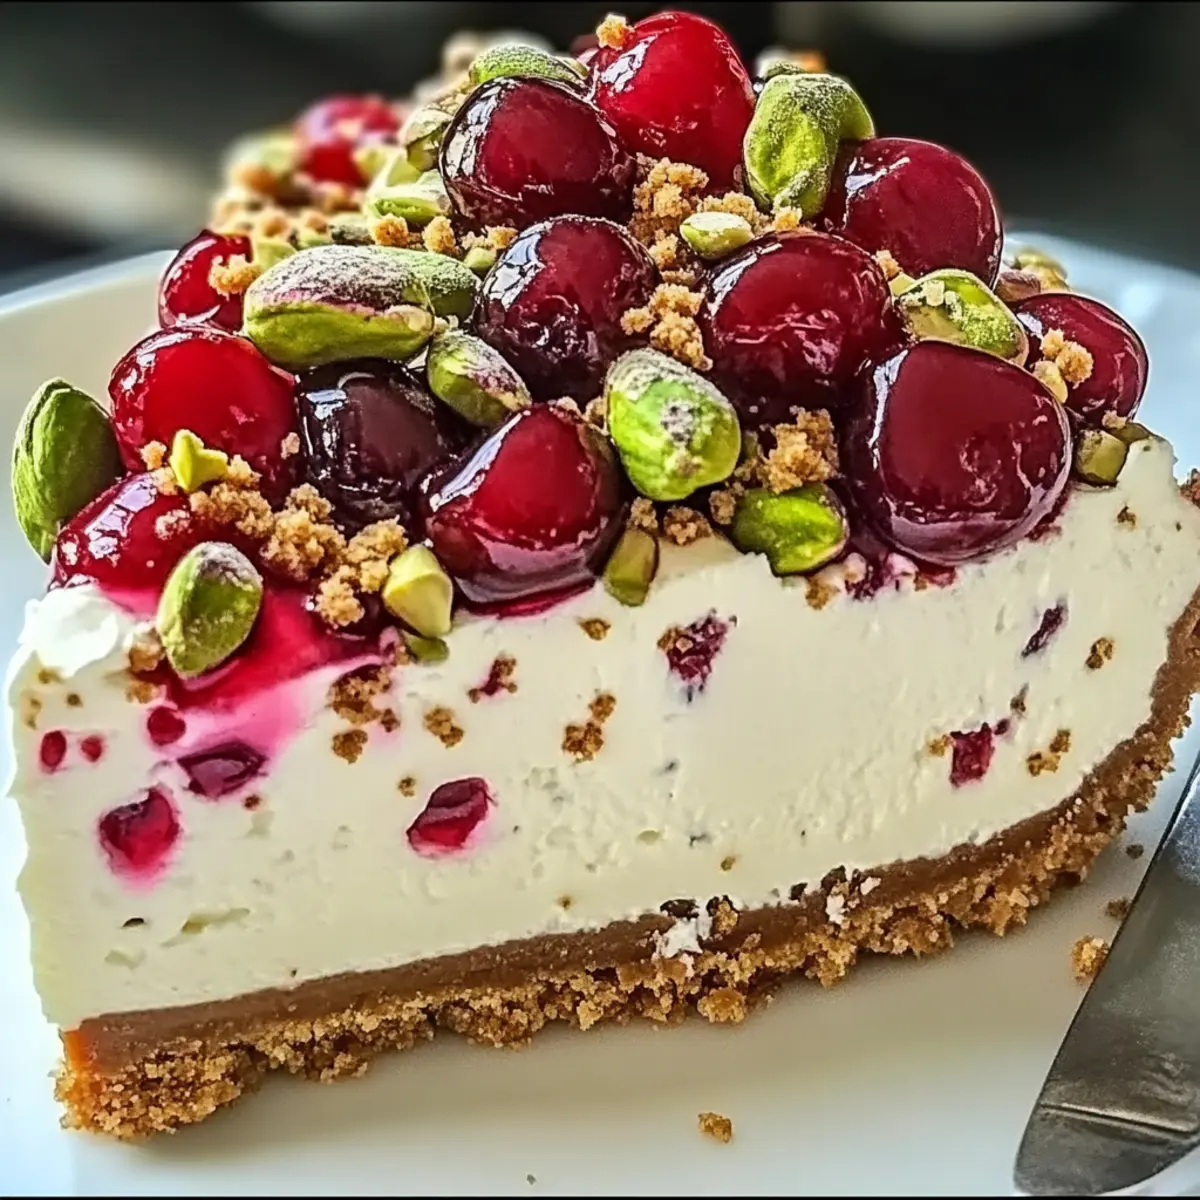
Cherry Pistachio Cheesecake Recipe FAQs
How do I know if my cherries are ripe enough?
Absolutely! When selecting cherries, look for those that are deep red and firm. Avoid any cherries with dark spots or wrinkles, as these indicate overripeness. Fresh cherries should have a glossy sheen and be plump to ensure the sweetest flavor in your cheesecake.
What’s the best way to store Cherry Pistachio Cheesecake?
Very! After your cheesecake has cooled, cover it tightly with plastic wrap and refrigerate it for up to 5 days. Storing it in an airtight container will also work wonders to keep it fresh and creamy. Just remember to slice it before storing to avoid excessive handling after chilling.
Can I freeze my Cherry Pistachio Cheesecake?
Yes, you can! To freeze your cheesecake, wrap it tightly in plastic wrap followed by aluminum foil to prevent freezer burn. It can stay in the freezer for up to 2 months. When you’re ready to enjoy it, simply move it to the refrigerator to thaw overnight. It’s best to add any toppings after thawing, ensuring they stay fresh and flavorful.
What should I do if my cheesecake cracks during baking?
Don’t worry, these things happen! If you notice cracks, there are a few preventative measures you can take next time. First, ensure your cream cheese is softened properly before mixing. Also, mix the batter gently after adding the eggs. Finally, cooling the cheesecake slowly in the oven with the door ajar can help. If cracks do occur, a generous topping of cherry pie filling will beautifully conceal them!
Are there any allergy considerations I should be aware of when making this cheesecake?
Great question! This Cherry Pistachio Cheesecake contains dairy and nuts, so be cautious if anyone has allergies to these ingredients. For a nut-free version, you can use ground almonds or simply omit them altogether. Always check the labels on your ingredients, especially the pistachio pudding mix, which may also contain allergens.
How can I enhance the flavors of my cheesecake?
Absolutely! For an even richer flavor profile, consider adding a splash of almond extract along with the vanilla. You can also experiment with layering fresh cherries in the filling for added texture. Just remember to pat them dry to avoid excess moisture affecting the consistency of your cheesecake!
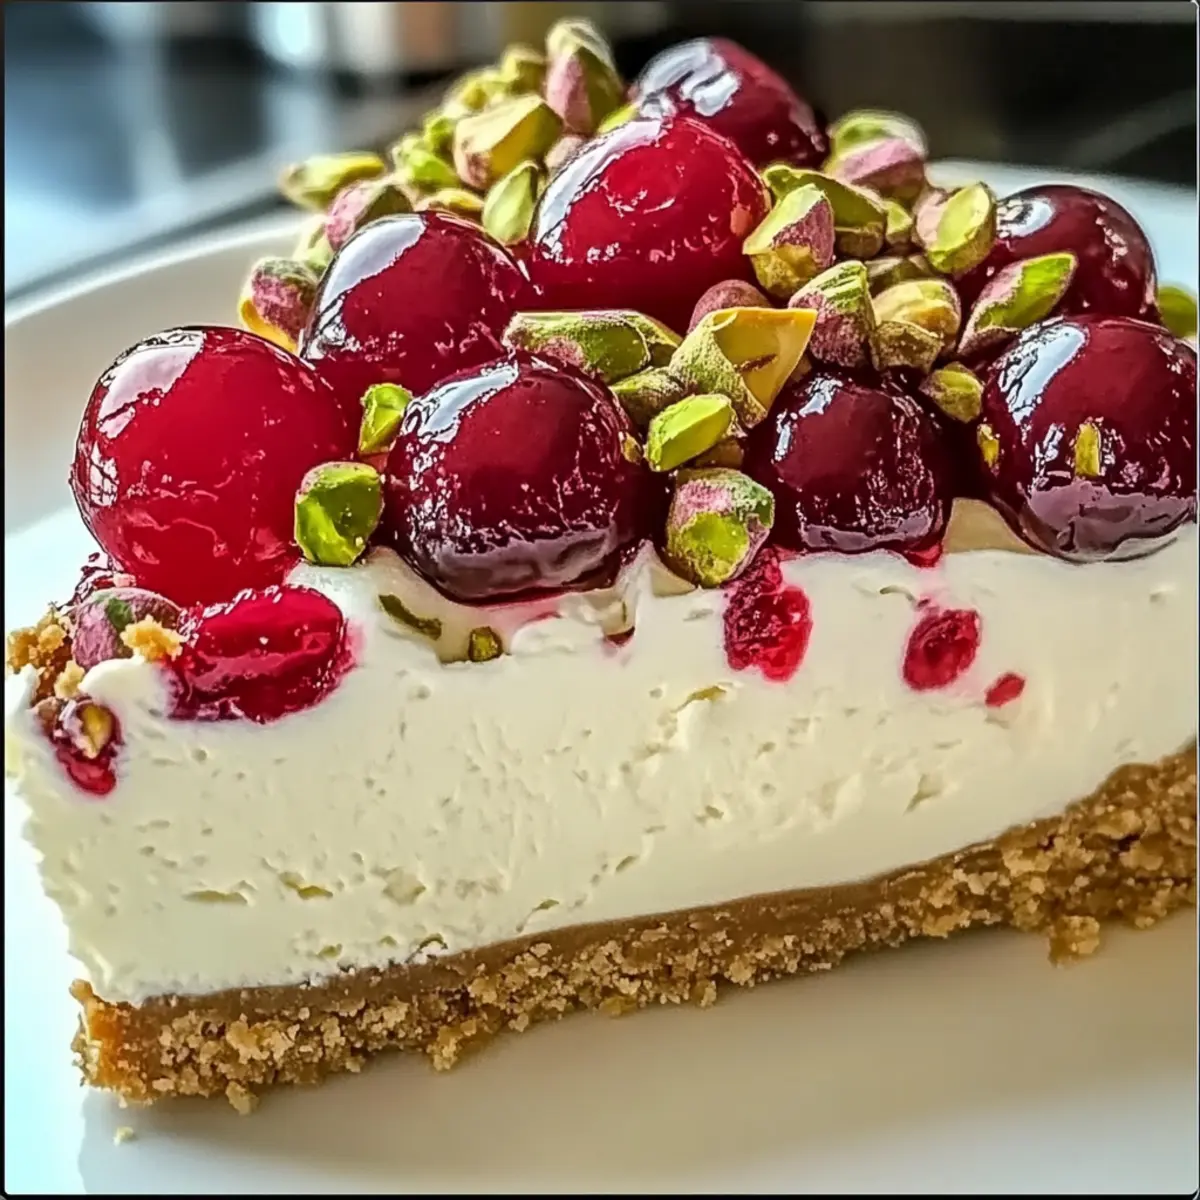
Creamy Cherry Pistachio Cheesecake for Special Celebrations
Ingredients
Equipment
Method
- Preheat the oven to 325°F (160°C) and prepare a 9-inch springform pan by greasing it lightly.
- Combine graham cracker crumbs, ground pistachios, and granulated sugar in a mixing bowl. Add melted butter and mix until it resembles wet sand. Press into the bottom of the springform pan and bake for 8 minutes.
- Beat softened cream cheese and granulated sugar until smooth. Gradually add eggs, one at a time, followed by sour cream, pistachio pudding mix, and vanilla extract until velvety.
- Pour the filling over the cooled crust. Bake for 45-50 minutes, until set at the edges and slightly jiggly in the center.
- Turn off the oven, crack the door open, and let cheesecake cool inside for 1 hour. Then cool completely on a wire rack.
- Cover with plastic wrap and refrigerate for at least 4 hours or overnight.
- Spread a layer of maraschino cherry pie filling on top and sprinkle chopped pistachios before serving.
Leave a Reply