
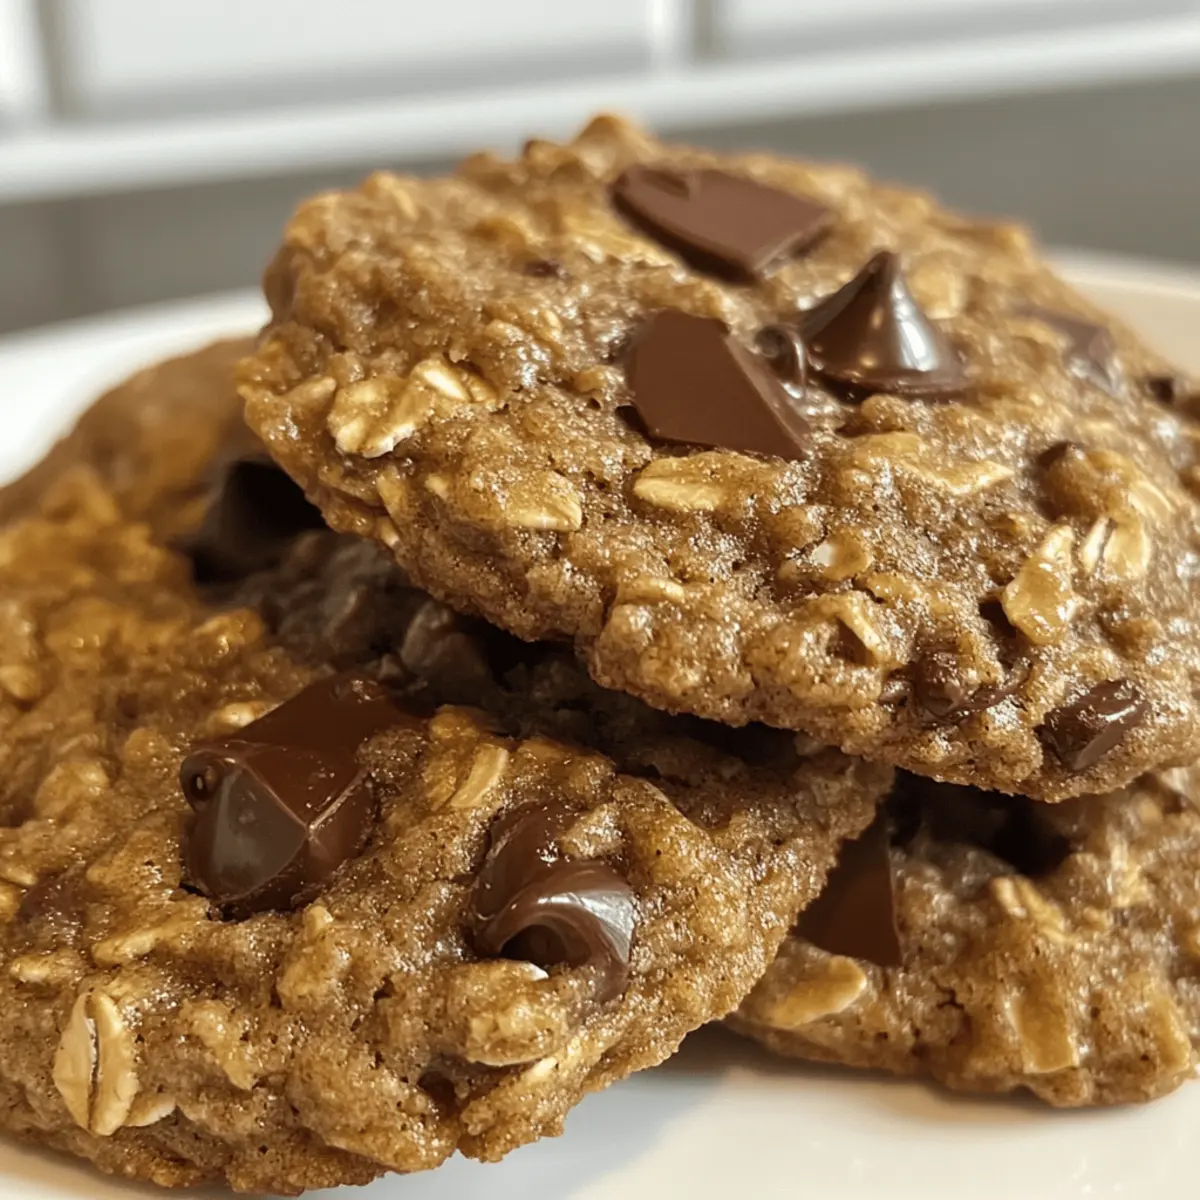
While rummaging through my pantry the other day, I stumbled upon a little jar of oat flour, just waiting to shine. That’s when the craving hit — I wanted cookies that were not only delicious but also made in a snap. Enter my Quick & Easy 4-Ingredient Gluten-Free Chocolate Oat Cookies! These delightful bites bring together the chewy goodness of oats and a rich touch of chocolate, all without the hassle of complicated ingredients. The best part? They’re perfect for any time of the day — a quick snack for those busy afternoons or a satisfying treat after dinner. Plus, they’re guilt-free and loaded with healthy fats, making them the ultimate homemade snack. Are you ready to whip up a batch of these irresistible cookies that will have everyone asking for more? Let’s dive into the recipe!
Why Are These Cookies a Must-Try?
Simplicity at Its Finest: With just four ingredients, you can whip up a batch in mere minutes, making these cookies the ultimate go-to for busy days.
Guilt-Free Indulgence: Enjoy the rich chocolate flavor without the extra calories. Each cookie is a delightful treat that serves both flavor and health.
Versatile Options: Whether you’re gluten-free or need a nut-free version, these cookies can adapt to fit your dietary needs.
Chewy Texture: Experience the perfect blend of chewy and crunchy with every bite, reminiscent of your favorite childhood oatmeal cookies.
Crowd-Pleasing Treat: Set them out at your next gathering, and watch them disappear as friends and family rave over their deliciousness! For more scrumptious ideas, don’t miss the Fried Strawberry Cheesecake and Oreo Cheesecake Cookie recipes!
4-Ingredient Gluten-Free Chocolate Oat Cookies
Curiosity Note: These delightful cookies come together quickly, making them the perfect guilt-free treat to satisfy those chocolate cravings!
For the Cookies
- Oats – Use gluten-free oats for a healthy, chewy base that binds everything together.
- Nut Butter – Choose creamy almond or peanut butter for richness; sunflower seed butter is a great nut-free alternative.
- Honey or Maple Syrup – Offer a touch of sweetness and moisture; maple syrup is ideal for a vegan-friendly option.
- Chocolate Chips – Add dark or dairy-free chocolate chips for that extra indulgent flavor, perfect for chocolate lovers.
Feel free to enjoy these cookies as an anytime snack or a sweet dessert; they truly are that versatile!
Step‑by‑Step Instructions for Quick & Easy 4-Ingredient Gluten-Free Chocolate Oat Cookies
Step 1: Preheat the Oven
Begin by preheating your oven to 350°F (175°C), allowing it to reach the perfect baking temperature. This ensures your cookies will bake evenly and develop a deliciously golden exterior. While the oven heats up, gather your mixing bowl and parchment paper to prepare for a smooth baking experience.
Step 2: Mix the Base Ingredients
In a large mixing bowl, combine the gluten-free oats, nut butter, and honey or maple syrup. Stir these ingredients together until they form a cohesive, well-blended mixture. You’ll want to ensure that all the oats are fully coated in nut butter and syrup for maximum flavor. This creates the base for your irresistible chocolate oat cookies.
Step 3: Incorporate Chocolate Chips
Next, gently fold in the chocolate chips into the oat mixture. Ensure that the chocolate is evenly distributed throughout the dough, bringing that rich, indulgent flavor to every bite. Take a moment to admire the gooey chocolate melding with the mixture, which will make your cookies truly special.
Step 4: Shape the Cookies
Using a spoon or cookie scoop, drop balls of dough onto a parchment-lined baking sheet, spaced about two inches apart. Lightly flatten each ball with your fingers to create a slight dome shape. This helps them spread evenly while baking, resulting in perfectly shaped cookies that are chewy inside and slightly crisp on the edges.
Step 5: Bake to Perfection
Place the baking sheet in the preheated oven and bake your cookies for 10 to 12 minutes. Keep a close eye on them; you’ll know they’re ready when the edges turn a lovely golden brown. This is when the enchanting aroma of freshly baked cookies will fill your kitchen, making it hard to wait!
Step 6: Cool and Enjoy
Once baked, remove the cookies from the oven and let them cool on the baking sheet for about 5 minutes, allowing them to set before transferring. This step is crucial to maintain that delightful chewy texture. Then, carefully move them to a wire rack to cool completely before indulging in these delightful Quick & Easy 4-Ingredient Gluten-Free Chocolate Oat Cookies.
What to Serve with Quick & Easy 4-Ingredient Gluten-Free Chocolate Oat Cookies
Treat yourself to a delightful meal experience with these irresistible cookies that pair beautifully with a variety of delicious sides and beverages.
-
Creamy Vanilla Ice Cream: The cold, creamy texture perfectly complements the chewy cookies, creating a delightful warm-and-cold dessert moment.
-
Fresh Berries Salad: Bright, juicy berries bring refreshing acidity that balances the rich chocolate flavor, adding brightness to each sweet bite.
-
Nutty Trail Mix: A handful of homemade trail mix made with nuts and dried fruits gives a satisfying crunch and elevates the snack experience.
-
Rich Hot Chocolate: Elevate your treat time by sipping on warm, rich hot chocolate that mirrors the chocolatey goodness of the cookies.
-
Coconut Yogurt Parfait: Layered with granola and fruits, this creamy parfait provides freshness and a lightness that beautifully contrasts with the dense cookies.
-
Hazelnut Latte: This nutty coffee drink complements the flavors of chocolate perfectly, making it an ideal pairing for an afternoon treat with cookies.
Indulging in these combinations will not only elevate your cookie experience but also create delightful moments around the table with family and friends!
Make Ahead Options
These Quick & Easy 4-Ingredient Gluten-Free Chocolate Oat Cookies are fantastic for meal prep! You can mix the dough up to 24 hours in advance and store it in the refrigerator, which helps the flavors meld beautifully. Simply scoop the dough onto a parchment-lined baking sheet and cover it tightly with plastic wrap. When you’re ready to bake, just preheat the oven and pop the cookies in, adding an extra minute or two to the baking time if baking straight from the fridge. By prepping ahead, you can enjoy fresh, delicious cookies with minimal effort, making your busy weeknights a little sweeter!
How to Store and Freeze Chocolate Oat Cookies
Room Temperature: Store cookies in an airtight container for up to 7 days. This keeps them fresh and delicious, perfect for a quick snack anytime.
Fridge: If you prefer a chilled treat, keep the cookies in the fridge for up to 2 weeks. They’ll last longer, but the texture may change slightly.
Freezer: For longer freshness, freeze cookies in a freezer-safe bag or container for up to 3 months. Separate layers with parchment paper to prevent sticking.
Reheating: To enjoy your cookies warm, simply pop them in the microwave for 10-15 seconds. You’ll have that gooey chocolate delight all over again!
Expert Tips for Perfect Chocolate Oat Cookies
-
Nut Butter Consistency: Make sure your nut butter is well-stirred and smooth. This ensures an even mix, preventing dry spots in your cookies.
-
Watch Your Bake Time: Avoid overbaking to keep the cookies chewy. They should be golden at the edges but still soft in the center for that perfect texture.
-
Mix-In Ideas: Get creative by adding in ingredients like dried fruits or seeds. This not only enhances flavor but also adds extra nutrients, making your cookies even more satisfying.
-
Cooling Time: Let the cookies cool on the baking sheet for a few minutes before transferring them. This helps them set properly and keeps them chewy rather than crumbly.
-
Storage Tips: Store cookies in an airtight container at room temperature to maintain freshness, or freeze for longer shelf life. They’ll remain delicious even after freezing!
-
No-Oven Option: For a no-bake version, consider making these as energy bites by mixing everything and chilling until firm—perfect for a quick, healthy snack!
Variations for Gluten-Free Chocolate Oat Cookies
Feel free to unleash your creativity by customizing these delicious cookies with different flavors and textures!
-
Nut-Free: Substitute nut butter with sunflower seed butter for a tasty allergy-friendly twist. It’s just as rich and binds beautifully!
-
Vegan Delight: Swap honey for maple syrup to make these cookies vegan-friendly. They’ll still retain their delightful sweetness and chewy texture.
-
No-Bake Energy Bites: Combine all ingredients and chill in the fridge instead of baking for a quick snack that’s as nutritious as it is delicious.
-
Spiced Up: Add a teaspoon of cinnamon or a splash of vanilla extract for a warm flavor boost that will elevate your cookie experience.
-
Fruit-Filled: Toss in some dried cranberries or chopped dates for a hint of natural sweetness and extra chewiness. It adds lovely flavor and nutrients!
-
Coconut Bliss: Replace some oats with shredded coconut for a tropical flair. The coconut adds a beautiful texture and enhances the overall taste.
-
Double Chocolate: For chocolate lovers, incorporate cocoa powder into the mix or use chocolate chunks instead of chips for richer flavor.
-
Crunchy Blend: Add chopped nuts or seeds for an irresistible crunch that contrasts perfectly with the chewy cookie base. Simple yet satisfying!
These variations are not only fun to try, but they also allow you to personalize your cookie experience to delight your taste buds. And if you’re in the mood for more cheesecake goodness, check out these scrumptious Millionaires Cheesecake bars for another indulgent treat!
Quick & Easy 4-Ingredient Gluten-Free Chocolate Oat Cookies Recipe FAQs
What type of oats should I use for the cookies?
I recommend using gluten-free oats if you’re following a gluten-free diet. They provide the perfect chewy base for your cookies and ensure you enjoy the rich chocolate flavor without any gluten-related issues. Regular oats can also be used if gluten isn’t a concern.
How should I store the cookies, and how long will they last?
Store the cookies in an airtight container at room temperature for up to 7 days. If you want them to last longer, you can keep them in the refrigerator for up to 2 weeks. Just remember they may become a bit firmer in the fridge.
Can I freeze these chocolate oat cookies?
Absolutely! For freezing, place the cookies in a freezer-safe bag or container for up to 3 months. I recommend separating layers with parchment paper to prevent them from sticking together. To enjoy, simply take out a cookie and microwave it for about 10-15 seconds for that freshly baked feel.
What should I do if my cookies are too crumbly?
If your cookies crumble, it could be due to not enough binding from the nut butter or syrup. Next time, ensure your nut butter is well-mixed and your syrup or honey is sufficient. Mixing until the dough is fully combined is crucial. If you still face issues, consider adding a little water, a teaspoon at a time, to help bind the mix better.
Are there any dietary considerations for pets or allergies with these cookies?
Yes, it’s important to note that this recipe contains nut butter, which can be a common allergen. If you’re making these for a gathering, be sure to inform guests about nut inclusion. Additionally, avoid sharing cookies with pets, especially those that contain chocolate, as it can be toxic to dogs and cats.
Can I customize this basic recipe with other ingredients?
Very! You can add spices such as cinnamon or vanilla extract for a flavor boost. I often include add-ins like dried fruits, seeds, or even coconut flakes. Just remember that if you add dry ingredients, you may need to increase the nut butter or syrup slightly to maintain consistency.
Irresistible Nutella Cheesecake Bars That Melt in Your Mouth
Ingredients
Equipment
Method
- Preheat the oven to 350°F (175°C).
- In a large mixing bowl, combine gluten-free oats, nut butter, and honey or maple syrup until well-blended.
- Gently fold in the chocolate chips.
- Drop balls of dough onto a parchment-lined baking sheet, spaced about two inches apart, and flatten each slightly.
- Bake for 10-12 minutes until edges are golden brown.
- Cool on the baking sheet for 5 minutes before transferring to a wire rack.
Leave a Reply