
As I stood in my kitchen, the sweet and nutty aroma of toasted coconut filled the air, transporting me back to my favorite childhood treats. Inspired by those beloved Girl Scout Samoa cookies, I’ve turned a classic into an irresistible dessert: Easy Samoa Brownies. These fudgy, chocolatey delights are not just quick to make; they offer a perfect combination of chewy, crispy, and creamy textures that are sure to impress friends and family alike. With only a handful of ingredients, you’ll have a luscious treat that captures all the flavors you love, making it a go-to whenever the dessert cravings hit. Curious to whip up some magic in your own kitchen? Let’s dive into this delightful recipe!

Why Are Samoa Brownies So Irresistible?
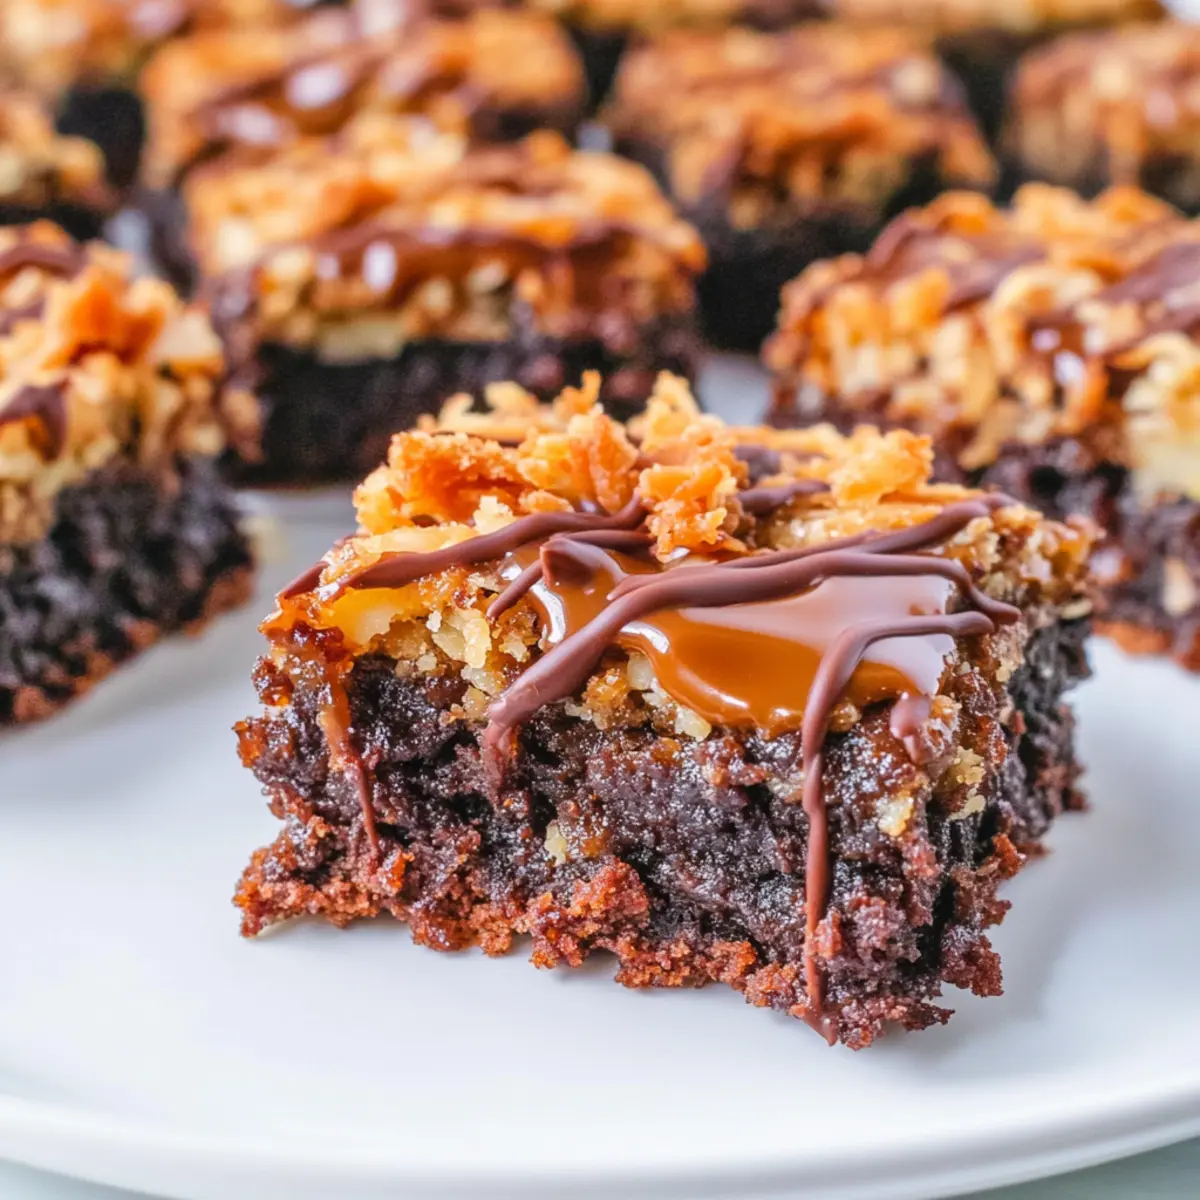
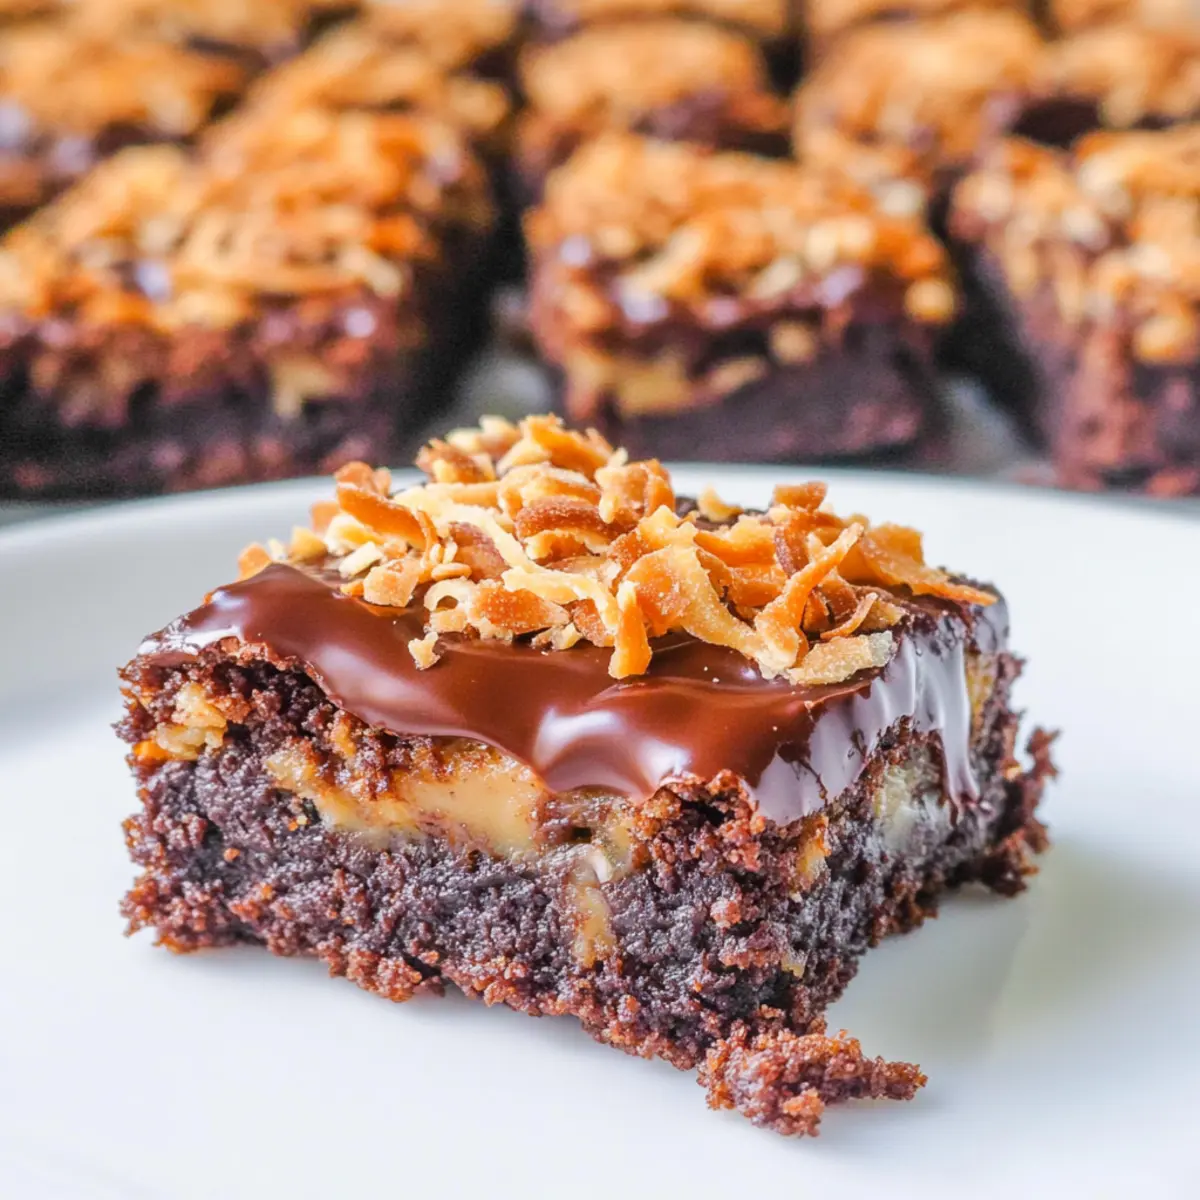
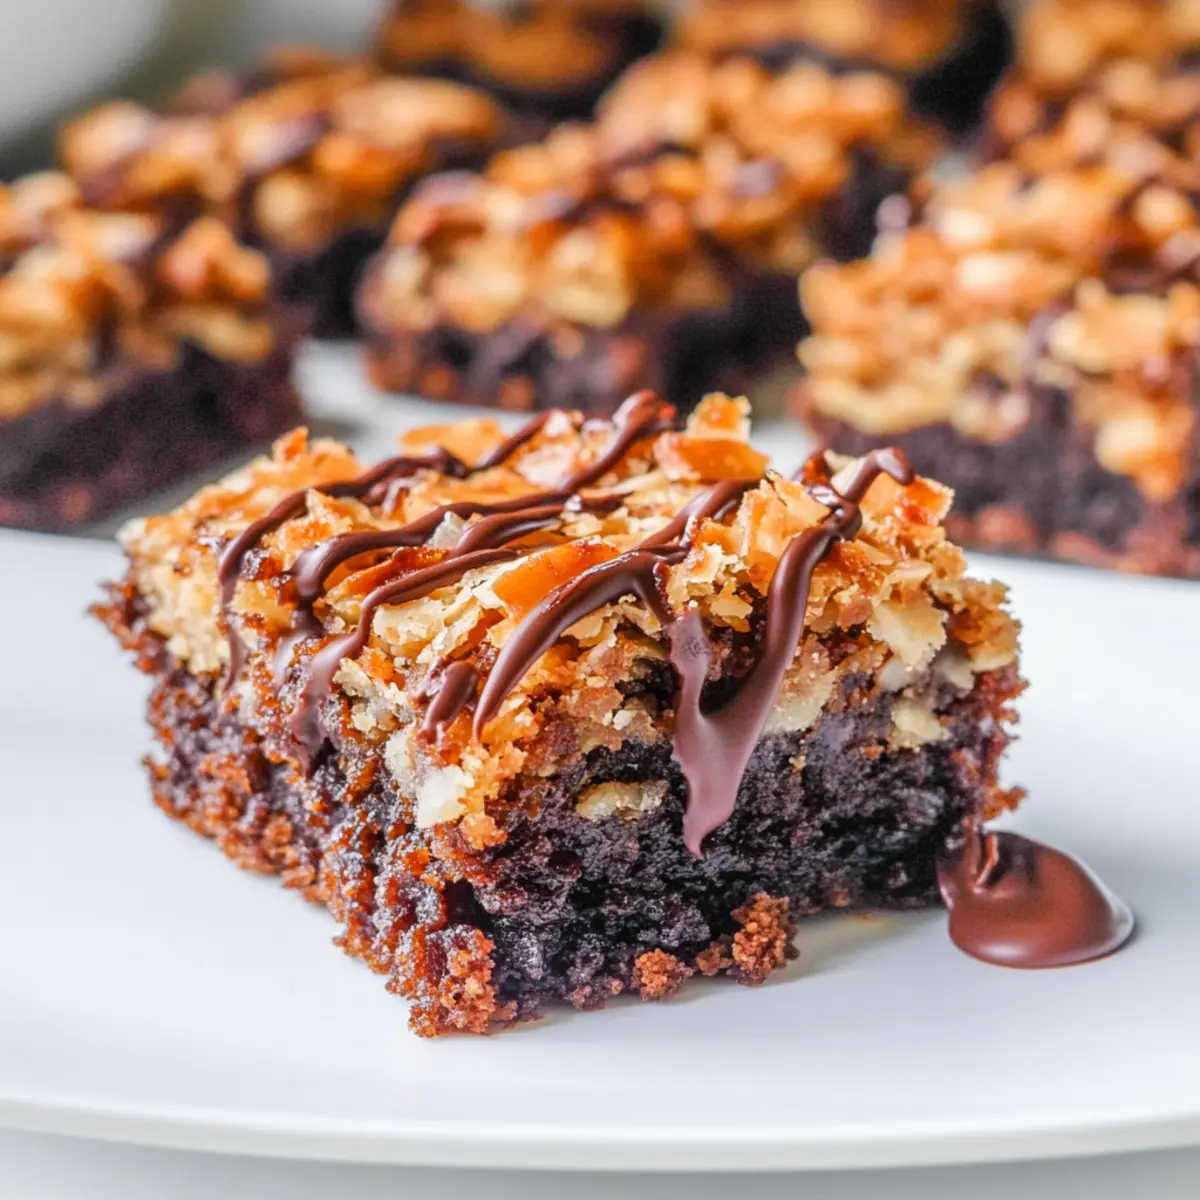
Decadent, Chocolatey Bliss: These Easy Samoa Brownies combine the best of both worlds—a rich chocolate base and delightful toppings that echo the classic Samoa cookie flavors.
Quick and Easy: With minimal effort, you can create a stunning dessert that impresses without the fuss, making it perfect for spontaneous gatherings.
Crowd Pleaser: They’re guaranteed to be a hit at parties, and who can resist the combination of caramel and toasted coconut?
Versatile Variations: Feel free to customize! Try swapping in chopped nuts or a drizzle of dulce de leche for a unique twist.
Whip up these treats and serve them warm with a scoop of vanilla ice cream, or check out my other favorites like Kit Kat Brownies for even more sweet inspiration!
Easy Samoa Brownies Ingredients
For the Brownie Base
• Brownie Mix – A rich and easy base; using a homemade mix can enhance the freshness.
• Vegetable Oil – Keeps brownies moist; you can opt for melted coconut oil for added flavor.
• Eggs – Essential for binding and creating a fudgy texture; follow the instructions on your mix for the correct amount.
• Water – Adjusts the brownie batter’s consistency perfectly.
For the Toppings
• Shredded Coconut – Adds a delightful texture, echoing the classic Samoa cookie; choose sweetened or unsweetened based on your taste.
• Caramel Ice Cream Topping – Provides that sweet finish; you can use homemade caramel for an elevated treat.
• Semi-Sweet Chocolate Chips – A perfect drizzle to complete the brownies; dark chocolate adds an even richer flavor.
These Easy Samoa Brownies are sure to satisfy your sweet tooth while bringing back nostalgic flavors!
Step‑by‑Step Instructions for Easy Samoa Brownies
Step 1: Preheat and Prepare
Start by preheating your oven to 350°F (175°C). While the oven warms up, grab your baking pan (a 9×13 inch works great) and line it with parchment paper, allowing some overhang for easy removal later. This will set the stage for your decadent Easy Samoa Brownies, ensuring an effortless release after baking.
Step 2: Mix the Brownie Batter
In a large mixing bowl, combine your brownie mix, vegetable oil, eggs, and water as per the package instructions. Stir with a whisk or a spatula until the batter is smooth and creamy. This should take about a minute. The rich chocolate color will entice you, giving a hint of the fudgy delight awaiting you!
Step 3: Bake the Brownies
Pour the brownie batter into your prepared baking pan, spreading it evenly. Place the pan in your preheated oven and bake for about 35 minutes, or until a toothpick inserted in the center comes out with a few moist crumbs. Watch closely to avoid over-baking, as you want that perfect fudgy texture for your Easy Samoa Brownies.
Step 4: Toast the Coconut
While the brownies are baking, spread the shredded coconut on a parchment-lined baking sheet. Toast in the oven for about 3-5 minutes, stirring frequently, until golden brown. Keep a watchful eye to prevent burning. The aroma of toasted coconut will fill your kitchen, creating an irresistible anticipation for the upcoming toppings!
Step 5: Cool and Layer
Once the brownies are done baking, remove them from the oven and allow them to cool in the pan for about 10-15 minutes. After cooling, carefully invert onto a cutting board. Pour a generous layer of caramel topping over the brownies, spreading it evenly to capture all that gooey goodness.
Step 6: Add Coconut and Chocolate
Sprinkle the toasted coconut all over the caramel-coated brownies, pressing gently to ensure it sticks. Next, melt the semi-sweet chocolate chips in a microwave-safe bowl in 30-second intervals, stirring until smooth. Drizzle this decadent melted chocolate over the coconut layer, creating a visually stunning finish for your Easy Samoa Brownies.
Step 7: Set and Serve
Transfer the brownies to the refrigerator for at least 30 minutes, allowing the layers to set properly. Once set, use the parchment overhang to lift the brownies out of the pan and slice them into squares. Serve chilled or at room temperature, and enjoy the delicious combination of flavors that will remind you of those beloved Samoa cookies!
What to Serve with Easy Samoa Brownies?
Enhance your dessert experience with delightful pairings that complement the rich flavors of these chocolatey treats.
-
Vanilla Ice Cream: A scoop of creamy vanilla ice cream offers a refreshing contrast to the fudgy brownies, cooling and balancing the sweetness. A classic choice that never disappoints!
-
Whipped Cream: Light and airy, a dollop of freshly whipped cream elevates every bite, adding a silky texture that pairs beautifully with the chewy brownie base.
-
Fresh Berries: Juicy strawberries or raspberries introduce a touch of tartness, cutting through the richness, while bringing vibrant colors to your dessert platter.
-
Coffee or Espresso: The bold flavors of brewed coffee or a rich espresso enhance the chocolate, creating a harmonious balance that delights your palate. It’s a great after-dinner pairing!
-
Chocolate Drizzle: For the ultimate indulgence, drizzle extra melted chocolate over your brownies. It adds an extra layer of decadent flavor and a beautiful presentation!
-
Caramel Sauce: Drizzling warm caramel sauce over your Easy Samoa Brownies enriches their flavor, intensifying the delicious contrast with the toasted coconut topping.
-
Nutty Biscotti: Crunchy biscotti dipped into your coffee makes a nice crunchy addition to the meal, providing a delightful texture contrast and hinting at the tropical twist of coconut.
-
Coconut Macaroons: Pairing these brownies with nutty, chewy coconut macaroons creates an amazing theme that resonates with the flavors of the brownies.
Easy Samoa Brownies Variations
Unlock a world of flavors with these delectable twists that can elevate your Easy Samoa Brownies!
- Nutty Delight: Swap the shredded coconut for chopped pecans or walnuts to add a satisfying crunch.
- Gourmet Caramel: Use homemade caramel instead of store-bought for that extra touch of indulgence. Your taste buds will thank you!
- Dark Chocolate Bliss: Substitute semi-sweet chocolate chips with rich dark chocolate for a deeper flavor profile.
- Fruity Surprise: Fold in some dried fruit, like cherries or apricots, into the brownie mix for a chewy surprise.
- Flavor Boost: Add a splash of coffee or espresso powder to the batter for a subtle yet delightful coffee flavor.
- A Toasted Twist: Toast your coconut with a sprinkle of cinnamon for a warm, aromatic kick—perfect for cozy evenings.
- Alternative Bases: Try using a gluten-free brownie mix or a vegan alternative to suit dietary needs without sacrificing taste.
- Saucy Drizzle: Top them with a drizzle of dulce de leche instead of caramel for a luscious, creamy twist.
Feeling adventurous? Each variation invites you to get creative in the kitchen! And don’t forget, warm brownies served with a scoop of vanilla ice cream is a timeless classic. For more indulgent ideas, check out my Cannoli Squares or treat yourself to some Kit Kat Brownies for a delightful change!
Storage Tips for Easy Samoa Brownies
Room Temperature: Store brownies in an airtight container at room temperature for up to 3 days. This keeps them fresh while maintaining their fudgy texture.
Fridge: For longer freshness, refrigerate your Easy Samoa Brownies for up to one week. They can become even more flavorful as they chill!
Freezer: To freeze, wrap brownies tightly in plastic wrap and place them in an airtight container. They’ll last for up to two months, ready to enjoy whenever a craving strikes.
Reheating: To revive the brownies after freezing, let them thaw in the fridge overnight or warm them gently in the microwave for a few seconds. Enjoy that delightful, gooey goodness once more!
Make Ahead Options
These Easy Samoa Brownies are a fantastic choice for meal prep, making your dessert days easier and stress-free! You can prepare the brownie base up to 24 hours in advance by mixing it and storing it in an airtight container in the refrigerator. The toasted coconut can be prepped ahead as well; simply toast it and store it in an airtight container at room temperature for up to 3 days. When you’re ready to enjoy, bake the brownies, let them cool, then pour on the caramel, add the coconut, and drizzle the chocolate—resulting in a delightful treat that’s just as delicious as when made fresh!
Helpful Tricks for Easy Samoa Brownies
-
Watch the Timer: Keep an eye on the brownies while they bake to avoid over-baking; they should be fudgy and slightly underdone in the center.
-
Cool Completely: Allow the brownies to cool entirely before cutting; this prevents them from crumbling and gives a clean edge for serving.
-
Toast with Care: When toasting coconut, stir frequently and monitor closely; it can quickly go from perfect to burnt.
-
Chocolate Drizzle: Melt chocolate in short intervals to prevent scorching. A smooth chocolate drizzle elevates the overall look of your Easy Samoa Brownies.
-
Experiment with Flavors: Don’t hesitate to switch toppings! Chopped nuts or dulce de leche can bring a new twist and adapt the brownies to your family’s taste preferences.
Easy Samoa Brownies Recipe FAQs
What type of brownie mix should I use for Easy Samoa Brownies?
You can use your favorite boxed brownie mix for these Easy Samoa Brownies. If you’re feeling adventurous, I recommend making a homemade brownie mix for a fresher taste and more personalized flavor.
How should I store Easy Samoa Brownies?
Store your Easy Samoa Brownies in an airtight container at room temperature for up to 3 days. If you want them to last a bit longer, refrigerate them for up to one week; the cold can sometimes enhance their flavor!
Can I freeze Easy Samoa Brownies and how?
Absolutely! To freeze your Easy Samoa Brownies, wrap them tightly in plastic wrap and place them in an airtight container. They can stay perfectly delightful for up to two months. When you’re ready to indulge again, just let them thaw in the fridge overnight or warm them in the microwave for a few seconds—yum!
What if my brownies are too dry or crumbly?
If your brownies come out dry or crumbly, they may have been over-baked. To remedy this in future batches, monitor the baking time carefully; you want a toothpick with some moist crumbs when testing doneness. Another tip to try is ensuring your ingredients (especially the eggs) are at room temperature before mixing, which helps create the fudgy texture.
Can I make these brownies gluten-free?
Yes! You can easily make these brownies gluten-free by using a gluten-free brownie mix. Just follow the instructions on the package, and you’ll still achieve that delicious Samoa-inspired flavor without the gluten. Such flexibility makes these Easy Samoa Brownies perfect for different dietary needs!
Easy Samoa Brownies: Decadent Treats for Every Sweet Tooth
Ingredients
Equipment
Method
- Preheat your oven to 350°F (175°C) and line a baking pan (9x13 inch) with parchment paper.
- In a large mixing bowl, combine brownie mix, vegetable oil, eggs, and water. Stir until smooth.
- Pour brownie batter into the prepared pan and bake for about 35 minutes, until a toothpick comes out with a few moist crumbs.
- Spread shredded coconut on a baking sheet and toast in the oven for about 3-5 minutes until golden brown.
- Once brownies are baked, allow to cool in the pan for 10-15 minutes, then pour caramel topping over.
- Sprinkle toasted coconut over caramel and drizzle melted semi-sweet chocolate on top.
- Refrigerate for at least 30 minutes to let layers set before slicing into squares.
Leave a Reply