
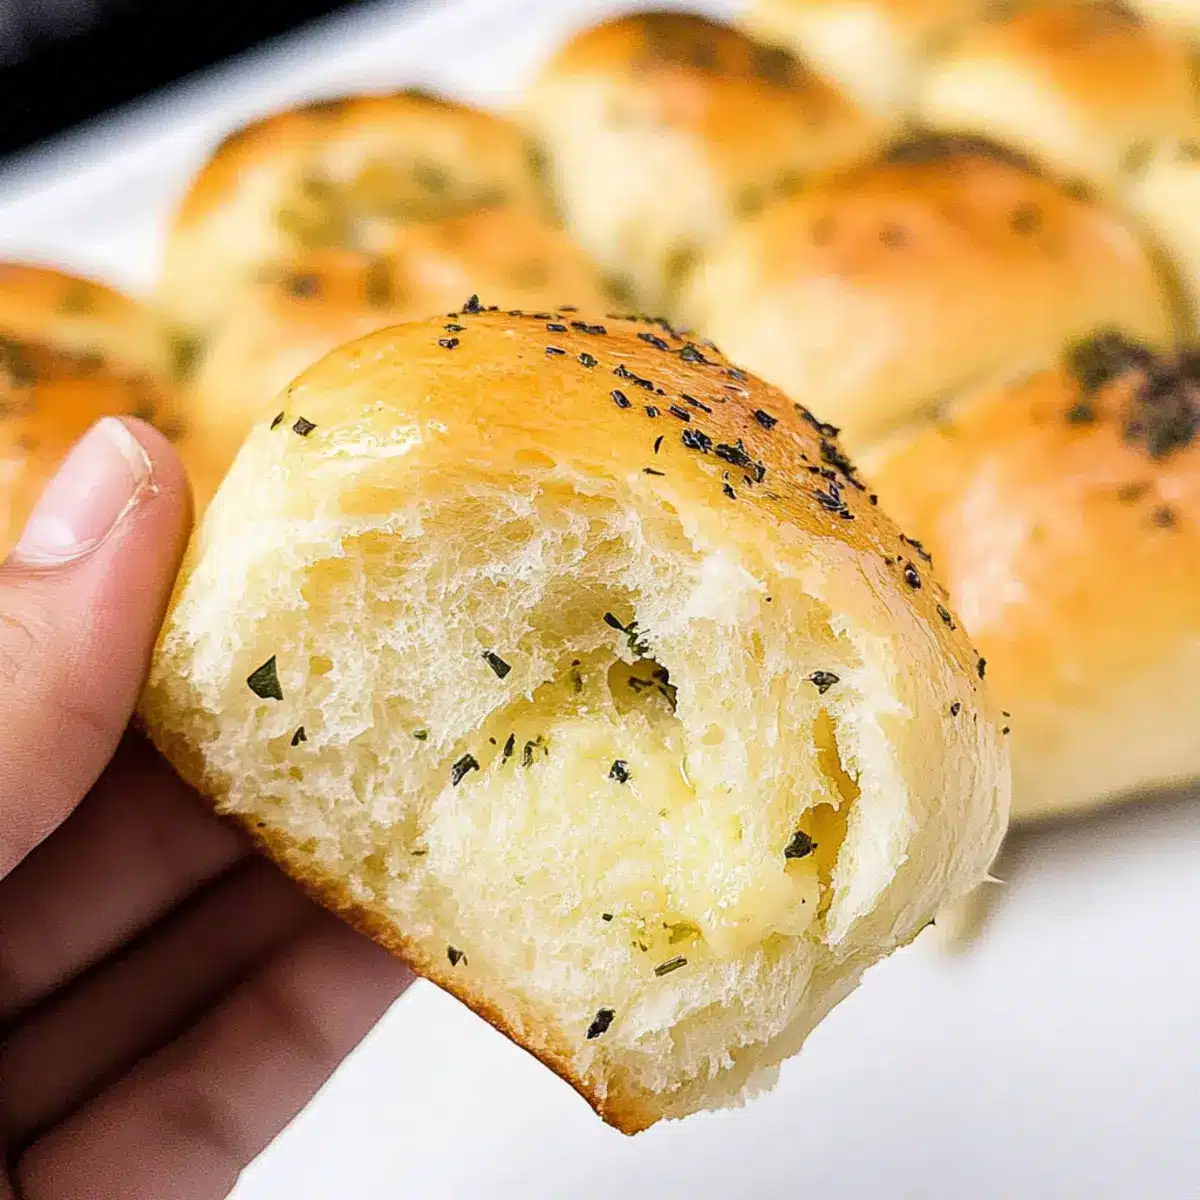
The kitchen filled with a tantalizing aroma that carried memories from my childhood—the scent of freshly baked bread, mingled with savory garlic. These Fluffy Garlic Dinner Rolls have become a staple at my table, effortlessly transforming any meal into a special occasion. Not only are they a comforting addition to holiday feasts and family dinners, but their simple preparation makes them achievable for even the most novice bakers. With just a handful of ingredients, these delightful rolls promise a soft, airy texture that pulls apart effortlessly, inviting you to savor each buttery, garlicky bite. Ready to elevate your dinner experience and impress your loved ones? Let’s dive into this homemade bread adventure together!
Why Are These Dinner Rolls A Must?
Aromatic Experience: The mouthwatering scent of garlic and fresh herbs fills your kitchen, creating an inviting atmosphere that delights anyone nearby.
Unmatched Comfort Food: These Garlic Dinner Rolls are the epitome of comfort food, perfect for cozy dinners or festive gatherings.
Effortlessly Simple: With just a few simple ingredients, even beginner bakers can master this recipe and impress their friends and family.
Perfect Pairing: Pair them with your favorite dishes, whether it’s a hearty soup or a pasta dish, these rolls add an irresistible touch.
Time Saver: With methods like overnight refrigeration for a slow rise, you can prepare ahead, making mealtime stress-free while still serving delightful, fresh rolls.
Ready to make more homemade treats? Check out my Garlic Parmesan Crockpot Chicken and Potatoes for an easy pairing option!
Garlic Dinner Rolls Ingredients
For the Dough
• Whole Milk – Activates the yeast and adds moisture; warm to 110-115°F for best results.
• Active Dry Yeast – The leavening agent that helps the dough rise; ensure it’s fresh for activation.
• Granulated Sugar – Sweetness that feeds yeast and aids in browning; you’ll need two tablespoons plus one teaspoon.
• Large Eggs – Provide richness and structure to the rolls.
• Unsalted Butter – Adds flavor and moisture; should be melted and cooled before use.
• Garlic Powder – Infuses a hint of garlic flavor throughout the rolls.
• Salt – Enhances flavor and strengthens gluten structure.
• Bread Flour – Essential for creating a light, airy texture; all-purpose flour can be used but yields less height.
For the Herbs
• Fresh Chopped Rosemary – Adds a fragrant herbaceous note to the rolls.
• Fresh Parsley – Brightens the flavor profile; chop finely and pat dry before adding.
• Dried Oregano – Complements the garlic and herb flavors perfectly.
For the Garlic Herb Butter
• Garlic Herb Butter – A mix of melted butter, Italian seasoning, and minced garlic, used for brushing on the rolls before and after baking to enhance flavor and aroma.
With these Garlic Dinner Rolls ingredients on hand, you’re just moments away from a baking experience that will fill your home with warmth and delightful aromas. Happy baking!
Step‑by‑Step Instructions for Garlic Dinner Rolls
Step 1: Activate Yeast
In a small bowl, combine warm whole milk (110-115°F), sugar, and active dry yeast. Allow the mixture to sit for 10-15 minutes until it becomes foamy and bubbly, which indicates that the yeast is activated and ready. This step is crucial to ensure your Garlic Dinner Rolls rise beautifully.
Step 2: Prepare Dough
In a stand mixer fitted with a dough hook, add the foamy yeast mixture, followed by the large eggs, melted butter, garlic powder, and salt. Gradually mix in the bread flour, one cup at a time, until a sticky dough starts to form. This dough will be the foundation of your fluffy Garlic Dinner Rolls.
Step 3: Knead Dough
Knead the dough on high speed for about 3 minutes using the mixer, or manually for 8-10 minutes until the dough is smooth and slightly sticky. The dough should be elastic yet hold its shape. As you knead, incorporate the fresh chopped rosemary, parsley, and dried oregano, ensuring even distribution of the herbs throughout the dough.
Step 4: First Rise
Shape the kneaded dough into a ball and place it in a greased bowl, turning it to coat all sides with oil. Cover the bowl with a clean kitchen towel and let it rise in a warm spot for about 1 hour or until it has doubled in size. This first rise is crucial for achieving the airy texture of your Garlic Dinner Rolls.
Step 5: Shape Rolls
Once the dough has risen, punch it down gently to remove gas pockets, then transfer it to a floured surface. Divide the dough into 12 equal pieces and shape each piece into a smooth ball. Place the rolls in a greased baking pan, cover with a towel, and allow them to rise again for 1 to 1.5 hours, or until they have doubled in size.
Step 6: Preheat Oven
As the rolls complete their second rise, preheat your oven to 350°F. This ensures your Garlic Dinner Rolls are baked evenly and come out perfectly golden brown. The aroma of warm, rich bread filling your kitchen will make the wait even more enticing.
Step 7: Garlic Herb Butter
While the oven preheats, prepare the garlic herb butter by mixing melted butter, Italian seasoning, and minced garlic in a small bowl. Brush the risen rolls generously with this aromatic butter, ensuring each roll is coated for an extra boost of flavor.
Step 8: Bake
Carefully transfer the baking pan to your preheated oven and bake the rolls for 18-20 minutes, or until they are golden brown and sound hollow when tapped. Optional: Brush with additional garlic herb butter right after baking for an extra layer of flavor. Allow the rolls to cool slightly before serving, and get ready to indulge in their delightful, garlicky goodness!
Expert Tips for Garlic Dinner Rolls
-
Perfect Temperature: Ensure your milk is warm (110-115°F) to activate yeast properly. Too hot can kill the yeast, resulting in no rise.
-
Frothy Yeast Check: If your yeast mixture doesn’t foam after 15 minutes, it may be old or inactive. Start over with fresh yeast for successful Garlic Dinner Rolls.
-
Kneading Technique: When kneading, aim for smooth, slightly sticky dough. Avoid adding too much flour, as this can lead to denser rolls.
-
Warm Rising Spot: Utilize your microwave for a cozy rising environment. Microwave a mug of water, place it in the oven, and keep the dough inside, covered.
-
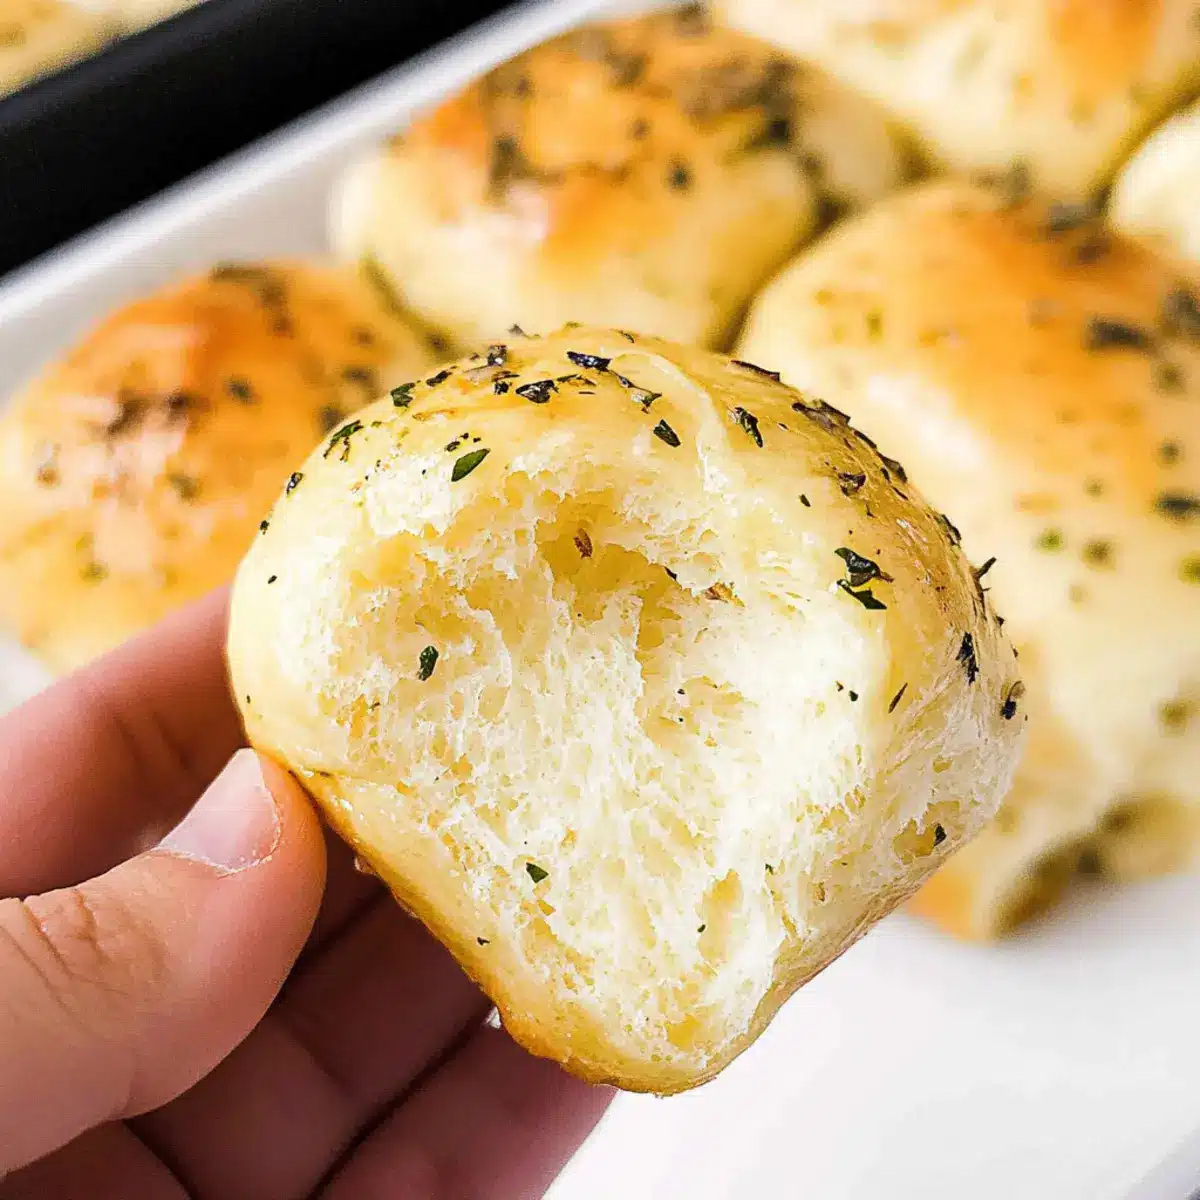
Even Herb Distribution: When mixing in fresh herbs like parsley and rosemary, ensure they’re evenly incorporated to enhance the flavor of each roll.
Make Ahead Options
These fluffy Garlic Dinner Rolls are a fantastic choice for meal prep enthusiasts! You can shape the rolls and refrigerate them for up to 24 hours before baking, allowing for a slow rise that enhances their flavor and texture. To do this, simply follow the instructions up to the second rise (Step 5), then cover the shaped rolls with plastic wrap and place them in the fridge. When you’re ready to bake, take them out, let them sit at room temperature for about 30 minutes, and preheat your oven to 350°F. The rolls will bake just as beautifully, offering the same soft, airy delight for your family meals! By preparing ahead, you save precious time on busy nights while still enjoying warm, homemade garlic goodness.
Garlic Dinner Rolls Variations & Substitutions
Feel free to customize these delightful rolls to match your taste preferences and dietary needs!
- Dairy-Free: Substitute whole milk with almond or oat milk, and use coconut oil or vegan butter for a plant-based twist.
- Cheesy Flavor Boost: Mix in shredded mozzarella or parmesan cheese for a melty, cheesy version that adults and kids alike will love.
- Herb Explosion: If rosemary isn’t your favorite, fresh thyme or chives can bring a new depth of flavor to these rolls.
- Roasted Garlic: Replace garlic powder with roasted garlic for a sweeter, deeper garlic flavor that’s simply irresistible.
- Whole Wheat: Use whole wheat flour instead of bread flour for a healthier twist; it will add a nutty flavor and a bit more texture to the rolls.
- Spicy Kick: Add crushed red pepper flakes to the dough for a subtle heat that complements the garlic.
- Onion Twist: Incorporate finely chopped sautéed onions into the dough for a savory surprise in every bite.
- Sweet Touch: Add a tablespoon of honey into the dough for a hint of sweetness, balancing perfectly with the garlic.
If you’re keen on more delicious homemade ideas, don’t forget to check out my Lemon Garlic Butter Cod for a delightful seafood option to enjoy alongside your rolls!
What to Serve with Fluffy Garlic Dinner Rolls
Elevate your meal with these delightful accompaniments that perfectly complement the warm, buttery goodness of your freshly baked rolls.
-
Creamy Tomato Soup: The rich, tangy flavor of tomato soup creates a delicious contrast, inviting you to dip and savor every moment. This hearty blend highlights the garlic rolls’ savory taste, making every bite a comforting experience.
-
Herbed Roasted Chicken: Juicy, succulent chicken seasoned with fresh herbs harmonizes beautifully with the rolls. The garlic notes in both dishes create a delightful symphony of flavors on your plate.
-
Mixed Green Salad: A vibrant salad with a zesty vinaigrette offers a refreshing crunch that balances the soft, fluffy texture of the rolls. Toss in some nuts or cheese for added depth and enjoy the colorful explosion of flavors.
-
Garlic Mashed Potatoes: What’s better than doubling down on garlic? Creamy mashed potatoes, loaded with garlic and butter, pair together perfectly with your dinner rolls, creating an irresistible, indulgent concoction your family will love.
-
Savory Stews: A hearty beef or vegetable stew offers warmth and depth, inviting you to mop up every last drop with a roll. The comforting flavors of the stew harmonize beautifully with the garlicky, herby notes of the bread.
-
Moscato or Chardonnay: These wines add a touch of sweetness and complement the rolls’ garlic butter beautifully, making your meal feel even more special. Sip and savor as you enjoy the burst of flavors in each dish.
Let the aroma of fresh garlic rolls fill your home and delight shared moments over a full meal that nourishes both heart and soul!
How to Store and Freeze Garlic Dinner Rolls
Room Temperature: Store any leftover garlic dinner rolls in an airtight container at room temperature for up to 3 days to maintain their soft texture.
Fridge: For longer storage, you can refrigerate them in an airtight container for up to a week. Reheat in the microwave or oven before serving to refresh their fluffy nature.
Freezer: Baked rolls can be frozen for up to one month. Wrap each roll tightly in plastic wrap followed by aluminum foil to prevent freezer burn. Thaw overnight in the fridge and reheat gently before serving.
Reheating: To reheat, place the rolls in a preheated oven at 350°F for about 10 minutes or until warmed through. Enjoy their delightful garlicky flavor all over again!
Garlic Dinner Rolls Recipe FAQs
What is the best way to choose ripe ingredients for my Garlic Dinner Rolls?
Absolutely! For the best results, choose whole milk that is fresh and slightly warm (around 110-115°F) to activate the yeast properly. Additionally, use fresh active dry yeast—check the expiration date on the package—since old yeast can lead to flat rolls. The garlic powder should be aromatic and not clumpy, and fresh herbs like parsley and rosemary should be vibrant and without dark spots for optimal flavor.
How should I store my leftover Garlic Dinner Rolls?
Once you’ve baked these delightful rolls, store any leftovers in an airtight container at room temperature for up to 3 days. If you’d like to preserve them longer, refrigerating them in an airtight container can keep them fresh for about a week. Just remember to reheat them gently in the microwave or oven to refresh their fluffy texture!
Can I freeze my Garlic Dinner Rolls, and how do I do it?
Yes, you can freeze these Garlic Dinner Rolls for up to one month! Ensure they are completely cooled before wrapping each roll tightly in plastic wrap, followed by aluminum foil to prevent freezer burn. For serving, simply thaw them overnight in the fridge and then reheat in a preheated oven at 350°F for about 10 minutes to enjoy their delightful garlicky flavor again!
What can I do if my Garlic Dinner Rolls don’t rise properly?
If your rolls fail to rise, there might be a few reasons. Firstly, ensure your milk was warm enough (110-115°F) to activate the yeast. Check if the yeast mixture foamed after 15 minutes—if not, you may need to start over with fresh yeast. Also, avoid overworking the dough; it should be slightly sticky but hold its shape. If the dough feels too dry, add a bit more liquid until you achieve the right consistency.
Are these Garlic Dinner Rolls suitable for people with allergies?
When considering dietary restrictions, note that this recipe contains common allergens, including gluten from bread flour and dairy from whole milk and butter. For those who are gluten-sensitive, you can experiment with gluten-free flour blends, though this may change the texture. If you’re catering for dairy sensitivities, try using non-dairy milk and a dairy-free butter alternative to enjoy these rolls without compromising on flavor.
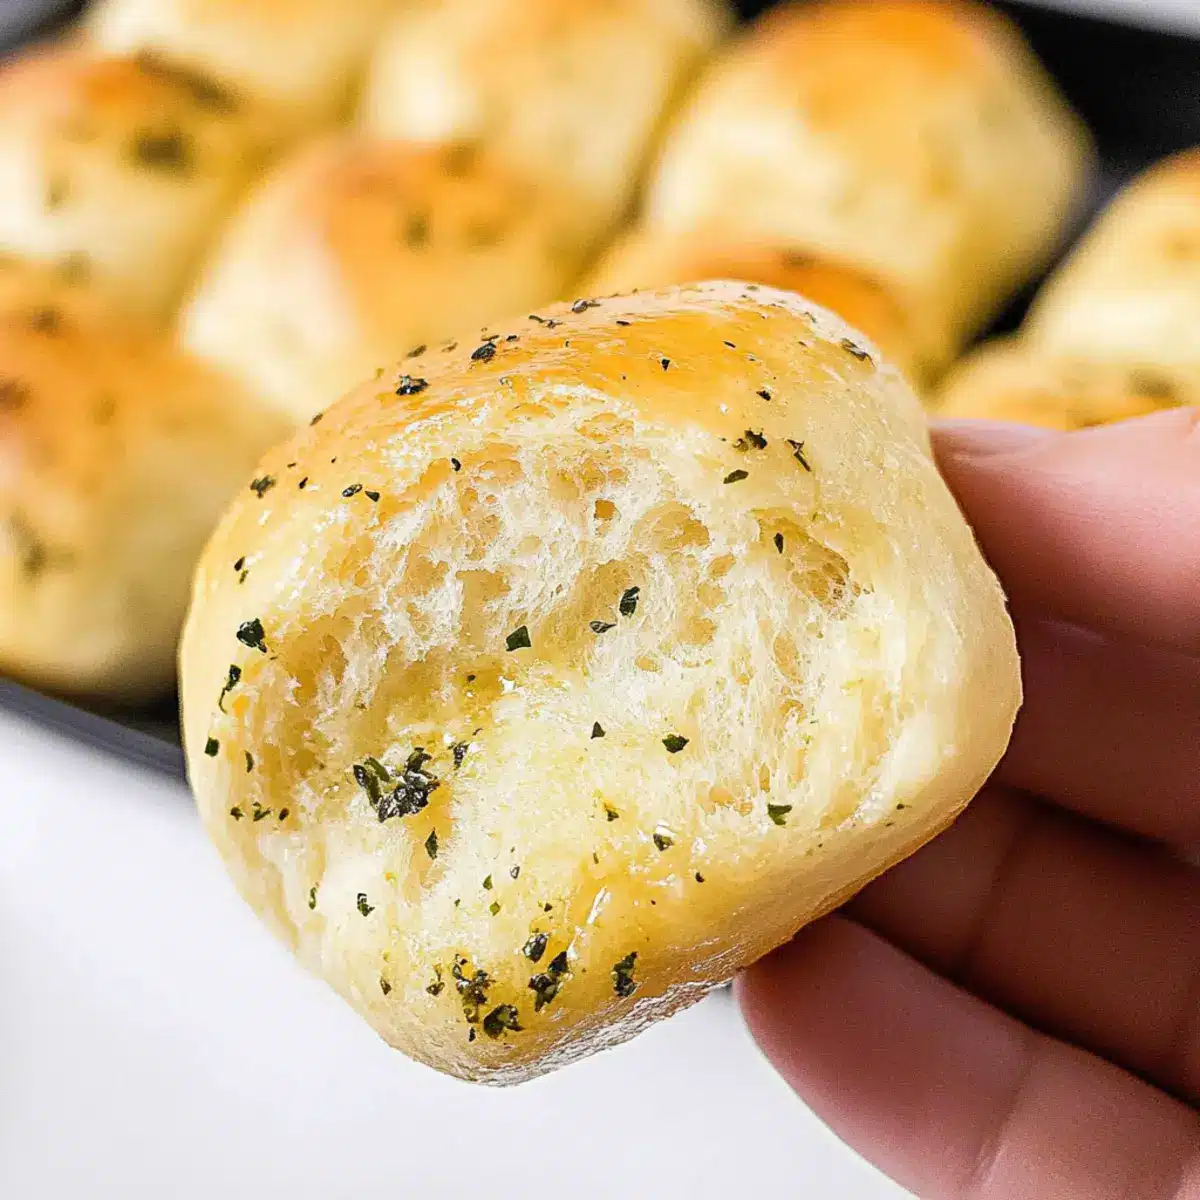
Irresistibly Soft Garlic Dinner Rolls You'll Love to Make
Ingredients
Equipment
Method
- In a small bowl, combine warm whole milk, sugar, and active dry yeast. Allow to sit for 10-15 minutes until foamy.
- In a stand mixer, add foamy yeast mixture, large eggs, melted butter, garlic powder, and salt. Gradually mix in bread flour until sticky dough forms.
- Knead the dough on high speed for about 3 minutes or manually for 8-10 minutes until smooth and slightly sticky. Incorporate herbs evenly.
- Shape kneaded dough into a ball and place in a greased bowl. Cover and let rise in a warm spot for about 1 hour until doubled in size.
- Punch down the risen dough, transfer to a floured surface, divide into 12 pieces, shape into balls, and place in a greased baking pan. Let rise again for 1 to 1.5 hours.
- Preheat your oven to 350°F while rolls complete second rise.
- Mix melted butter, Italian seasoning, and minced garlic for garlic herb butter. Brush risen rolls generously with this mixture.
- Transfer baking pan to preheated oven and bake for 18-20 minutes or until golden brown. Optional: Brush with additional garlic herb butter after baking.
Leave a Reply