
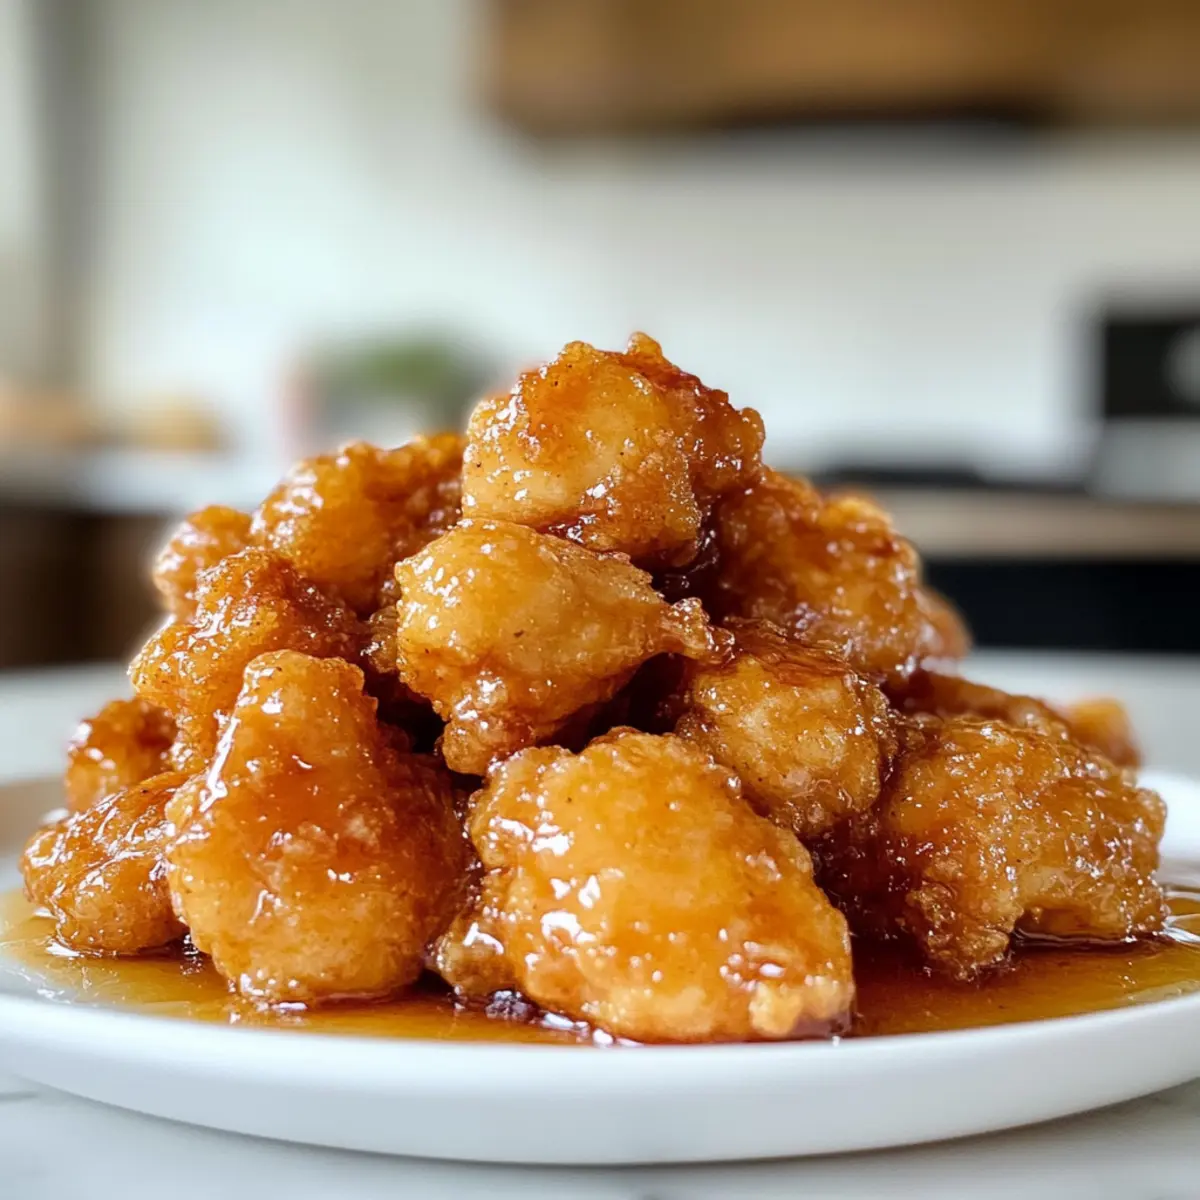
As I stood in my kitchen the other night, I found myself in a delightful mini crisis: what to make for dinner that wouldn’t take an eternity and still knock everyone’s socks off? Enter my 30-Minute Honey Butter Chicken—a quick meal that combines the crispy, juicy goodness of perfectly cooked chicken with a sweet and savory glaze. Whether you’re a busy professional or a home chef eager to impress, this dish is a game changer! It’s not just quick to whip up; it can easily be adapted for gluten-free and dairy-free diets, making it versatile enough for anyone at your table. Serve it alongside rice or creamy mashed potatoes, and you’ll have a satisfying, restaurant-quality dinner in no time. Ready to bring a little sweetness into your weeknight routine?
Why is Honey Butter Chicken a Must-Try?
Quick Meal: In just 30 minutes, you can transform simple ingredients into a feast your family will adore.
Savory-Sweet Delight: The sticky honey glaze balances luscious sweetness with savory garlic notes, making each bite irresistible.
Versatile Options: Whether you prefer gluten-free options or want to spice it up with cayenne, this recipe easily adapts to meet your dietary needs.
Crowd-Pleaser: It’s perfect for families and guests, bringing everyone together around a satisfying meal. If you love easy and delightful dinners, don’t miss out on pairing this dish with our Cheddar Bay Chicken for an unforgettable experience!
Honey Butter Chicken Ingredients
• Here’s everything you need to create this delightful dish!
For the Chicken
- Boneless Chicken Thighs or Tenders – Thighs are juicier and ideal for frying, but breasts can be substituted if you prefer.
For the Coating
- All-Purpose Flour – This gives the chicken its crispy crust; feel free to use gluten-free flour for a safe substitute.
- Kosher Salt – Enhances the overall flavor of the dish; you can also use sea salt or flakey salt.
- Black Pepper – Adds an extra kick; adjust the amount according to your taste preference.
- Garlic Powder – A great seasoning to boost flavor; opt for your favorite brand for the best taste.
For Frying
- Olive Oil (or canola/vegetable oil) – Extra virgin olive oil is the best choice for flavor during shallow frying.
For the Sauce
- Unsalted Butter – This ingredient is crucial for the richness of the sauce; avoid margarine or coconut oil for the best results.
- Honey – Essential for sweetness and stickiness; pick a high-quality brand for optimal flavor.
- Minced Garlic – Freshly minced garlic brings depth over frozen or powdered options.
- Light Soy Sauce – Adds umami and complexity to the sauce; this will elevate the total flavor profile.
Now that you have all the ingredients, you’re ready to dive into making this delicious Honey Butter Chicken that will have everyone asking for seconds!
Step‑by‑Step Instructions for Honey Butter Chicken
Step 1: Prepare the Coating
In a large bowl, whisk together 1 cup of flour, 1 teaspoon of kosher salt, 1 teaspoon of black pepper, and 1 teaspoon of garlic powder. This flour mixture will provide a deliciously crispy coating for your Honey Butter Chicken. Make sure the ingredients are well combined to evenly season the chicken, setting the stage for a mouthwatering dinner.
Step 2: Coat the Chicken
Take your boneless chicken thighs or tenders and cut them into bite-sized pieces if needed. Toss them gently in the flour mixture, ensuring each piece is evenly coated. For the best results, let the coated chicken rest for a few minutes on a plate while you heat the oil; this helps the coating adhere better during frying.
Step 3: Heat the Oil
In a large skillet, pour in about 1/2 inch of olive oil and heat it over medium-high heat. Aim for a temperature of approximately 350°F; a sprinkle of flour should sizzle upon contact. This ensures your Honey Butter Chicken will turn golden and crispy, creating that irresistible crust we all love.
Step 4: Fry the Chicken
Once the oil is ready, carefully add the coated chicken pieces in a single layer. Fry them for about 5–7 minutes on each side, or until they are golden brown and cooked through. Avoid overcrowding the pan; instead, fry in batches if needed. Once done, use tongs to transfer the chicken to a plate lined with paper towels to absorb excess oil.
Step 5: Make the Sauce
In the same skillet, reduce the heat to medium and add 1/2 cup of unsalted butter. Let it melt and bubble before adding 1/2 cup of honey, 1 tablespoon of light soy sauce, and 2 cloves of minced garlic. Stir the mixture for about 2 minutes, allowing it to thicken slightly and become fragrant, enhancing the flavor profile of your Honey Butter Chicken.
Step 6: Combine Chicken and Sauce
After the sauce has reached the right consistency, gently add the fried chicken back into the skillet. Stir well to coat each piece thoroughly, making sure the sauce clings beautifully to the crispy chicken. Heat it together for an additional minute, ensuring everything is warm and evenly coated in that sweet and savory glaze.
Step 7: Serve and Enjoy
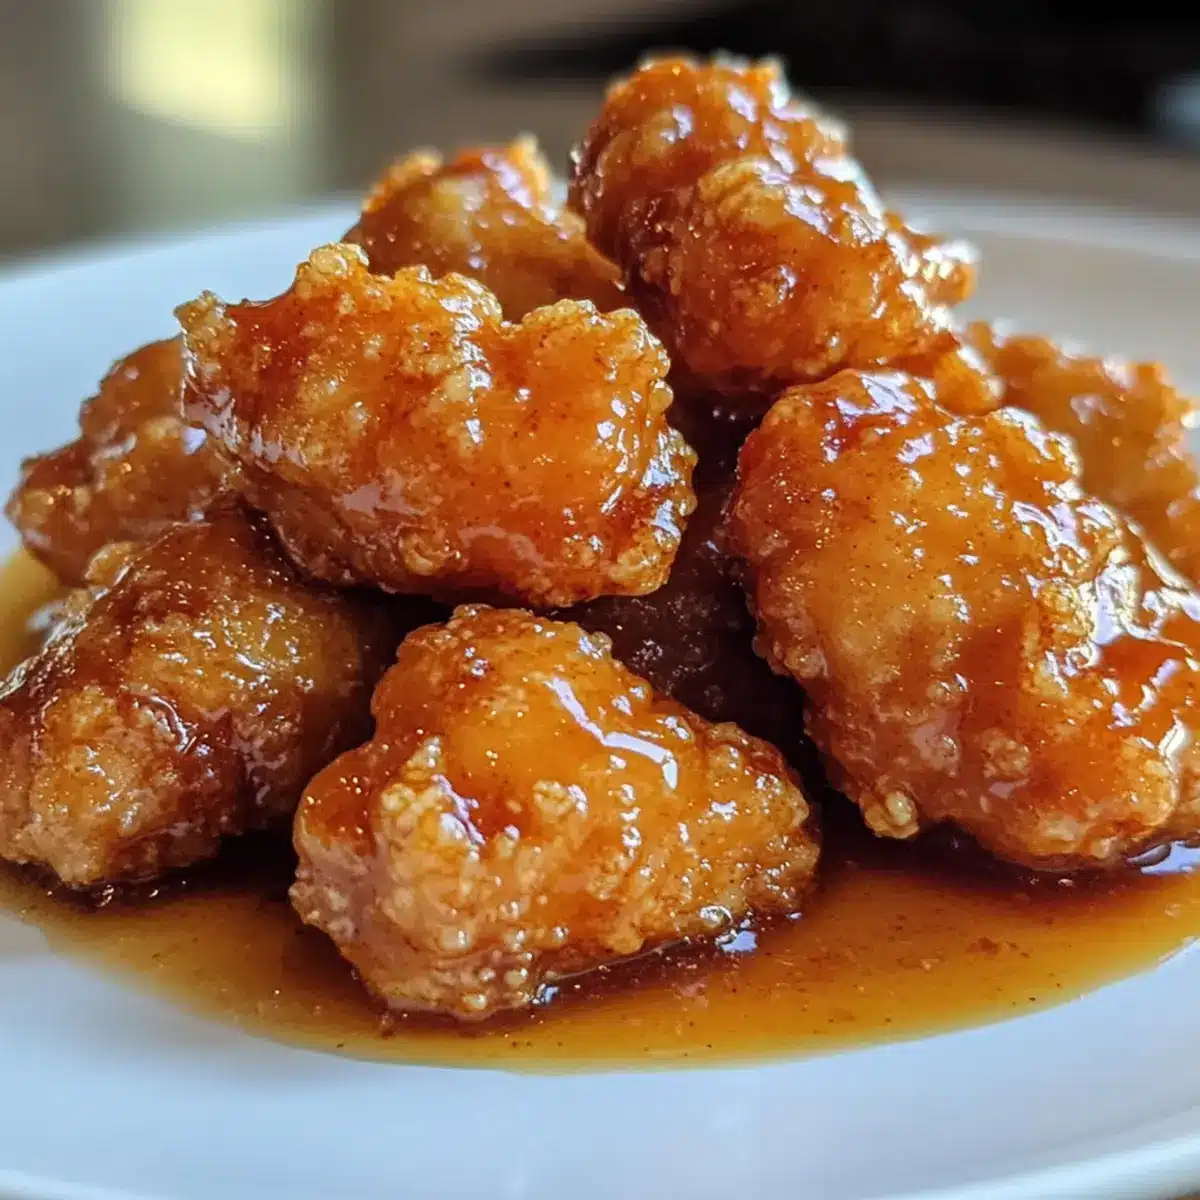
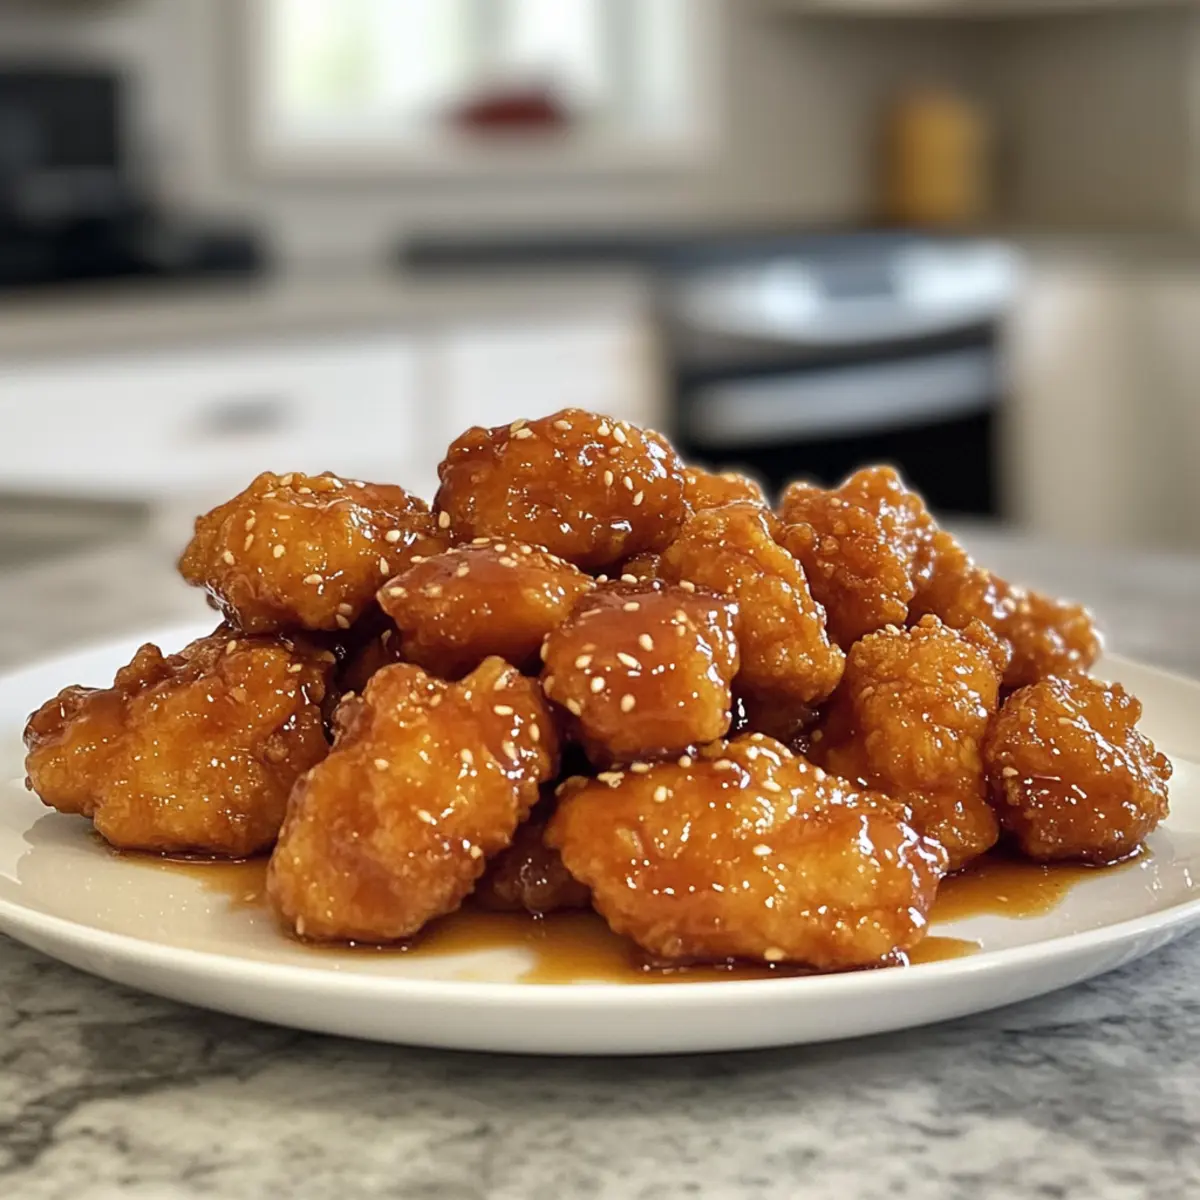
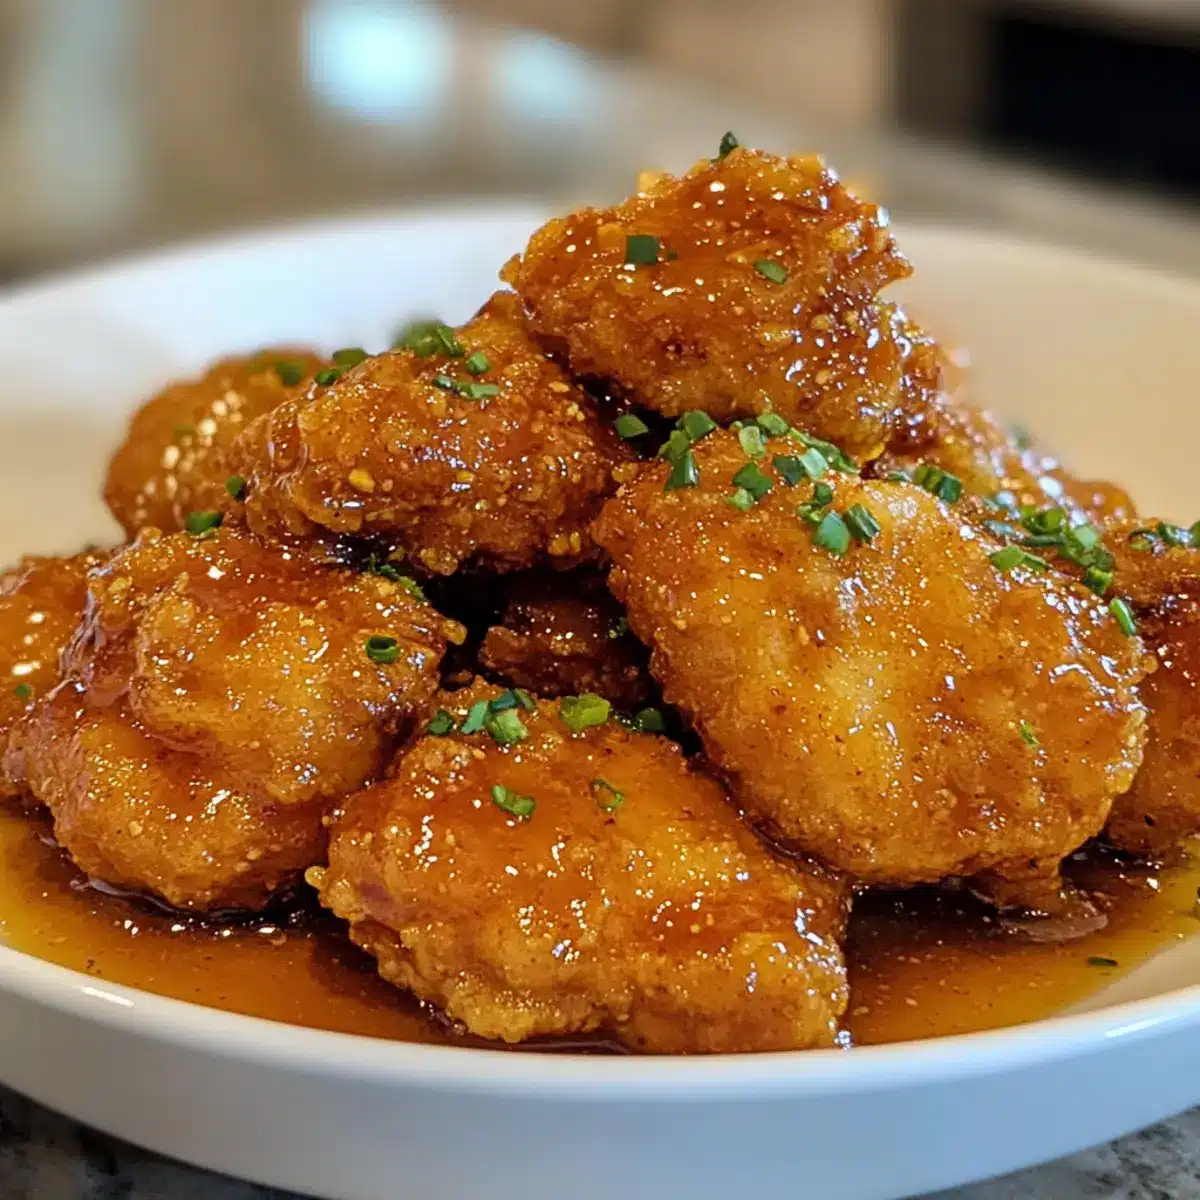
Once all the delicious Honey Butter Chicken pieces are well-coated and heated, it’s time to serve! Plate your crispy chicken alongside rice or mashed potatoes for a hearty meal. The sweet, sticky glaze and crunchy texture will make this dish a favorite at your table—enjoy every bite!
How to Store and Freeze Honey Butter Chicken
Fridge: Store leftover Honey Butter Chicken in an airtight container for up to 3 days. This keeps it fresh and flavorful, ready to enjoy again.
Freezer: You can freeze the chicken for up to 3 months. Place it in a freezer-safe container, ensuring it’s well-wrapped to prevent freezer burn.
Reheating: When ready to eat, reheat in the microwave or oven at 350°F (175°C) until heated through, about 10–15 minutes, for the best texture.
Tips: If reheating from frozen, allow the chicken to thaw overnight in the fridge for even cooking.
Honey Butter Chicken Variations
Feel free to let your creativity shine as you customize this delectable dish! With just a few tweaks, you can elevate flavors or accommodate different dietary needs.
-
Gluten-Free: Use gluten-free flour for the coating. This swap allows everyone to enjoy the crispy goodness without compromise.
-
Dairy-Free: Replace unsalted butter with vegan butter. This keeps the richness intact while catering to dairy sensitivities.
-
Spicy Kick: Add a teaspoon of cayenne pepper to the sauce for a mouthwatering heat. It’s the perfect way to transform this dish into a spicy sensation!
-
Herbed Delight: Mix in fresh herbs, like thyme or rosemary, into the final sauce for an aromatic twist. This small addition will breathe new life into the classic honey butter flavor.
-
Honey Alternatives: Experiment with maple syrup or agave nectar for a different sweet flavor profile while still keeping that sticky goodness.
-
Crunchy Texture: Toss in some crushed cornflakes or panko breadcrumbs with the flour for an extra crunchy coating. Who could resist that delightful crunch?
-
Baked Option: For a healthier twist, bake the coated chicken in the oven at 400°F (200°C) for 20–25 minutes instead of frying. This way, you still get a lovely golden exterior without the oil!
-
Flavorful Marinade: Marinate the chicken in a mix of soy sauce, garlic, and a splash of lemon juice before coating to pack an extra punch of flavor. This can make the dish even more irresistible.
If you’re looking for more delicious recipes to pair, consider trying our delightful Slow Cooker Chicken or the tantalizing flavors of Dolly’s Chicken and Stuffing Casserole. Happy cooking!
Expert Tips for Honey Butter Chicken
- Crust Perfection: Allow the chicken to fry undisturbed for about 5 minutes on each side to form a beautiful, crunchy crust.
- Quality Butter: Always use unsalted butter for the sauce; margarine can alter the delightful flavor of your Honey Butter Chicken.
- Adjust Seasoning: Taste the sauce after mixing in all ingredients. Feel free to add a touch more honey or soy sauce to suit your preference!
- Gluten-Free Adjustments: If you’re using gluten-free flour, ensure your frying oil is adequately heated to achieve the desired crispy texture.
- Minced Garlic Matters: Fresh garlic elevates your dish. Always opt for freshly minced garlic over powdered for a more robust flavor.
What to Serve with Honey Butter Chicken
There’s something special about creating a well-rounded meal that delights the senses and warms the heart.
-
Fluffy Rice: Perfect for soaking up the luscious honey glaze, rice brings a comforting texture that balances the crispy chicken. A bowl of steamed jasmine or basmati rice adds fragrant warmth.
-
Creamy Mashed Potatoes: The rich, buttery smoothness of mashed potatoes complements the sweet and savory notes of the chicken beautifully. Top them with a drizzle of the honey butter sauce for extra indulgence!
-
Roasted Vegetables: Brightly roasted seasonal vegetables like carrots and Brussels sprouts introduce a burst of color and health. Their caramelized sweetness brings out the honey’s natural flavors, making for a vibrant plate.
-
Garlic Bread: This crispy favorite enhances the meal with its indulgent, buttery flavors that go hand-in-hand with the richness of the chicken. It’s perfect for mopping up any excess sauce left on your plate!
-
Coleslaw: A tangy and crisp coleslaw adds a refreshing crunch, providing a delightful contrast to the soft and sticky chicken. The vinegar’s sharpness cuts through the sweetness, creating a well-balanced bite.
-
Sparkling Lemonade: A bubbly, citrusy drink is a fabulous companion. Its bright acidity helps cleanse the palate between bites, enhancing the flavors of your delicious honey butter chicken.
-
Chocolate Mousse: End your meal on a sweet note with a light and airy dessert. The rich chocolate flavor creates a delightful closure after enjoying the savory, crispy chicken.
-
Fruit Salad: A fresh fruit salad can offer a light, refreshing respite after the hearty main dish. The natural sweetness and juices will complement the honey notes and cleanse the palate beautifully.
Enjoy creating your perfect pairing, turning an ordinary dinner into an extraordinary experience!
Make Ahead Options
These Honey Butter Chicken bites are perfect for meal prep enthusiasts! You can coat the chicken and refrigerate it for up to 24 hours in advance to streamline your cooking process. Simply mix the flour, salt, pepper, and garlic powder, and toss the chicken pieces in the coating. When you’re ready to enjoy this delicious meal, heat the oil and fry the chicken until golden brown, then proceed with the sauce. This method not only saves time but also keeps the coating crispy and flavorful. Just make sure to cook the chicken fresh for the best texture and flavor, ensuring your Honey Butter Chicken is just as delicious as when freshly made!
Honey Butter Chicken Recipe FAQs
What type of chicken should I use for Honey Butter Chicken?
Boneless chicken thighs are ideal due to their juiciness and flavor, but boneless chicken breasts can also work. Just note that breasts may take a little longer to cook.
How do I store leftover Honey Butter Chicken?
Store any leftovers in an airtight container in the fridge for up to 3 days. Make sure they are well-sealed to maintain freshness and prevent drying out.
Can I freeze Honey Butter Chicken?
Absolutely! You can freeze Honey Butter Chicken for up to 3 months. To do this, place the cooled chicken in a freezer-safe container, ensuring it’s tightly wrapped to prevent freezer burn. When you’re ready to enjoy it, simply thaw it overnight in the refrigerator before reheating.
What if my sauce separates when cooking?
If you find your sauce separates, it may be due to overcooking the butter. To fix this, gently lower the heat and stir continuously until it emulsifies again. Remember, aim for a bubbling consistency, but don’t let it boil vigorously.
Is this recipe gluten-free or dairy-free?
You can easily make this recipe gluten-free by using gluten-free flour for the coating. For a dairy-free option, substitute unsalted butter with a high-quality vegan butter. These adjustments maintain the delicious flavors while accommodating different dietary needs.
What cooking oil is best for frying?
I recommend using extra virgin olive oil for frying, as it adds great flavor to the chicken. However, canola or vegetable oil can also be used if you prefer a more neutral taste. Just ensure to get the oil hot enough before adding the chicken for that perfect crispy crust!
Crispy Honey Butter Chicken You’ll Crave Every Weeknight
Ingredients
Equipment
Method
- In a large bowl, whisk together flour, kosher salt, black pepper, and garlic powder.
- Cut the boneless chicken thighs or tenders into bite-sized pieces and toss them in the flour mixture.
- In a large skillet, heat about 1/2 inch of olive oil over medium-high heat.
- Add the coated chicken pieces in a single layer and fry for about 5–7 minutes on each side.
- In the same skillet, reduce heat to medium and add unsalted butter to melt.
- Add honey, light soy sauce, and minced garlic, stirring for about 2 minutes.
- Gently add the fried chicken back into the skillet and stir to coat thoroughly.
- Serve alongside rice or mashed potatoes.
Leave a Reply