
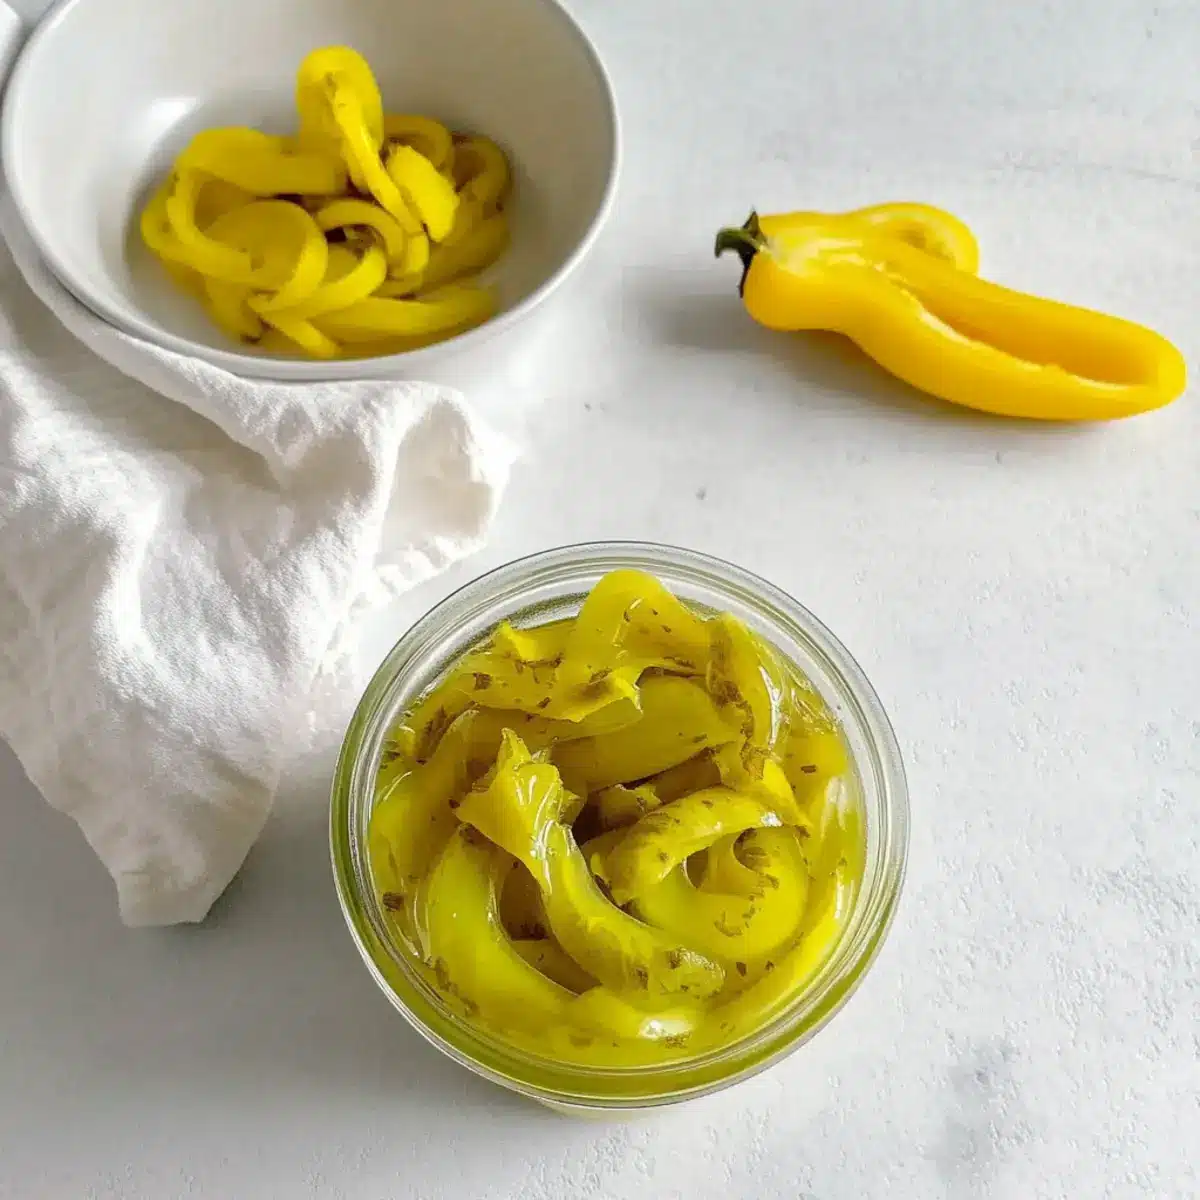
As I scoured my kitchen for a little something to jazz up my lunchtime sandwiches, I stumbled upon a jar of fresh pepperoncini. In that moment, a quick idea sparked: why not take those bright, tangy peppers and transform them into homemade pickled pepperoncini? This recipe not only requires minimal ingredients, but it also promises to elevate any meal with its delightful crunch and zesty kick. In just 20 minutes of hands-on time, you’ll be ready to enjoy this vegan and gluten-free condiment that adds a vibrant splash of flavor to salads, pizzas, or even as a stand-alone snack. Ready to bring some zing into your kitchen? Let’s dive into the world of quick pickling!
Why Are These Pickled Pepperoncini Irresistible?
Bold flavors: Each bite bursts with a perfect balance of tang and spice, elevating your sandwiches, salads, or even as a snappy snack.
Quick and simple: With only 20 minutes of active prep, you’ll have a vibrant condiment ready to impress at any meal.
Versatile additions: Feel free to play with spices or sweetness; the options are endless! Try adding garlic or honey for a personalized twist.
Healthy choice: This recipe is gluten-free and vegan, making it a guilt-free condiment that you’ll want to have on hand at all times.
Crowd-pleaser: They’re not just fantastic for you, but your friends and family will love these zesty, homemade pickles that will be the highlight at any gathering.
Pickled Pepperoncini Ingredients
For the Brine
- Distilled White Vinegar – Provides a sharp acidity; feel free to swap with apple cider or red wine vinegar for a different flavor profile.
- Water – Balances the vinegar’s acidity; it’s essential for easing the brine’s punch.
- Sea Salt – Enhances flavor and aids in preservation; kosher salt can be used as an alternative.
- Turmeric – Adds a vibrant yellow hue and slight earthiness; omit if you prefer a simpler brine.
For the Peppers
- Pepperoncini – The star of the show, delivering heat and flavor; mix whole and sliced peppers based on your preference.
Step‑by‑Step Instructions for Pickled Pepperoncini
Step 1: Prep the Peppers
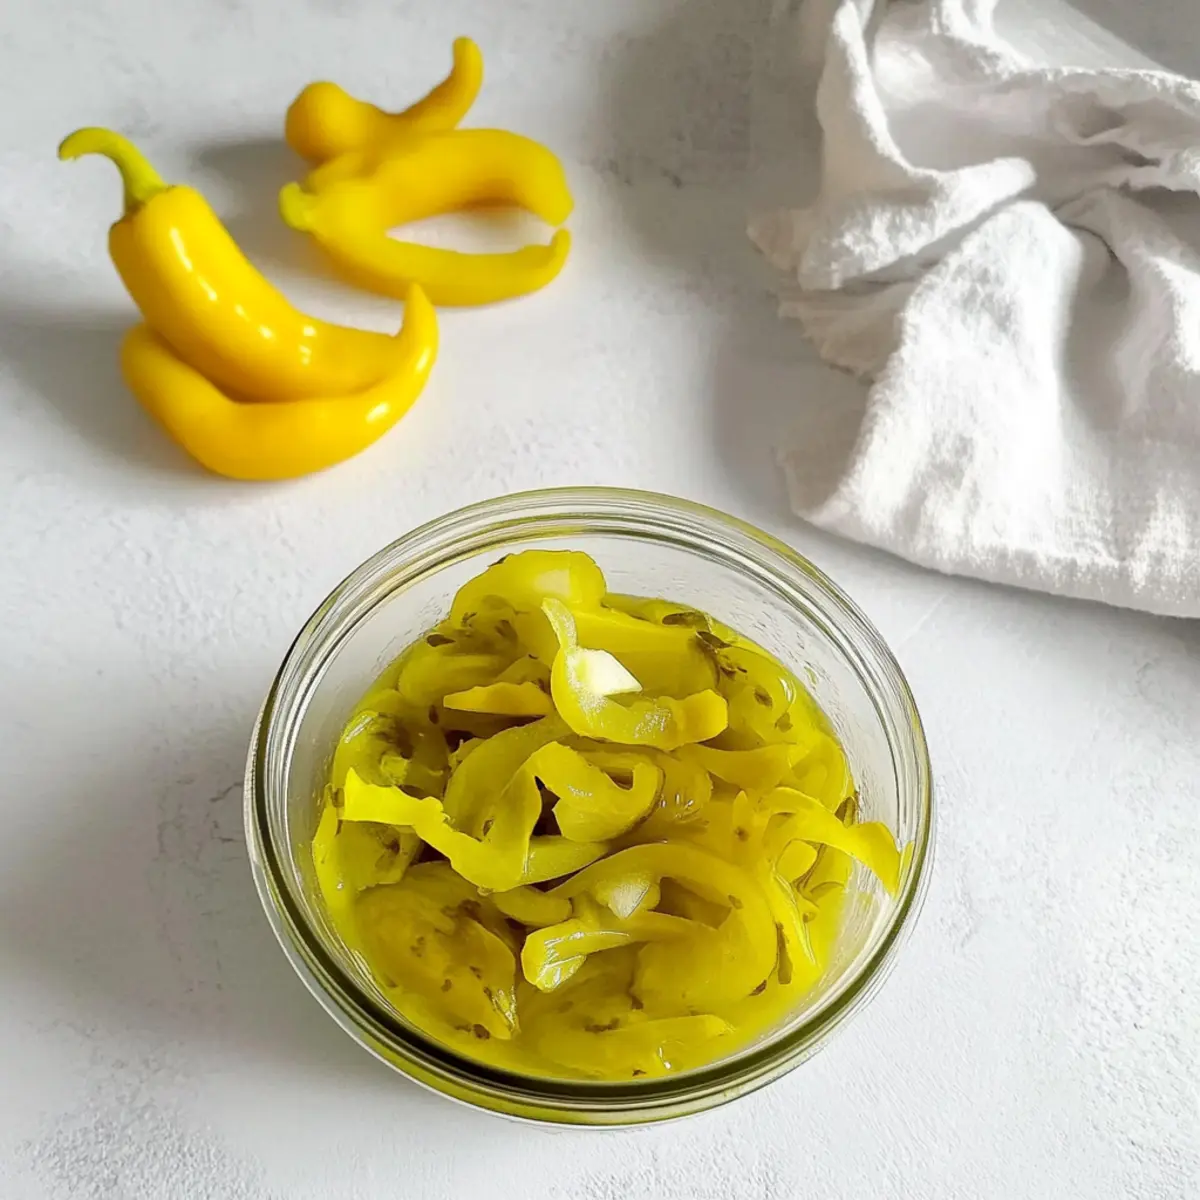
Start by washing the pepperoncini under cool running water, then cut the tops off and place them in a large mason jar, packing them tightly for maximum flavor. If you prefer, you can slice the peppers into rings for easier incorporation into your dishes. Aim for a colorful arrangement to make your jar visually appealing.
Step 2: Make the Brine
In a non-reactive saucepan, combine equal parts distilled white vinegar and water with sea salt and a pinch of turmeric if using. Heat over medium, stirring gently until the salt dissolves—this should take about 3-5 minutes. Once dissolved, remove the pan from heat and allow the brine to cool slightly, about 10 minutes, before proceeding.
Step 3: Combine and Seal
Carefully pour the warm brine over the packed pepperoncini, ensuring there’s about 1/2 to 1 inch of space at the top of the jar. To remove air bubbles that may have formed, use a stick or knife to gently press down. This step is crucial for an even pickling process, allowing all peppers to absorb that delightful brine.
Step 4: Chill
Allow the jar to cool to room temperature for about 30 minutes, then cover tightly with a lid or plastic wrap. Place the jar in the refrigerator, letting the pepperoncini marinate for at least 1 hour. For the best results, let them sit for 24 hours, as this allows the flavors to meld and the peppers to gain that tangy, zesty kick of homemade pickled pepperoncini.
Expert Tips for Pickled Pepperoncini
-
Right Pepper Choice: Select firm, fresh pepperoncini for the best results. Overripe peppers can lead to mushy pickles.
-
Vinegar Variations: Experiment with apple cider or red wine vinegar for different tangy flavors. Just be sure to maintain the balance for perfect pickled pepperoncini.
-
Marinating Time Matters: Allow at least 24 hours for maximum flavor; the longer they sit, the more delightful the taste becomes.
-
Air Bubble Check: Be sure to remove any air bubbles before sealing the jars. This ensures a better preservation process and consistent flavor throughout.
-
Spicy Sensitivity: If you’re sensitive to heat, wear gloves when handling pepperoncini to avoid irritation and enjoy the pickles without discomfort.
How to Store and Freeze Pickled Pepperoncini
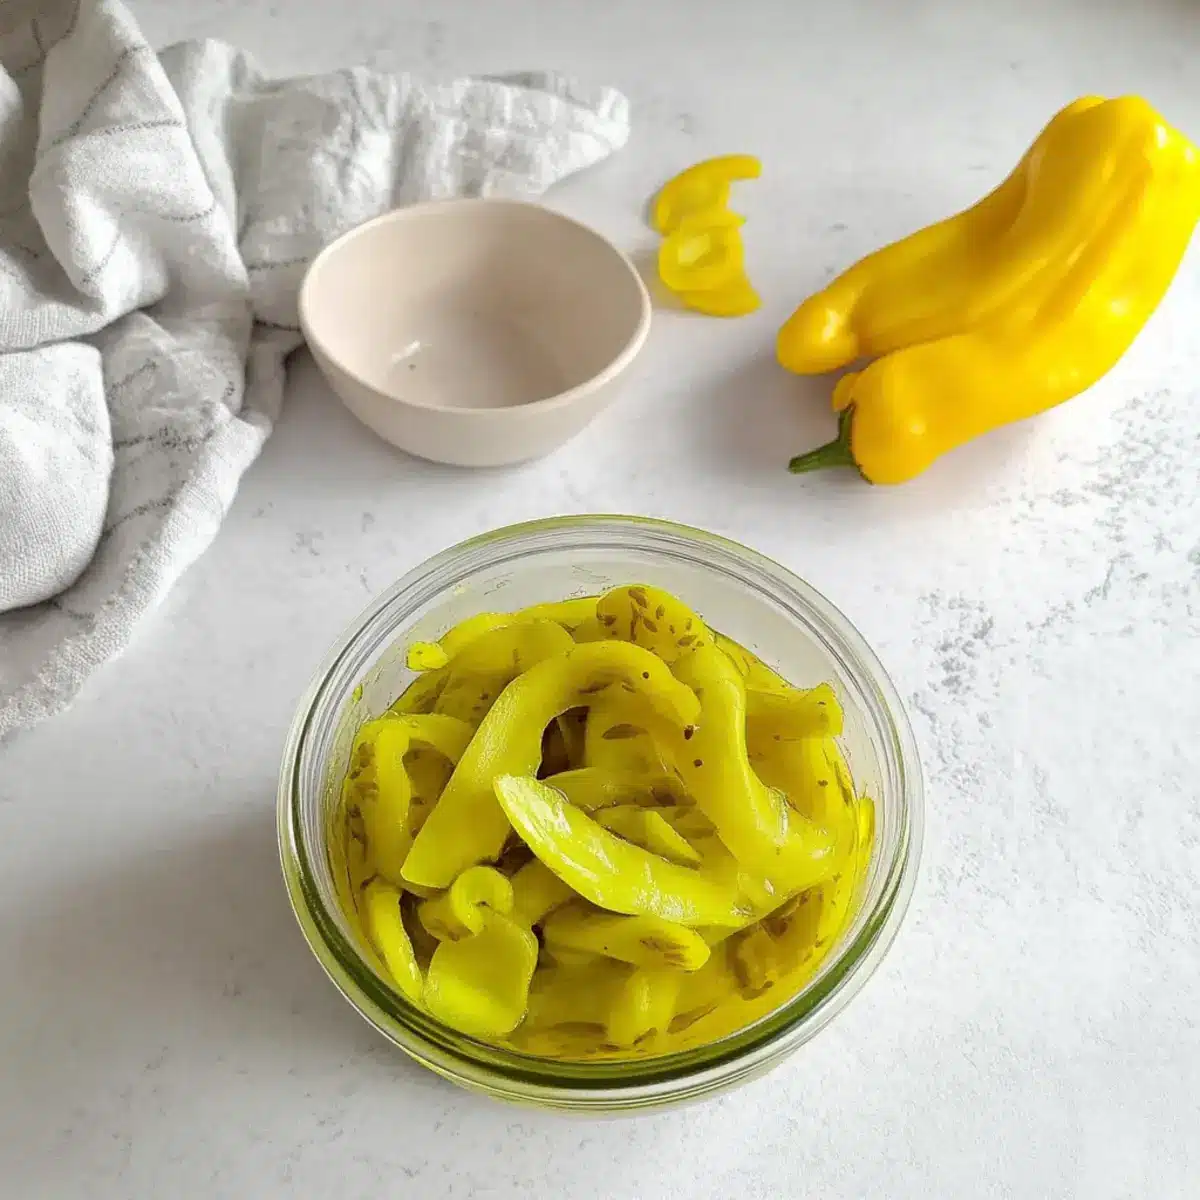
Fridge: Keep your pickled pepperoncini tightly sealed in a jar in the refrigerator, where they will last for up to a month. The flavors continue to deepen and develop over time, enhancing their zesty kick.
Freezer: Although not recommended for freezing, if you need to store them long-term, freeze the brine separately and the peppers sliced or whole in airtight bags for up to 3 months. They may lose their crunch, but will still be tasty.
Reheating: There’s no need to reheat pickled pepperoncini; simply enjoy them cold or at room temperature, adding a punch to sandwiches, salads, or snacks at your leisure.
Check for Signs: Always look for signs of spoilage, such as off smells or unexpected changes in color. If either occurs, it’s best to discard them.
Make Ahead Options
These pickled pepperoncini are not only delicious but also make for superb meal prep! To save time, you can prepare the brine up to 3 days in advance and store it in the refrigerator. Simply mix your vinegar, water, salt, and optional turmeric, then refrigerate. Additionally, you can wash and cut the pepperoncini, storing them in an airtight container for up to 24 hours before you combine them with the brine. When you’re ready to finish, simply pour the brine over the peppers, let them cool, and refrigerate. This method ensures maximum flavor while keeping your pickled pepperoncini just as delicious when you serve them!
What to Serve with Quick and Easy Pickled Pepperoncini?
Imagine biting into a robust sandwich, only to discover a crunchy, zesty layer that takes your meal to a whole new level!
- Creamy Potato Salad: The smoothness of potato salad provides a perfect balance to the tangy crunch of pickled pepperoncini, enhancing every bite.
- Grilled Cheese Sandwich: Melted cheese layered with these zesty peppers brings delightful flavors together, creating a comforting meal that’s hard to resist.
- Fresh Garden Salad: Tossed greens with bright vegetables and drizzled with vinaigrette become invigorated with the addition of pepperoncini; it’s like a flavor party in every forkful!
- Spicy Tacos: Add sliced pickled pepperoncini to tacos for an extra kick that elevates the savory ground meat and fresh toppings into a fiesta of flavors.
- Italian Pasta: Mix into pasta for a pop of color and tang; the pickled peppers give richness a delicious contrast that ties the dish together.
- Cold Drinks: Pair with a refreshing sparkling water or a light white wine; the acidity of the drink complements the pepper’s heat beautifully.
- Chilled Veggie Platter: Serve as a snappy addition to a platter of dip-ready veggies—a perfect combo that inspires sharing and conversation!
- Chocolate Chip Cookies: Weird, but hear me out—those silky cookies with a serving of sweetness and saltiness turn your snacks into dessert extravaganzas when you enjoy them side by side!
Pickled Pepperoncini Variations & Substitutions
Experimenting with this pickled pepperoncini recipe lets you customize flavors and textures to suit your taste.
- Sweet Twist: Add 1-2 tablespoons of sugar or honey to the brine for a hint of sweetness, balancing the tang.
- Garlicky Goodness: Toss in minced garlic cloves into the jar before pouring the brine for a robust garlic flavor that’s hard to resist.
- Herbal Infusion: Add fresh herbs like thyme or dill to the jar for an aromatic touch that enhances the overall flavor profile.
- Spicy Kick: Mix in whole peppercorns or crushed red pepper flakes for an extra layer of heat that will keep you reaching for another bite.
- Citrusy Zing: Try adding slices of lemon or lime for a fresh citrus flavor that complements the pickled peppers beautifully.
- Tex-Mex Style: Incorporate cumin seeds or diced jalapeños for a Mexican-inspired twist that’s perfect for tacos or burritos.
- Mild Version: For a milder pickled pepper, choose smaller, less spicy peppers or reduce the amount of pepperoncini used. This will appeal to those sensitive to heat.
- Sweet & Sour Fusion: Combine equal parts vinegar and apple cider for a delightful sweet and tangy blend that adds dimension to your meals.
Feel free to get creative! These ideas can take your pickled pepperoncini into uncharted territory, creating the perfect addition to your favorite dishes. Don’t forget, if you’re looking for more inspiration, check out our guide on the art of pickling vegetables or learn about engaging your palate with homemade condiments.
Pickled Pepperoncini Recipe FAQs
What should I look for when selecting pepperoncini?
Absolutely! When choosing pepperoncini, you want to look for firm, vibrant peppers without blemishes. Avoid any that have dark spots all over or appear shriveled, as this can indicate overripeness which may lead to mushy pickles.
How do I store my pickled pepperoncini?
Very! Keep your pickled pepperoncini tightly sealed in a mason jar in the refrigerator. They’ll stay fresh for up to a month, and the longer they sit, the more flavorful they become, enhancing their tangy kick.
Can I freeze pickled pepperoncini?
The more the merrier! While pickled pepperoncini aren’t ideal for freezing due to potential loss of crunch, you can freeze the brine separately and the pepperoncini in airtight freezer bags for up to 3 months. Just remember, they may not have the same crisp texture once thawed.
What if I have leftover brine?
You can absolutely reuse that brine! Store it in the fridge for future use; it can be a fantastic add-in for other vegetables you might want to pickle. Just be sure to add fresh veggies to the brine to maintain food safety.
Are pickled pepperoncini safe for everyone to eat?
For sure! Pickled pepperoncini are gluten-free and vegan, making them a safe and healthy condiment for most diets. However, if you have a sensitivity to nightshade vegetables (which pepperoncini belong to), you may want to avoid them.
What to do if my pickled pepperoncini are too spicy?
No worries! If you find your pickled pepperoncini too spicy, there are a couple of ways to mellow the heat: dilute the brine with additional vinegar and water or add a bit of sugar or honey to counteract the spice. Just remember to let them marinate again for a while to integrate the flavors.
Zesty Pickled Pepperoncini for Crunchy Homemade Flavor
Ingredients
Equipment
Method
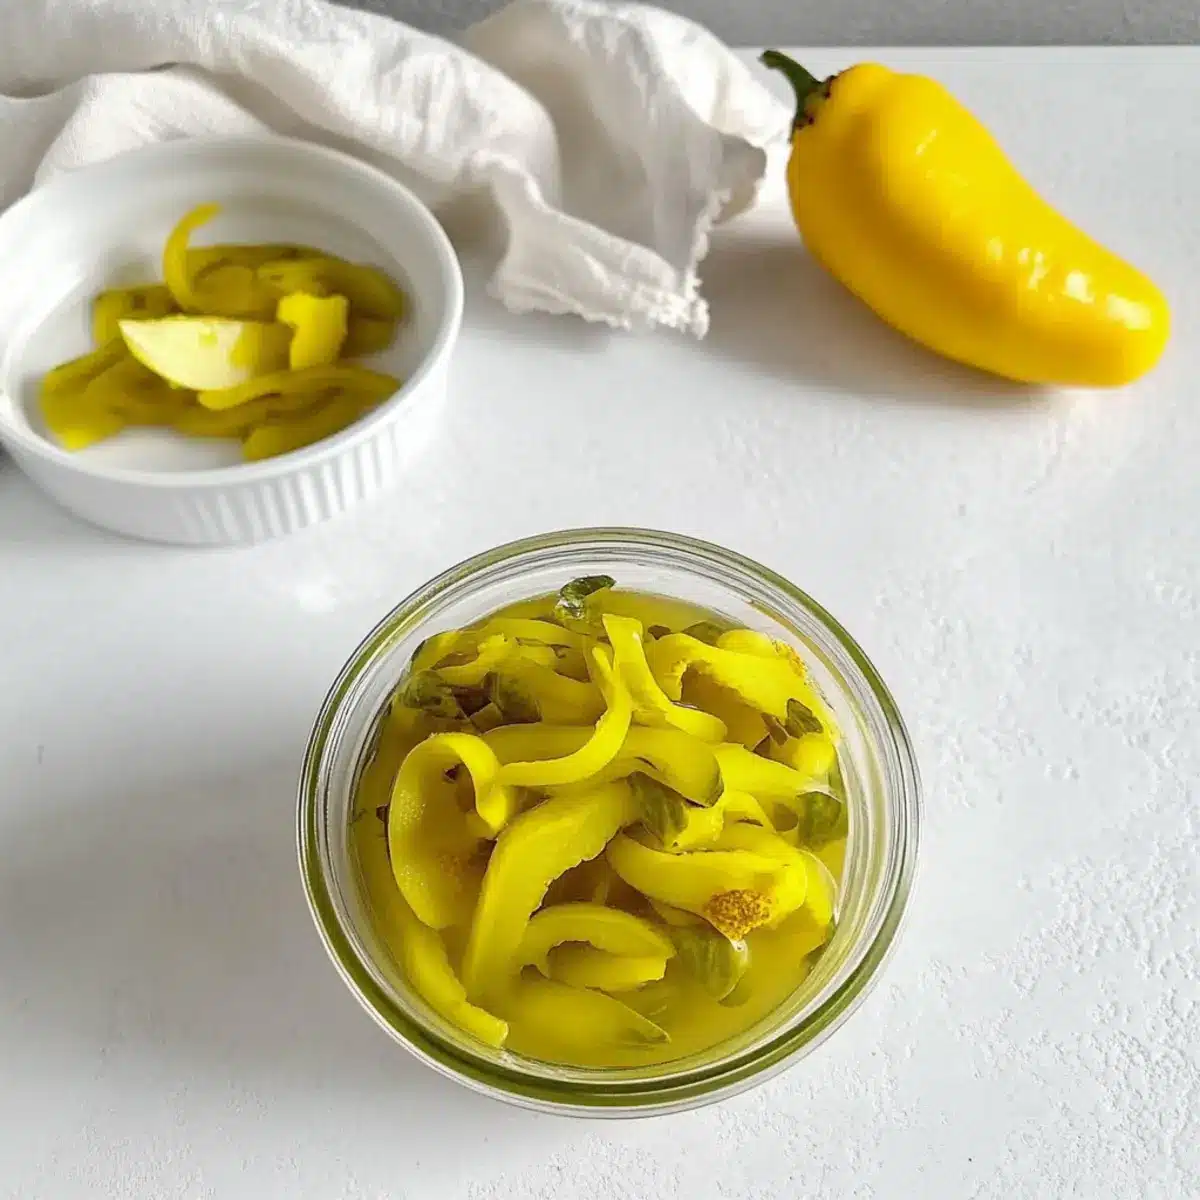
- Wash the pepperoncini under cool running water, then cut the tops off and pack them tightly in a large mason jar.
- In a non-reactive saucepan, combine equal parts distilled white vinegar and water with sea salt and turmeric. Heat over medium until salt dissolves, about 3-5 minutes.
- Pour the warm brine over the packed pepperoncini, leaving about 1/2 to 1 inch of space at the top. Remove air bubbles.
- Allow the jar to cool to room temperature for about 30 minutes, then cover tightly and refrigerate for at least 1 hour.
Leave a Reply