
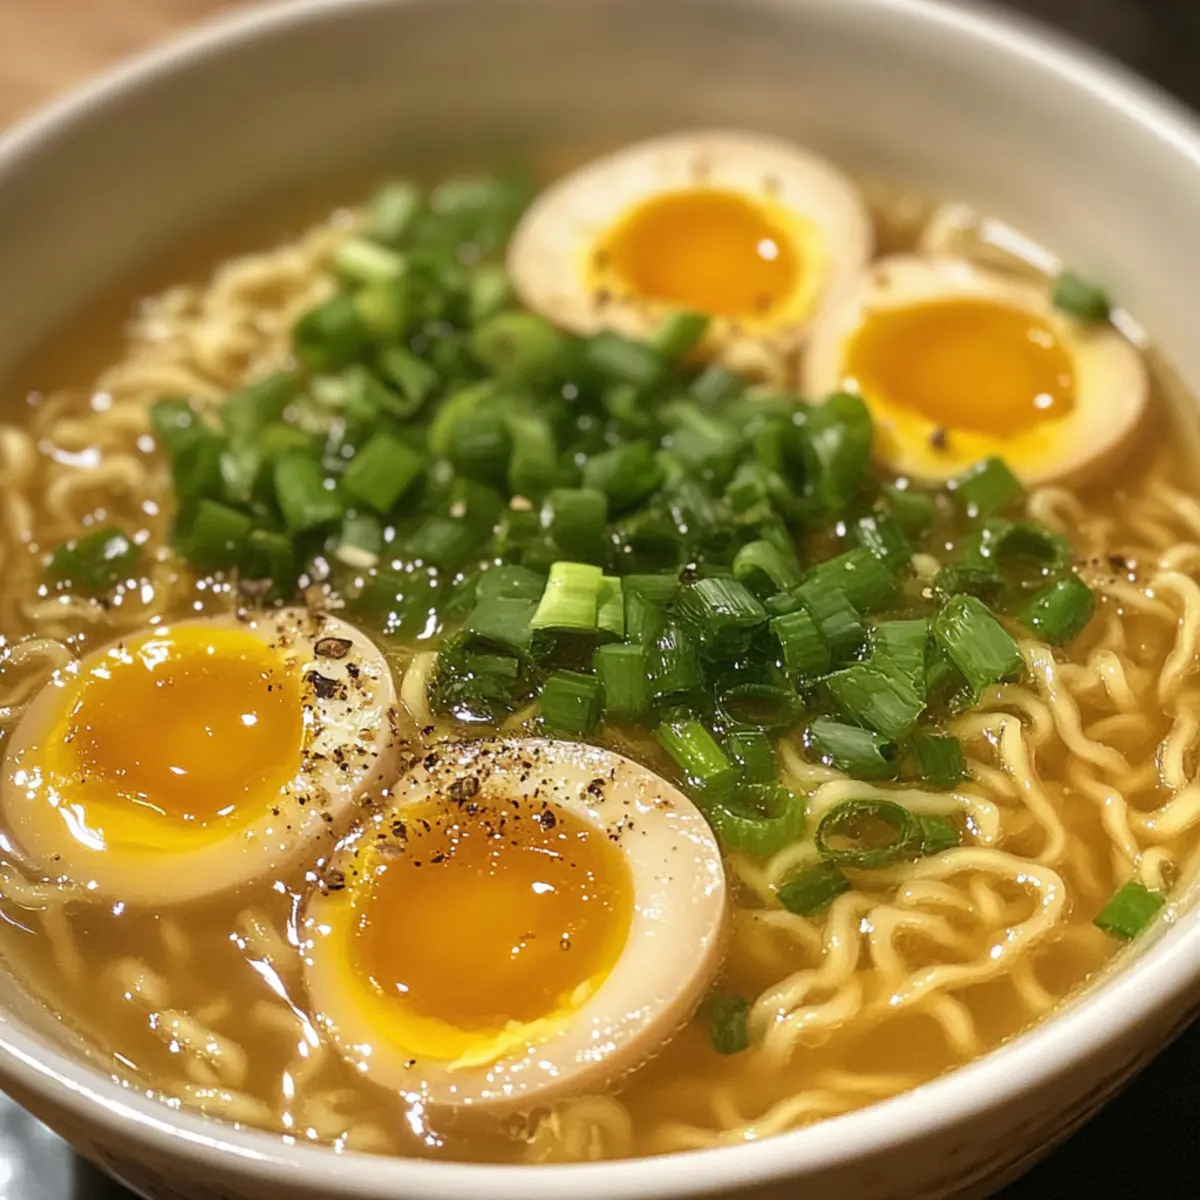
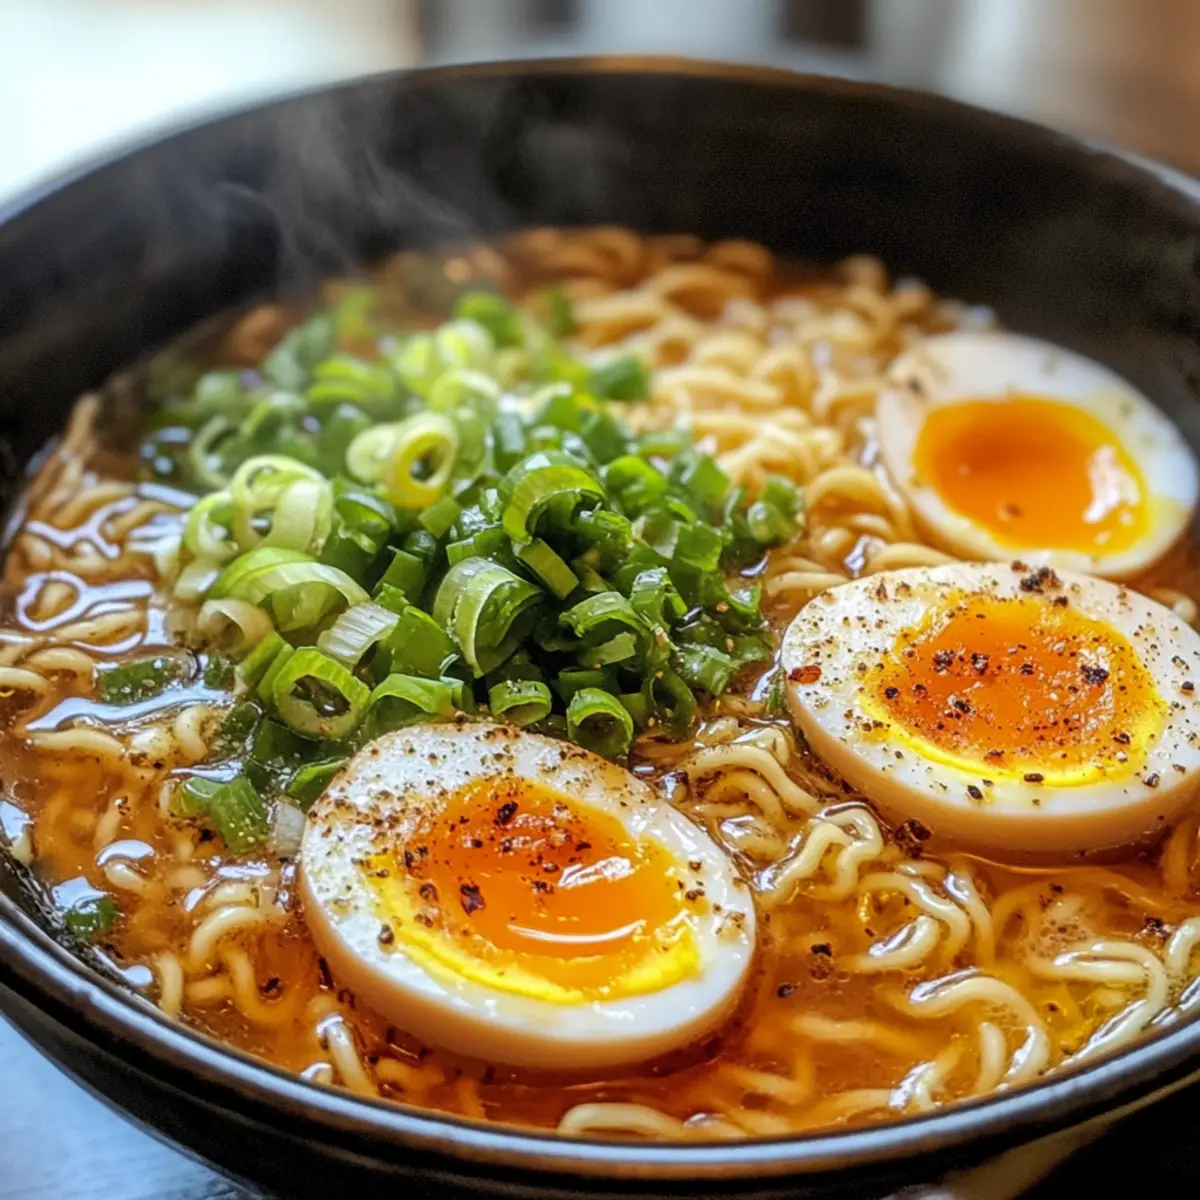
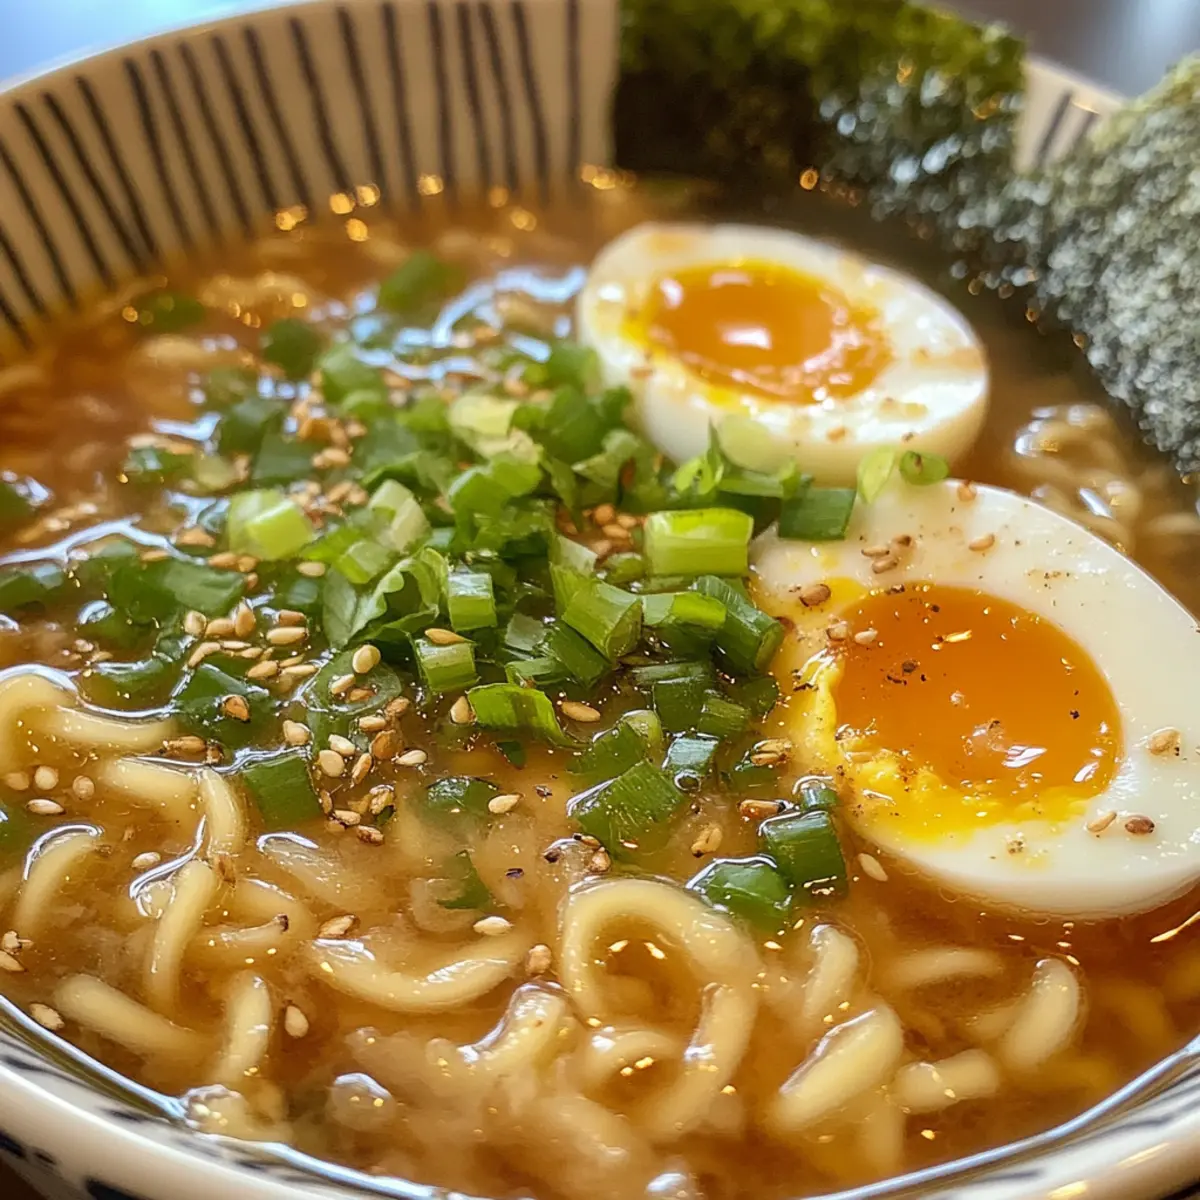
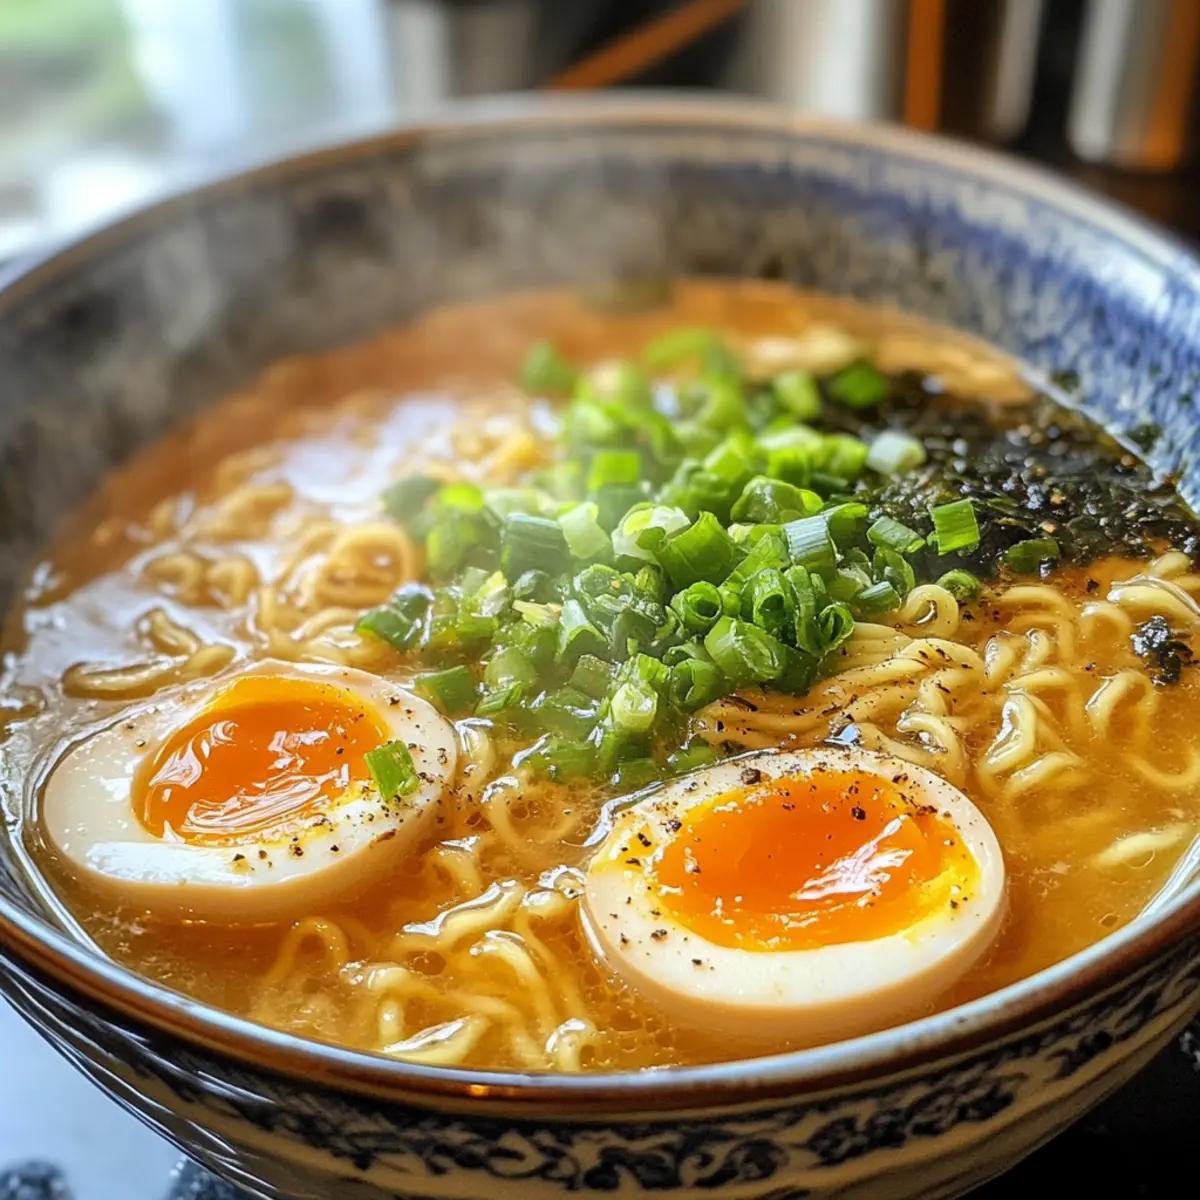
On a chilly evening, as I unraveled the secrets of authentic Japanese cuisine, the aroma of simmering homemade ramen broth filled my kitchen. This isn’t just any broth; it’s a labor of love that captures complex, umami-rich flavors, making every bowl a delightful experience. For those tired of takeout and craving a cozy, fulfilling meal, my ramen broth recipe transforms ordinary nights into something extraordinary. With the added bonus of customizable tare options—whether you prefer the light touch of shio, the savory depth of shoyu, or the robust essence of miso—you’ll be amazed at how easy it is to create restaurant-quality ramen at home. Ready to dive into the art of making your very own ramen broth? Let’s get cooking!
Why is Homemade Ramen Broth a Must-Try?
Simplicity at its finest: This recipe breaks down the process, making it accessible for both novice and experienced cooks.
Umami Explosion: Infused with kelp, bonito flakes, and dried shiitake mushrooms, each bowl is a flavor sensation.
Customizable Tare Options: Enjoy the freedom to choose between shio, shoyu, or miso tare, tailoring your dish to your taste.
Versatile Uses: Beyond ramen, this broth can elevate soups and stews, making it an essential kitchen staple.
Time-Saving: Prepare in batches and freeze for quick meals on busy nights! This makes it a game-changer for home cooks.
Try it today and pair it with an amazing dish like my delicious Caramelised Soy Rice for an unforgettable dining experience!
Ramen Broth Ingredients
• Discover the essential ingredients for crafting authentic homemade ramen broth.
For the Base Broth
- Kelp – Provides base umami flavor; substitute with kombu if needed.
- Bonito Flakes – Contributes smoky depth; for a vegetarian version, omit and increase dashi vegetables.
- Dried Shiitake Mushrooms – Adds earthy taste; fresh shiitakes can be used if available.
- Chicken Carcasses – Main meat component for richness; if unavailable, use 15 chicken wings as an alternative.
- Chicken Wings – Enhances sweetness and depth of flavor; choose wings with skin for added richness.
- Onion – Contributes sweetness; no substitutions; cut into quarters for easy removal.
- Garlic – Adds aromatic warmth; peeled and smashed before cooking.
- Ginger – Imparts sharpness and complexity; thinly sliced.
- Scallions – Provide freshness; chopped into thirds to infuse flavor.
- Sake – Used to eliminate gamey odors; dry sherry can be a substitute.
- Mirin – Adds sweetness; can be replaced with sugar and additional sake.
- Salt – Essential for seasoning; use marine salt for a more authentic taste.
For Tare Varieties
- Tare (Shio, Shoyu, Miso) – Mixed seasonings to flavor the broth and customize individual bowls; each has distinct ingredients based on preference.
Unlock the rich umami flavors of your homemade ramen broth with these key ingredients, and elevate your meals like never before!
Step‑by‑Step Instructions for Homemade Ramen Broth
Step 1: Prepare Dashi
Begin by soaking kelp, bonito flakes, and dried shiitake mushrooms in a large bowl of water overnight. This process will extract a wonderful umami flavor, setting a solid foundation for your ramen broth. Aim for around 6-8 hours, leaving the mixture in a cool place. In the morning, strain the dashi liquid into a separate pot, discarding the solids.
Step 2: Clean Chicken Parts
Thoroughly wash the chicken carcasses and wings under cold running water. This step is crucial for creating a clean-tasting broth, so scrub any blood or residue away. Make sure to rinse well until the water runs clear, then drain the parts in a colander and set aside, ready for poaching.
Step 3: Poach Chicken
In a large pot, bring fresh water to a rolling boil. Add the cleaned chicken carcasses and wings to the boiling water for approximately 30 seconds. This quick poach helps to eliminate any gamey odors. After this time, strain the chicken, discarding the water, and rinse the pieces under cold water once more to ensure purity.
Step 4: Simmer Chicken Broth
In a clean pot, combine the poached chicken, onion quarters, smashed garlic, sliced ginger, chopped scallions, and about 4-6 liters of fresh water. Bring this mixture to a boil over medium-high heat, then reduce to a gentle simmer. Let it simmer low for 3 hours, skimming off any scum that rises to the surface for a clear broth.
Step 5: Add Dashi Ingredients
After the initial 3 hours of simmering, carefully incorporate the soaked dashi ingredients into the pot with the chicken broth. Continue to simmer on low heat for an additional 2 hours, allowing all the flavors to meld beautifully, creating that rich, umami-packed ramen broth you crave.
Step 6: Strain Broth
Once your broth has finished simmering, remove the pot from heat and strain the liquid through a fine sieve to remove all solids. Press gently on the solids to extract as much flavor as possible, then discard them. You should have around 10 cups of beautifully rich broth ready to be customized for your perfect ramen bowl.
Step 7: Prepare Tare
While your broth cools, prepare your tare mixtures in separate bowls. Depending on preference, mix ingredients for shio, shoyu, or miso tare. Each tare recipe will amplify the flavor of your homemade ramen broth, ensuring each bowl can be tailored to individual tastes for a delightful meal experience.
Make Ahead Options
These Homemade Ramen Broth preparations are perfect for busy weeknights, allowing you to enjoy a rich, umami-packed meal with minimal last-minute effort! You can make the broth up to 3 days in advance; simply follow the initial steps of preparing the dashi and simmering the chicken broth. Once strained, let the broth cool before refrigerating it in airtight containers to maintain freshness. If you’re looking to store it longer, freeze the broth in portions (about 500ml each) for up to one month. When you’re ready to serve, reheat the broth on the stovetop and prepare your tare while it warms. This way, you’ll have restaurant-quality ramen ready to enjoy with your favorites toppings in no time!
What to Serve with Homemade Ramen Broth
Experience the warmth and comfort of a full meal, perfectly complemented by aromatic flavors and delightful textures.
- Veggie Gyoza: Crispy on the outside and savory with a hint of sweetness, these dumplings are perfect for dipping in soy sauce, enhancing your ramen experience.
- Seaweed Salad: This light and refreshing salad adds a pop of color and a slightly tangy flavor, balancing the richness of the broth beautifully.
- Soft-Boiled Eggs: Creamy and rich, the yolk provides a luscious contrast to the umami-packed broth, creating a classic ramen topping that’s hard to resist.
- Steamed Bok Choy: Tender and mildly sweet, steamed bok choy adds a nutritious and vibrant green element to your meal, rounding out the flavors of the broth delightfully.
- Pork Chashu: Braised pork belly, melt-in-your-mouth tender, infuses the broth with additional depth; it’s a traditional topping that truly elevates the overall taste experience.
- Chili Oil: Just a drizzle of this spicy oil can awaken the flavors of the broth, giving every spoonful an unexpected kick that balanced perfectly with the umami notes.
- Sapporo Beer: This light lager pairs well with ramen broth, cleansing the palate while complementing the dish’s rich flavors, making sipping enjoyable as you savor your meal.
- Matcha Green Tea: For a soothing end to your ramen night, enjoy a warm cup of matcha, enhancing your culinary experience while promoting tranquility amidst the meal.
Ramen Broth Variations & Substitutions
Feel free to let your creativity shine by customizing the ramen broth to suit your taste preferences and dietary needs!
- Pork Bones: Swap chicken carcasses for pork bones for a richer, hearty flavor reminiscent of Tonkotsu ramen.
- Vegetarian Delight: Replace chicken with a mix of mushrooms and dashi for a delightful vegetarian broth.
- Seafood Twist: Add shrimp shells or fish bones for a subtle seafood flavor, enhancing the broth’s richness.
- Mirin Alternative: Use rice vinegar mixed with sugar as a substitute for mirin; it creates a lovely touch of sweetness.
- Umami Boost: Stir in a spoonful of miso paste into the broth for an extra layer of umami goodness.
- Reduced Sodium: Use low-sodium soy sauce in the tare to control salt levels without sacrificing flavor.
- Spicy Kick: Infuse chili oil or red pepper flakes during the simmering process for a subtly spicy kick.
- Mushroom Medley: Mix fresh shiitake and oyster mushrooms to elevate the broth’s earthy undertones and complexity.
Enjoy experimenting with these variations! You might even find a new favorite, just like pairing this flavorful broth with my comforting Dumpling Ramen Bowl to create an unforgettable meal.
Expert Tips for Homemade Ramen Broth
-
Scum Removal: Regularly skim off any scum that forms while simmering to maintain a clear and beautiful broth. This keeps the flavors clean and pure.
-
Soaking Time: The longer you soak your kelp and mushrooms for dashi, the richer your ramen broth will be. Aim for overnight soaking for optimal flavor extraction.
-
Chicken Alternatives: If chicken is unavailable, consider using pork bones for a deeply flavored (Tonkotsu) broth. Each choice creates a unique taste experience.
-
Freezing Broth: Store leftover broth in ziplock bags, separating into 500ml portions for easy future use. This helps avoid waste and prepares you for busy nights!
-
Customize Tare: Experiment with tare combinations to explore different flavor profiles. Each style can elevate your homemade ramen broth to new levels of deliciousness.
Remember, the secret to a great ramen broth lies in patience and care as you extract those beautiful umami flavors!
How to Store and Freeze Ramen Broth
Fridge: Store your homemade ramen broth in an airtight container for up to 2 days. Allow it to cool completely before refrigerating to maintain freshness.
Freezer: For longer storage, freeze the cooled broth in ziplock bags, portioning into 500ml servings. It can be kept frozen for up to 1 month without losing flavor.
Reheating: When ready to use, thaw overnight in the fridge or gently heat in a pot over low heat. Stir occasionally to ensure even heating, and enjoy your delicious ramen broth!
Keep It Fresh: If using the broth within a couple of days, simply store it in the fridge, but for extended use, freezing is the best option to preserve that rich, umami flavor.
Homemade Ramen Broth Recipe FAQs
How can I ensure my ingredients are perfectly ripe and ready for the broth?
Absolutely! For the best flavor, choose fresh kelp and dried shiitake mushrooms that have a slightly soft texture but are not overly mushy. When selecting chicken carcasses or wings, look for pieces without any dark spots or unpleasant odors. Fresh onion should feel firm and heavy, while garlic bulbs should be dry and intact with no signs of sprouting.
What is the best way to store leftover ramen broth?
Very good question! After cooking, allow your homemade ramen broth to cool completely. Transfer it into an airtight container and refrigerate it; it will stay fresh for up to 2 days. If you need to store it for longer, freeze the broth in ziplock bags, ensuring portions of about 500ml. This way, you can thaw just what you need later, and it can be kept frozen for up to 3 months.
Can I freeze ramen broth, and if so, what’s the best method?
Absolutely! To freeze your ramen broth, first allow it to cool down to room temperature. Pour the broth into ziplock bags, making sure to remove as much air as possible before sealing. Lay the bags flat in your freezer for easy stacking. This makes it easy to break off portions for future ramen nights! When you’re ready to use it, thaw overnight in the fridge or reheat directly in a pot.
What are some common mistakes to avoid when making ramen broth?
Great question! A common mistake is not skimming off the scum that forms while simmering; this can create a cloudy broth and affect the flavor. Regularly check and gently skim the surface, especially during the first few hours. Additionally, make sure to simmer the broth gently; boiling can lead to a bitter taste. Lastly, pay close attention to the soaking time for your dashi ingredients. The longer they soak, the more robust the umami flavor in your broth will be.
Are there any dietary considerations I should be aware of with this broth?
Yes, it’s important to note that this ramen broth contains chicken and seafood (from bonito flakes), which may not be suitable for everyone. For a vegetarian or vegan version, you can skip the chicken and replace bonito flakes with additional vegetables. Also, be cautious of soy sauce or mirin if you have a gluten intolerance; look for gluten-free substitutes or tamari instead. Always check ingredient labels when purchasing to ensure they meet your dietary needs.
How do I customize the tare options in my ramen broth?
Great inquiry! To create a flavorful tare, separate your broth into bowls based on the type you want. For Shio, mix sea salt, chicken or seafood dashi, and a splash of sake. The Shoyu tare combines soy sauce with mirin and a hint of dashi. For Miso tare, blend miso paste with dashi and a touch of sesame oil for depth. Experiment to find the right balance that pleases your palate, since the tare greatly influences the overall taste of your ramen!
Homemade Ramen Broth for Unforgettable Flavor at Home
Ingredients
Equipment
Method
- Step 1: Prepare Dashi - Soak kelp, bonito flakes, and dried shiitake mushrooms in a bowl of water overnight to extract umami flavor, then strain the dashi.
- Step 2: Clean Chicken Parts - Wash chicken carcasses and wings under cold water until it runs clear, then set aside.
- Step 3: Poach Chicken - Boil fresh water and briefly poach the chicken parts to eliminate gamey odors, then rinse.
- Step 4: Simmer Chicken Broth - Combine chicken, onion, garlic, ginger, scallions, and fresh water in a pot, then simmer for 3 hours.
- Step 5: Add Dashi Ingredients - Incorporate soaked dashi into the broth and simmer for an additional 2 hours.
- Step 6: Strain Broth - Strain the liquid through a fine sieve, pressing solids to extract maximum flavor.
- Step 7: Prepare Tare - Mix tare ingredients in separate bowls to customize flavor for each ramen bowl.
Leave a Reply