
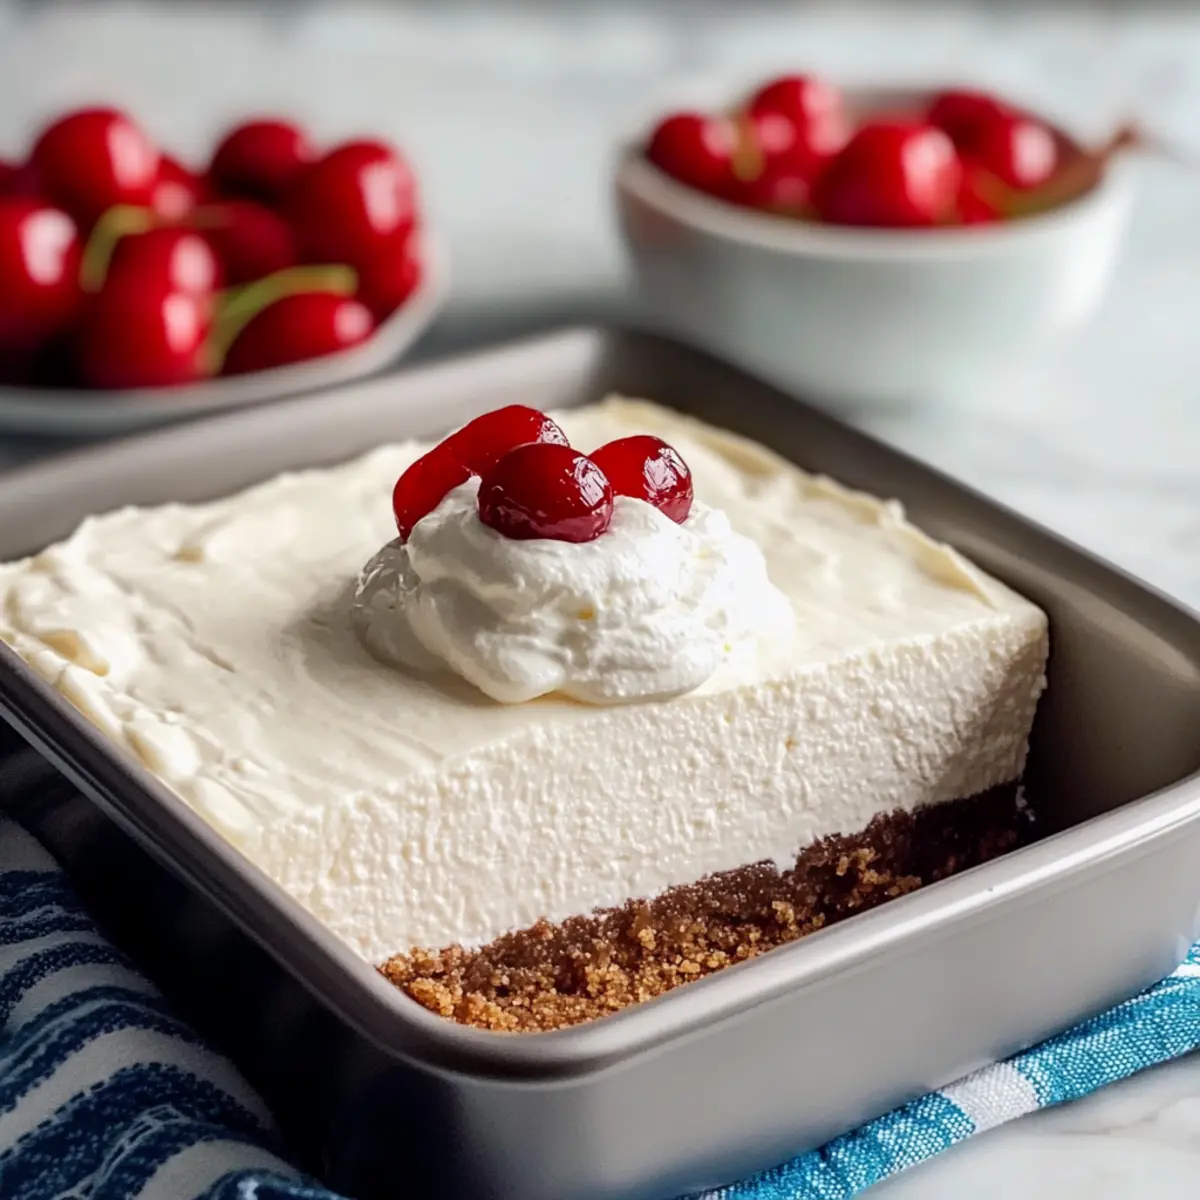
On a balmy summer day, the thought of turning on the oven can feel like a daunting task. That’s where my Tasty Greek Yogurt No Bake Cheesecake swoops in to save the day! This delightful dessert combines the refreshing tang of Greek yogurt with a creamy texture and a simple graham cracker crust that’s as easy to prepare as it is to savor. Perfect for any gathering or a cozy night in, this cheesecake not only offers a lighter alternative to traditional options but also allows you to impress your guests with minimal effort. Who could resist a slice topped with luscious whipped cream and vibrant cherries? Ready to indulge in this no-bake wonder? Let’s dive in!
Why is No Bake Cheesecake a Must-Try?
Simplicity at Its Best: This cheesecake requires no baking, making it an ideal option for even the most novice chefs.
Creamy, Dreamy Texture: The combination of Greek yogurt and cream cheese creates a heavenly filling that’s both rich and light—perfect for warm weather!
Versatile Ingredient Options: You can easily customize this cheesecake with your favorite toppings or mix-ins, like fresh fruit or chocolate.
Time-Saving Delight: With just a few simple steps, you can whip up a stunning dessert that requires minimal time and effort.
Crowd-Pleasing Result: Whether at a picnic or a dinner party, this cheesecake is sure to win over hearts and taste buds alike, just like my Oreo Cheesecake Cookie!
Healthier Indulgence: With Greek yogurt as a base, you indulge guilt-free. It’s lighter than traditional cheesecakes, so you can savor every bite!
Tasty Greek Yogurt No Bake Cheesecake Ingredients
For the Crust
• Graham Cracker Crumbs – Provides structure and sweetness for the crust; use Honey Maid for the best flavor.
• Coconut Oil (melted) – Binds the crust ingredients and adds a hint of tropical richness; substitute with unsalted butter if needed.
• Sugar – Sweetens the crust; use granulated sugar for the best results.
For the Filling
• Cream Cheese (softened) – Creates a rich and creamy filling; must be at room temperature to avoid lumps; low-fat versions can be used but may affect texture.
• Greek Yogurt (full-fat preferred) – Offers tanginess and a creamy texture; brands like Fage or Chobani are recommended for thickness.
• Honey – Natural sweetness to enhance the flavors; maple syrup is a suitable alternative for a vegan option.
• Lemon Juice – Adds brightness and balances the sweetness; fresh juice is best for optimal flavor.
• Vanilla Extract – Introduces depth and warmth to the filling; use pure vanilla extract for improved aroma.
• Salt (pinch) – Enhances overall flavors of the filling; omit for a sodium-restricted diet.
For Topping
• Whipped Cream – Used for topping, adds lightness and sweetness; use homemade for the best flavor.
• Maraschino Cherries – Decorative topping that adds a pop of color and sweetness; fresh berries could also be a great substitute.
Savor the delightful balance of flavors in this Tasty Greek Yogurt No Bake Cheesecake, making any occasion feel special!
Step‑by‑Step Instructions for Tasty Greek Yogurt No Bake Cheesecake
Step 1: Prepare the Crust
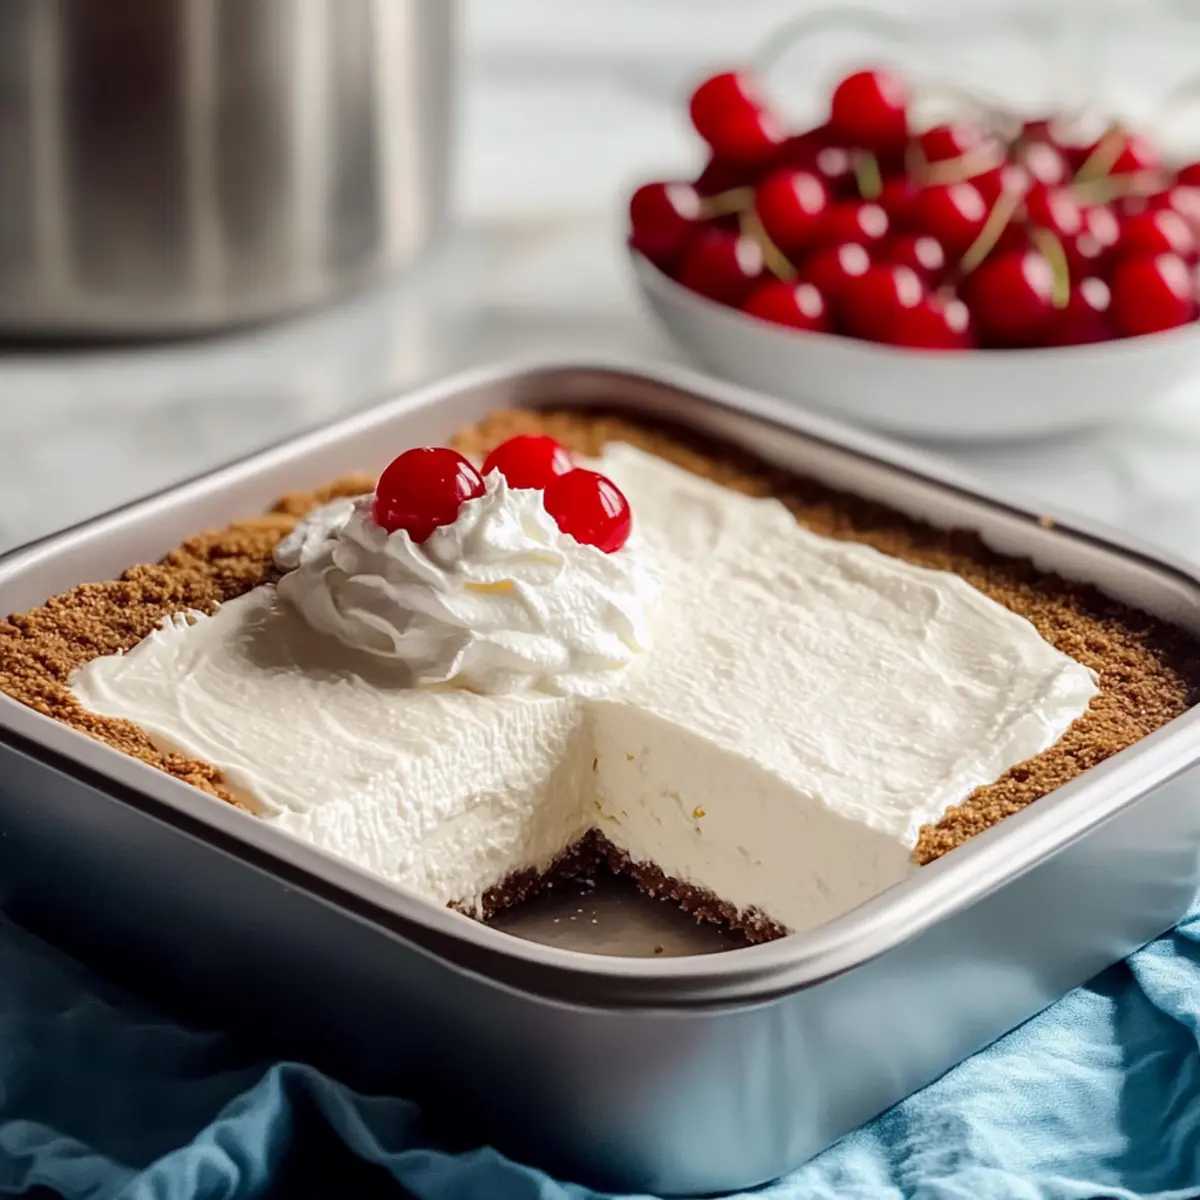
In a medium-sized bowl, mix together graham cracker crumbs, melted coconut oil, and sugar until the mixture resembles wet sand. Press this mixture firmly into the base of a 9-inch springform pan, using the back of a measuring cup to ensure an even layer. The crust should feel compact to hold the cheesecake together once set.
Step 2: Make the Filling
In a large mixing bowl, whisk the softened cream cheese until creamy and smooth, which might take about 2 minutes. Gradually add Greek yogurt, honey, lemon juice, vanilla extract, and a pinch of salt, continuing to mix until the filling is completely blended and velvety. This creamy goodness is what makes the Tasty Greek Yogurt No Bake Cheesecake truly indulgent.
Step 3: Assemble the Cheesecake
Carefully pour the luscious filling over the prepared crust, using a spatula to smooth the top for an even surface. Make sure the filling fully covers the crust, creating a beautiful contrast in layers. Once done, cover the cheesecake with plastic wrap to prevent any odors from the fridge from seeping in.
Step 4: Chill
Place the cheesecake in the refrigerator and chill it for at least 2 hours, although letting it sit overnight is best for a firm texture and enhanced flavor. You’ll know it’s ready when the filling has set and feels solid to the touch. Patience is key to achieving the perfect Tasty Greek Yogurt No Bake Cheesecake.
Step 5: Serve
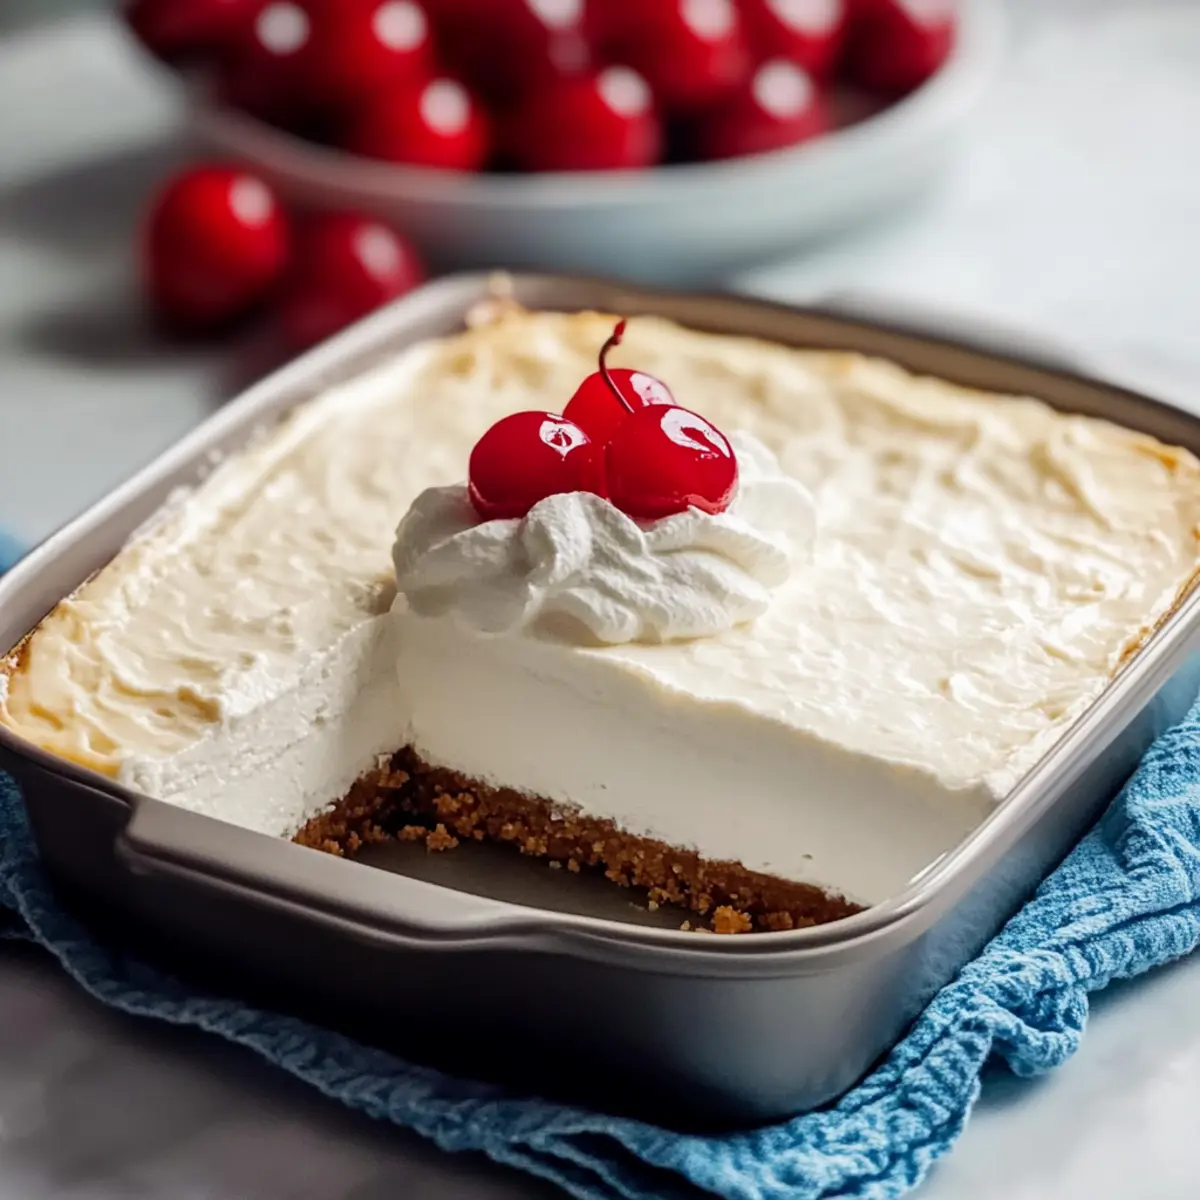
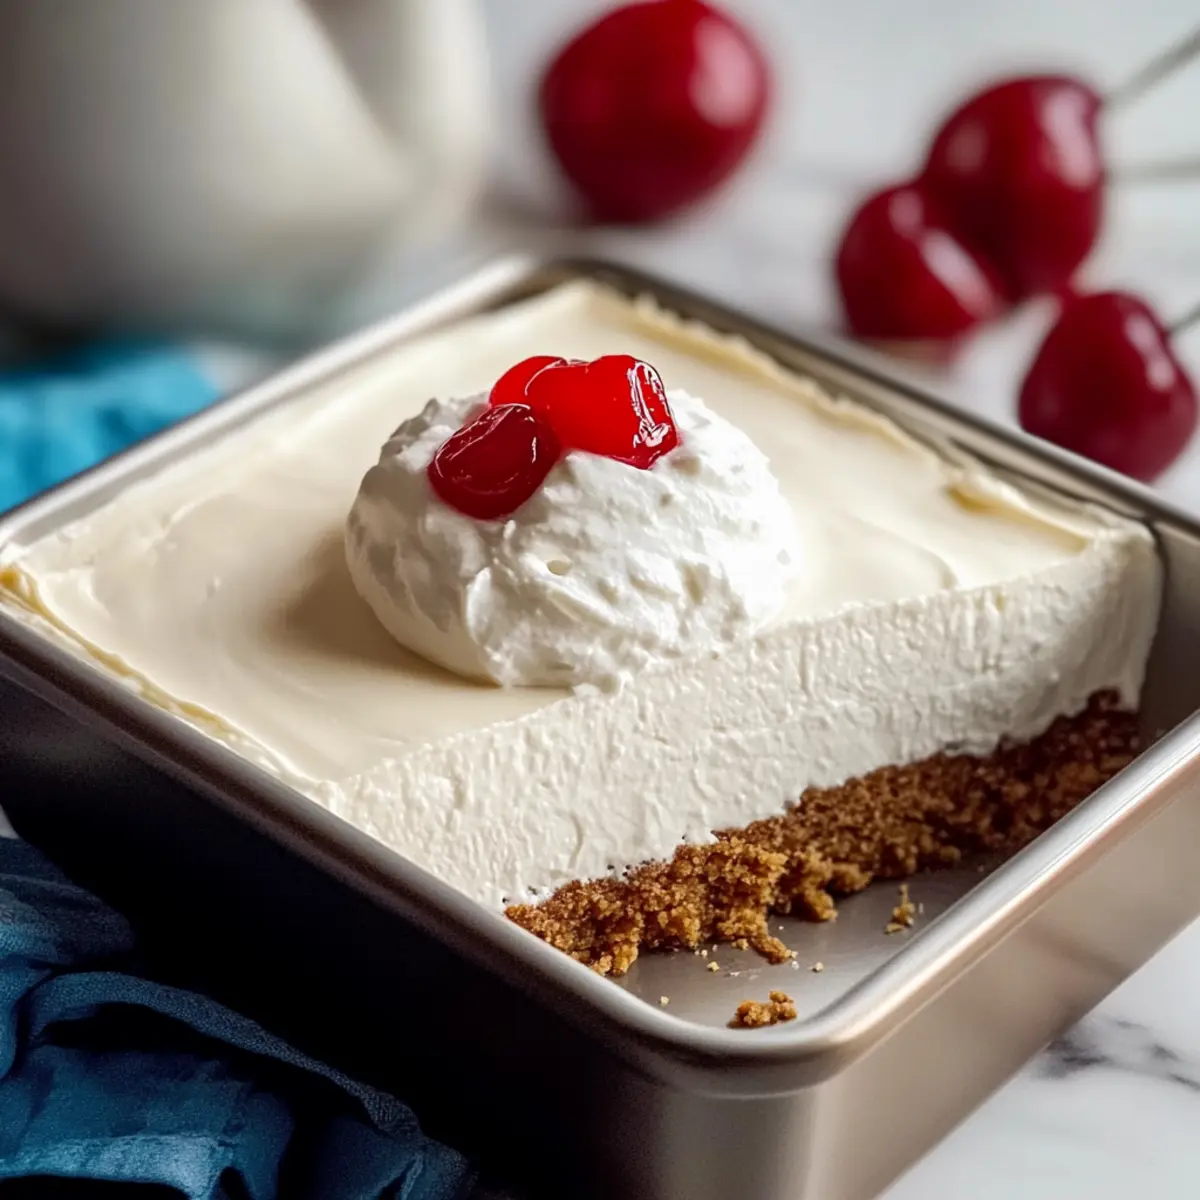
When ready to serve, run a knife around the edges of the springform pan to loosen it. Carefully release the springform and transfer the cheesecake to a serving plate. Top with fluffy whipped cream and vibrant maraschino cherries or your favorite fruits. Slice with a sharp knife to enjoy immediately for a delightful dessert experience!
Tasty Greek Yogurt No Bake Cheesecake Variations
Feel free to let your creativity shine as you mix and match these delightful variations for an even more personalized cheesecake experience!
-
Mascarpone Twist: Substitute Greek yogurt with mascarpone for an ultra-rich and creamy texture.
-
Berry Bliss: Fold in crushed berries like strawberries or blueberries for an added burst of flavor and color in your filling.
-
Chocolate Drizzle: Top the cheesecake with warm chocolate ganache or a drizzle of caramel for a decadent finishing touch.
-
Citrus Infusion: Add a teaspoon of lemon or orange zest to the filling, enhancing its brightness with a zesty kick that awakens the senses.
-
Nutty Crunch: Incorporate crushed nuts like almonds or hazelnuts into the crust for an added crunch that beautifully contrasts the creamy filling.
-
Low-Cal Option: Replace cream cheese with low-fat cream cheese and sugar with a sugar substitute, mixing in a bit of vanilla or almond extract for flavor.
-
Spiced Flavor: Add a touch of cinnamon or nutmeg to the filling for a warm, cozy flavor that’s perfect for the cooler months.
-
Tropical Delight: Mix shredded coconut into the filling for a tropical twist—perfectly paired with a hint of pineapple topping to bring that sunshine vibe to your table!
With these variations, you can easily customize your Tasty Greek Yogurt No Bake Cheesecake to suit any occasion or preference. Don’t forget to also check out my Millionaires Cheesecake or Marshmallow Whip Cheesecake for even more delectable inspiration!
Make Ahead Options
These Tasty Greek Yogurt No Bake Cheesecake are perfect for meal prep enthusiasts! You can prepare the crust and filling up to 24 hours in advance, making it an ideal dessert for busy weeknights or gatherings. Simply mix the graham cracker crust and press it into your springform pan, then make the filling and pour it over the crust. Cover tightly with plastic wrap and refrigerate. To maintain the cheesecake’s creaminess, it’s best to add the whipped cream and maraschino cherries right before serving. This way, you’ll enjoy a refreshingly delightful dessert that’s just as delicious as when first made, with minimal effort on the day of serving!
What to Serve with Tasty Greek Yogurt No Bake Cheesecake
Elevate your dessert experience with these delightful pairings that perfectly complement the creamy, tangy flavors of your cheesecake.
-
Fresh Berries: The tartness of strawberries or raspberries adds a refreshing contrast that brightens the flavors and adds texture.
-
Whipped Cream: A light cloud of homemade whipped cream enhances the cheesecake’s creaminess while providing a sweet touch that contrasts beautifully with the tangy filling.
-
Mint Leaves: A sprinkle of fresh mint brings a pop of color and a refreshing herbal note that enlivens the palate and adds visual appeal.
-
Chocolate Ganache: A rich, silky ganache drizzled over the cheesecake creates a luxurious chocolate experience that pairs harmoniously with the tangy cheesecake.
-
Iced Tea or Lemonade: A crisp glass of iced tea or lemonade provides a cold, refreshing drink that balances the dessert’s richness and enhances the overall experience.
-
Chocolate-Covered Almonds: These crunchy bites offer a delightful contrast to the creamy cheesecake while adding a touch of indulgence in every bite.
-
Coffee: A warm cup of coffee or espresso complements the cheesecake’s flavors perfectly, making for a decadent after-dinner treat that many guests will appreciate.
-
Coconut Macaroons: Chewy coconut macaroons serve as a delightful hand-held treat that pairs beautifully with the creamy cheesecake and adds a satisfying texture variation.
Helpful Tricks for Tasty Greek Yogurt No Bake Cheesecake
Softened Cheese: Ensure your cream cheese is fully softened before mixing to avoid lumps in your filling for a smooth texture.
Chill Time: Allow the cheesecake to chill for at least 4 hours, but ideally overnight, for the best flavor and texture in your Tasty Greek Yogurt No Bake Cheesecake.
Crust Packing: Use the back of a measuring cup to firmly press the crust into the pan. This helps prevent crumbling when releasing or slicing the cheesecake.
Topping Timing: Add any fresh fruit or additional toppings right before serving to maintain the cheesecake’s texture and aesthetics.
Flavor Boost: Consider mixing in a teaspoon of lemon zest to the filling for an extra layer of brightness that harmonizes beautifully with the Greek yogurt.
Storage Tips for Tasty Greek Yogurt No Bake Cheesecake
Fridge: Keep the cheesecake tightly covered in the refrigerator for up to 5 days. This helps to maintain its creamy texture and delicious flavors.
Freezer: If you want to save some for later, freeze the cheesecake for up to 2 months in an airtight container. Wrap it well to prevent freezer burn.
Thawing: When you’re ready to enjoy a slice, simply thaw the cheesecake overnight in the fridge for the best texture. Avoid defrosting in the microwave as it can alter the creaminess.
Serving: For the best experience, top with whipped cream and fruit just before serving to keep everything fresh and vibrant!
Tasty Greek Yogurt No Bake Cheesecake Recipe FAQs
What type of Greek yogurt should I use?
I recommend using full-fat Greek yogurt for the creamiest texture and best flavor. Brands like Fage or Chobani are reliable choices as they tend to be thicker and less watery, ensuring your cheesecake has the right consistency.
How long can I store the cheesecake in the fridge?
You can keep the Tasty Greek Yogurt No Bake Cheesecake tightly covered in the refrigerator for up to 5 days. Just make sure it’s sealed well to preserve its smooth texture and prevent any flavors from other dishes in the fridge affecting it.
Can I freeze the cheesecake, and how should I do it?
Absolutely! To freeze, first slice the cheesecake and place the individual pieces in an airtight container, separated by parchment paper. This helps avoid sticking. It can be frozen for up to 2 months. To thaw, simply transfer it to the fridge and let it sit overnight.
Why is my cheesecake not setting properly?
This can happen if the cream cheese wasn’t fully softened or mixed thoroughly before adding other ingredients. Make sure to always whisk the cream cheese until smooth first. Additionally, ensure you chill the cheesecake for at least 4 hours, preferably overnight, for it to set correctly.
Is this cheesecake suitable for those with dietary restrictions?
It’s relatively lower in calories thanks to the Greek yogurt, but if you’re worried about allergies, remember that it contains dairy (from both cream cheese and yogurt). For a vegan version, substitute the cream cheese with a plant-based cream cheese alternative, and use maple syrup instead of honey.
Can I add fruit to the filling?
Very! Adding crushed fresh berries, like strawberries or raspberries, can enhance both the taste and presentation of your cheesecake. Just fold them into the filling gently before pouring it onto the crust, but remember that doing so may slightly affect the texture.
Delightfully Creamy Tasty Greek Yogurt No Bake Cheesecake
Ingredients
Equipment
Method
- In a medium-sized bowl, mix together graham cracker crumbs, melted coconut oil, and sugar until the mixture resembles wet sand. Press this mixture firmly into the base of a 9-inch springform pan, using the back of a measuring cup to ensure an even layer.
- In a large mixing bowl, whisk the softened cream cheese until creamy and smooth. Gradually add Greek yogurt, honey, lemon juice, vanilla extract, and a pinch of salt, continuing to mix until the filling is completely blended and velvety.
- Carefully pour the luscious filling over the prepared crust, using a spatula to smooth the top for an even surface. Cover the cheesecake with plastic wrap to prevent odors from the fridge from seeping in.
- Place the cheesecake in the refrigerator and chill it for at least 2 hours, although letting it sit overnight is best for a firm texture and enhanced flavor.
- When ready to serve, run a knife around the edges of the springform pan to loosen it. Carefully release the springform and transfer the cheesecake to a serving plate. Top with whipped cream and maraschino cherries.
Leave a Reply