
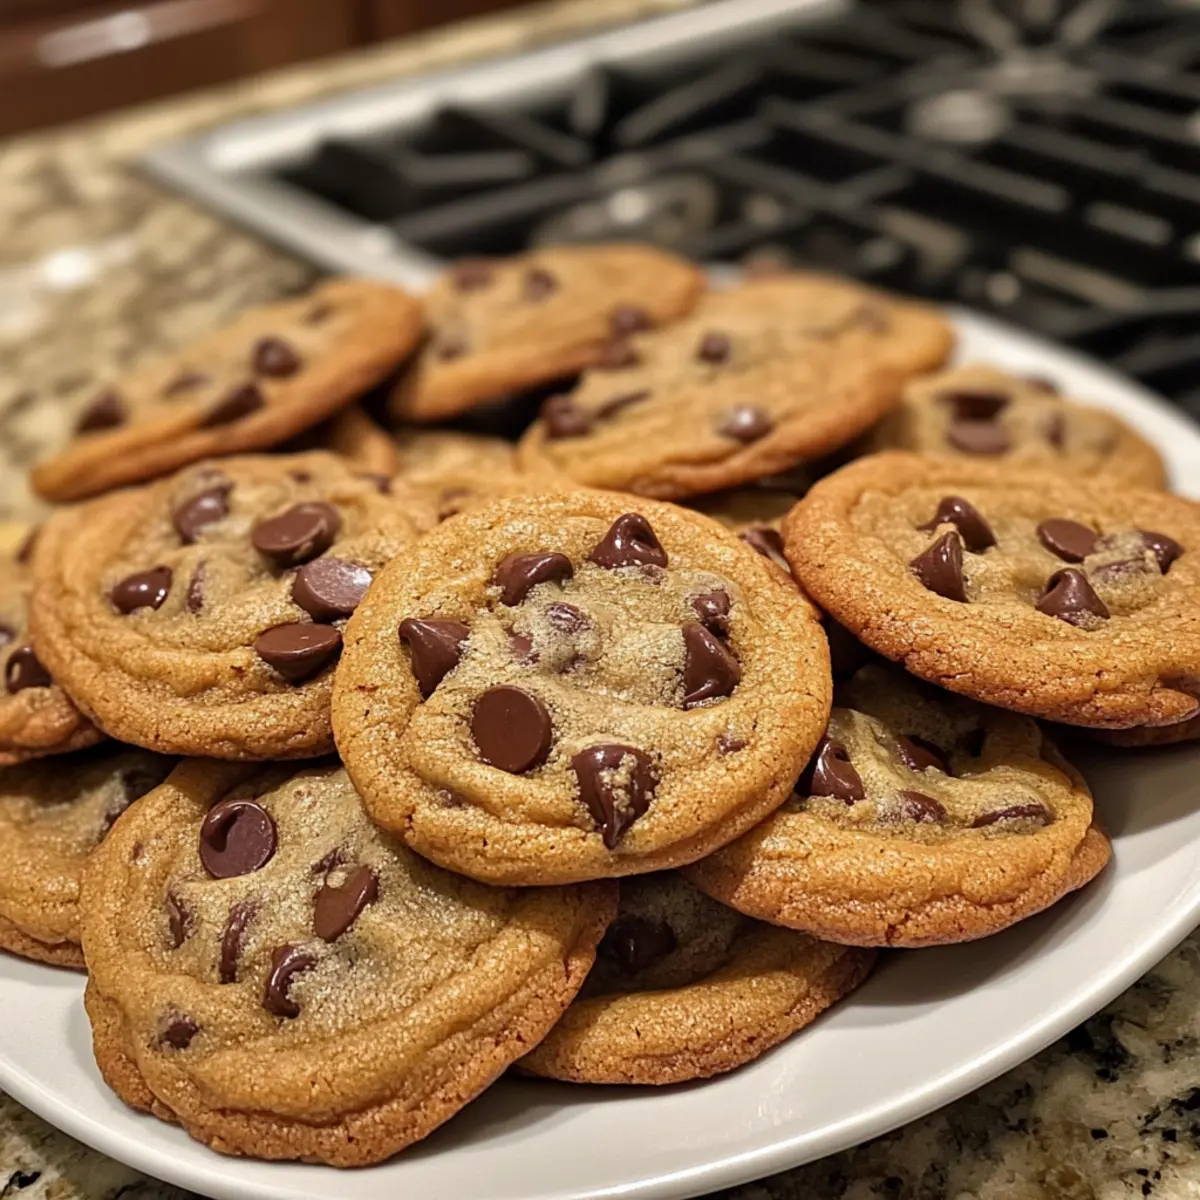
As I stood in my cozy kitchen, a thrilling aroma wafted through the air, instantly bringing back memories of childhood baking days. That’s the magic of homemade chocolate chip cookies; the soft, gooey centers and golden, crispy edges create a comforting experience like no other. In today’s recipe for Ultimate Classic Chocolate Chip Cookies, I’ll guide you through an easy process that not only yields delightful cookies but also turns your kitchen into a warm and inviting haven. These treats are not only quick to prepare but also perfect for sharing—whether it’s with friends, family, or simply yourself. Are you ready to create a batch of sweet nostalgia that can transform any moment into a celebration? Let’s dive into this delicious recipe!
Why Are These Cookies So Irresistible?
Homemade Delight: There’s something special about baking cookies at home; the aroma fills your space, creating warm memories.
Easy Process: With just a few simple steps, you’ll whip up these treats faster than you can say “chocolate chip!”
Crowd-Pleasing Treat: Perfect for parties or cozy nights in, everyone loves a classic chocolate chip cookie, making them ideal for sharing.
Customizable: Feel free to personalize your batch by adding nuts or different types of chocolate for a unique twist. For more creative twists, check out our Crockpot Loaded Steak recipe!
Time-Saving: In just over 30 minutes, you can have these cookies ready to enjoy. Perfect for those sudden cravings or unexpected guests!
Chocolate Chip Cookie Ingredients
For the Cookie Base
• All-Purpose Flour – Provides structure to the cookies; substitute with gluten-free flour blend for a gluten-free version.
• Baking Soda – Helps cookies rise and creates a chewy texture; no substitutions needed.
• Salt – Enhances flavor and balances sweetness; use kosher or sea salt for the best taste.
• Unsalted Butter – Adds richness and moisture; can be replaced with vegan butter or coconut oil for dairy-free options.
• Brown Sugar – Contributes chewiness and a beautiful caramel flavor; can be swapped with granulated sugar for a lighter texture.
• Granulated Sugar – Adds sweetness and aids in spreading; don’t skip this essential ingredient.
• Eggs – Binds ingredients together and helps with leavening; no egg substitute recommended unless using flaxseed for a vegan option.
• Vanilla Extract – Enhances the overall flavor; there’s no direct substitute, so be sure to include this!
For the Epic Chocolatey Finish
• Chocolate Chips – Provide melty pockets of joy; choose between milk, dark, or white chocolate chips for variation!
This list will help you create mouthwatering chocolate chip cookies that are sure to impress! Remember, using quality ingredients enhances the flavor in every bite. Enjoy baking your homemade sweet delights!
Step‑by‑Step Instructions for Ultimate Classic Chocolate Chip Cookies
Step 1: Preheat the Oven
Begin by preheating your oven to 350°F (175°C). This temperature is ideal for baking the Ultimate Classic Chocolate Chip Cookies, ensuring they turn out perfectly golden. As the oven warms up, gather your ingredients and baking sheets, and line them with parchment paper for easy cleanup and to prevent sticking.
Step 2: Prepare the Dry Ingredients
In a medium mixing bowl, whisk together 2 ¼ cups of all-purpose flour, 1 teaspoon of baking soda, and ½ teaspoon of salt. This step is crucial to evenly distribute the leavening agent and salt, which will help achieve that delightful chewy texture. Set this bowl aside, as you’ll be blending it with the wet ingredients shortly.
Step 3: Cream the Butter and Sugars
In a large bowl, beat together 1 cup of softened unsalted butter, ¾ cup of brown sugar, and ¾ cup of granulated sugar using either a hand mixer or a stand mixer. Mix on medium speed until the mixture is light and fluffy, about 2-3 minutes. The creamy consistency brings air into the dough, ensuring a tender cookie.
Step 4: Incorporate the Eggs and Vanilla
Add in 2 large eggs, one at a time, mixing well after each addition. Then, stir in 1 teaspoon of vanilla extract until everything is smoothly combined. This mixture should look creamy and slightly thick, giving the Ultimate Classic Chocolate Chip Cookies that rich flavor and moist texture.
Step 5: Blend in the Dry Ingredients
Gradually add the dry ingredients to the wet mixture, mixing on low speed until just combined. Be careful not to overmix; this can lead to tougher cookies. The dough should look soft and slightly sticky, ready to embrace those delicious chocolate chips.
Step 6: Fold in the Chocolate Chips
Gently fold in 2 cups of your choice of chocolate chips, ensuring they’re evenly distributed throughout the dough. This addition is where the magic happens—the melty chocolate pockets will create a blissful experience in each bite of your Ultimate Classic Chocolate Chip Cookies.
Step 7: Portion the Dough
Using a spoon or cookie scoop, drop heaping tablespoons of cookie dough onto the lined baking sheets, spacing them about 2 inches apart. This gives the cookies room to spread while baking. The visual of the dough mounds will bring excitement for the delightful treats awaiting in the oven.
Step 8: Bake the Cookies
Place the baking sheets in the preheated oven and bake for 10-12 minutes. Keep an eye on them; the edges should be a lovely golden brown while the centers remain soft. Pull them out when they look slightly underbaked to ensure that chewy, mouthwatering texture we all love.
Step 9: Cool Before Serving
Allow the cookies to cool on the baking sheet for about 5 minutes before transferring them to a wire rack. This resting period helps them set while still being warm and gooey in the center. Once completely cool, these Ultimate Classic Chocolate Chip Cookies are ready to be devoured or stored for later enjoyment!
How to Store and Freeze Chocolate Chip Cookies
Room Temperature: Keep your cookies in an airtight container for up to 1 week to maintain their wonderful softness and flavor.
Fridge: If you prefer a firmer cookie, store them in the fridge in an airtight container for up to 2 weeks. Just remember to bring them back to room temperature for the best taste!
Freezer: Freeze your chocolate chip cookies for up to 3 months. To do this, place them in a freezer-safe bag, separating layers with parchment paper, and thaw before enjoying.
Reheating: When ready to indulge, pop your cookies in the microwave for 5–10 seconds for that freshly-baked warmth!
Make Ahead Options
These Ultimate Classic Chocolate Chip Cookies are fantastic for meal prep, making your life easier during busy weeks! You can prepare the dough up to 24 hours in advance by mixing all the ingredients and storing it in an airtight container in the refrigerator. If you’re planning to enjoy these cookies later, scoop the dough onto parchment-lined baking sheets and freeze them for up to 3 months. Before baking, just preheat your oven and pop the frozen dough straight in, adding an extra minute or two to the baking time. This way, you’ll have freshly baked cookies ready to enjoy at a moment’s notice, and they’ll be just as delicious as if you made them the same day!
Tips for the Best Chocolate Chip Cookies
Room Temperature Butter: Ensure your butter is at room temperature for a creamy, well-blended dough, which is key for homemade chocolate chip cookies.
Chilling the Dough: For thicker cookies, consider chilling the dough for 30 minutes. This helps prevent excessive spreading while baking.
Avoid Overmixing: Mix just until combined after adding the dry ingredients. Overmixing can lead to tougher cookies instead of the delightful, soft texture you crave.
Watch the Bake Time: Keep an eye on the cookies; they should look slightly underbaked for that perfect chewy center. They will continue baking on the sheet after removing them from the oven.
Use Quality Chocolate: Choose high-quality chocolate chips or chopped chocolate for a more indulgent flavor experience in your loaded bravas tots.
Experiment with Variations: Don’t hesitate to personalize your batch by experimenting with different types of chocolate or adding nuts for an extra crunch!
Loaded Bravas Tots Variations Are Endless!
Explore exciting twists on your classic creation that will elevate your taste experience!
-
Spicy Kick: Add a dash of cayenne pepper or red pepper flakes to the seasoning mix for an exciting heat that’s sure to awaken your taste buds. Just a little heat can transform your bravas into a sensational party starter.
-
Cheesy Delight: Swap out the standard toppings for gooey cheese, such as melted queso or a drizzle of oozy cheddar sauce, taking your loaded bravas to the next cheesy level. Imagine that delightful stretch of cheese that pulls apart with each bite!
-
Vegan Option: Use dairy-free cheese and a plant-based sour cream substitute to make a vegan-friendly version of these delicious loaded bravas. Enjoy guilt-free comfort food that’s equally satisfying!
-
Herb Infusion: Sprinkle freshly chopped herbs, such as parsley or cilantro, on top before serving to add a light, refreshing taste that brightens up each bite. The fresh herbs can be a delightful balance against the rich flavors.
-
Texture Contrast: Experiment with crispy toppings, like crushed tortilla chips or fried onions, for extra crunch alongside that creamy, rich potato base—a delightful surprise in every mouthful. The contrast of textures will bring your bravas to life!
-
Tantalizing Toppings: Try topping with crumbled bacon or chorizo for a meaty addition that brings savory richness to every bite. The combination of flavors is undeniably comforting and heartwarming.
-
Sweet Twist: Drizzle a touch of honey or maple syrup over for a unexpected twist that balances the savory elements beautifully—a harmony of sweet and savory that tantalizes your palate!
For more creative comfort food, don’t forget to check out our cheerful Crockpot Loaded Steak recipe. You’ll find it’s another delightful dish bursting with flavor!
What to Serve with Ultimate Classic Chocolate Chip Cookies
Indulging in freshly baked cookies is an experience that begs for the perfect companion to elevate your treat into a memorable moment.
- Cold Milk: The classic pairing for chocolate chip cookies, cold milk balances the sweetness, enhancing the rich flavors.
- Vanilla Ice Cream: A scoop of vanilla ice cream creates a luscious contrast with warm cookies, becoming an irresistible dessert sandwich.
- Fresh Berries: The tartness of fresh berries like raspberries or strawberries adds a vibrant freshness that cuts through the sweetness beautifully.
- Coffee or Espresso: A hot cup of coffee complements the rich, buttery flavors of the cookies, making for a cozy afternoon treat.
- Caramel Sauce: Drizzling warm caramel sauce over the cookies offers an indulgent twist, making each bite even more decadent.
- Nutty Chocolate Spread: A dollop of hazelnut chocolate spread can add another layer of sweetness, perfect for those who crave extra chocolate.
- Whipped Cream: Light and airy whipped cream brings a delightful fluffiness that pairs exceptionally well with warm cookies.
- Chocolate Milkshake: For a truly indulgent experience, sip on a thick chocolate milkshake alongside your cookies—pure bliss!
- Hot Chocolate: Cozy up with a warm cup of hot chocolate for an ultimate comfort food experience that warms your heart.
Chocolate Chip Cookies Recipe FAQs
What type of flour should I use for the perfect cookie texture?
I recommend using all-purpose flour for a classic texture, as it provides the right structure. If you’re aiming for a gluten-free version, try a gluten-free flour blend—just ensure it’s designed for baking.
How should I store chocolate chip cookies to keep them fresh?
To maintain their delightful softness, store your chocolate chip cookies in an airtight container at room temperature for up to one week. If you place them in the fridge, they’ll last for up to two weeks, but make sure to bring them back to room temperature for the best taste!
Can I freeze my chocolate chip cookies, and how?
Absolutely! You can freeze chocolate chip cookies for up to three months. To freeze, place them in a freezer-safe bag, laying parchment paper between layers to prevent sticking. When you’re ready to enjoy them, just thaw at room temperature before devouring. For a warm treat, pop them in the microwave for 5–10 seconds!
What can I do if my cookie dough seems too sticky?
If your dough feels overly sticky, don’t fret! Simply incorporate a little extra flour—start with a tablespoon at a time until you reach the desired consistency. Remember, chilling the dough for 30 minutes can also help it firm up and make it easier to handle.
Are there any allergy considerations I should keep in mind?
Yes, definitely. If you’re baking for someone with allergies, consider using dairy-free butter and substitute the eggs with flaxseed meal (1 tablespoon mixed with 2.5 tablespoons of water) for a vegan option. Be sure to check the chocolate chips for allergens as well.
Can I customize my chocolate chip cookies?
Absolutely! These cookies are incredibly versatile. Feel free to add chopped nuts like walnuts or pecans for a delightful crunch, or try mixing in white chocolate chips for a different flavor experience. Experimentation is encouraged for your personal touch!
Loaded Bravas Tots for Epic Comfort Food Cravings
Ingredients
Equipment
Method
- Preheat your oven to 350°F (175°C) and prepare baking sheets with parchment paper.
- Whisk together the flour, baking soda, and salt in a bowl. Set it aside.
- In a large bowl, cream together butter and sugars until light and fluffy.
- Add eggs one at a time, mixing well, then stir in vanilla.
- Gradually mix in the dry ingredients until just combined.
- Fold in chocolate chips.
- Drop tablespoons of dough onto baking sheets, spacing them 2 inches apart.
- Bake for 10-12 minutes until edges are golden but centers are soft.
- Cool on the baking sheet for 5 minutes before transferring to a wire rack.
Leave a Reply