
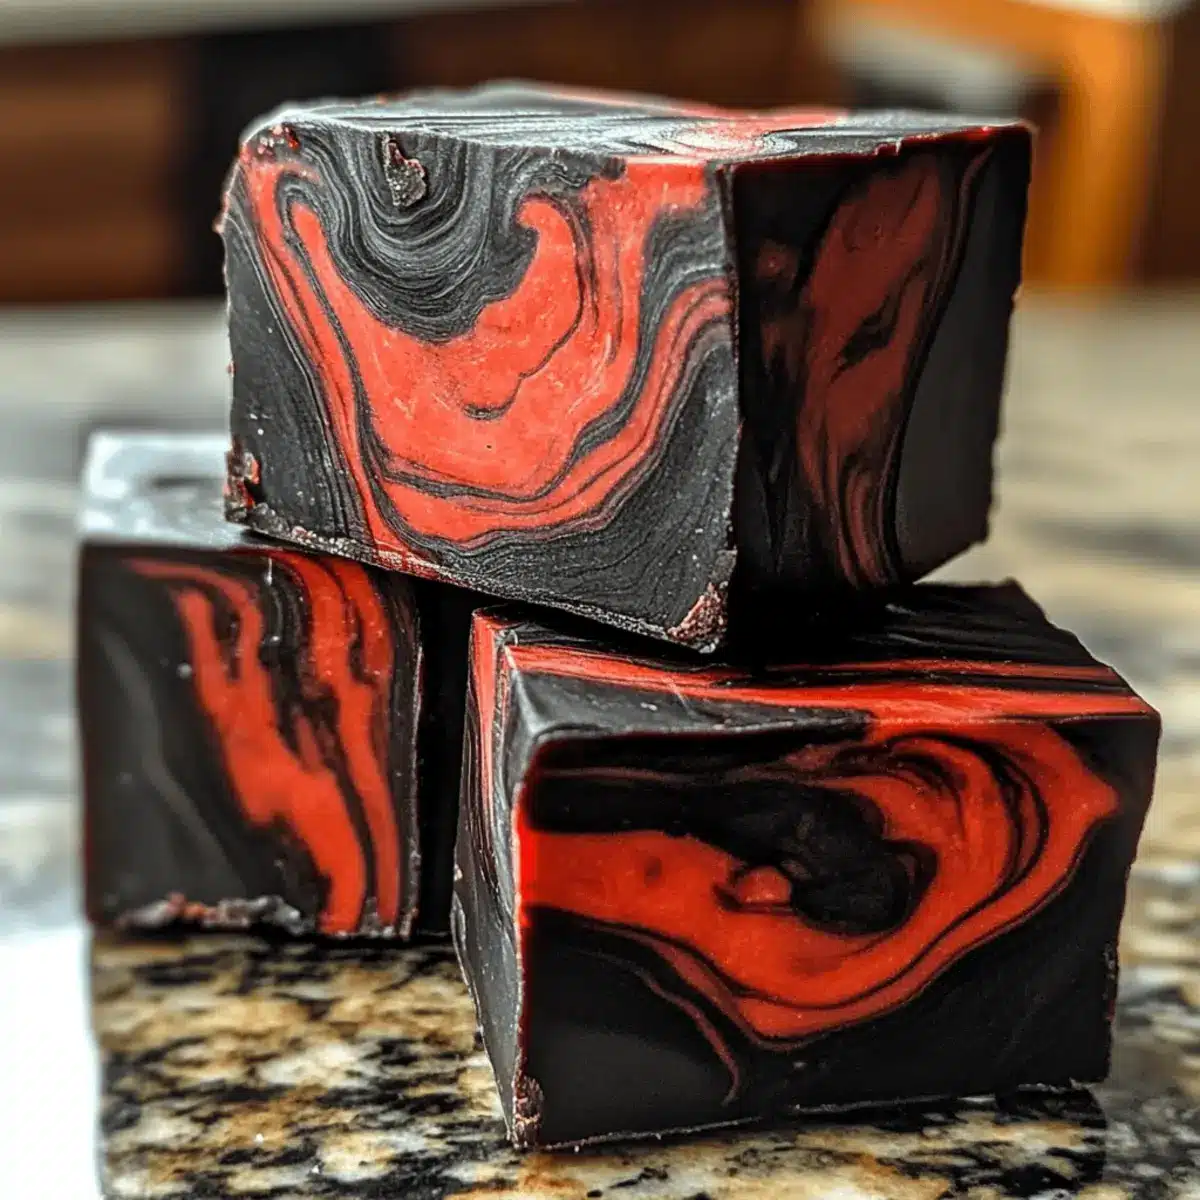
As I was stirring together vibrant candies and cream cheese frosting, a wave of nostalgia washed over me, reminding me of childhood Halloween parties spent devouring sweet confections. This Halloween Vampire Fudge is a stunning two-tone treat that embodies the playful spirit of the holiday with its striking black and red swirls. Not only is it a gluten-free and vegetarian delight, but its creamy texture makes it a crowd-pleaser that’s perfect for parties or as a spooky addition to dessert boards. Best of all, this easy-to-make fudge allows even novice bakers to impress without spending hours in the kitchen. Are you ready to create a thrilling and delicious masterpiece that will leave everyone begging for more? Let’s dive into the recipe!
Why is Vampire Fudge a Must-Try?
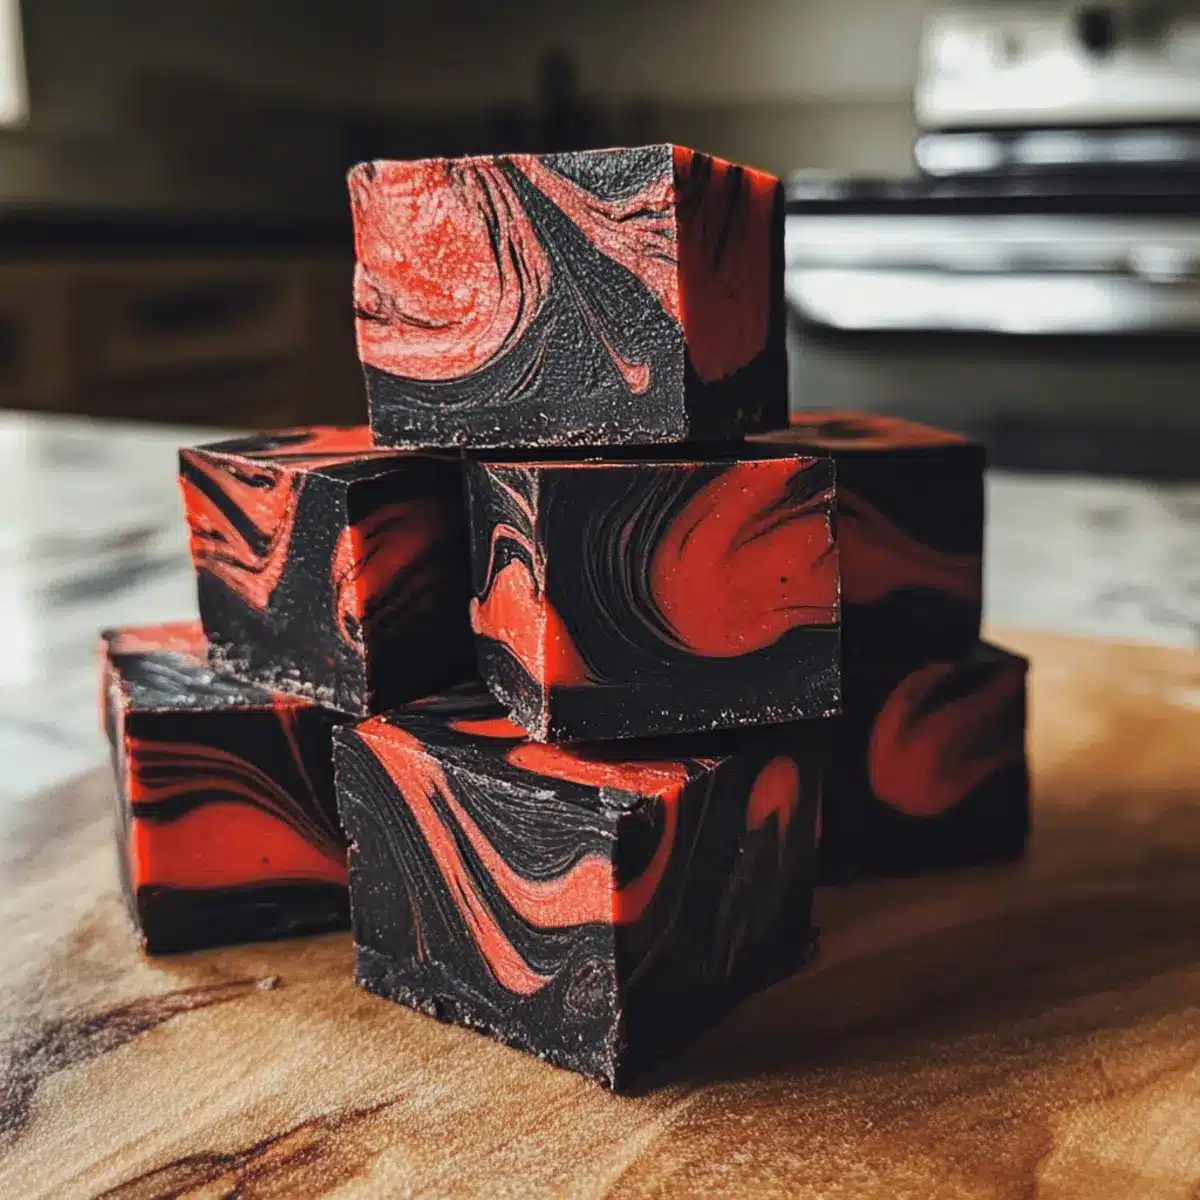
Visual Appeal: The striking black and red swirls make this fudge a showstopper at any Halloween gathering. Imagine it on your dessert board alongside bat cookies and gummy worms!
Simple to Make: With just a few steps and no intricate techniques, this recipe is perfect for bakers of all skill levels. Plus, no baking required means less mess.
Crowd-Pleasing Flavor: The creamy texture combined with the sweetness of the candy melts creates a rich, delicious treat that everyone will love.
Versatile Variations: Feeling creative? You can easily switch up the colors for different themes, making it a year-round dessert option. Try variations with your favorite candy colors for festive fun!
Make Ahead Convenience: Prepare your Vampire Fudge in advance. It keeps well in the fridge and even freezes beautifully, allowing you to get a head start on your celebrations!
This irresistibly fun treat captures the essence of Halloween! For those who love indulgent desserts, you might also enjoy our Hot Fudge Sundae for another decadent experience.
Vampire Fudge Ingredients
For the Fudge
• Cream Cheese Frosting – Provides a creamy texture and sweetness. Substitute with any thick vanilla or buttercream-style frosting if unavailable.
• Black Candy Melts – Creates the striking black color, essential for the Halloween theme.
• Red Candy Melts – Adds vibrant color and pairs with black for a spooky effect; feel free to switch for contrasting colors that match your party theme.
Optional Toppings
• Edible Glitter – Sprinkles on top create an enchanting sparkle that enhances the festive look.
• Halloween Sprinkles – Add fun shapes like bats and pumpkins for extra flair!
Get ready to delight your taste buds and impress your guests with this mouthwatering Vampire Fudge!
Step‑by‑Step Instructions for Vampire Fudge
Step 1: Prepare the Pan
Start by lightly greasing an 8″ x 8″ cake pan with cooking spray. Then, line the pan with parchment paper in a cross shape, allowing excess paper to hang over the edges. This will ensure easy removal of the finished Vampire Fudge. Set the pan aside while you prepare the delicious layers.
Step 2: Melt the Candy Melts
Separate the black and red candy melts into two microwave-safe bowls. Microwave each bowl on high for 2 minutes, stirring every 30 seconds until the melts are completely smooth and shiny. Be careful not to overheat them, as burning can create an undesirable texture. This colorful melting process sets the stage for your stunning Vampire Fudge.
Step 3: Prepare the Frosting
Take the cream cheese frosting and microwave it for about 45 seconds or until it becomes pourable, stirring occasionally to check the consistency. The warmth should result in a smooth texture, making it easier to combine with the melted candy melts. This will contribute to the creamy mouthfeel of your Vampire Fudge.
Step 4: Combine Mixtures
Divide the warm cream cheese frosting into two equal portions, adding half to the bowl of black candy melts and the other half to the red candy melts. Stir each bowl well until the frosting is fully incorporated and the colors are vibrant. You should see a rich, creamy mixture in both bowls, ready to create those striking swirls in your Vampire Fudge.
Step 5: Layer the Mixtures
Alternately pour the black and red mixtures into the prepared pan. Start with a layer of black, then followed by red, continuing this pattern until both mixtures are used up. Use a spatula to gently spread the mixtures, creating an appealing marbled effect as you layer them. This step is crucial for achieving the unique appearance of your Halloween Vampire Fudge.
Step 6: Chill and Set
Once your fudge layers are poured, gently tap the pan on the counter to even out the surface and release any air bubbles. Place the pan in the refrigerator for at least 4 hours or until the fudge has fully set and is firm to the touch. This chilling time allows the flavors to meld beautifully and ensures the fudge will hold its shape when cut.
Step 7: Cut and Serve
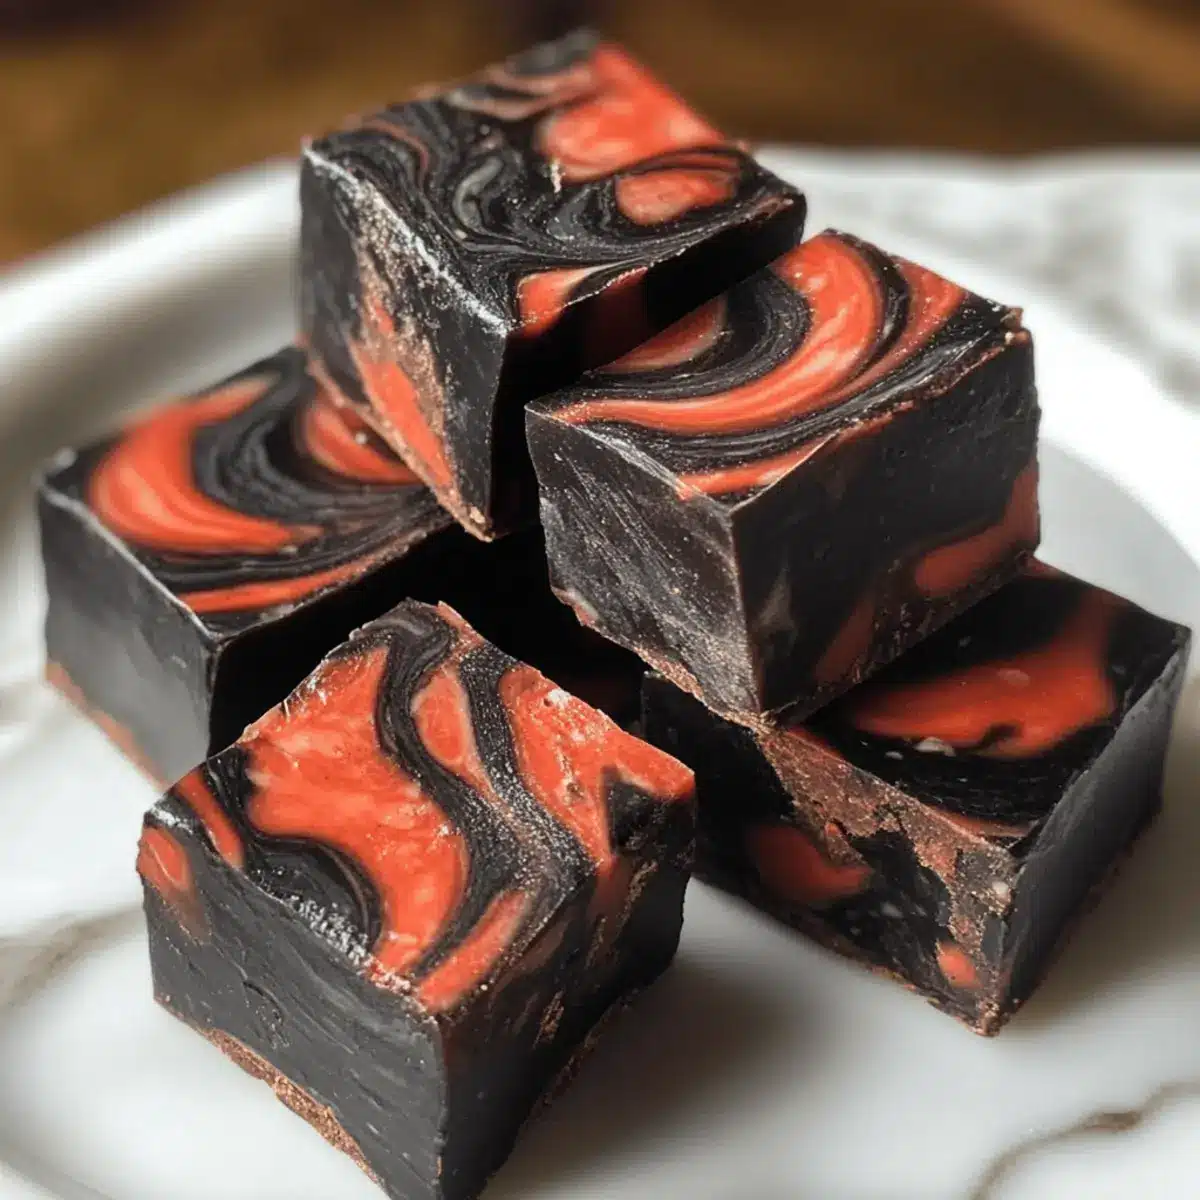
After the fudge has set, remove it from the pan using the parchment paper overhang. Place it on a cutting board and slice it into bite-sized squares of your desired thickness. The final Vampire Fudge should display striking red and black layers, perfect for a Halloween treat. Serve immediately or store in an airtight container for later enjoyment.
Make Ahead Options
These Halloween Vampire Fudge treats are perfect for busy home cooks looking to save time during the spooky season! You can prepare the layers of fudge up to 24 hours in advance—just melt and mix the candy melts and cream cheese frosting as directed, then pour them into the pan. After layering, refrigerate the uncut fudge in an airtight container to maintain its rich texture and flavors. When you’re ready to serve, simply remove the fudge from the fridge, cut it into squares, and enjoy a delicious treat that’s just as delightful as if made fresh! This way, you’ll have more time to focus on your Halloween festivities.
How to Store and Freeze Vampire Fudge
Room Temperature: Keep Vampire Fudge in an airtight container at room temperature for up to 3 days for optimal flavor and texture.
Fridge: Store in the refrigerator for up to 1 week, ensuring it is wrapped or in a sealed container to prevent it from absorbing other odors.
Freezer: For longer storage, freeze the fudge in individual portions, wrapped tightly in plastic wrap and then in foil, for up to 2 months. Thaw in the refrigerator before serving.
Reheating: There’s no need to reheat Vampire Fudge, as it’s best enjoyed chilled directly from the fridge or at room temperature for a delightful treat!
Expert Tips for Vampire Fudge
-
Proper Mixing: Ensure the cream cheese frosting is fully combined with the candy melts for a smooth texture. Lumps can mar your fudge’s appearance.
-
Avoid Overheating: When melting the candy melts, stir every 30 seconds to prevent scorching. Overheating can lead to grainy fudge instead of the silky, creamy Vampire Fudge.
-
Chill Time: Be patient and allow the fudge to chill for at least 4 hours. This step is crucial for achieving the right consistency and preventing the fudge from being too soft when cut.
-
Storing Wisely: Store your fudge in an airtight container to prevent it from absorbing any odors from the fridge. Layer parchment paper between squares for easy separation.
-
Creative Layers: Don’t hesitate to experiment with other colors! Vampire Fudge can easily be adapted for different occasions, so feel free to mix it up with seasonal or themed colors!
Vampire Fudge Variations & Substitutions
Feel free to get creative and tailor this fudge to your taste and Halloween theme!
-
Color Twist: Substitute black and red candy melts with purple and green for a witchy Halloween treat. The vibrant colors will enchant young trick-or-treaters!
-
Nutty Crunch: Add chopped nuts such as walnuts or almonds into the fudge mixture for texture and a surprising twist. The crunch pairs beautifully against the creamy sweetness.
-
Flavor Infusion: Mix in flavored extracts, like raspberry or almond, to enhance the fudge with a delightful twist. Just a teaspoon can elevate the flavor profile and delight the senses.
-
Marshmallow Addition: Swirl in mini marshmallows into the fudge mixture before setting for a fun, chewy surprise in every bite. It’s like a spooky twist on traditional fudge!
-
Spicy Kick: For those who crave heat, add a pinch of cayenne pepper or a drizzle of hot sauce to the mixture. Just enough to create a fascinating sweet-spicy contrast.
-
Replacement for Frosting: If cream cheese frosting isn’t your favorite, use vanilla frosting instead. It will still provide creaminess and sweetness while catering to different taste preferences.
-
Chocolate Layer: Incorporate a layer of dark chocolate fudge by mixing in melted chocolate instead of candy melts. The richness of chocolate adds depth while sticking to the Halloween theme!
-
Edible Glitter: Top your fudge with edible glitter or festive sprinkles before refrigerating for a shimmering, magical finish. It’s the perfect final touch for your Halloween masterpiece!
Once you’ve whipped up your Vampire Fudge, consider serving it alongside our delightful Hot Fudge Sundae for an extra sweet treat or pair it with some fun Halloween cookies for an unforgettable dessert board!
What to Serve with Halloween Vampire Fudge
Dive into a whimsical Halloween celebration with delightful pairings that elevate your experience beyond just fudge!
-
Bat Cookies: These spooky-shaped cookies offer a complimentary crunch, blending perfectly with the soft fudge’s creaminess.
-
Gummy Worms: Add a fun, chewy element to your dessert table. Their vibrant colors and fruity flavor create a playful contrast with the rich fudge.
-
Popcorn Balls: Sweet and salty popcorn balls provide a delightful textural contrast. These airy snacks are a great way to balance the richness of the fudge.
-
Pumpkin Spice Hot Chocolate: A warm, cozy beverage that enhances the festive spirit. The flavors of pumpkin spice harmonize beautifully with the sweetness of the fudge.
-
Halloween Fruit Skewers: Fresh fruits like strawberries and melon on a stick bring a refreshing touch to your platter. The bright colors and natural sweetness provide a delightful palate cleanser.
-
Spooky Cupcakes: Top with Halloween-themed frosting and decorations for an eye-catching accompaniment. Their light and fluffy texture complements the denser fudge remarkably well.
-
Caramel Dip: Pair your fudge with a smooth, rich caramel dip for an extra layer of indulgence. A drizzle over or alongside creates an irresistible combination.
-
Edible Glitter: While not a food pairing in itself, a sprinkle of edible glitter on your fudge or desserts adds a dazzling festive touch to your presentation.
Make your Halloween spread a hit by combining these delightful treats with the sweet decadence of Vampire Fudge!
Vampire Fudge Recipe FAQs
What should I look for when selecting candy melts?
For the best results in your Vampire Fudge, look for candy melts that have a smooth, shiny texture and vibrant colors. Ensure they are within their use-by date for the freshest flavor. Avoid any bags with dark spots or tears as this can affect the quality.
How should I store Vampire Fudge?
Store your Vampire Fudge in an airtight container at room temperature for up to 3 days. If you want to keep it longer, it can be refrigerated for up to 1 week, just be sure to wrap it well so it doesn’t absorb other odors.
Can I freeze Vampire Fudge for longer storage?
Absolutely! To freeze Vampire Fudge, cut it into squares and wrap each piece tightly in plastic wrap. Then place the wrapped squares in a freezer-safe container or bag. It will keep well for up to 2 months. When you’re ready to enjoy it, simply thaw the fudge in the refrigerator overnight before serving.
What if my fudge is too soft or not setting properly?
If your Vampire Fudge seems too soft after chilling, it could be that the cream cheese frosting wasn’t mixed in thoroughly, or it didn’t chill long enough. I recommend letting it chill for a full 4 hours, and if it still hasn’t set, try placing it back in the fridge for an additional hour. Make sure the frosting is warmed up just enough to be pourable for better integration with the candy melts.
Is Vampire Fudge suitable for those with dietary restrictions?
Yes, this recipe is gluten-free and vegetarian! However, be cautious regarding any specific allergies; always check the packaging of candy melts and frosting for potential allergens like nuts or dairy.
How can I add more color or variation to my fudge?
Feel free to get creative with your Vampire Fudge! Substitute the black and red candy melts with any colors that suit your festive theme, like purple and green for a witchy vibe. You can also sprinkle edible glitter or themed sprinkles on top for an extra eye-catching finish.

Delicious Vampire Fudge: Your Must-Have Halloween Treat
Ingredients
Equipment
Method
- Prepare the pan by greasing an 8" x 8" cake pan with cooking spray and line with parchment paper.
- Melt the black and red candy melts in separate bowls in the microwave, stirring every 30 seconds until smooth.
- Microwave the cream cheese frosting until pourable, about 45 seconds, to achieve a smooth texture.
- Divide the warm cream cheese frosting into two portions, mixing with the respective candy melts until vibrant.
- Layer the black and red mixtures in the prepared pan alternately, creating a marbled effect.
- Chill the layered fudge in the refrigerator for at least 4 hours until fully set.
- Cut the fudge into bite-sized squares and serve.
Leave a Reply