
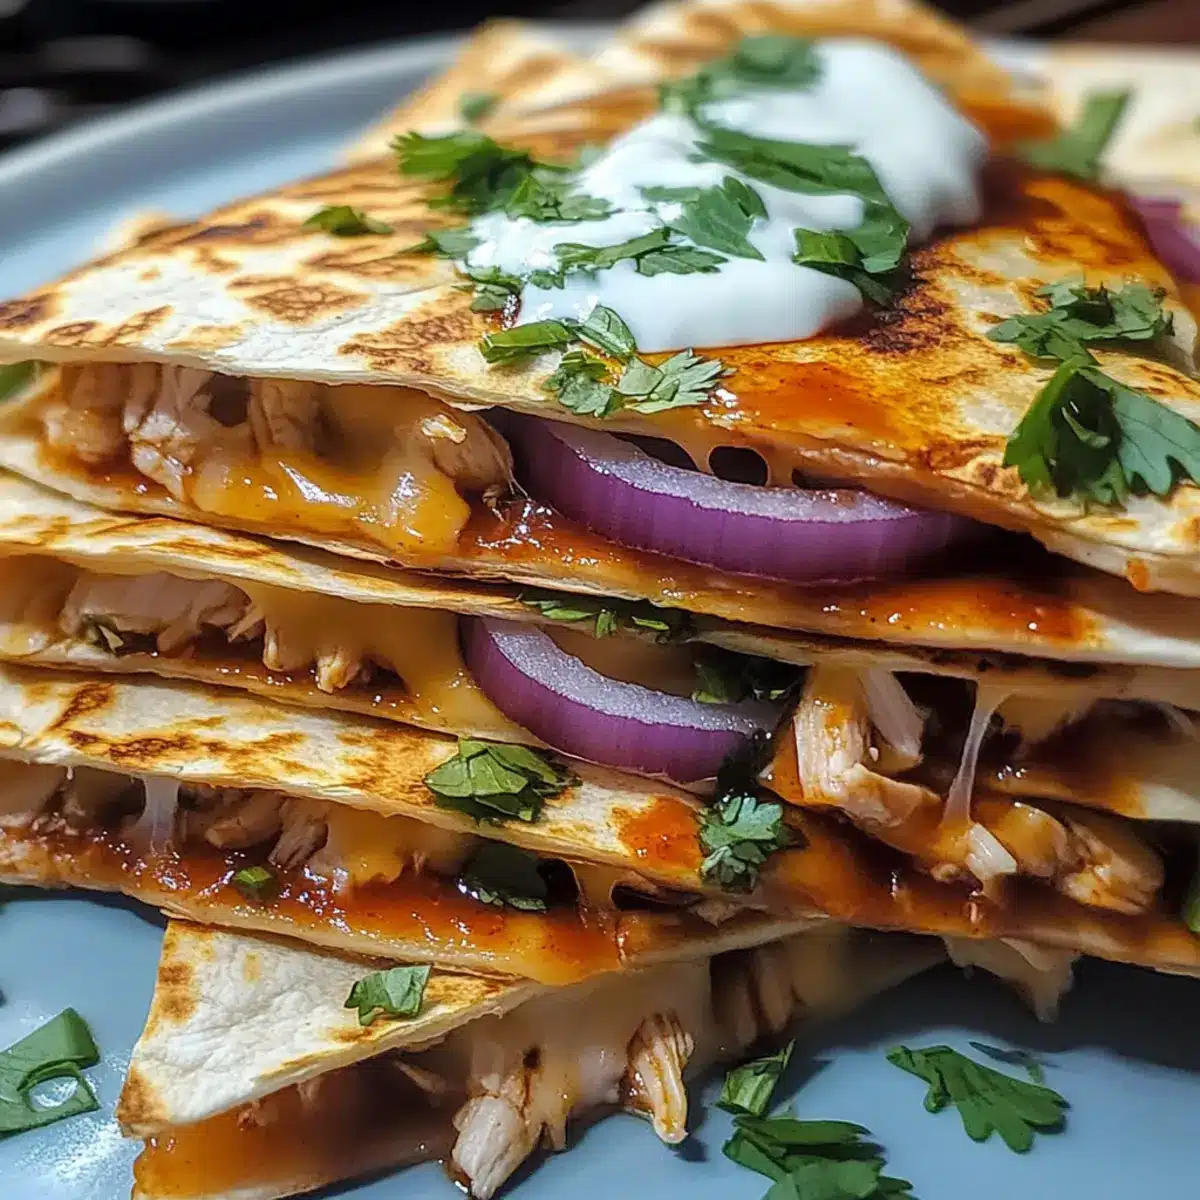
The aroma of sizzling tortillas filled with BBQ chicken and bubbling cheese is enough to whisk anyone away to flavor paradise. These BBQ Chicken Quesadillas are not only easy to whip up, but they also offer a customizable adventure perfect for casual gatherings or game day celebrations. Imagine biting into a crispy tortilla that gives way to layers of smoky BBQ goodness and melty cheese, all ready in a flash! This recipe is a lifesaver for busy weeknights or impromptu entertaining, making it a must-have in any home chef’s repertoire. Curious about how to create this crowd-pleasing delight? Let’s dive in!
Why Are BBQ Chicken Quesadillas a Must-Try?
Crispy Comfort: BBQ Chicken Quesadillas offer the perfect crunch without compromising on flavor.
Speedy Prep: Ready in just 20 minutes, they’re ideal for busy weeknights or unexpected guests.
Customizable to Taste: Swap in smoked pulled pork or sautéed peppers for a whole new experience.
Crowd-Pleaser: Their deliciousness and fun presentation make them a hit for game day gatherings or casual parties.
Easy Cleanup: Cooking in just one skillet means less time washing dishes and more time enjoying your meal!
Get ready to impress your friends and family with these amazing quesadillas, and if you’re in the mood for more delicious ideas, check out our Thai Peanut Chicken Wraps!
BBQ Chicken Quesadilla Ingredients
-
For the Filling
• Shredded Chicken – Adds protein and creates the primary filling; use rotisserie chicken for quick prep.
• BBQ Sauce – Provides tangy, smoky flavor; try a sweeter variety for a milder kick!
• Shredded Cheese (cheddar or Monterey Jack) – Delivers creaminess; substitute with mozzarella for a gooey texture.
• Red Onion – Adds a zesty crunch; can be omitted or swapped for green onions for a gentler flavor.
• Fresh Cilantro – Enhances freshness and complements the BBQ taste; feel free to omit if herbs aren’t your style. -
For the Tortilla
• Flour Tortillas – The crisp outer layer; whole wheat tortillas can be a healthier substitute for these BBQ Chicken Quesadillas.
These ingredients come together to create a mouthwatering experience that will leave everyone wanting more!
Step‑by‑Step Instructions for BBQ Chicken Quesadillas
Step 1: Prepare the Filling
In a spacious mixing bowl, combine shredded chicken with your favorite BBQ sauce. Use a generous amount to ensure all the chicken is evenly coated in that delicious tangy flavor. This should take about 2-3 minutes. Set the mixture aside while you prep the other ingredients, allowing the flavors to meld together for a more robust taste.
Step 2: Heat the Skillet
Place a large skillet over medium heat and drizzle in a bit of olive oil, allowing it to warm up for about 2 minutes. You’ll know it’s ready when the oil shimmers and you can see small wisps of smoke rising. This step is crucial for achieving that perfect crispy texture on your tortillas while cooking the BBQ Chicken Quesadillas.
Step 3: Build the Quesadillas
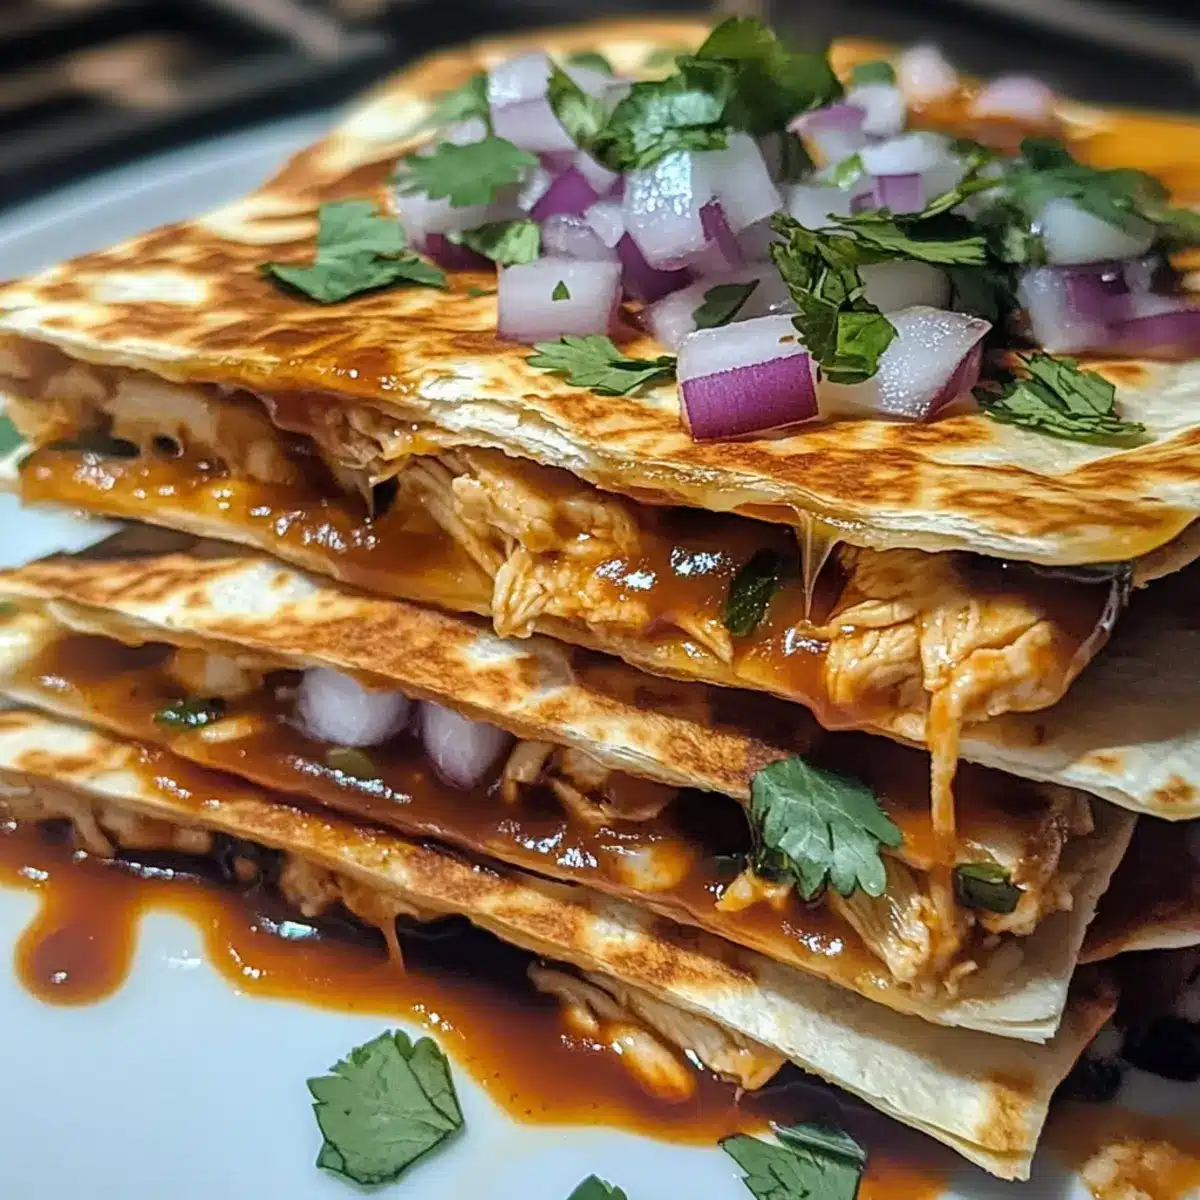
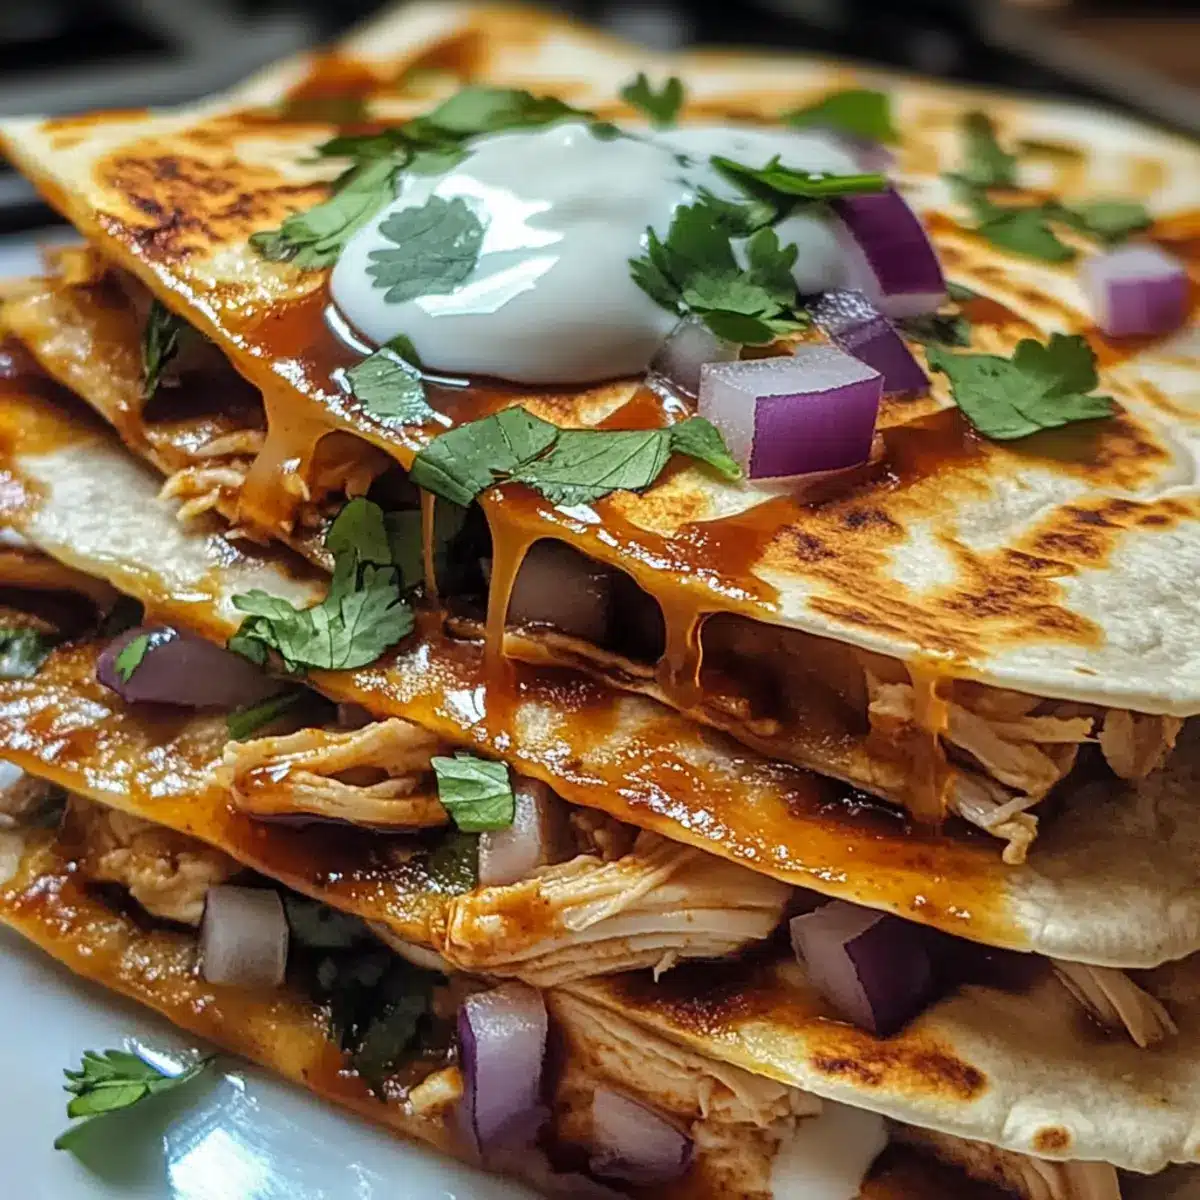
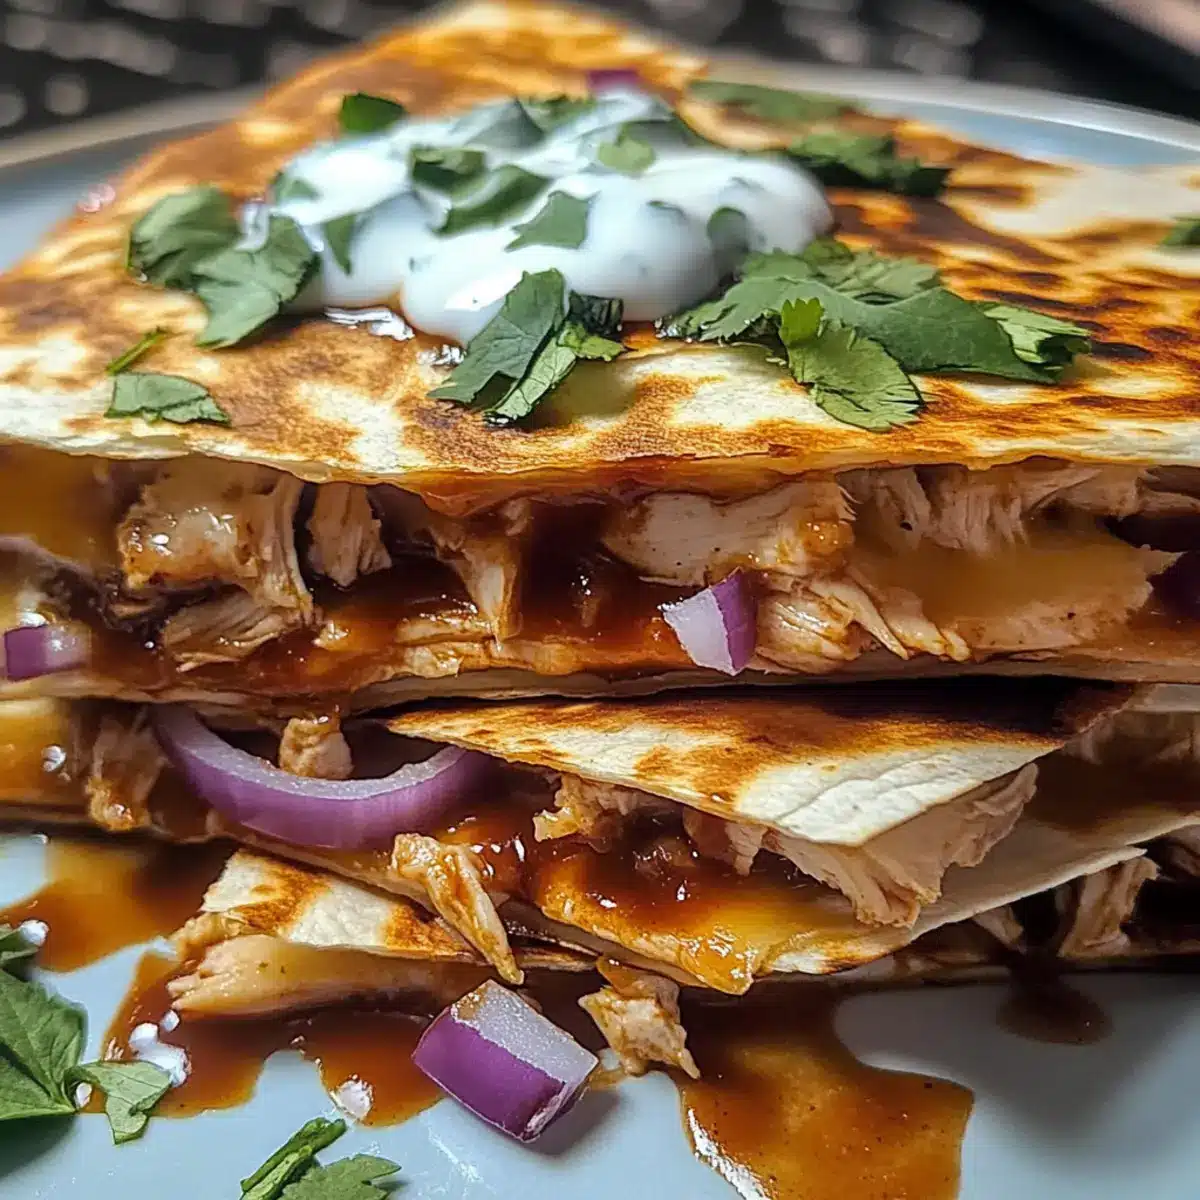
Lay one flour tortilla flat in the heated skillet, then evenly sprinkle half of your shredded cheese across the top of the tortilla. This helps the cheese stick to the filling. Next, layer half of the BBQ chicken mixture, adding bits of red onion and fresh cilantro for added flavor, creating a colorful and appetizing base for your quesadilla.
Step 4: Add More Cheese and Top
Sprinkle another layer of cheese on top of the filling to ensure it melts beautifully and binds the ingredients. Carefully place a second tortilla over the top, pressing it down gently with your spatula. This creates a delicious pocket of gooey goodness inside the two tortillas.
Step 5: Cook the Quesadilla
Let the quesadilla cook for about 3-4 minutes, checking for a golden-brown color on the bottom. Once you see a nice crisp forming, use your spatula to flip it over carefully. Cook for an additional 3-4 minutes on the other side, ensuring both sides are equally golden and crispy for the ultimate BBQ Chicken Quesadillas.
Step 6: Rest and Slice
Once both sides are perfectly golden and crispy, transfer your quesadilla to a cutting board. Allow it to rest for about 1 minute to let the cheese settle. Using a sharp knife or pizza cutter, slice the quesadilla into wedges for easy serving. This rest period helps achieve that gooey melty texture inside.
Step 7: Repeat and Serve
Repeat the cooking process for the remaining tortillas and filling, keeping the prepared quesadillas warm in a low-heat oven if desired. As you finish, arrange the crispy BBQ Chicken Quesadillas on a serving platter, and prepare for the deliciousness ahead! Serve with optional toppings such as sour cream, extra BBQ sauce, or jalapeños on the side.
Expert Tips for BBQ Chicken Quesadillas
-
Perfectly Crispy Tortillas: Ensure your skillet is adequately preheated to create that irresistible crispy texture. A hot pan is key!
-
Cheese Galore: Don’t skimp on cheese—a generous amount is essential for binding the fillings and achieving gooey goodness in your BBQ Chicken Quesadillas.
-
Layering Technique: For best flavor distribution, layer chicken, onions, and cilantro evenly. This helps every bite to be packed with taste!
-
Minimal Flips: Flip your quesadilla only once during cooking. Frequent flipping can lead to less crispiness and a soggy texture.
-
Resting Time: Allow the cooked quesadilla to rest for a minute before slicing. This helps the melted cheese solidify and hold everything together beautifully.
-
Customize with Care: Feel free to mix it up with variations, but be cautious not to overload your quesadilla with too many fillings, or it may be difficult to flip!
Make Ahead Options
These BBQ Chicken Quesadillas are a fantastic option for meal prep, allowing you to enjoy deliciousness with minimal effort during busy weeknights. You can prepare the BBQ chicken filling (shredded chicken mixed with BBQ sauce) up to 24 hours in advance; simply store it in an airtight container in the refrigerator to maintain freshness. The filling can also be frozen for up to 3 months—just thaw it overnight in the fridge before use. When you’re ready to serve, heat a skillet and assemble the quesadillas with the prepped filling, cheese, and tortillas, then cook as directed. This makes for a quick, hassle-free meal that’s just as tasty as when freshly made!
What to Serve with BBQ Chicken Quesadillas
Elevate your BBQ Chicken Quesadillas with delightful sides and drinks that complement their rich flavors and textures.
-
Creamy Guacamole: This smooth and buttery dip adds a fresh, cooling element that balances the smoky quesadillas.
-
Spicy Salsa: A vibrant and zesty salsa pairs perfectly with the richness of the quesadillas, offering a burst of flavor in each bite.
-
Crispy Slaw: A refreshing slaw made with shredded cabbage, carrots, and a tangy dressing adds a crunchy contrast to the soft quesadillas.
-
Corn on the Cob: Grilled corn drizzled with lime and chili powder brings a sweet, smoky flavor that complements the BBQ theme beautifully.
-
Mexican Rice: Fluffy rice seasoned with lime, cilantro, and spices enhances the meal, providing a hearty base that soaks up any extra BBQ sauce.
-
Pineapple Agua Fresca: This refreshing drink with a touch of sweetness and acidity perfectly complements the savory profile of the quesadillas, cleansing the palate after each bite.
-
Chocolate Chip Cookies: End the meal on a sweet note with warm, gooey cookies; their sweetness pairs wonderfully after the savoriness of the quesadillas.
Ready your table for a delightful feast that transforms your BBQ Chicken Quesadillas into an unforgettable culinary experience!
How to Store and Freeze BBQ Chicken Quesadillas
Fridge: Store leftovers in an airtight container for up to 3 days to maintain freshness and avoid sogginess.
Freezer: For longer storage, place the quesadillas in a single layer on a baking sheet and freeze until solid. Then, wrap individually in plastic wrap and store in a freezer bag for up to 2 months.
Reheating: When ready to enjoy, reheat each quesadilla in a skillet with a splash of oil over medium heat until crispy and heated through. This method helps retain that delightful crunch and warm fillings.
Make-Ahead: Prepare the quesadilla filling ahead of time and store it in the fridge for quick assembly when you need a fast and delicious meal.
BBQ Chicken Quesadillas Variations
Feel free to get creative and personalize these quesadillas to suit your tastes and dietary needs!
-
Pulled Pork: Replace the chicken with smoked pulled pork for a hearty twist on flavor.
-
Vegetarian Delight: Use roasted vegetables, black beans, or sautéed spinach for a colorful vegetarian option. Let the vibrant ingredients shine!
-
Different Sauces: Swap BBQ sauce for spicy salsa or a tangy teriyaki sauce to elevate the flavor profile. Each sauce brings out unique tastes!
-
Spicy Kick: Incorporate diced jalapeños or a splash of hot sauce to amp up the heat. Feel the warmth with each delightful bite.
-
Whole Wheat Tortillas: Opt for whole wheat tortillas instead of regular flour for a healthier, nutty flavor that still delivers satisfying crunch.
-
Cheese Variations: Try using pepper jack cheese for an extra jolt of spice, or a blend of cheeses like gouda and cheddar for a twist on creaminess.
-
Herb Infusion: Toss in some fresh basil or parsley for an herbaceous twist. The freshness adds a nice balance to the smoky flavors!
And while you’re here, check out our delicious Cheddar Bay Chicken Cobbler or our easy-to-make Cowboy Butter Chicken for more culinary inspiration!
BBQ Chicken Quesadillas Recipe FAQs
How do I choose the best chicken for BBQ Chicken Quesadillas?
Absolutely! For the best flavor and convenience, I recommend using rotisserie chicken. It’s already tender and seasoned, making the prep super simple. Just shred it and mix it with your BBQ sauce until well-coated. If you prefer to cook your chicken, boiled or grilled chicken breasts work wonderfully too!
What’s the best way to store leftover BBQ Chicken Quesadillas?
To keep the quesadillas fresh, store them in an airtight container in the fridge for up to 3 days. It’s important to make sure they’re completely cooled before sealing to avoid condensation, which can lead to sogginess.
Can I freeze BBQ Chicken Quesadillas?
Very! To freeze them, first place the quesadillas in a single layer on a baking sheet and freeze until solid, about 1-2 hours. After solidifying, wrap each quesadilla tightly in plastic wrap, then place them in a freezer bag for up to 3 months. When you’re ready to enjoy one, just reheat in a skillet with a bit of oil until crispy.
What should I do if my quesadilla burns on the outside before the cheese melts?
Check your skillet temperature! If the pan is too hot, the tortillas may burn while the insides remain cold. Keep the heat at medium and give each quesadilla about 3-4 minutes per side. If needed, reduce the heat and add a few extra minutes to ensure the cheese melts perfectly.
Can I make BBQ Chicken Quesadillas vegetarian-friendly?
Absolutely! Swap out the chicken for black beans, roasted corn, or sautéed bell peppers. This way, you still enjoy the scrumptious BBQ flavor without the meat. Just make sure your BBQ sauce is vegetarian-friendly.
Are BBQ Chicken Quesadillas safe for my pets to eat?
While the ingredients in BBQ Chicken Quesadillas are generally safe for pets, avoid giving them any cheese, onions, or BBQ sauce. These can upset their stomachs or even be harmful. Always consult your vet for the best dietary advice for your furry friends!
BBQ Chicken Quesadillas That’ll Make Weeknight Cooking Fun
Ingredients
Equipment
Method
- In a spacious mixing bowl, combine shredded chicken with your favorite BBQ sauce. Set aside.
- Place a large skillet over medium heat and drizzle in a bit of olive oil, allowing it to warm up.
- Lay one flour tortilla flat, sprinkle half of the shredded cheese on top, then layer half of the BBQ chicken mixture, red onion, and fresh cilantro.
- Add another layer of cheese on top of the filling and carefully place a second tortilla over the top.
- Cook for about 3-4 minutes, then flip and cook for another 3-4 minutes until both sides are crisp.
- Transfer to a cutting board, let rest for 1 minute, and slice into wedges.
- Repeat with remaining tortillas and filling, serving with optional toppings.
Leave a Reply