
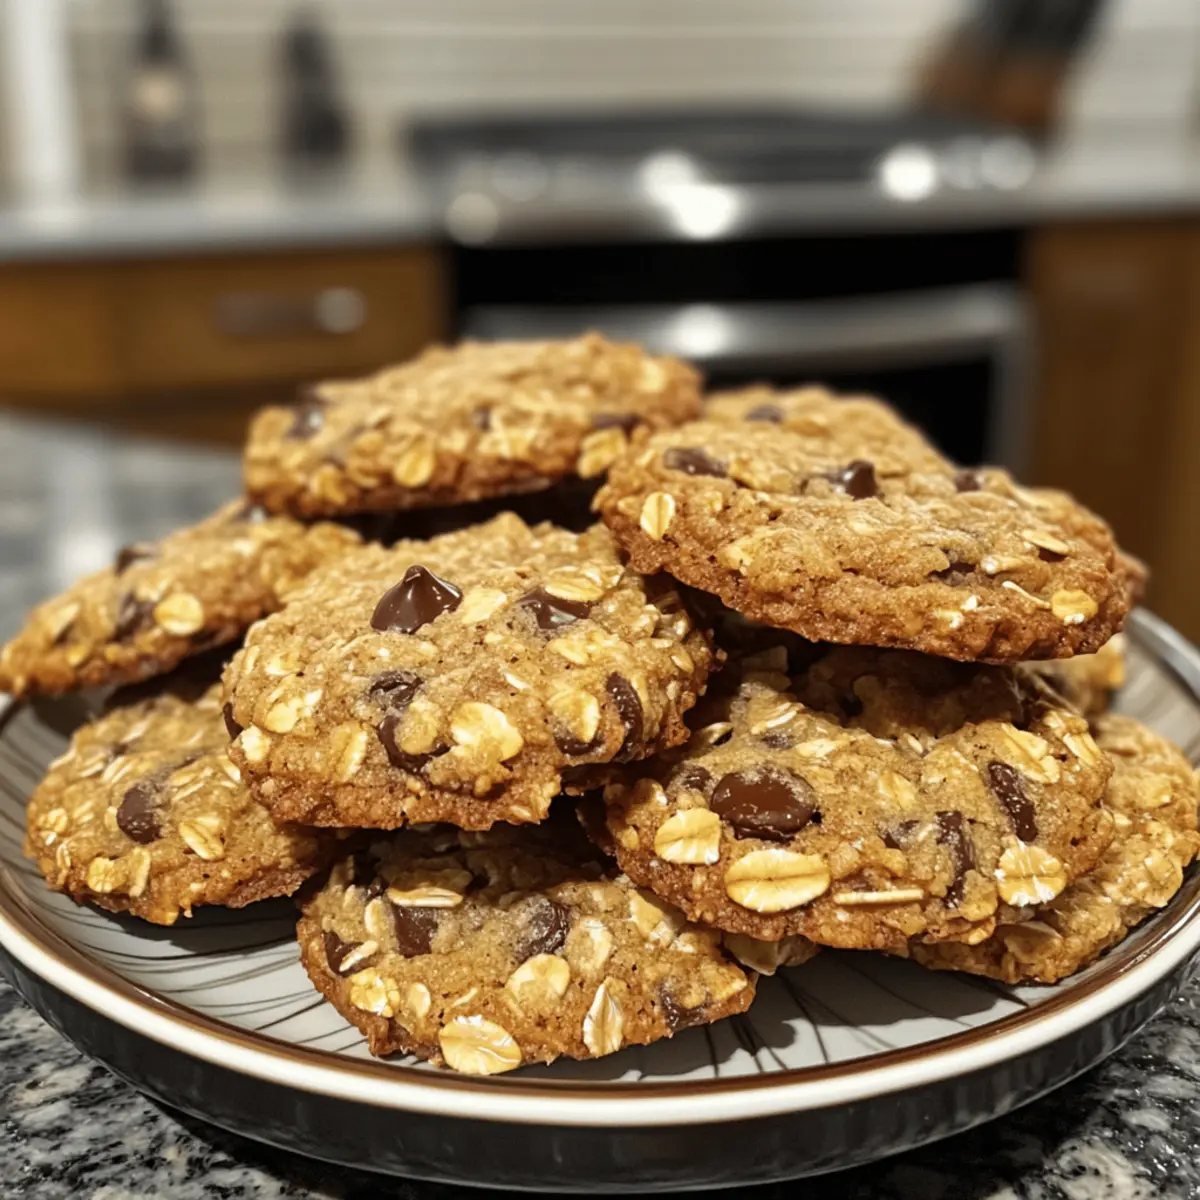
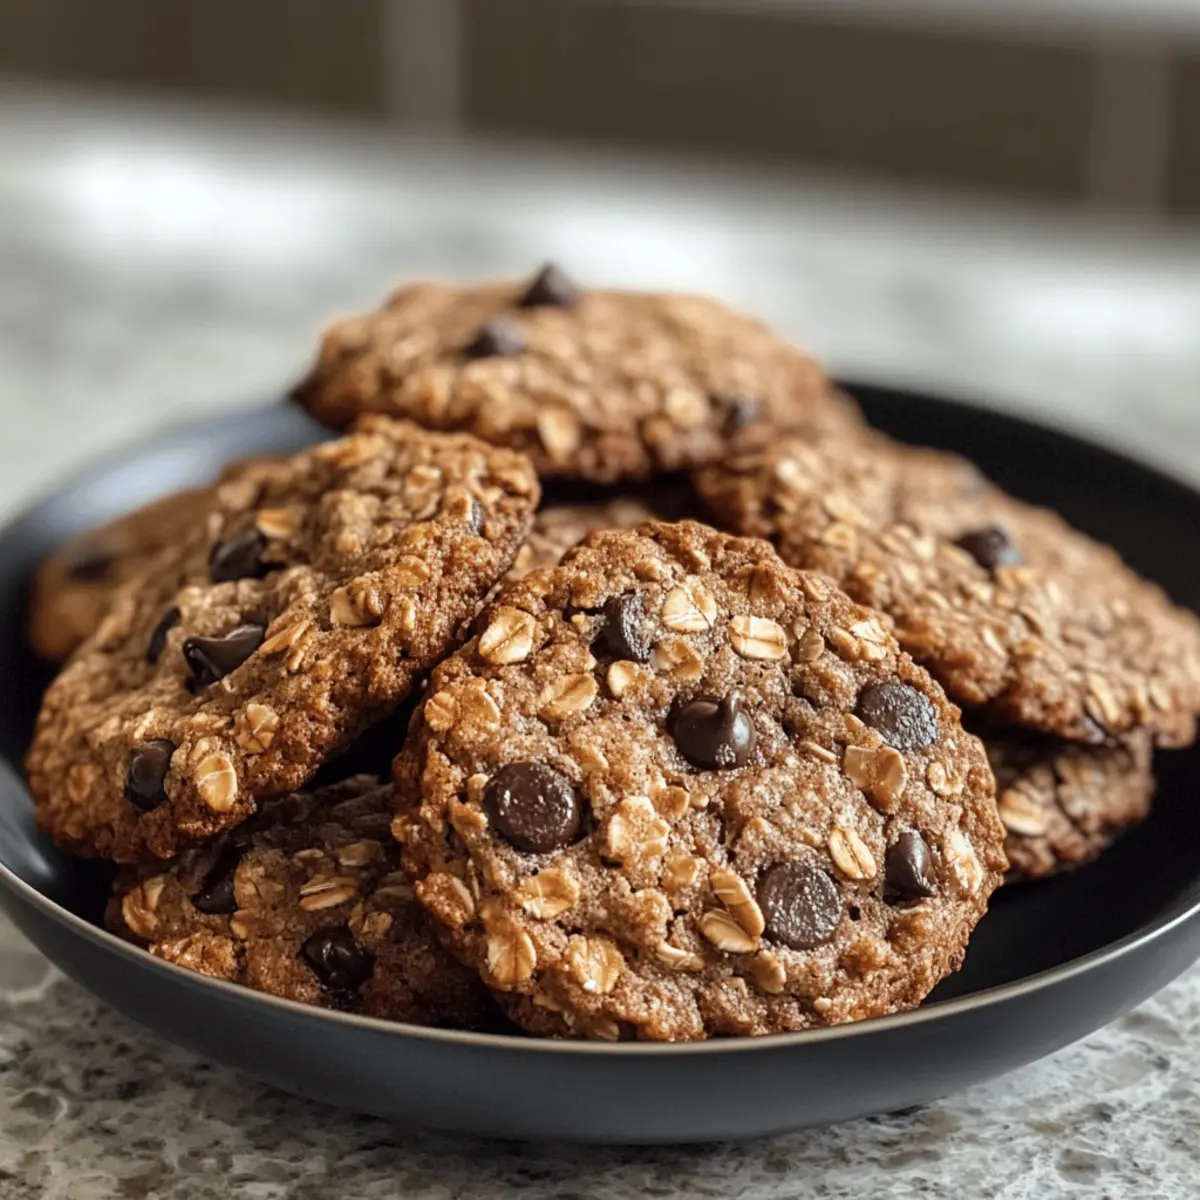
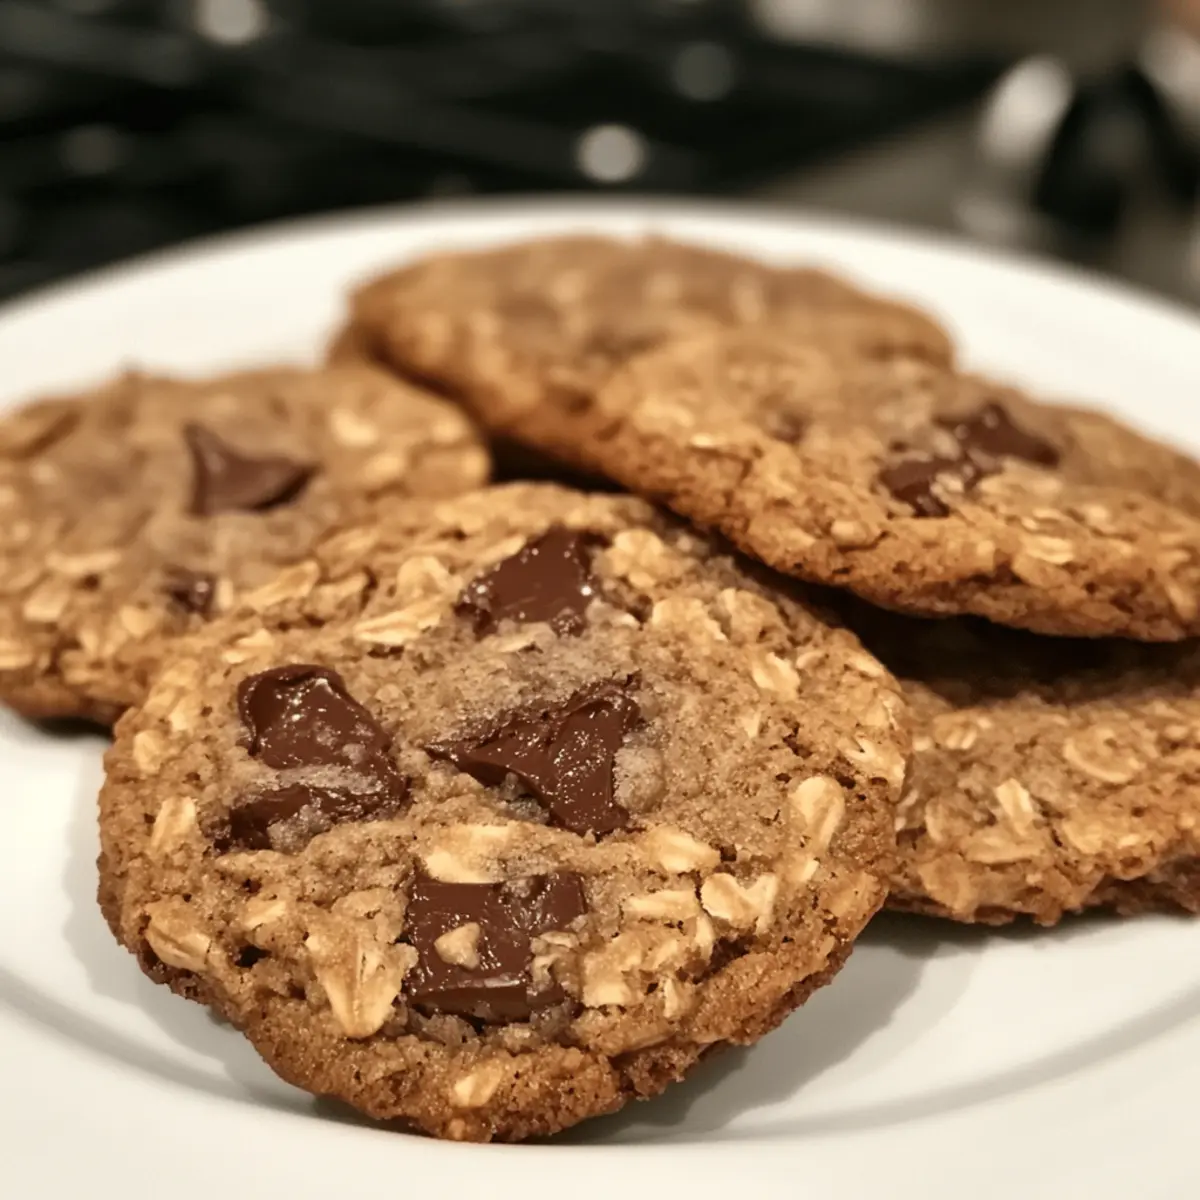
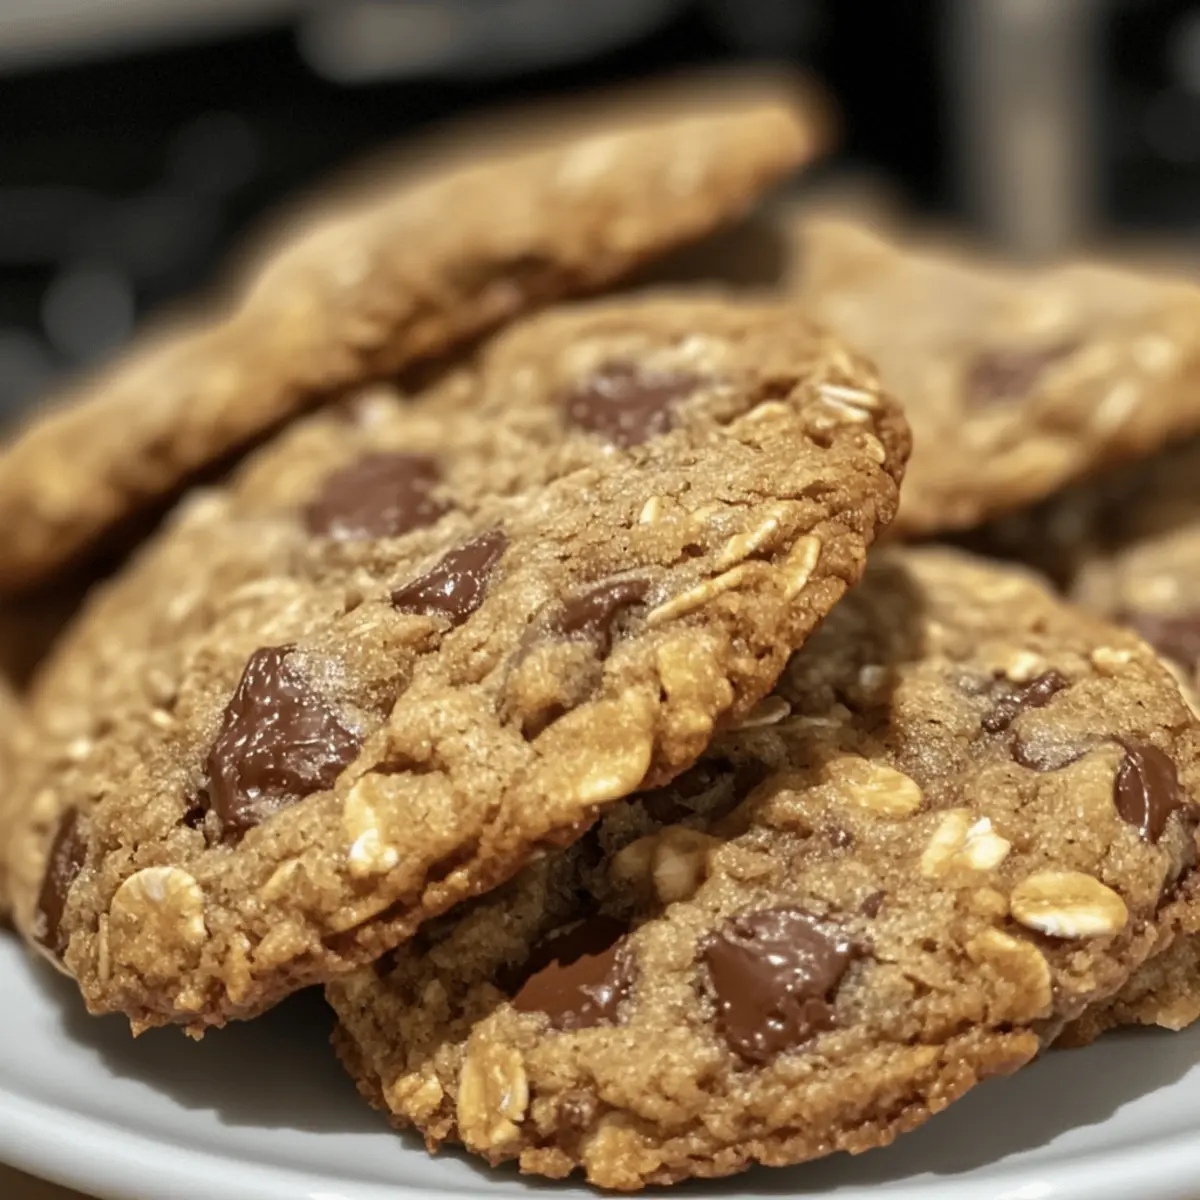
Stumbling upon a recipe so simple yet satisfying feels like discovering a hidden gem. My journey led me to these 4-Ingredient Crispy Chocolate Oat Cookies, and trust me, they’re about to become your new go-to treat. With a gluten-free twist that’s perfect for anyone tired of fast food and in need of a quick snack, these cookies blend the wholesome goodness of oats with rich chocolatey notes. Imagine whipping these up in no time, using just four ingredients you likely already have in your pantry. They not only bring that fulfilling crunch we crave, but they’re also a healthier option, leaving you feeling guilt-free. Intrigued? Let’s dive into making these delightful cookies that will rock your taste buds and delight your kitchen!
Why These Cookies Rock
Simplicity: With just four ingredients, you can whip up a batch effortlessly—perfect for busy days.
Delicious Crunch: Experience the fantastic combination of crispy edges and chewy centers that will leave you wanting more.
Versatile Treat: Customize them with nuts or substitutes, letting you play with flavors that suit your taste!
Guilt-Free Snacking: Indulge in the rich chocolatiness without the guilt, offering a healthier alternative to fast food.
Crowd-Pleasing: These cookies are sure to be a hit, making them ideal for sharing at gatherings or serving with a cup of coffee.
For more delightful variations, don’t miss our Cinnamon Roll Cookies or Chocolate Chip Cookies to expand your baking repertoire!
Crispy Chocolate Oat Cookies Ingredients
For the Cookies
- Oats – – The base for these delightful cookies, providing structure and fiber; opt for gluten-free oats if needed.
- Nut Butter – – Adds that rich, creamy texture; almond or peanut butter are perfect, or try sunflower seed butter for a nut-free alternative.
- Sweetener (Honey or Maple Syrup) – – Provides moisture and a touch of sweetness; feel free to swap with agave syrup for a vegan treat.
- Chocolate Chips – – Brings delicious chocolate flavor; dark or dairy-free chocolate chips can be used to suit various dietary preferences.
Variation Ideas
- Nuts or Dried Fruits – – Toss in your favorite nuts or dried fruit to add extra crunch and flavor; the versatility is endless!
- Pinch of Sea Salt – – A small sprinkle before baking enhances sweetness and brings out the chocolate, taking your cookies to the next level.
With this simple ingredient list, you’re just moments away from baking up a storm with these Ghost Cookies that are delightful and satisfying!
Step‑by‑Step Instructions for Ghost Cookies
Step 1: Preheat Your Oven
Begin by preheating your oven to 350°F (175°C). This temperature is perfect for baking the Ghost Cookies to achieve that delightful crunch. While the oven heats up, line a baking sheet with parchment paper to prevent the cookies from sticking, ensuring a smooth transfer once baked.
Step 2: Mix Your Ingredients
In a large mixing bowl, combine oats, nut butter, and your chosen sweetener—honey or maple syrup. Stir thoroughly until all ingredients are fully blended and form a cohesive mixture. You should see a gooey, slightly thick batter that holds together well. This step is crucial for the perfect texture of the Ghost Cookies.
Step 3: Fold in the Chocolate Chips
Next, gently fold in the chocolate chips, distributing them evenly throughout the mixture. This will ensure that each cookie is packed with that rich chocolate flavor we all love. The batter should have a lovely texture with chocolate interspersed, creating an appetizing look as you prepare to form your cookies.
Step 4: Form Your Cookies
Using a cookie scoop or spoon, scoop out portions of the dough onto the prepared baking sheet. Leave about 2 inches of space between each mound to allow for spreading as they bake. The Ghost Cookies should be somewhat rounded, giving them a rustic yet delightful look that enhances their charm.
Step 5: Bake the Cookies
Carefully place the baking sheet in the preheated oven and bake the Ghost Cookies for 10-12 minutes. Keep an eye on them, looking for golden-brown edges, which indicate they’re done. The centers may appear slightly soft; this is normal as they will firm up while cooling.
Step 6: Cool the Cookies
After baking, remove the sheet from the oven and let the cookies cool on the baking sheet for about 5 minutes. This step allows them to set, making it easier to transfer them without breaking. Once slightly firm, gently move the Ghost Cookies to a wire rack to cool completely, ensuring a perfect crispy texture.
Varieties & Substitutions for Ghost Cookies
Unleash your creativity with these versatile variations of Ghost Cookies that allow you to tailor them to your taste!
-
Nut-Free: Use sunflower seed butter instead of nut butter for an allergy-friendly version that everyone can enjoy. These cookies will still pack a flavorful punch!
-
Vegan Delight: Swap honey or maple syrup for agave syrup to make these delightful Ghost Cookies completely vegan. The sweetness remains unaltered, promising a guilt-free treat.
-
Add Extra Crunch: Toss in your favorite nuts or chewy dried fruits for added texture and flavor. Imagine the satisfying crunch of almonds or the chewy sweetness of raisins in every bite!
-
Sea Salt Boost: A pinch of sea salt added before baking enhances the sweetness and brings out the rich chocolate flavor. It creates a delightful contrast that will keep you coming back for more.
-
Cocoa Twist: Mix in a tablespoon of cocoa powder with the dry ingredients to intensify the chocolatey goodness. You’ll elevate your cookies to a chocolate lover’s paradise!
-
Flavor Enhancers: Try adding a splash of vanilla extract or a hint of cinnamon to the mixture for a warm, welcoming aroma and a unique flavor twist.
-
Spicy Kick: If you’re feeling adventurous, add a hint of cayenne pepper to the batter for a surprising spicy finish that complements the sweetness beautifully.
For more playful cookie ideas, don’t miss our Cinnamon Roll Cookies or our delightful Chocolate Chip Cookies to keep your baking adventures exciting!
Expert Tips for Ghost Cookies
-
Mix Thoroughly: Ensure the mixture is well-combined to avoid fragile cookies. A cohesive batter is key for the perfect Ghost Cookies.
-
Watch the Bake Time: Overbaking can lead to hard cookies; keep an eye on them and remove when the edges are golden for a delightful crunch.
-
Experiment with Add-Ins: Don’t hesitate to elevate your cookies with nuts or dried fruits! Just be cautious to balance flavors and prevent overcrowding.
-
Use Parchment Paper: Lining your baking sheet with parchment helps prevent sticking and makes for easy cleanup, ensuring your cookies maintain their shape.
-
Store Correctly: Allow cookies to cool completely before storing them in an airtight container to maintain their crispy and chewy texture.
Make Ahead Options
These Crispy Chocolate Oat Cookies are perfect for meal prep enthusiasts looking to save time during busy weeks! You can prepare the cookie dough up to 24 hours in advance by mixing all the ingredients (oats, nut butter, sweetener, and chocolate chips) and refrigerating the mixture in an airtight container. Just remember to let the dough sit at room temperature for about 10-15 minutes before scooping and baking, allowing it to soften slightly for easier handling. If you want to extend their shelf life, you can also freeze the formed cookie dough balls for up to 3 months. When ready to bake, simply preheat your oven and bake them straight from the freezer, adding a couple of extra minutes to the baking time for deliciously fresh cookies whenever you crave them!
How to Store and Freeze Ghost Cookies
Airtight Container: Store your Ghost Cookies in an airtight container at room temperature for up to one week to keep them fresh and delicious.
Freezer: For longer preservation, you can freeze the cookies. Place them in a freezer-safe container or bag, separating layers with parchment paper, for up to three months.
Reheating: To enjoy previously frozen cookies, let them thaw at room temperature or warm in the microwave for a few seconds to restore softness—a delightful treat anytime!
Drying Out: To prevent cookies from drying out, ensure they are completely cooled before storing. This will help maintain their perfect balance of crispiness and chewiness.
What to Serve with Crispy Chocolate Oat Cookies
Indulging in freshly baked cookies is always a joy, and pairing them with the right accompaniments can elevate your treat experience!
-
Glass of Milk: The classic companion to cookies, milk beautifully balances the rich chocolate flavor while adding a creamy texture.
-
Cup of Coffee: For adults, a warm cup of coffee enhances the cookie’s chocolatey richness, offering a delightful contrast that’s perfect for afternoon breaks.
-
Fresh Berries: The tartness of fresh berries cuts through the sweetness, providing a vibrant touch that contrasts delightful textures. Enjoy them on the side for a refreshing bite.
-
Ice Cream Scoop: Top your cookie with a scoop of vanilla or chocolate ice cream, transforming it into a decadent dessert that everyone will love.
-
Nutty Granola: Crumble some nutty granola over the cookies for added crunch, and nutty flavor. The textures will make your snacking experience even more delightful.
-
Chocolate Dipping Sauce: Want a little more indulgence? A warm chocolate dipping sauce can take your Ghost Cookies to the next level—perfect for a special treat.
-
Herbal Tea: A soothing herbal tea can serve as a light beverage that complements the cookies’ sweetness, making for a peaceful, cozy snack time.
Crispy Chocolate Oat Cookies Recipe FAQs
How do I choose the right oats for these cookies?
Absolutely! When selecting oats, opt for certified gluten-free oats if you adhere to a gluten-free diet. Look for oats without any additives, and check the packaging to ensure they are processed in a gluten-free facility to avoid cross-contamination. Rolled oats work best for achieving that delightful texture in your crispy chocolate oat cookies.
What’s the best way to store leftover cookies?
Very simply! Store your Ghost Cookies in an airtight container at room temperature for up to one week. To keep them from becoming stale, make sure to seal the container tightly. If you want to keep them longer, move on to freezing them!
Can I freeze these cookies?
Yes! To freeze your crispy chocolate oat cookies, first let them cool completely. Then, place them in a single layer on a baking sheet and freeze until firm. Once solid, transfer them to a freezer-safe container or bag, separating layers with parchment paper. They’ll stay fresh for up to three months! Just thaw at room temperature before enjoying.
What to do if my cookies turn out too hard?
Oh no! If your cookies ended up hard, it could be due to overbaking. Next time, make sure to watch them closely in the oven, especially around the 10-minute mark. If you find your current batch is too tough, try reheating them briefly in the microwave for about 5-10 seconds; this can help to soften them a bit.
Are these cookies safe for people with nut allergies?
To accommodate nut allergies, simply replace nut butter with sunflower seed butter or pumpkin seed butter. These options provide a similar creaminess and texture without compromising the deliciousness of your crispy chocolate oat cookies. Always double-check labels for allergens, especially if offering these to others!
Can I use sweeteners other than honey or maple syrup?
Absolutely! If you’re looking for a vegan option, agave syrup makes a great substitute. You could also experiment with coconut sugar for a different flavor profile. Just keep in mind that the amount may vary slightly based on the type of sweetener used, so adjust to taste for the perfect balance in your cookies!
Delightful Ghost Cookies: A Spooky Treat for Everyone
Ingredients
Equipment
Method
- Preheat your oven to 350°F (175°C) and line a baking sheet with parchment paper.
- In a large mixing bowl, combine oats, nut butter, and your chosen sweetener until blended.
- Fold in the chocolate chips evenly throughout the mixture.
- Scoop portions of the dough onto the prepared baking sheet, leaving space between each.
- Bake for 10-12 minutes until edges are golden brown.
- Cool on the baking sheet for 5 minutes before transferring to a wire rack.
Leave a Reply