
The sweet scent of ripe pears wafting through the kitchen is an invitation to create something special—something that captures the essence of homemade goodness. With my Homemade Pear Jam recipe, you can transform those juicy fruits into a delightful spread that doesn’t rely on commercial pectin. This simple and flexible recipe allows you to adjust the sweetness to your liking, making it a fantastic choice for those who appreciate a natural, nuanced flavor. Plus, it’s a fun project that can elevate your breakfast game while being mindful of your pantry—perfect for preserving pears at their peak. Are you ready to dive into the world of canning and enjoy a taste of homemade warmth? Let’s get started!
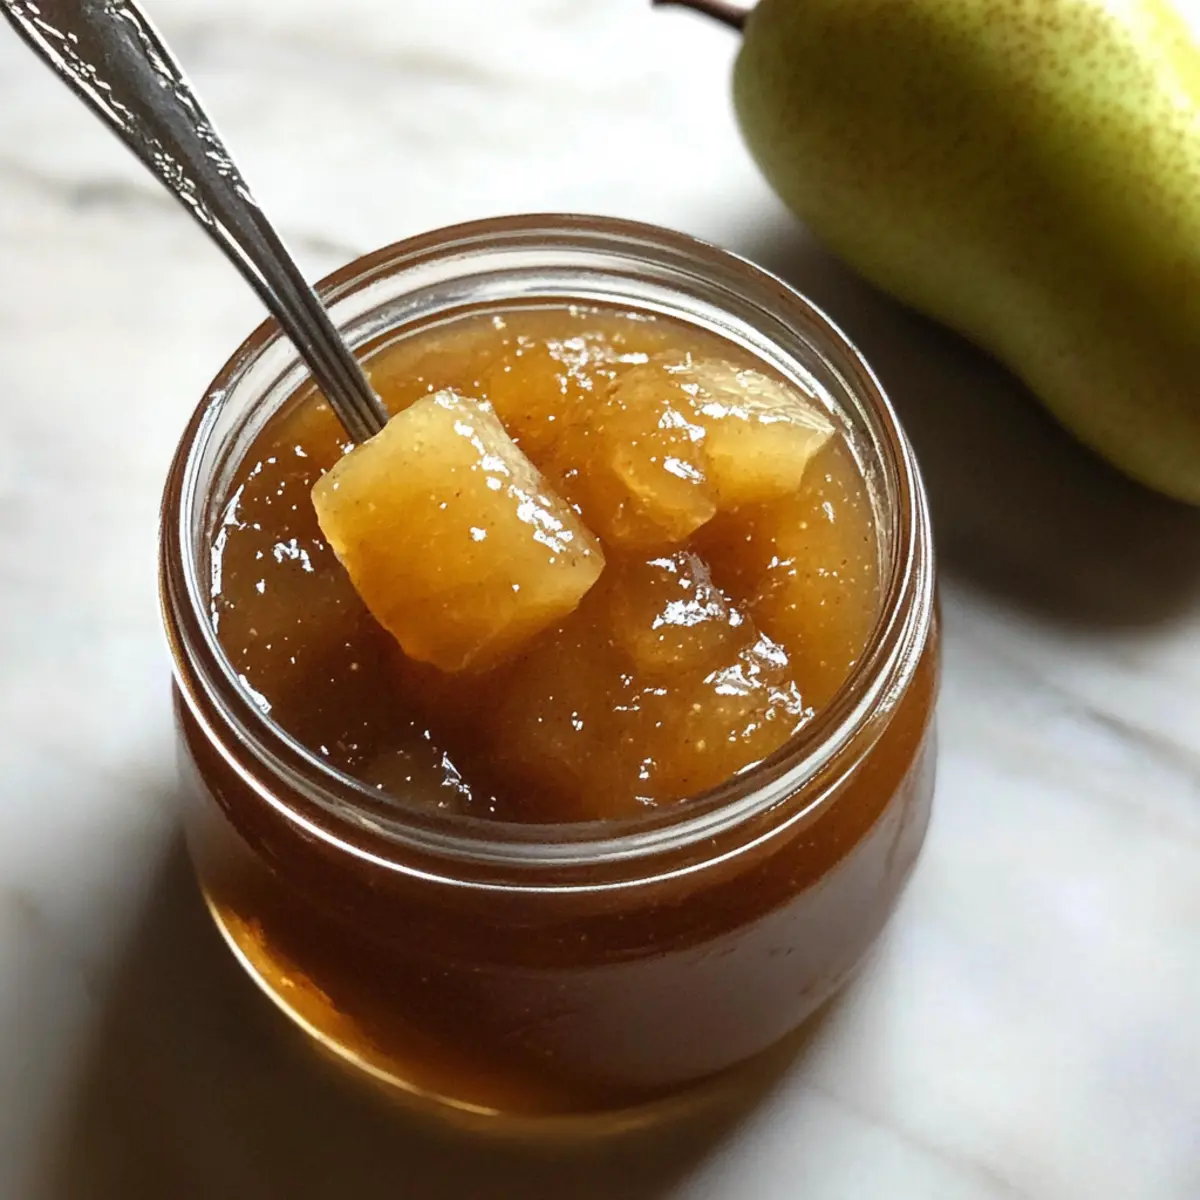
Why is this pear jam so special?
Bold flavor: This Homemade Pear Jam showcases the pure, sweet taste of ripe pears, elevating your breakfast and snack time. No pectin needed: Embrace simplicity with this no-pectin recipe, making it accessible for beginners who want to experience canning without the fuss. Fully customizable: Adjust the sugar levels to suit your taste, allowing for a personalized jam that perfectly complements your palate. Perfect for sharing: A jar of this vibrant jam makes a delightful gift for friends and family, spreading joy along with flavor. For more delicious canning ideas, check out my favorite Jamaican Curry Chicken recipe, perfect for your next homemade meal. Versatile uses: Enjoy this jam on toast, topping pancakes, or even as a filling for desserts, making it a must-have in your pantry!
Pear Jam Ingredients
For the Jam
• Pears – Fresh, peeled, and chopped into 1/2 inch pieces; these are the heart of your pear jam, providing sweet flavor and texture.
• Sugar – 2 to 4 cups; adjust this depending on how sweet you want your jam to be, with less sugar allowing the pear flavor to shine through.
• Lemon Juice – 1/4 cup; adds acidity that enhances flavor and helps gel the mixture naturally, ensuring your pears stay fresh and vibrant.
Optional Add-Ins
• Spices – Consider adding a dash of cinnamon or clove for a warm, aromatic twist to your pear jam.
• Maple Syrup – Swap out some sugar for maple syrup to introduce a unique depth of flavor, giving your jam a lovely Vermont essence.
Step‑by‑Step Instructions for Homemade Pear Jam
Step 1: Prepare Pears
Start by peeling, coring, and chopping your fresh pears into uniform 1/2 inch pieces—this ensures even cooking. In a large bowl, toss the chopped pears with 1/4 cup of lemon juice to prevent browning. This step is vital as it adds acidity and enhances the pear flavor for your jam.
Step 2: Macerate the Pears
Combine the lemon juice-coated pears with sugar, adjusting between 2 to 4 cups according to your sweetness preference. Transfer the mixture to the refrigerator and let it macerate for 12 to 24 hours. This process will draw out juices and firm up the fruit, creating a perfect base for your pear jam.
Step 3: Cook the Jam
After macerating, pour the pear and sugar mixture into a heavy-bottomed jam pot. Over high heat, bring the mixture to a hard boil while stirring frequently. Once boiling, reduce the heat to medium-high and keep stirring for about 10 to 15 minutes. You’ll notice the mixture will begin to thicken and the pears will soften.
Step 4: Test for Gel Stage
To determine if your homemade pear jam is ready, use a candy thermometer to check if the mixture reaches 220°F, adjusting for altitude if necessary. Alternatively, place a spoonful on a cold plate; when pushed, it should ripple. This gel stage is crucial for achieving that perfect spreadable texture.
Step 5: Jar and Process the Jam
Once the gel stage is reached, ladle the hot pear jam into sterilized jars, leaving a 1/4 inch headspace at the top. Quickly seal the jars with lids and process them in a boiling water bath for 10 minutes, extending to 15 minutes if you are above 6,000 feet. This ensures your pear jam is safely preserved.
Step 6: Cool and Store
Carefully remove the jars from the boiling water and place them on a clean towel to cool overnight. Check that the lids have sealed properly by pressing the center; it should not pop back. If sealed correctly, your homemade pear jam can last 12 to 18 months in a cool, dark pantry, ready to sweeten your breakfasts.
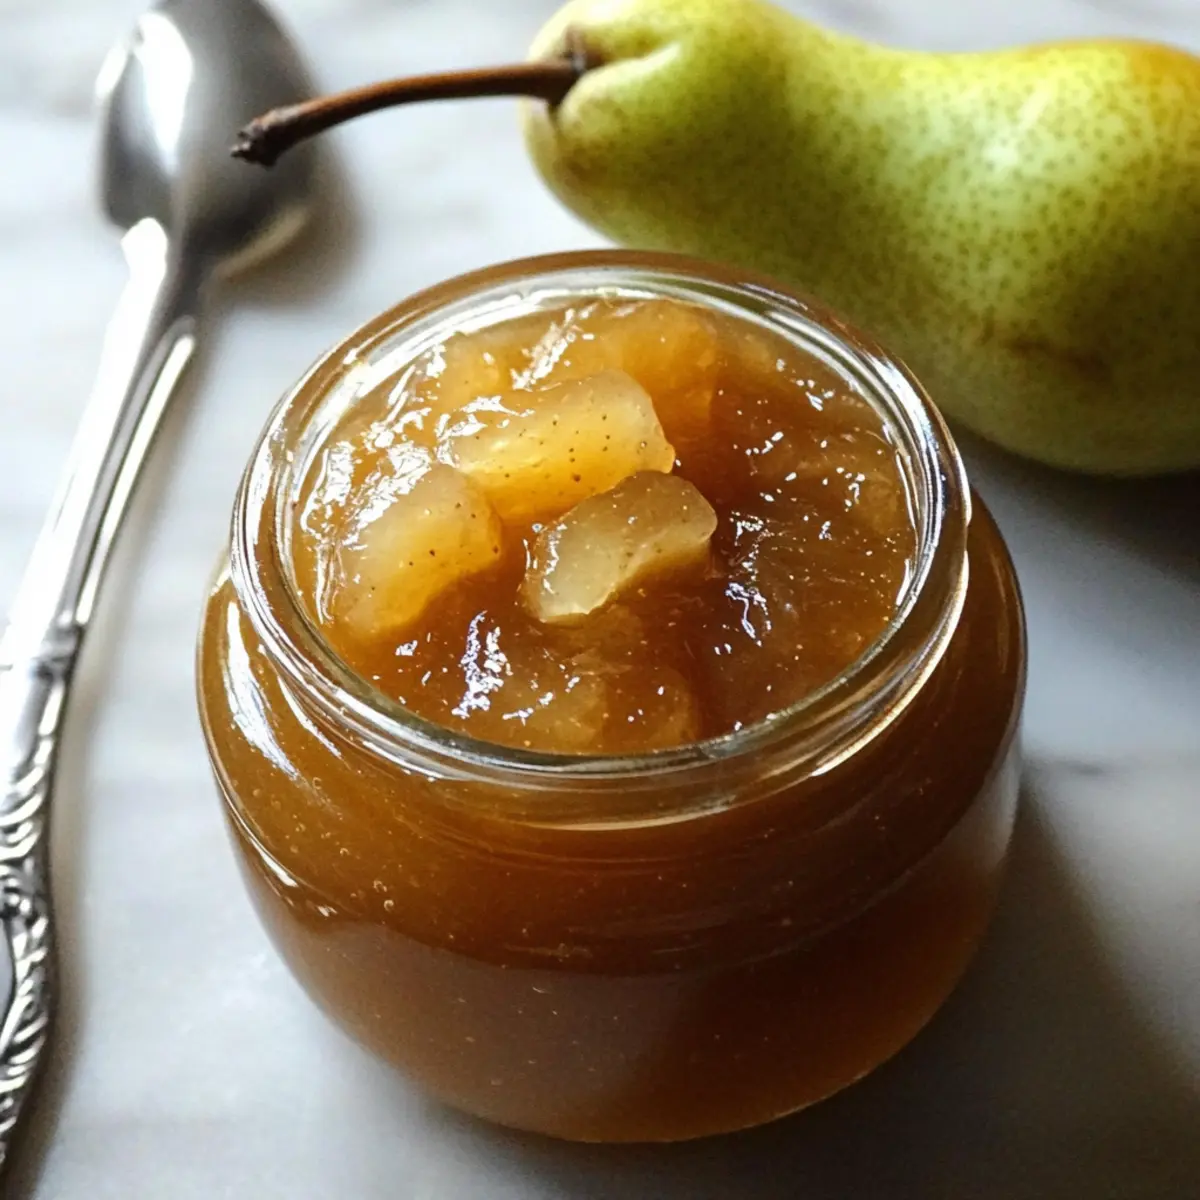
Expert Tips for the Best Pear Jam
- Maceration Matters: Don’t rush the maceration step—letting the pears sit with sugar overnight ensures a sweet, juicy base for your pear jam.
- Avoid Scorching: Use a heavy-bottomed pot to distribute heat evenly and prevent burning, especially during the final cooking stages of your jam.
- Check for Set: Test your jam with both a thermometer and the cold plate method to guarantee it reaches the right gel stage, resulting in a perfect spread.
- Jar Procedures: Always use sterilized jars for your pear jam to ensure proper sealing and long shelf life; this prevents spoilage.
- Experiment with Flavor: Feel free to add spices or alternate sweeteners; a touch of cinnamon or a drizzle of maple syrup can elevate your pear jam’s flavor profile.
How to Store and Freeze Pear Jam
Room Temperature: Store sealed jars of pear jam in a cool, dark pantry for up to 12 to 18 months to maintain freshness and flavor.
Fridge: Once opened, keep your pear jam in the refrigerator, where it can last for about 2 to 3 weeks—perfect for enjoying on your favorite breakfast treats.
Freezer: If you have excess jam, you can freeze it in airtight containers for up to a year. Just be sure to leave some space for expansion when freezing.
Reheating: To serve, simply take the desired amount from the fridge or freezer and reheat gently on the stove or microwave for a delightful spread with your meals.
Make Ahead Options
These Homemade Pear Jam preparations are perfect for busy home cooks looking to save time without sacrificing flavor! You can macerate the pears with sugar up to 24 hours in advance. This step not only enhances the flavor but also ensures the fruit is better integrated into the jam. Once you’re ready to cook, simply transfer the macerated mixture to your pot, bring it to a hard boil, and follow the remaining instructions. To keep the quality intact, store the macerated pears in an airtight container in the refrigerator. Your finished jam can still offer that fresh taste and delightful texture with this prep, making it a fantastic time-saving option for meal planning!
What to Serve with Homemade Pear Jam
Indulging in your own pear jam brings the comforting warmth of homemade flavor to any meal. Let’s explore delightful pairings that elevate your dining experience!
-
Creamy Mashed Potatoes: The buttery, smooth texture of mashed potatoes balances the sweet and tangy notes of pear jam, creating a comforting side dish.
-
Warm Buttermilk Biscuits: Soft, flaky biscuits offer a perfect canvas for spreading homemade pear jam, enhancing breakfast with a mouthwatering contrast.
-
Overnight Oats: Combining the sweet pears and nutty oats offers a nutritious start to your day while adding a delightful flavor boost.
-
Grilled Cheese Sandwich: The melted cheese’s savory richness beautifully complements the sweetness of the pear jam, resulting in a fun twist on a classic comfort food.
-
Charcuterie Board: Delight in a combination of cheeses, crackers, and fruits alongside your jam, showcasing a beautiful presentation and enticing taste experience.
-
Savory Yogurt Parfait: Layer your favorite Greek yogurt with granola and pear jam for a delightful breakfast or snack that’s sweet, creamy, and satisfying.
-
Crispy Waffles: Drizzled over hot waffles, pear jam adds a sticky, delightful sweetness that will make you feel like you’re indulging in breakfast bliss.
-
Sparkling Water or Herbal Tea: A light beverage pairs perfectly with the jam’s sweetness, refreshing the palate and enhancing your overall dining experience.
Pear Jam Variations & Substitutions
Customize your homemade pear jam with these delightful twists that will take your taste buds on a journey!
- Sugar Alternatives: Replace sugar with honey or agave syrup for a natural sweetness that adds a unique flavor profile.
- Spice It Up: Incorporate a teaspoon of cinnamon or nutmeg to infuse warm and cozy notes into your jam. This twist is perfect for fall.
- Berry Bliss: Mix in a cup of mashed berries like raspberries or blueberries for a vibrant fruity combination that shines through!
- Citrus Zest: Add a touch of lemon or orange zest for a refreshing zing that perfectly complements the sweet pears. It adds brightness to every spoonful.
- Herbal Infusion: Consider infusing your jam with a few sprigs of rosemary or thyme during cooking for an unexpected savory element. This can elevate your jam to gourmet heights!
- Maple Magic: Swap some sugar for pure maple syrup to create a richer, earthier flavor. This Vermont-style twist is sure to impress!
- Chunky Pear Pieces: For a heartier jam, leave some pear chunks larger during chopping. This will create a delightful texture that feels more artisanal.
- Spicy Kick: If you’re feeling adventurous, toss in a pinch of cayenne pepper or red pepper flakes for a surprising heat that beautifully balances the sweetness!
Delight in these variations, and remember, you can also explore flavorful canning ideas like my delicious Jamaican Curry Chicken to round out your homemade meal experience!
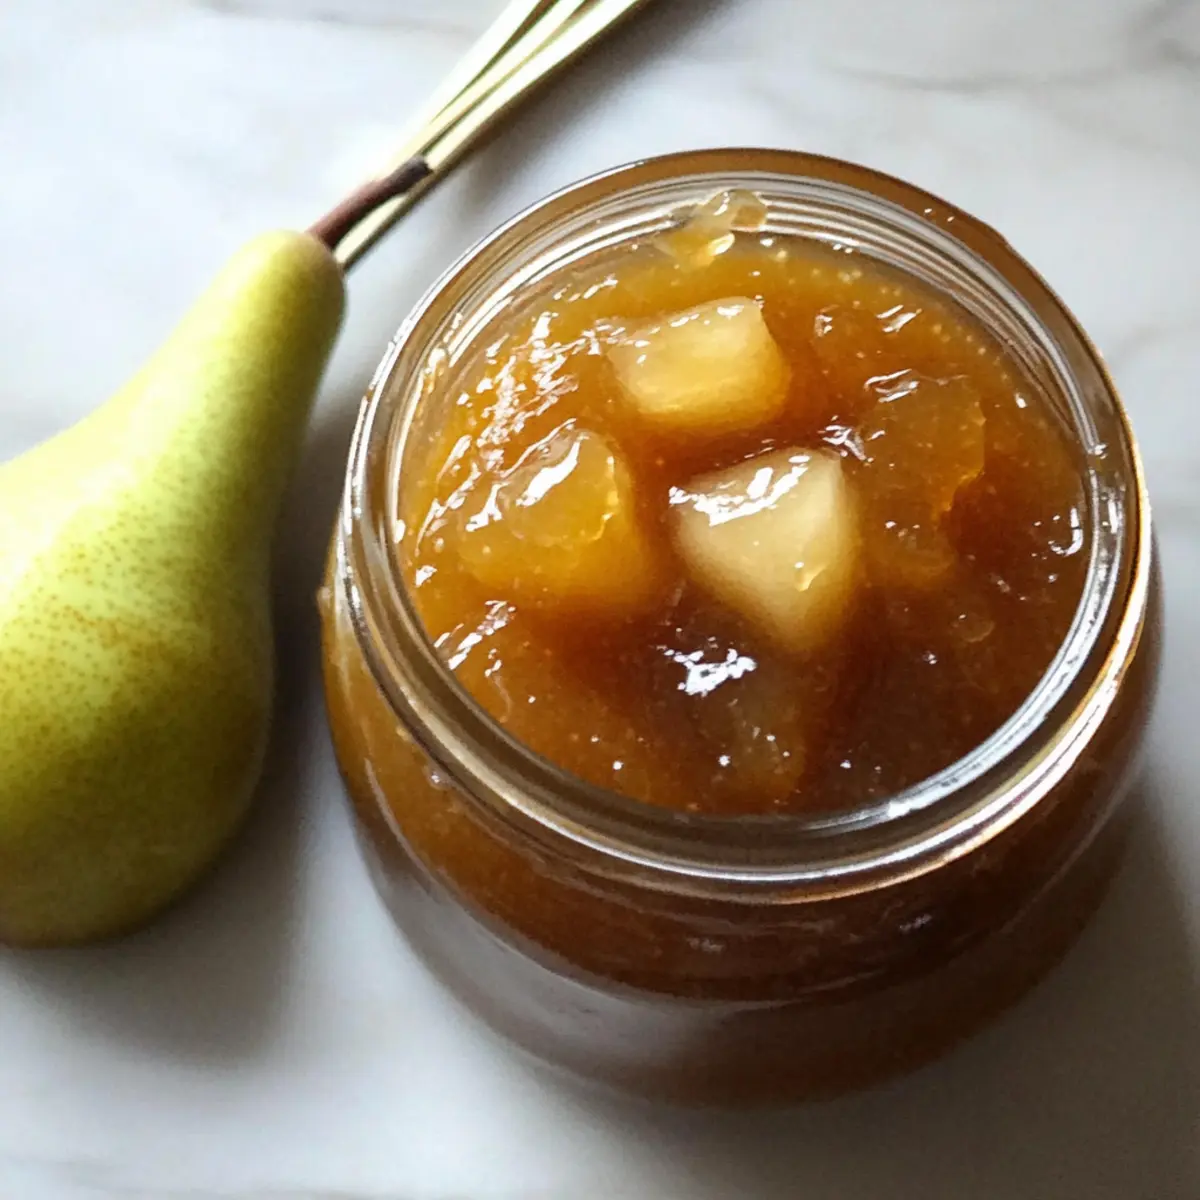
Pear Jam Recipe FAQs
What kind of pears are best for making jam?
Absolutely! You want to choose ripe pears for your jam, as they provide the sweetest and most flavorful results. Varieties like Bartlett, Anjou, or Bosc are ideal because they balance sweetness and texture perfectly. Avoid overly soft or damaged pears, as they’ll give you a jam that lacks structure.
How should I store my homemade pear jam?
Once sealed, your homemade pear jam can be stored in a cool, dark pantry for up to 12 to 18 months. Be sure to check for any dark spots or signs of spoilage before using. After opening, store it in the refrigerator, where it can last 2 to 3 weeks—plenty of time to enjoy that delightful spread!
Can I freeze pear jam, and if so, how?
Very! Freezing pear jam is a fantastic way to preserve it! First, let the jam cool completely, then transfer it to airtight containers or freezer-safe jars, leaving about an inch of space at the top for expansion. It can be frozen for up to one year! When you’re ready to enjoy it, simply thaw it overnight in the fridge.
What if my pear jam doesn’t set properly?
No worries! If your jam fails to set, it may not have reached the gel stage. Simply return it to the pot, reheat, and boil again, testing the temperature until it reaches 220°F. If you’d rather not do that, consider turning it into a pear syrup by adding a bit of water to loosen it up—you’ll still have a delicious treat!
Are there any dietary considerations to keep in mind?
Absolutely! If you’re concerned about dietary restrictions, be sure to check for allergies to pears or citrus (from lemon juice). This recipe contains sugar, so those monitoring their sugar intake should adjust accordingly. There are also sugar substitutes you can use if you’re looking for a lower-calorie option. Just ensure any alternative sweeteners are suitable for canning!
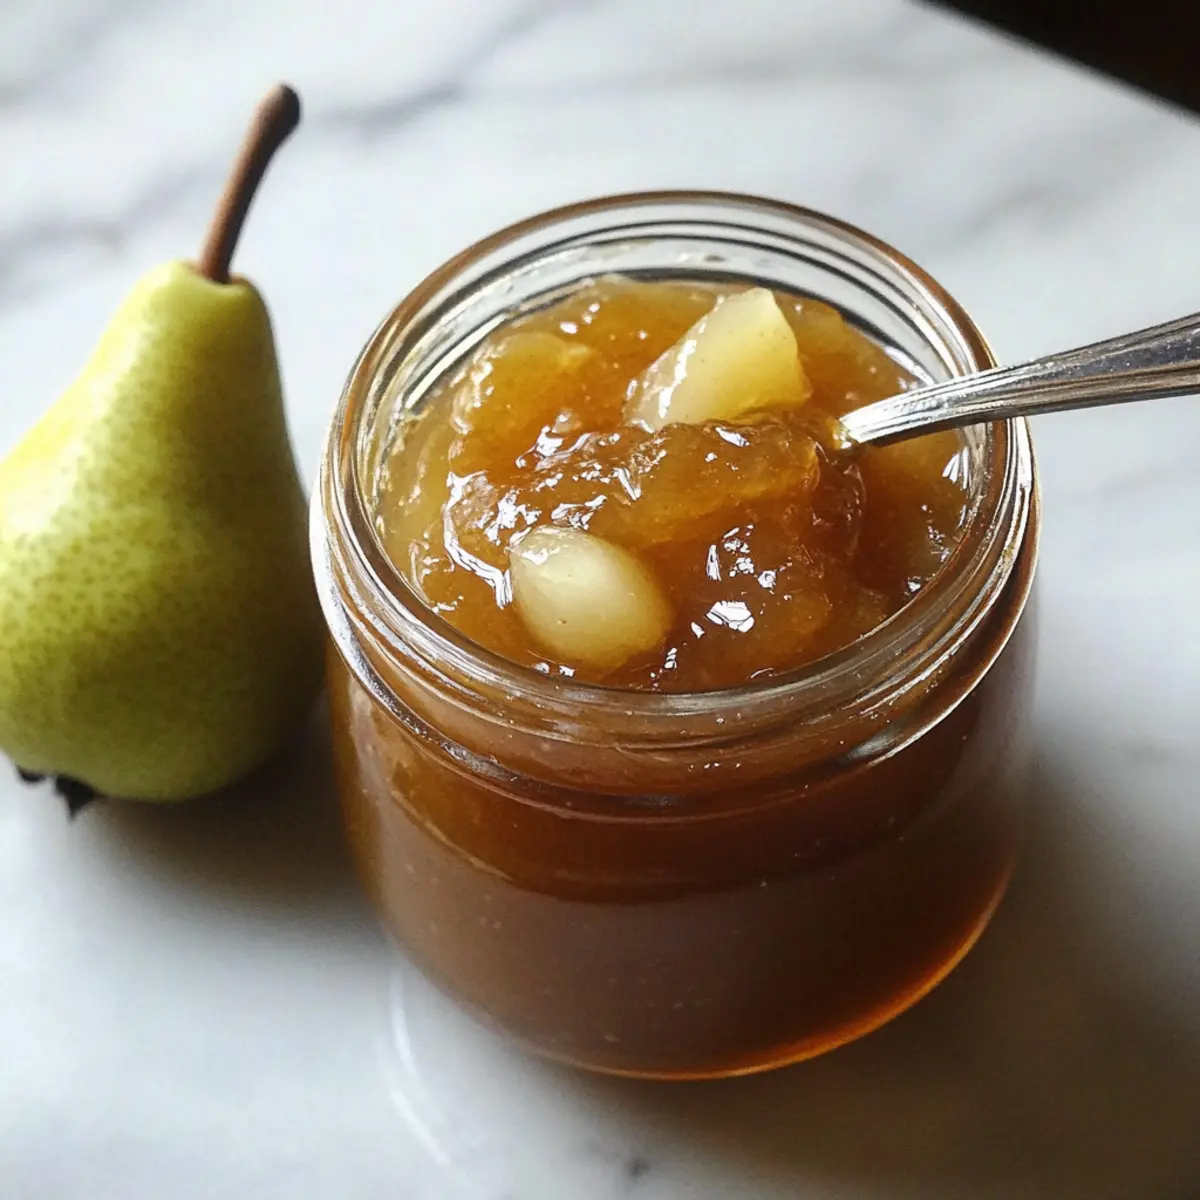
Irresistibly Sweet Pear Jam – No Pectin, Just Pure Flavor
Ingredients
Equipment
Method
- Peel, core, and chop pears into 1/2 inch pieces. Toss with lemon juice.
- Combine pears with sugar and refrigerate for 12 to 24 hours.
- Pour mixture into a pot, boil, then reduce heat and stir for 10 to 15 minutes.
- Check gel stage with a thermometer or cold plate.
- Ladle into jars, seal, and process in boiling water for 10-15 minutes.
- Cool jars on a towel overnight and check seals.
Leave a Reply