
In the heart of summer, I found myself surrounded by a bounty of sweet cherries, an unexpected tropical twist in my backyard. This moment inspired me to create something truly special—Hot Cherry Pepper Jelly. Combining luscious cherries with the fiery zing of jalapeños, this small-batch preserving recipe is not just a treat for the tastebuds; it’s also a crowd-pleaser that transforms ordinary snacks into extraordinary experiences. With just five simple ingredients, you can whip up this delightful jelly in under an hour—perfect for those rushed evenings or when you’re looking for a unique homemade gift. Plus, it’s a fantastic way to bid farewell to bland store-bought options. Ready to elevate your culinary creations? Let’s dive into this flavorful adventure together!
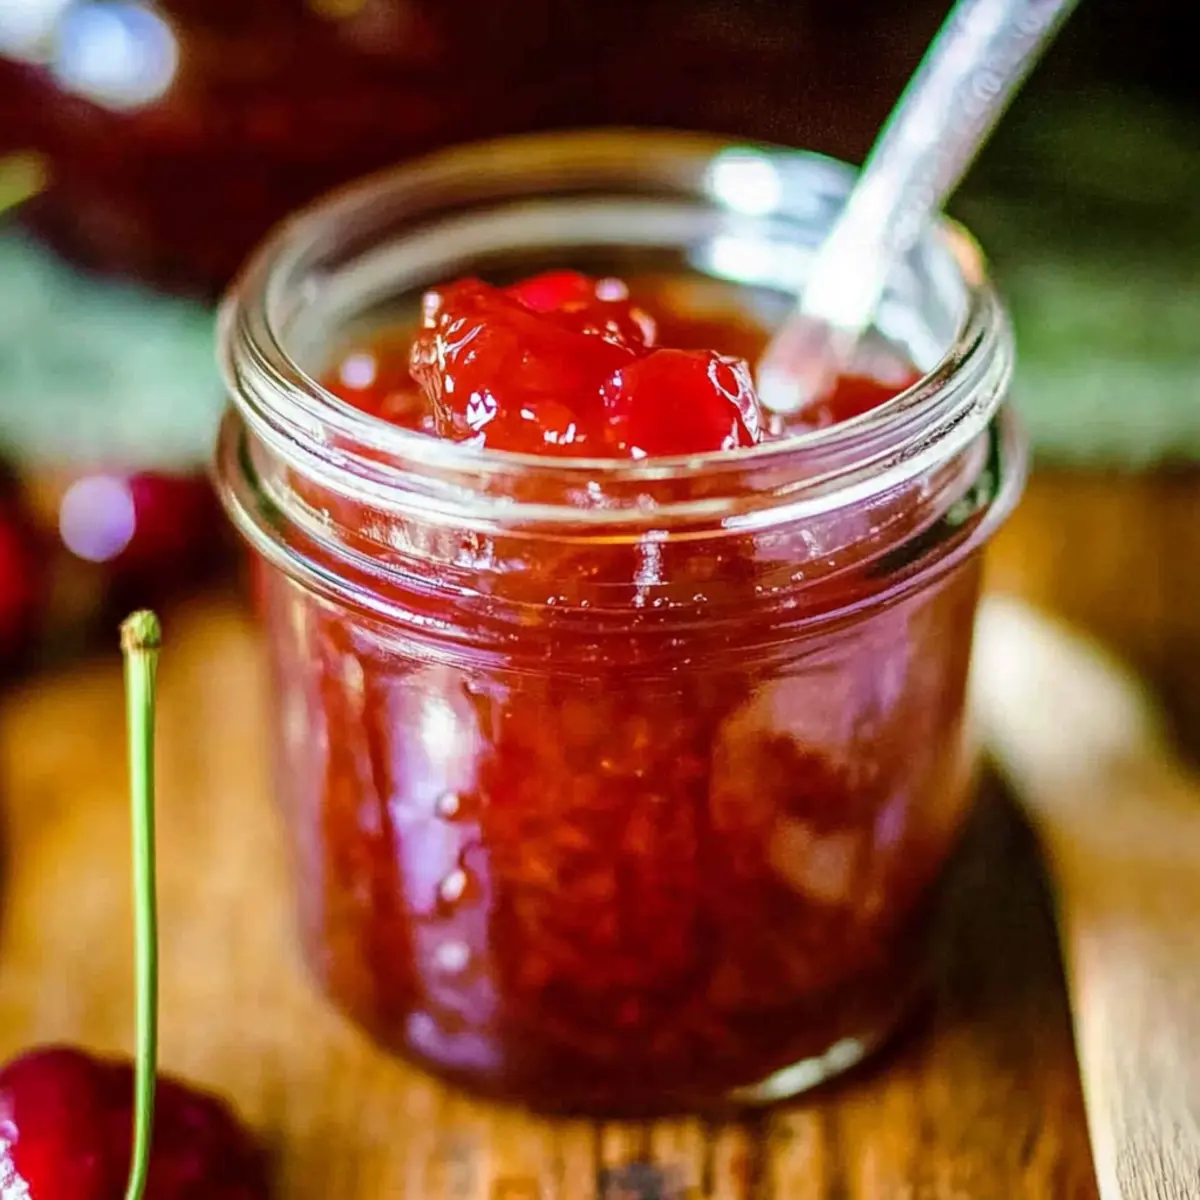
Why is This Jelly a Must-Try?
Unique Flavor Combination: This Hot Cherry Pepper Jelly marries sweet cherries with the spicy kick of jalapeños, creating a taste that dazzles your palate.
Easy to Make: With only five ingredients and simple steps, it’s perfect for those new to canning or anyone seeking a quick kitchen project.
Perfect for Gifts: Fragrant and colorful, this jelly makes an impressive homemade gift for friends and family, ideal for special occasions or just because!
Versatile Use: Whether spread over cream cheese on crackers or drizzled on grilled meats, it elevates any dish, offering a delightful twist to your favorite recipes.
Healthy Choice: Made without preservatives or artificial ingredients, this jelly is a wholesome alternative to store-bought options. With delicious recipes like Pepperoni Pizza Bombs and Hot Fudge Sundae, you can explore even more culinary delights!
Hot Cherry Pepper Jelly Ingredients
For the Jelly
• Fresh Sweet Cherries – Provides the primary sweetness and flavor; ripe cherries yield the best results.
• Red Bell Pepper – Adds natural sweetness and vibrant color; substitute with yellow bell pepper for a milder taste.
• Jalapeño Peppers – Introduces heat and complexity; adjust the quantity based on your preferred spice level.
• Apple Cider Vinegar – Balances the sweetness and helps with the jelling process; white vinegar can be used if needed.
• Sugar – Essential for sweetening and maintaining proper jelly consistency; no substitutions recommended.
• Liquid Pectin – Necessary for the jelly to set properly; avoid substituting with powdered pectin without adjusting the method.
For Serving Suggestions
• Cream Cheese – Perfect pairing with crackers, enhancing the sweet-heat flavor of the jelly.
• Grilled Chicken – Use as a glaze to add a delightful twist to your meat dishes.
• Cheese Board – A colorful addition that beautifully complements a variety of cheeses, making your spread visually appealing.
Step‑by‑Step Instructions for Hot Cherry Pepper Jelly
Step 1: Sterilize Jars
Begin by preparing your jars to ensure safe preserving. Clean each jar in hot, soapy water and rinse thoroughly. Next, place them in a preheated oven at 250°F for 10 minutes. This sterilization process is crucial for your Hot Cherry Pepper Jelly, as it prevents bacteria from spoiling your delicious creation.
Step 2: Prepare Ingredients
Using a food processor, pulse together the fresh sweet cherries, red bell pepper, and jalapeños along with 1 cup of apple cider vinegar. Continue pulsing until the mixture is finely chopped without large chunks. This step ensures that the flavors meld together beautifully in your Hot Cherry Pepper Jelly while maintaining a desirable texture.
Step 3: Cook Mixture
Transfer the chopped mixture into a deep stock pot and add the remaining vinegar and sugar. Bring the mixture to a rolling boil over medium-high heat, stirring constantly. Allow it to boil for 5 minutes, and watch for bubbling; this indicates that the ingredients are blending well together and beginning to thicken as you create your delightful jelly.
Step 4: Add Pectin
Once boiling has reached a vigorous point, remove the pot from heat and quickly skim off any foam from the surface. Stir in the liquid pectin, ensuring it is thoroughly incorporated. Return the pot to heat and boil for another minute, maintaining a hard boil. This step is critical for your Hot Cherry Pepper Jelly to set properly.
Step 5: Jar the Jelly
Let the mixture cool for a minute, then ladle the hot jelly into your sterilized jars, filling them to about 1/4 inch from the top. Use a clean cloth to wipe any spills from the rims to ensure a good seal. Immediately top with lids and bands, securing the jars but not overly tight; this allows for expansion during processing.
Step 6: Process Jars
Carefully place the filled jars in a boiling water canner, ensuring they are covered with at least an inch of boiling water. Process the jars for 10 minutes, then turn off the heat and allow them to sit in the hot water for an additional 5 minutes. This crucial step helps your Hot Cherry Pepper Jelly seal properly and extend its shelf life.
Step 7: Cool and Check Seals
Using canning tongs, remove the jars from the water and place them on a clean kitchen towel to cool. Once completely cooled, check the seals by pressing the center of each lid; it should be flush with the lid. If the lid springs back, refrigerate and consume within two weeks; otherwise, store in a cool, dark place for up to 18 months.
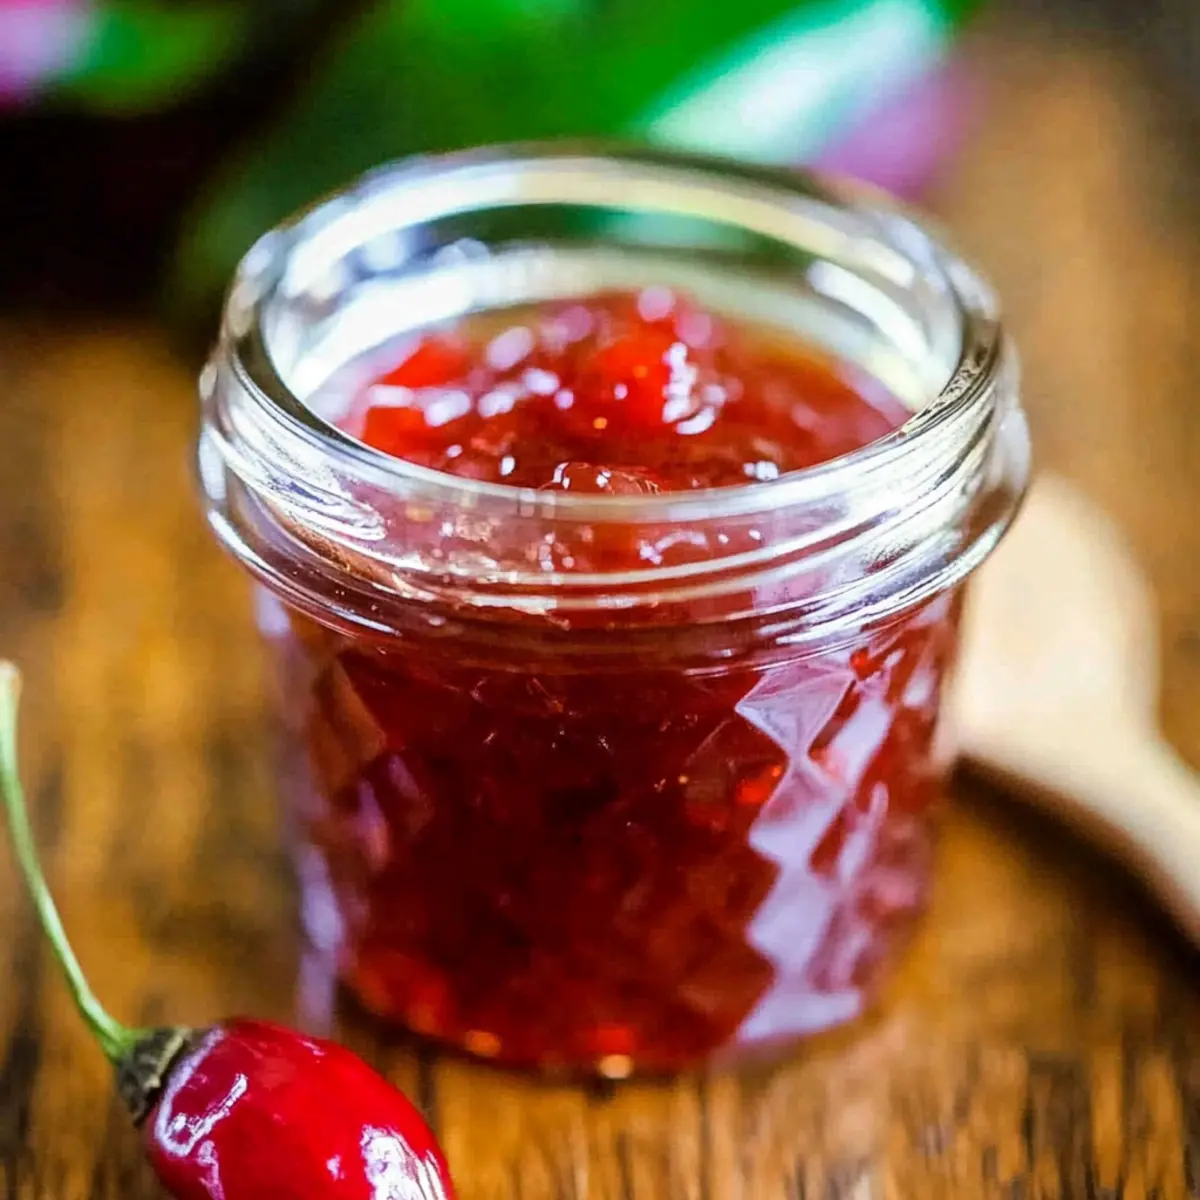
What to Serve with Hot Cherry Pepper Jelly
Elevate your dining experience with delightful pairings that celebrate the sweet-heat of this vibrant jelly.
-
Creamy Cheese Platter: Serve with soft cheeses like goat or cream cheese to balance the jelly’s heat, creating a harmonious bite that excites the palate. It’s a classic combination that never disappoints.
-
Grilled Meats: Use as a glaze for grilled chicken or pork, enhancing the flavors with a sweet, spicy kick. This jelly not only adds depth but also creates a beautiful caramelization.
-
Savory Crackers: Pair with crunchy crackers for a delightful contrast in texture. The jelly spreads beautifully, making each bite both satisfying and bursting with flavor.
-
Roasted Vegetables: Drizzle over roasted veggies, adding a touch of sweetness that complements the charred goodness. This pairing brings vibrancy to your plate and elevates the veggie experience.
-
Charcuterie Board: Include on a charcuterie board alongside cured meats and assorted cheeses. Its unique flavor will surprise and delight your guests, making it a centerpiece of conversation.
-
Mixed Greens Salad: Toss a few spoonfuls into a fresh salad for a sweet and spicy vinaigrette alternative. The jelly’s flavors will brighten the greens and make your salad anything but ordinary.
Make Ahead Options
These Hot Cherry Pepper Jelly jars are a fantastic make-ahead option for busy home cooks! You can prepare the fruit and pepper mixture up to 24 hours in advance, storing it in an airtight container in the refrigerator. This keeps the flavors fresh and vibrant while saving you time on a hectic day. When you’re ready to proceed, simply cook the mixture with the sugar and vinegar as per the recipe, and follow the canning instructions. Make sure to maintain the quality by gently stirring the mixture before cooking, as this blends the ingredients well for a perfectly balanced flavor. With a little prep, you’ll have delicious homemade jelly ready at a moment’s notice!
Hot Cherry Pepper Jelly Variations
Feel free to get creative and make this vibrant jelly your own with these delightful twists!
-
Different Pepper Varieties: Try using serrano or habanero peppers for varying heat levels, adding an exciting kick that can significantly change the flavor profile.
-
Use Frozen Cherries: Substituting frozen cherries works just as well; simply thaw and drain them before use. It’s a great way to enjoy this jelly year-round!
-
Sugar Alternatives: Looking for a lower-sugar version? Consider using sugar substitutes specially designed for canning; just keep in mind it may affect the final texture.
-
Herb Infusion: Consider adding fresh herbs like mint or basil for a refreshing twist. These herbs can add layers of flavor, giving your jelly a unique touch that is perfect for seasonal gatherings.
-
Smoky Flavor: Incorporate a tablespoon of smoked paprika into the mix for a subtle smoky flavor that wonderfully complements the sweet and spicy notes of the jelly.
-
Fruit Blends: Mix in other fruits like peaches or apricots for a fruity medley. This can brighten the freshness and create a more complex flavor with each bite.
-
Spices Kick: Add a pinch of cayenne pepper or red pepper flakes to enhance the heat. Adjust according to your palate, making it as spicy as you like!
-
Glaze Twist: Use this jelly as a fruity marinade for grilled meats, creating a glossy glaze that adds sweetness to every bite. It pairs outstandingly with chicken or pork, turning your ordinary meals into a culinary celebration.
Each of these variations can give new life to a family-loved recipe. If you’re looking for more culinary ideas, don’t forget to try these delightful options: Pepperoni Pizza Bombs for a savory snack or an indulgent Hot Fudge Sundae for dessert!
How to Store and Freeze Hot Cherry Pepper Jelly
Cool Place: Store unopened jars of Hot Cherry Pepper Jelly in a cool, dark place for up to 18 months to maintain flavor and quality.
Refrigerator: Once opened, keep the jelly in the fridge and consume within 3-4 weeks to enjoy its best taste and freshness.
Freezer: If you wish to extend its life, you can freeze the jelly for up to a year. Use freezer-safe containers, leaving some headspace for expansion.
Reheating: To use frozen jelly, simply thaw in the refrigerator or at room temperature before serving; never refreeze thawed jelly.
Expert Tips for Hot Cherry Pepper Jelly
-
Measurement Precision: Ensure you’re measuring ingredients accurately; even a little too much sugar can prevent the jelly from setting.
-
Pepper Preparation: Finely chop the jalapeños for even heat distribution. A larger chop may lead to unexpected spicy bites!
-
Boiling Time: Maintain a hard boil after adding the pectin for at least one minute to achieve the perfect consistency for your jelly.
-
Sealing Check: After jars cool, press the center of the lids to ensure they’ve sealed properly; repeat the boiling process if they haven’t sealed.
-
Cooling Period: Allow jars to cool slowly on a clean kitchen towel for optimal sealing and to avoid cracking from rapid temperature changes.
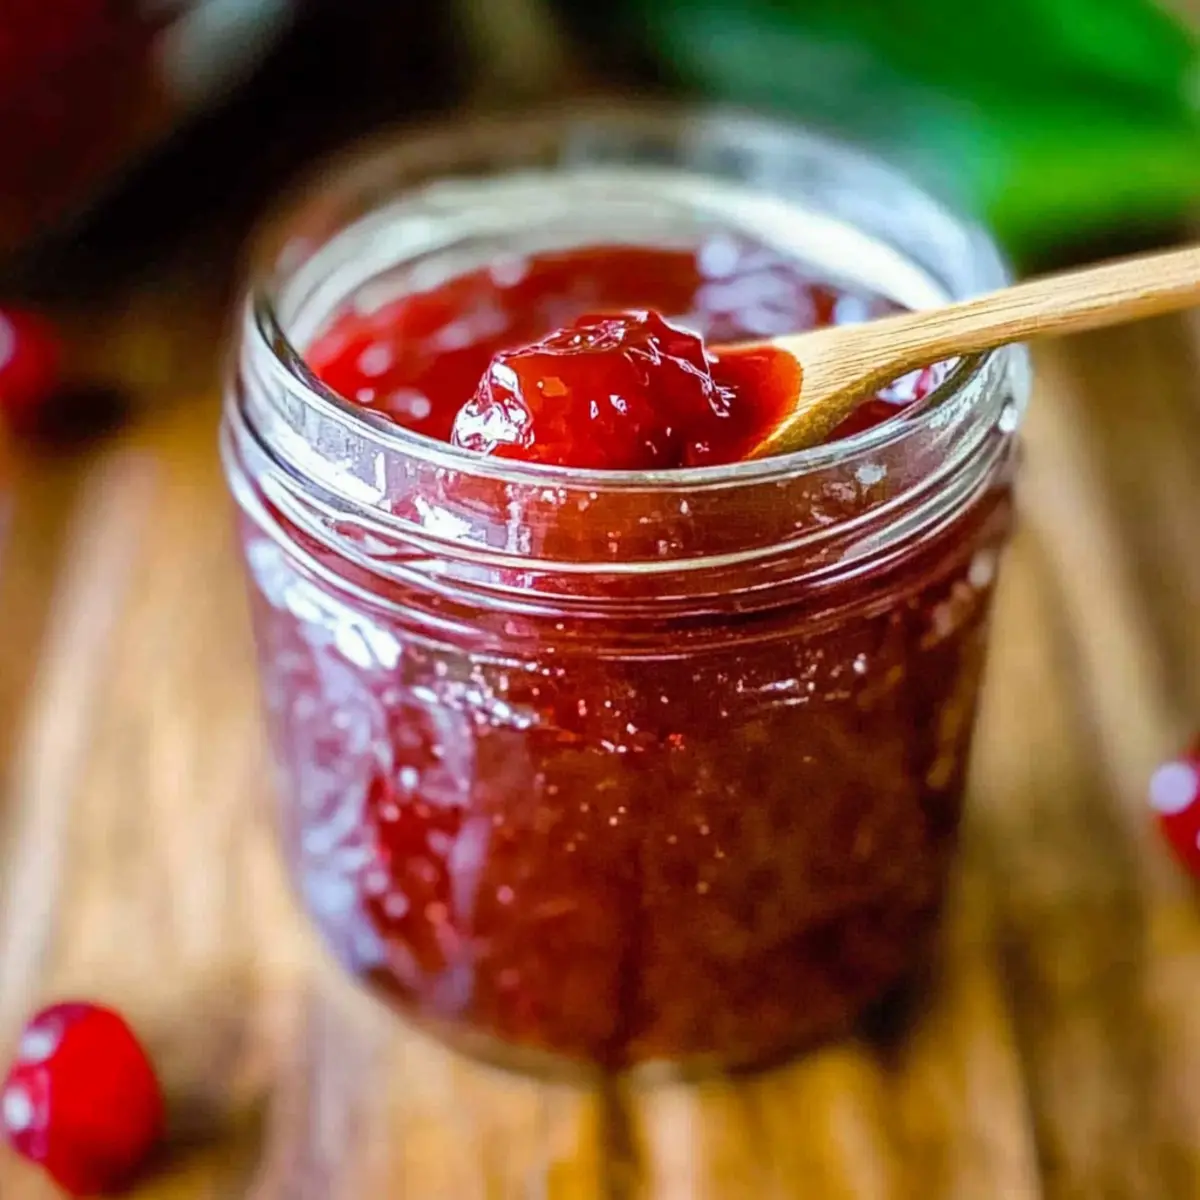
Hot Cherry Pepper Jelly Recipe FAQs
What kind of cherries should I use for the jelly?
Absolutely! For the best results, opt for fresh, ripe sweet cherries. Look for cherries that are deep red and firm to the touch, avoiding those with dark spots or wrinkles, as they indicate overripeness.
How should I store Hot Cherry Pepper Jelly?
Once you’ve made your Hot Cherry Pepper Jelly, store the unopened jars in a cool, dark place like a pantry for up to 18 months. If you open a jar, be sure to keep it in the refrigerator and consume it within 3-4 weeks for optimal freshness.
Can I freeze Hot Cherry Pepper Jelly?
Yes! Freezing is a great method to extend the shelf life of your jelly. To freeze, use airtight freezer-safe containers or bags. Leave about an inch of headspace in the containers to allow for expansion as it freezes. Your jelly can be frozen for up to a year!
What should I do if my jelly doesn’t set properly?
If your jelly doesn’t set, don’t worry—there’s a way to save it! You can reboil the jelly with an additional package of liquid pectin. Simply pour the jelly back into a pot, bring to a boil, add the pectin, and boil for another minute. Ensure to skim any foam and ladle it back into sterilized jars.
Is Hot Cherry Pepper Jelly safe for pets or those with allergies?
Very! The ingredients in Hot Cherry Pepper Jelly are generally safe for most people; however, beware if anyone has a known allergy to peppers or cherries. As for pets, moderation is key—it’s best to avoid giving them any jelly, as the sugar content may not be suitable for their diets. Always consult with a veterinarian if you’re unsure!
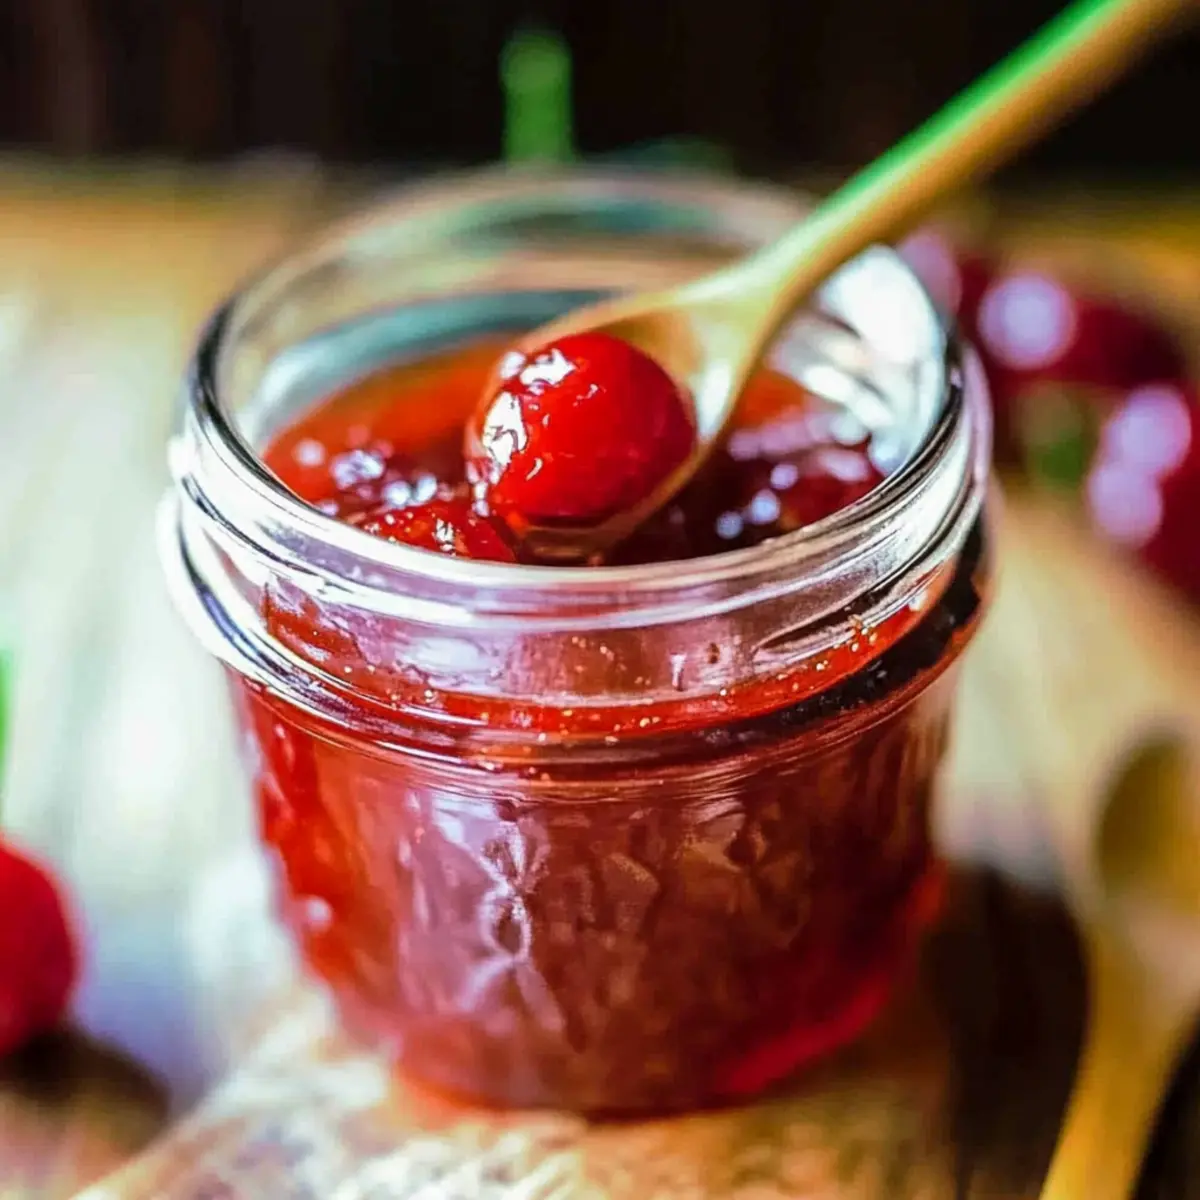
Irresistible Hot Cherry Pepper Jelly for Sweet and Spicy Lovers
Ingredients
Equipment
Method
- Sterilize jars by cleaning them in hot, soapy water and placing them in a preheated oven at 250°F for 10 minutes.
- Prepare ingredients by pulsing the fresh cherries, red bell pepper, and jalapeños with 1 cup of apple cider vinegar in a food processor.
- Cook the mixture in a deep stock pot with the remaining vinegar and sugar, boiling for 5 minutes while stirring constantly.
- Add liquid pectin to the boiling mixture, stir thoroughly, and boil for another minute.
- Ladle the hot jelly into sterilized jars, filling them to about 1/4 inch from the top, and secure with lids.
- Process jars in a boiling water canner for 10 minutes, then turn off heat and let sit for an additional 5 minutes.
- Cool the jars and check seals; store properly once cooled.
Leave a Reply