
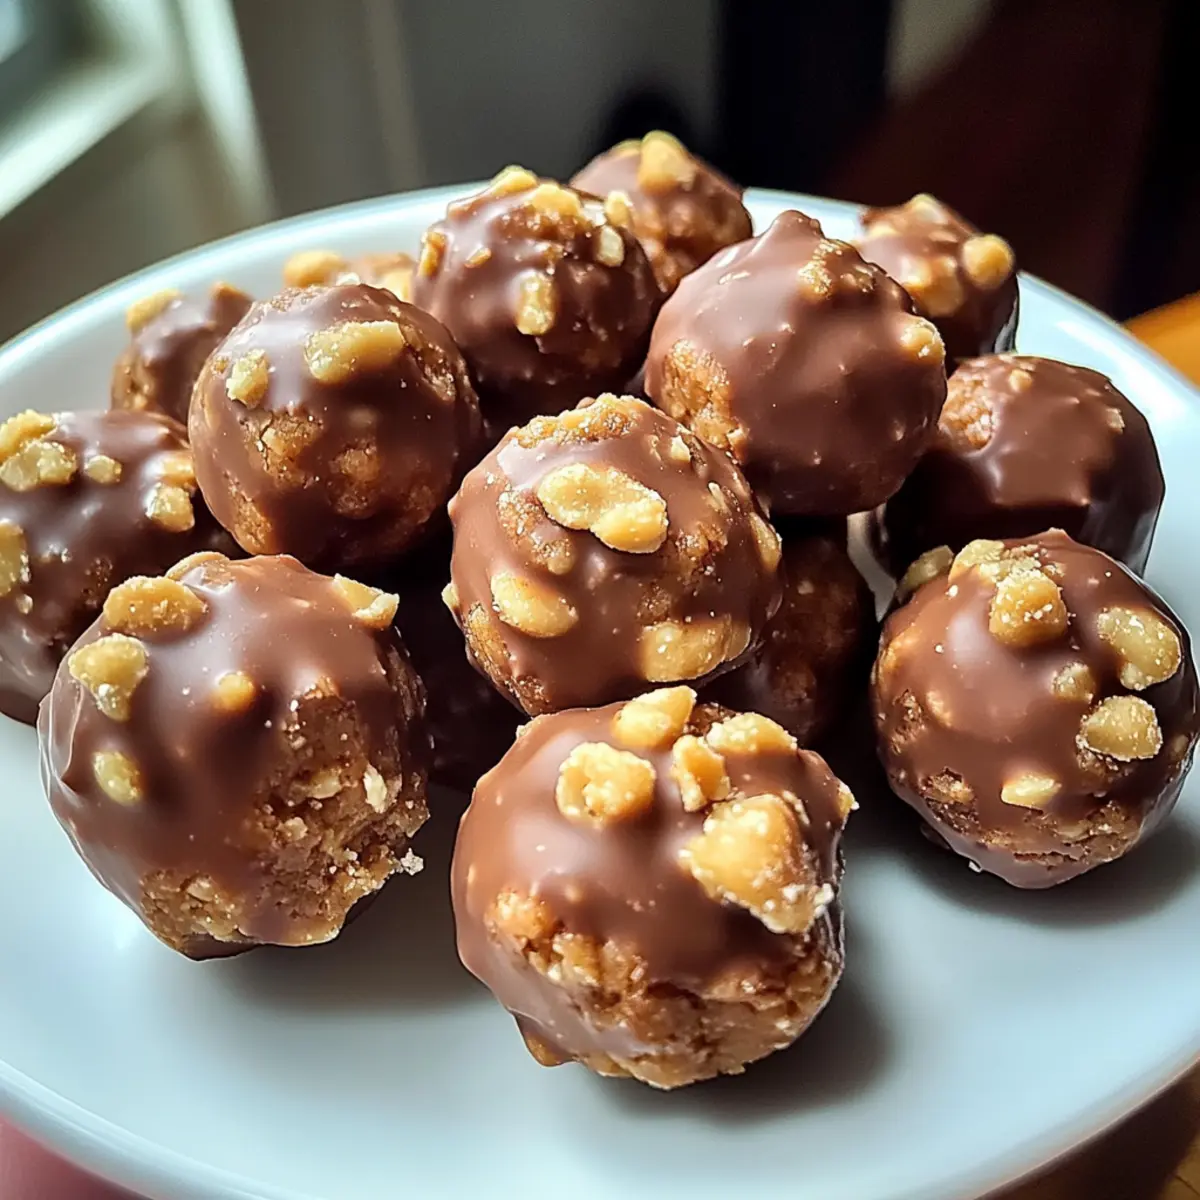
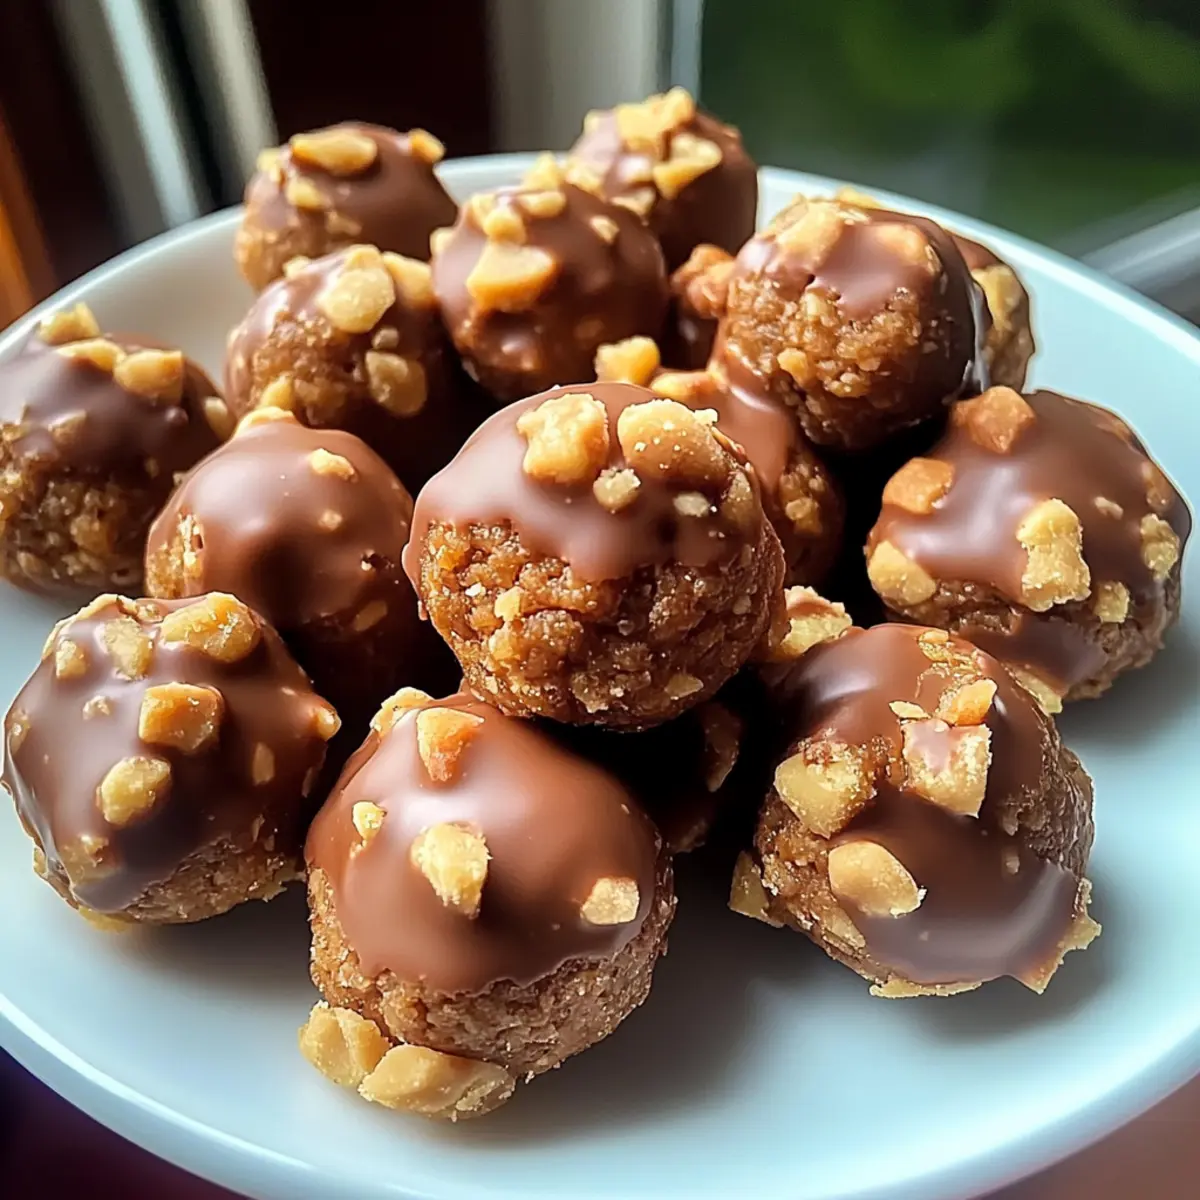
As I stood in my kitchen, surrounded by the comforting scent of melted chocolate, I couldn’t help but smile at the idea of creating No-Bake Peanut Butter Butterfinger Bliss Balls. These delightful treats marry the creamy richness of peanut butter with the crunch of graham crackers and the sweet nostalgia of Butterfinger candy bars. Perfect for last-minute gatherings or simply satisfying those sweet cravings, they’re wonderfully quick to prepare. With minimal effort, you’ll have an irresistible dessert that’s both festive and fun. Whether you decide to customize with your favorite chocolate or add sprinkles for a pop of color, these bliss balls are sure to delight your taste buds. Ready to discover how to whip up this indulgent treat in no time? Let’s dive into the recipe!
Why are Butterfinger Balls so irresistible?
Decadent bliss awaits you with these delightful treats! Quick and Easy to prepare, you can whip them up in no time, making them perfect for unexpected guests or those late-night cravings. Customizable options let you swap Butterfinger bars for your favorite candy, ensuring everyone gets a flavor they love. No-Bake Wonder: Forget the oven—just mix, roll, and chill for a hassle-free dessert experience. Crowd-Pleaser yet sophisticated, these balls bring a touch of gourmet indulgence to any gathering. Make sure to check out Greek Turkey Meatballs for another fantastic recipe to impress your friends!
Butterfinger Balls Ingredients
• Get ready to delight your taste buds with these Butterfinger Balls!
For the Dough
- Softened Butter – Adds creaminess and rich flavor; ensure it’s at room temperature for easy mixing.
- Peanut Butter – Acts as the main flavor base; opt for regular brands like Jif or Skippy for the best texture.
- Vanilla Extract – Enhances flavor complexity; feel free to substitute with almond extract for a unique twist.
- Powdered Sugar – Adds sweetness and helps bind everything together; avoid granulated sugar for the right texture.
For the Crunch
- Crushed Butterfinger Bars – Offers a sweet crunch that makes these bliss balls irresistible; experiment with other candy bars if desired.
- Graham Cracker Crumbs – Supplies structure and crunch; can be substituted with crushed cookies or gluten-free options for dietary needs.
For the Coating
- Chocolate Bark or Chocolate Chips – Provides a smooth, decadent coating; use bark for a glossier finish, or tempered chocolate chips for a tasty alternative.
Optional Garnishes
- Additional Crushed Butterfinger Bars – For extra sweetness and crunch on top.
- Festive Sprinkles – Add a pop of color for a fun twist; great for parties and special occasions.
- Coarse Sea Salt – Just a pinch brings a delightful contrast to the sweetness.
Dive into the delightful world of Butterfinger Balls with these ingredients, and prepare to impress family and friends with this quick, no-bake dessert!
Step‑by‑Step Instructions for Butterfinger Balls
Step 1: Prepare the Dough
In a large mixing bowl, combine softened butter and peanut butter using a hand mixer until the mixture is creamy and smooth, which should take about 2-3 minutes. Make sure the butter is at room temperature to ensure easy blending. This rich base will create the luscious texture for your Butterfinger Balls.
Step 2: Add Flavorings
Once your butter and peanut butter are fluffy, blend in the vanilla extract. Mix for an additional minute until fully incorporated. This step enhances the overall flavor profile of your Butterfinger Balls, making them even more delightful. The creamy mixture should be aromatic and consistent.
Step 3: Incorporate Sweetness
Gradually add the powdered sugar, about a cup at a time, mixing on low speed until well combined. This process should take around 2-3 minutes to achieve a uniform texture. The mixture will become thick but pliable; it’s essential as this acts as a binding agent for your bliss balls.
Step 4: Mix Dry Ingredients
Gently fold in the graham cracker crumbs and crushed Butterfinger bars using a spatula. Continue to mix until fully combined, ensuring that the Butterfinger pieces are evenly distributed throughout. The combination of textures from the crumbs and candy will create a fantastic crunch in your Butterfinger Balls.
Step 5: Shape the Balls
Using your hands, roll the dough into 1 to 1.5 inch balls. Place each ball on a parchment-lined cookie sheet, spacing them about an inch apart. This step typically takes about 10-15 minutes and is where the magic starts, as you’ll see the delightful Butterfinger Balls taking shape.
Step 6: Chill
Once all the balls are shaped, transfer the cookie sheet to the freezer and let them chill for about 30 minutes. This helps the Butterfinger Balls firm up, making them easier to coat in chocolate later. Ensure they are solid to the touch for optimal dipping.
Step 7: Melt Chocolate
While the balls chill, melt your chocolate bark or chocolate chips. Use a microwave-safe bowl and heat in 30-second intervals, stirring in between, until smooth and fully melted. This should take about 1-2 minutes total. Be careful not to overheat the chocolate, as it can seize.
Step 8: Coat Balls
Once the chocolate is melted and smooth, dip each chilled Butterfinger Ball into the melted chocolate, making sure to fully or partially coat each one. Let the excess chocolate drip off before placing them back on the parchment sheet. This chocolate coating will give a delightful finish to your treats.
Step 9: Decorate
Before the chocolate sets, sprinkle additional crushed Butterfinger bars, festive sprinkles, or a pinch of coarse sea salt on top of each ball. This step adds an extra touch of flair and flavor. Let the coated Balls sit at room temperature until the chocolate is completely hardened, usually about 30-45 minutes.
Expert Tips for Perfect Butterfinger Balls
-
Consistent Dough: Make sure your dough has the right consistency. If it’s too soft, add a bit more graham cracker crumbs to help it hold shape when rolling.
-
Chocolate Coating: For the best results, use chocolate bark for a glossy finish. If you choose chocolate chips, temper them for a smooth coating that won’t dull.
-
Chilling Time: Don’t skip the chilling step! Freezing the balls for at least 30 minutes not only helps them firm up but makes coating them in chocolate much easier.
-
Storage Secrets: If you’re storing Butterfinger Balls, layer them between wax paper in an airtight container to prevent them from sticking together.
-
Custom Combos: Feel free to swap out the Butterfinger bars for your favorite candy bar for unique flavors. This will make your Butterfinger Balls even more personalized and fun!
Butterfinger Balls Variations & Substitutions
Feel free to get creative and customize your Butterfinger Balls with these fun variations that will tantalize your taste buds!
-
Chocolate Alternatives: Use white chocolate or dark chocolate for the coating to switch up the flavor profile. Each chocolate type brings its unique sweetness and richness, enhancing the overall experience.
-
Nutty Goodness: Add crushed nuts, like pecans or almonds, for an extra crunch. The nuttiness will complement the peanut butter base while providing additional texture.
-
Flavor Boost: Blend in flavored peanut butters, such as honey or chocolate, for a delightful twist on the classic. This little change can take your bliss balls to new savory heights!
-
Candy Swaps: Substitute Butterfinger bars with your favorite candy bars, like Snickers or Milky Way, for a whole new taste adventure. Each candy adds a unique flair that your friends will love.
-
Gluten-Free Option: Use gluten-free graham cracker crumbs or crushed gluten-free cookies for a delicious treat anyone can enjoy. This way, all your guests can indulge without worries.
-
Festive Touch: Add seasonal spices, like cinnamon or nutmeg, for a cozy flavor perfect for the holidays. The warm spiciness enhances the rich chocolate and peanut butter, bringing festive cheer.
-
Spicy Kick: If you love a bit of heat, sprinkle some cayenne pepper or chili powder into the dough for a surprising twist. The combination of sweet and spicy will awaken your taste buds!
If you’re yearning for more delightful recipes, check out the Garlic Butter Meatballs for a savory treat or master Homemade Meatballs Savory for the next family dinner!
Make Ahead Options
These Butterfinger Balls are a fantastic time-saving treat perfect for busy home cooks! You can prepare the dough and shape the balls up to 24 hours in advance by storing them in an airtight container in the refrigerator. To maintain their quality, ensure they are chilled before coating in chocolate; this helps them hold their shape. When you’re ready to finish them, simply melt the chocolate and proceed with the coating and decorating steps. Alternatively, you can freeze the uncoated balls for up to 3 months. Just thaw them in the refrigerator before dipping in chocolate for a delicious dessert that’s just as delightful as when freshly made!
What to Serve with Butterfinger Bliss Balls
Elevate your dessert experience with delightful accompaniments that will perfectly complement these sweet, no-bake treats.
-
Creamy Vanilla Ice Cream: This classic pairing adds a rich, cool contrast to the sweetness of the bliss balls. Each bite of chilled ice cream melds beautifully with the crunchy textures and flavors.
-
Fresh Berries: A refreshing, juicy burst from strawberries or raspberries cuts through the richness, providing a vibrant contrast that brightens your palate.
-
Decadent Hot Chocolate: A warm cup of hot cocoa enhances the dessert’s comforting vibe. The chocolatey goodness creates a cozy atmosphere, perfect for gatherings.
-
Chic Coffee or Espresso: A robust cup of coffee balances the sweetness while enhancing the rich flavors of chocolate and peanut butter, making every bite even more indulgent.
-
Nutty Trail Mix: A handful of mixed nuts adds a crunchy texture that complements the creamy bliss balls. This combination ensures a satisfying mix of flavors and textures.
-
Cheesecake Brownies: For those who love to indulge, serving these alongside rich cheesecake brownies brings a delightful double dose of dessert to your table.
How to Store and Freeze Butterfinger Balls
Fridge: Keep Butterfinger Balls in an airtight container for up to 1 week. Storing them properly will ensure they remain fresh and delicious.
Freezer: For longer storage, freeze the bliss balls for up to 5-6 months. Layer them between wax paper in an airtight container to prevent sticking.
Reheating: No need to reheat! Simply enjoy them straight from the fridge or freezer for a cool, refreshing treat.
Butterfinger Bliss Balls Recipe FAQs
What type of peanut butter should I use for Butterfinger Balls?
Absolutely! It’s best to use conventional brands like Jif or Skippy for the ideal creamy texture. Avoid natural peanut butters, as they can be too oily, making the dough difficult to shape. The right peanut butter contributes significantly to the flavor and consistency of your Butterfinger Balls.
How do I store Butterfinger Balls, and how long do they last?
Store your Butterfinger Balls in an airtight container in the fridge, where they will stay fresh for up to 1 week. Make sure to separate layers with wax paper to prevent sticking. If you want to keep them for longer, you can freeze them for up to 5-6 months, just be sure to layer them with wax paper in a freezer-safe container.
Can I freeze Butterfinger Balls, and how should I do it?
Yes, you can absolutely freeze Butterfinger Balls! To freeze them:
- Shape and chill the balls as per the recipe.
- Place them in a single layer on a parchment-lined baking sheet, then freeze them for about 1-2 hours until solid.
- Once hardened, transfer them into an airtight container, separating layers with wax paper to avoid sticking.
These steps will keep them fresh and delicious for up to 5-6 months!
What should I do if the dough is too soft?
If your dough is too soft, don’t worry! Simply add more graham cracker crumbs, one tablespoon at a time, until you achieve the right consistency. The dough should be pliable and easy to roll into balls. If you find you’re still having trouble, you can chill the mixture for about 10-15 minutes before rolling, which can help firm it up.
Are there any allergies I should consider when making Butterfinger Balls?
Indeed! Be mindful of common allergens in your ingredients. Both peanut butter and Butterfinger bars contain peanuts, which can trigger allergic reactions. You might consider using sunflower seed butter and candy bars that are nut-free to cater to those with nut allergies. Always read the labels to ensure safety for your guests and family!
Can I customize Butterfinger Balls with other ingredients?
Very much so! Butterfinger Balls are quite versatile; you can swap out Butterfinger bars for other candy bars like Snickers or Milky Way for different flavors. You can also add nuts for an extra crunch or flavored peanut butters for varied tastes. Feel free to experiment with seasonal spices like cinnamon, especially during the holidays, to create a festive twist!
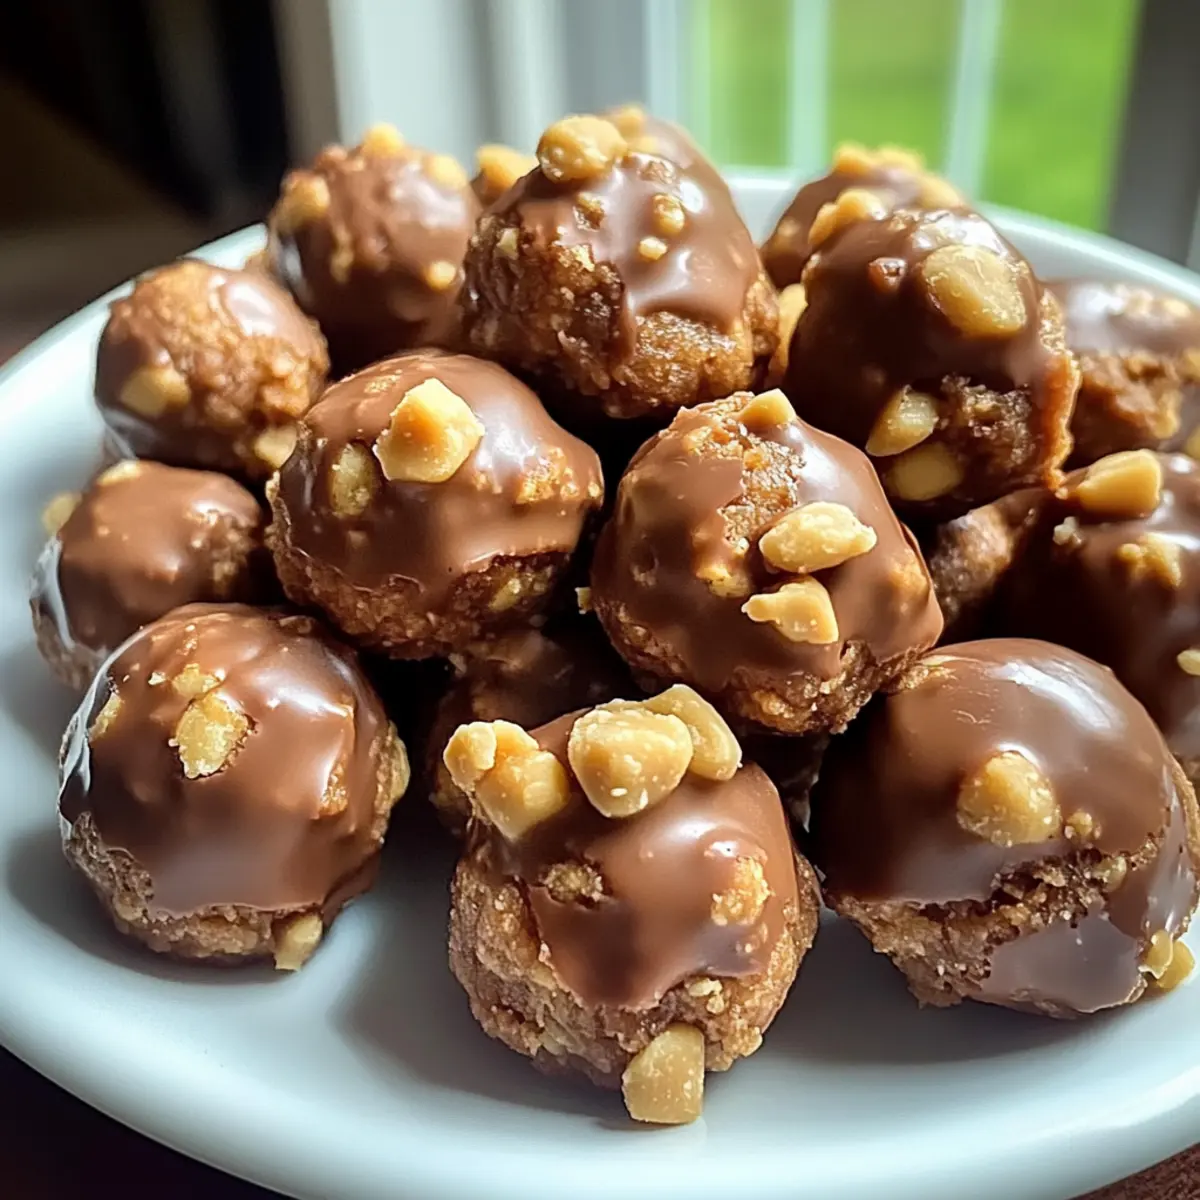
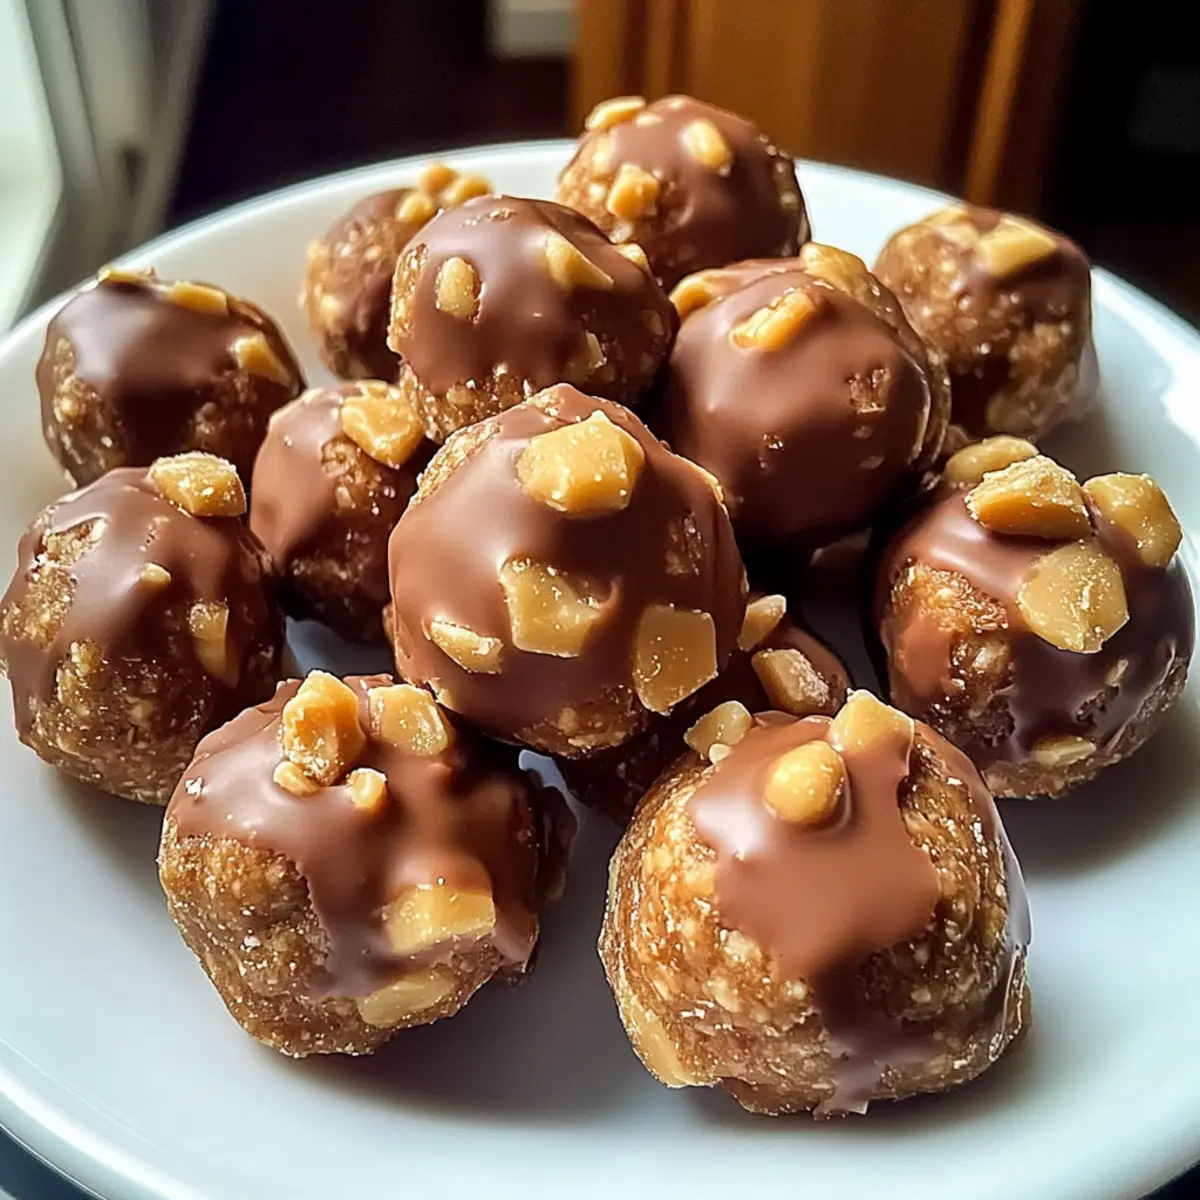
Decadent Butterfinger Balls That Melt in Your Mouth
Ingredients
Equipment
Method
- In a large mixing bowl, combine softened butter and peanut butter using a hand mixer until creamy, about 2-3 minutes.
- Blend in the vanilla extract and mix for an additional minute.
- Gradually add powdered sugar, mixing on low speed until well combined, about 2-3 minutes.
- Fold in the graham cracker crumbs and crushed Butterfinger bars using a spatula.
- Roll the dough into 1 to 1.5 inch balls and place on a parchment-lined cookie sheet.
- Transfer the cookie sheet to the freezer and chill for about 30 minutes.
- Melt chocolate bark or chocolate chips in a microwave-safe bowl in 30-second intervals, stirring until smooth.
- Dip each chilled Butterfinger Ball into the melted chocolate, letting excess drip off before placing back.
- Sprinkle additional crushed Butterfinger bars, festive sprinkles, or sea salt on top before chocolate sets.
Leave a Reply