
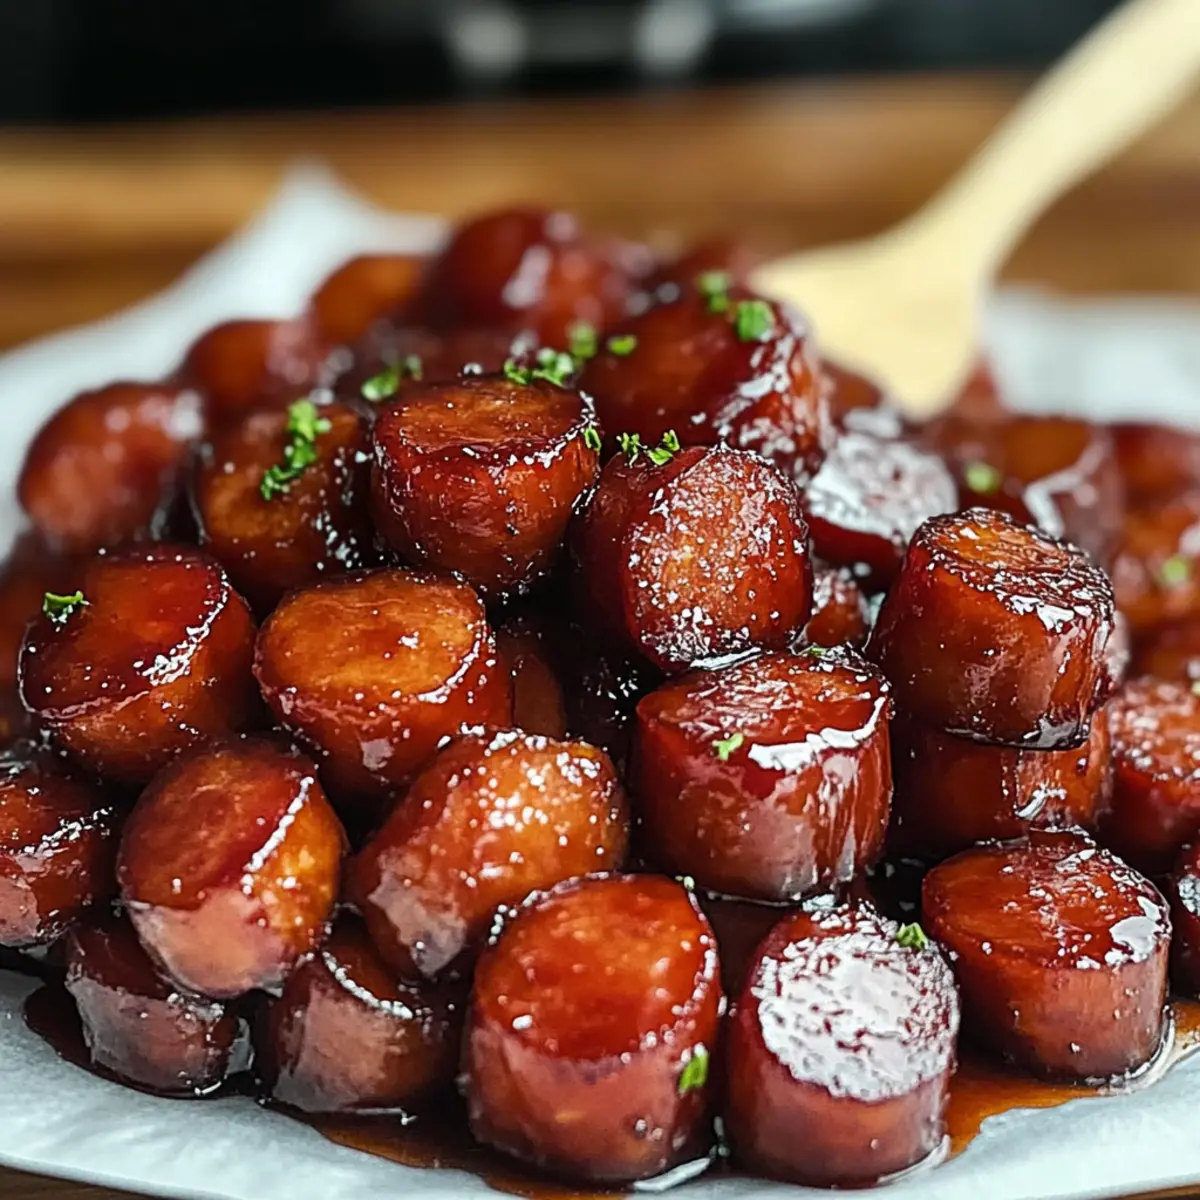
The aroma of sweet and smoky goodness wafts through my kitchen, and it feels like a cozy gathering, no matter the time of day. Enter my Sweet and Smoky Candied Kielbasa Bites—an easy recipe that dazzles and delights, making it a go-to for casual game nights or any festive occasion. With each bite infused with a sticky, caramelized glaze crafted from brown sugar, ketchup, and Worcestershire sauce, these little morsels are sure to be a crowd-pleaser. The beauty of this dish lies not just in its incredible flavor profile, but also in its quick prep time; you can whip these up with minimal effort and just a handful of ingredients. Feeling adventurous? You can even customize the spice level to suit your taste. Ready to learn how to create these irresistible bites? Let’s dive in!
Why Choose Candied Kielbasa Bites?
Simplicity makes these bites a perfect choice for busy cooks wanting a delicious appetizer without the fuss. Flavorful ingredients like brown sugar and Worcestershire sauce create a mouthwatering glaze that will have your guests coming back for more. Customizable heat levels mean everyone can enjoy them—just add a pinch of red pepper flakes for spice! Quick preparation saves you time and hassle, so you can enjoy your gathering stress-free. If you’re looking to cater to a crowd, these Candied Kielbasa Bites are sure to impress, making them an unforgettable feature at any party!
Candied Kielbasa Bites Ingredients
For the Bites
• Kielbasa Sausage – The star ingredient, it brings a robust flavor; choose high-quality smoked kielbasa for the best taste.
• Brown Sugar – This essential ingredient adds sweetness and caramelizes beautifully during cooking, forming that irresistible glaze.
• Ketchup – Provides tanginess and thickness to the glaze, ensuring an even coating over the kielbasa bites.
• Worcestershire Sauce – Infuses a deep umami flavor that perfectly complements the sweetness of the brown sugar.
• Garlic Powder – Adds a savory depth that enhances the overall flavor profile of these Candied Kielbasa Bites.
• Red Pepper Flakes (optional) – For those with a daring palate, these add a delightful kick of spice to the mix.
For Garnishing
• Chopped Parsley – A fresh touch to brighten up the dish; it looks beautiful and adds a hint of herbal flavor when served.
Step‑by‑Step Instructions for Candied Kielbasa Bites
Step 1: Prepare Ingredients
Begin by slicing the kielbasa sausage into ½-inch thick rounds. This ensures even cooking and perfect bite-sized pieces. Place the slices on a cutting board or plate, ready for the next step. Prepping the kielbasa first will set you up for a smooth cooking process as you gather your other ingredients.
Step 2: Make Glaze
In a medium saucepan, combine brown sugar, ketchup, Worcestershire sauce, and garlic powder. Over medium heat, stir the mixture until it begins to bubble gently and the sugar dissolves completely. This step is crucial for achieving the deliciously sticky glaze that will coat your Candied Kielbasa Bites beautifully. You’ll know it’s ready when the sauce thickens slightly and becomes aromatic.
Step 3: Combine Sauce and Sausage
Once your glaze is ready, add the sliced kielbasa to the saucepan. If you’re a fan of a little heat, sprinkle in some red pepper flakes at this point. Stir the kielbasa slices thoroughly to coat them evenly with the luscious glaze. Make sure each piece gets a good amount of the sticky mixture for maximum flavor.
Step 4: Simmer
Reduce the heat to low and let the mixture simmer gently for 20–25 minutes. Stir occasionally to prevent sticking and ensure that the glaze clings evenly to the kielbasa. You’ll know it’s done when the sauce has thickened significantly and perfectly adheres to each bite, creating that irresistible sweet and smoky flavor.
Step 5: Serve
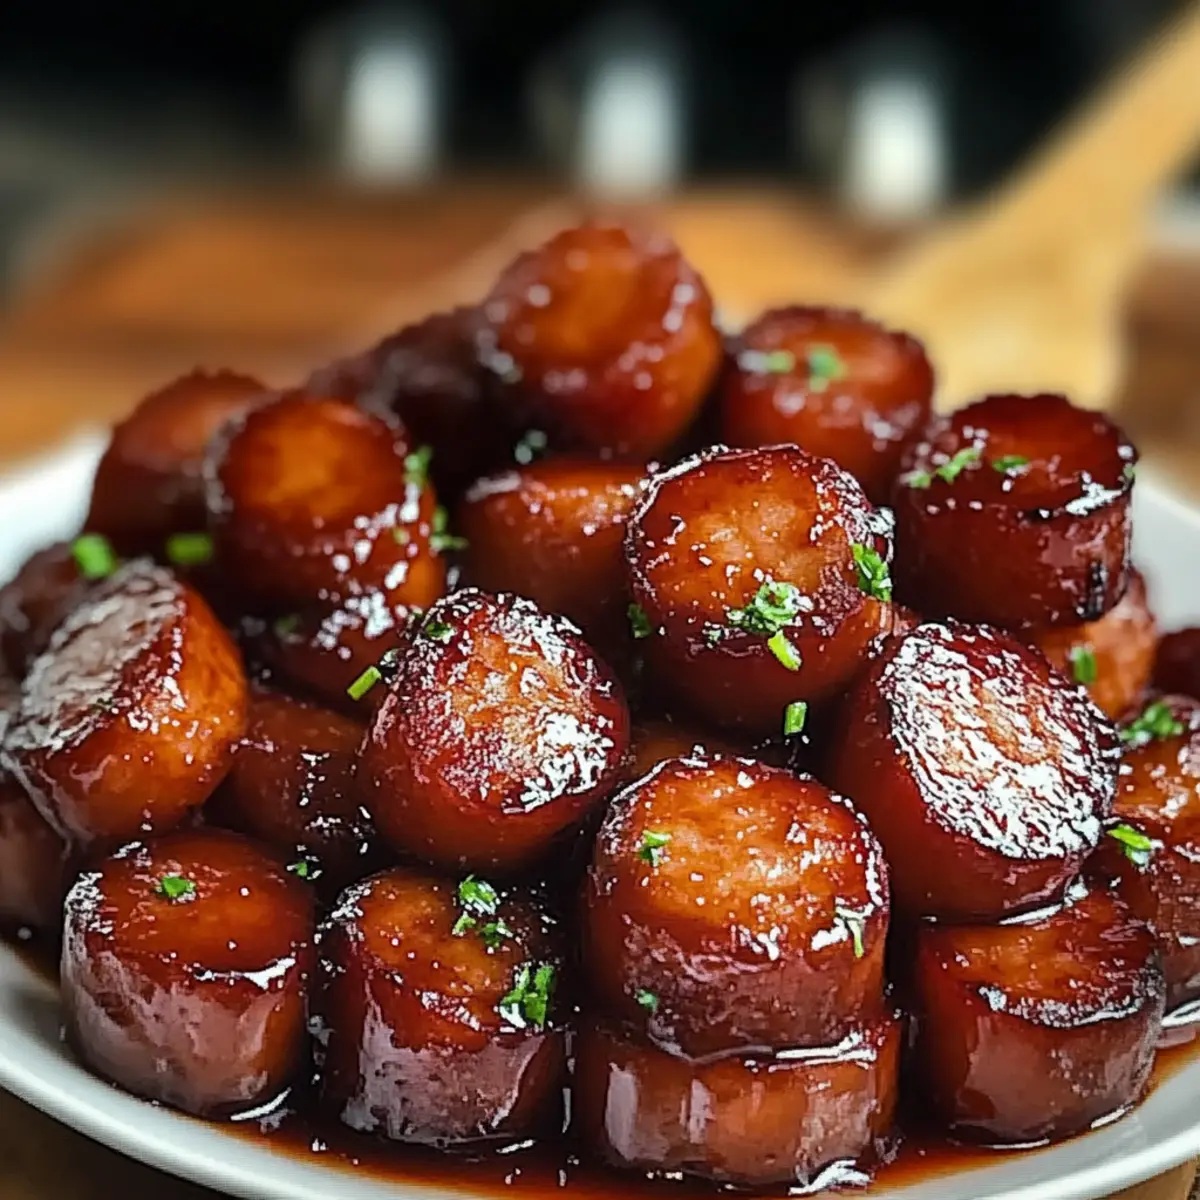
Once your Candied Kielbasa Bites are ready, transfer them to a serving dish. For a fresh touch, consider garnishing with chopped parsley to enhance both the flavor and the presentation. Serve these warm to enjoy their full flavor, and watch as they quickly become the hit of your gathering!
Make Ahead Options
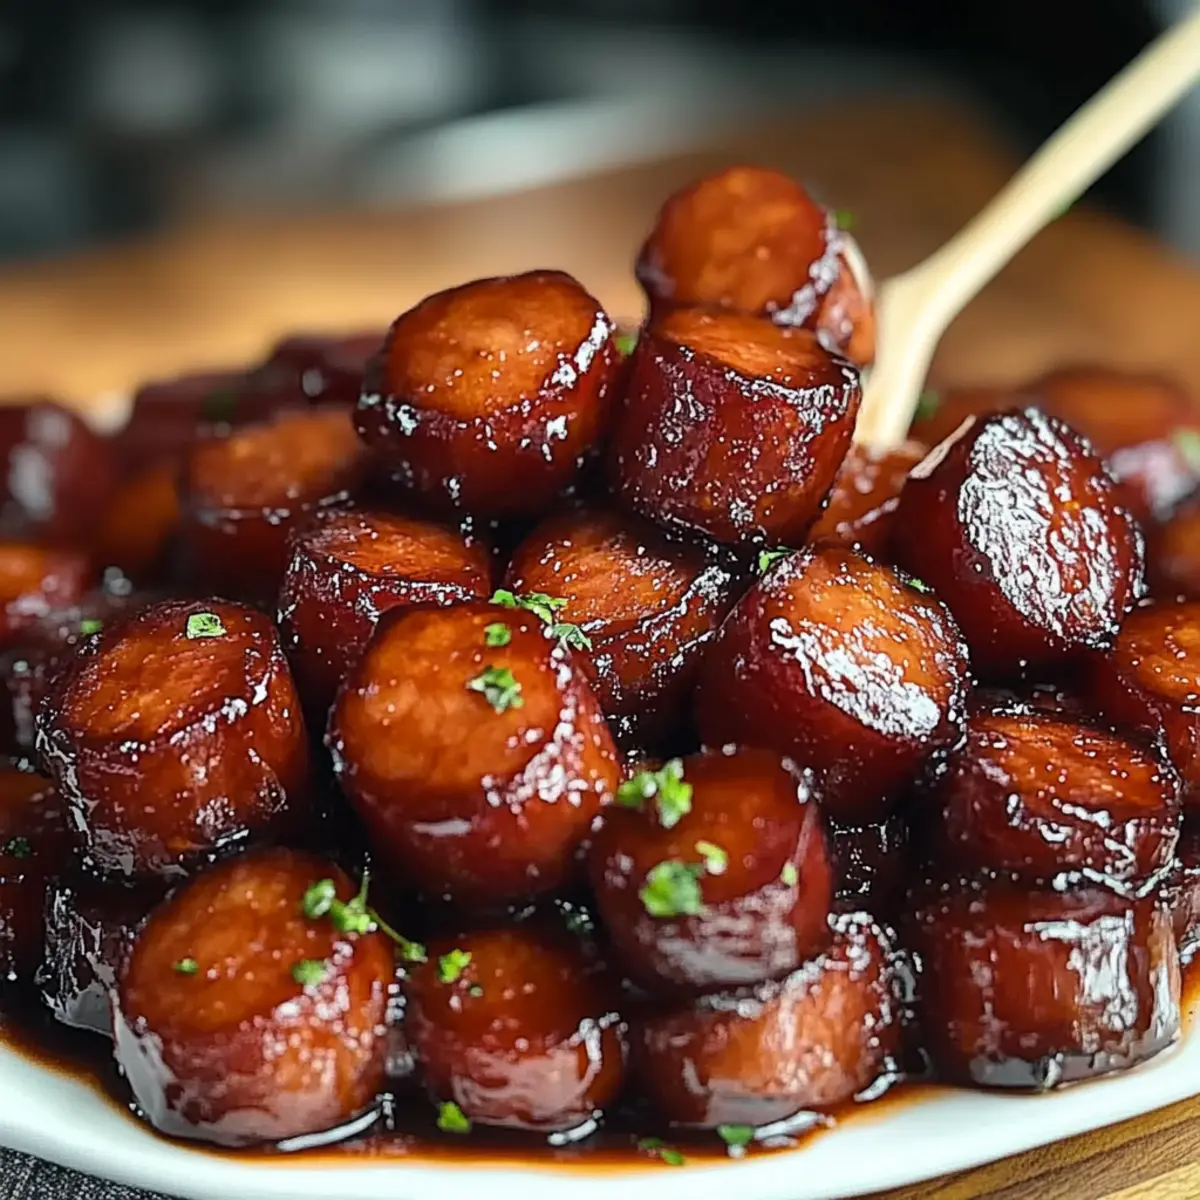
These Sweet and Smoky Candied Kielbasa Bites are perfect for meal prep, making your life easier on hectic days! You can slice the kielbasa and prepare the glaze up to 24 hours in advance; simply store them separately in airtight containers in the refrigerator. To maintain their delicious quality, keep the glaze tightly sealed to prevent drying out. When ready to serve, mix the kielbasa and glaze in a saucepan, simmer on low for 20-25 minutes until heated through and the sauce thickens. This allows the flavors to meld beautifully, ensuring your dish is just as tasty as if you made it fresh that day!
Storage Tips for Candied Kielbasa Bites
Fridge: Store leftovers in an airtight container in the refrigerator for up to 4 days. This helps maintain their delicious flavor and prevents spoilage.
Freezer: Freeze Candied Kielbasa Bites in a single layer on a baking sheet until solid, then transfer to a freezer-safe container for up to 3 months.
Reheating: When ready to enjoy again, reheat gently on the stove over low heat or in the microwave with a splash of water. This will loosen the glaze and keep the bites moist.
Make Ahead: Preparing these bites in advance makes entertaining easy. Just store them properly, and reheat before serving for that fresh, sticky glaze!
What to Serve with Sweet and Smoky Candied Kielbasa Bites
The aroma of sweet, smoky goodness fills the air as you prepare a full spread to accompany these delightful appetizer bites.
-
Creamy Mashed Potatoes: The rich, buttery texture perfectly complements the sticky sweetness of the kielbasa, making for a comforting pairing.
-
Fresh Green Salad: A crisp salad with a tangy vinaigrette adds a refreshing contrast, balancing the richness of your bites and providing a textural delight.
-
Cornbread: This slightly sweet, crumbly bread pairs beautifully with the savory flavors of the kielbasa, offering a delightful contrast in each bite.
-
Coleslaw: A zesty, crunchy coleslaw provides a refreshing crunch that enhances the hearty bites, plus the creaminess cools down any optional spice.
-
Roasted Vegetables: Seasonal veggies drizzled with olive oil and herbs bring color and vibrancy to the table, giving a healthy touch to your meal.
-
Fruit Platter: Sweet, juicy fruits like grapes and pineapple offer a refreshing palate cleanse between bites, enhancing the overall flavor experience.
-
Beer or Cider: A light lager or fruity cider pairs wonderfully with these bites, complementing their smokiness while adding a refreshing fizzy edge.
-
Chocolate Brownies: For dessert, fudgy brownies provide a sweet end to the meal, echoing the rich flavors of the appetizer while satisfying your sweet tooth.
Candied Kielbasa Bites Variations
Feel free to personalize these delectable bites to suit your taste and occasion!
- Sausage Swap: Try substituting kielbasa with andouille or turkey sausage for a different flavor experience. Each sausage brings its unique taste and texture to the party!
- Sweet Heat: Add extra red pepper flakes or a splash of your favorite hot sauce to the glaze for those who crave a fiery kick. This simple adjustment can transform the flavor profile!
- Smoky Twist: Incorporate a touch of smoked paprika into the glaze to enhance the smokiness of the dish. It’s a flavorful twist that beautifully complements the kielbasa!
- Dijon Delight: Mix in a tablespoon of Dijon mustard with the glaze for an added layer of tanginess. This twist balances the sweetness perfectly, making the flavors pop!
- Herbal Infusion: Sprinkle in some fresh herbs, like thyme or rosemary, during the last few minutes of simmering to add depth and freshness. These aromatic touches brighten the dish tremendously.
- Slow Cooker Simplicity: Cook in a slow cooker on LOW for 2–3 hours for a hands-off approach. Just let the flavors blend, and you’ll have perfectly sticky bites ready for serving!
- Veggie Addition: Toss in some colorful bell peppers or onions in the last 10 minutes of cooking to sneak in some veggies. Not only do they add flavor, but they also create a colorful presentation!
- Tropical Flair: Introduce some pineapple chunks in the last few minutes of cooking for a sweet, tropical note that pairs beautifully with the smoky kielbasa. It’s an unexpected but delightful combo!
Cooking is all about experimenting, and don’t forget to check out some complementary dishes like Crockpot Garlic Butter bites that would pair wonderfully at your gathering! Enjoy!
Expert Tips for Candied Kielbasa Bites
-
Cut Uniformly: Ensure all kielbasa slices are uniform in thickness for even cooking; inconsistent sizes can lead to some bites being overcooked while others are undercooked.
-
Adjust Sweetness: If you prefer a less sweet dish, reduce the amount of brown sugar slightly. Taste as you go to find your perfect balance in these Candied Kielbasa Bites.
-
Thickening Glaze: Let the sauce simmer long enough to thicken properly; a well-coated piece will hold onto the glaze better and provide that irresistible sticky texture.
-
Experiment with Spices: Don’t hesitate to get creative! Adjust the amount of red pepper flakes for more or less heat or try adding other spices like smoked paprika for an extra layer of flavor.
-
Serve with Dips: Pair these bites with your favorite dipping sauces like mustard or barbecue sauce to complement their sweet and smoky flavor profiles.
-
Serving Size: This recipe makes a great appetizer for gatherings, but it’s also easy to double or halve as needed, ensuring everyone at your party gets a taste!
Candied Kielbasa Bites Recipe FAQs
What type of kielbasa should I choose?
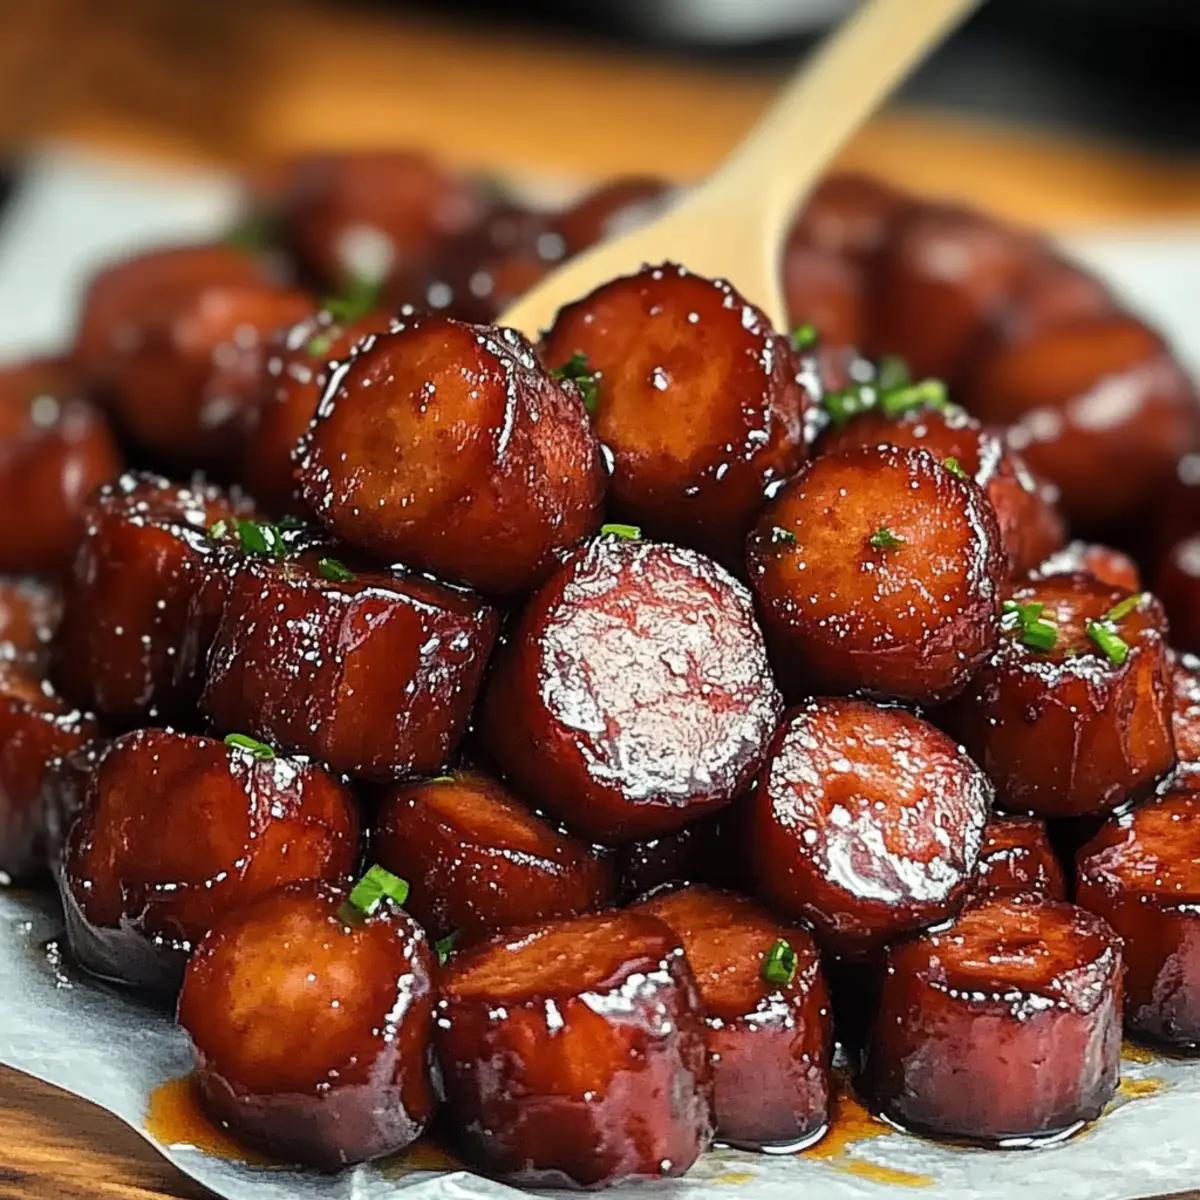
Absolutely! Opt for high-quality smoked kielbasa for the best flavor in your Candied Kielbasa Bites. Look for one that has a rich aroma and a nice sheen. The texture should feel firm, not mushy, indicating it’s fresh and ready to be transformed into a delicious appetizer.
How long can I store leftovers, and what’s the best method?
Very! Store any leftover Candied Kielbasa Bites in an airtight container in the refrigerator for up to 4 days. Ensure they’re completely cooled before sealing to prevent condensation. For optimal freshness upon reheating, try adding a splash of water to the pan to rehydrate the glaze.
Can I freeze Candied Kielbasa Bites? If so, how?
Yes, you can freeze them! Begin by placing the cooled Kielbasa Bites in a single layer on a baking sheet and freeze until solid. Once frozen, transfer them to a freezer-safe container or bag, ensuring excess air is removed. They will keep well for up to 3 months. When you’re ready to enjoy them again, simply thaw in the refrigerator overnight and reheat.
What should I do if the glaze isn’t thickening as expected?
If you find that your glaze isn’t coming together, don’t worry! Simply increase the heat to medium and let it simmer a little longer, stirring frequently. The sugar needs time to caramelize, so a wait of an extra 5–10 minutes should help. Additionally, if the sauce is too runny, consider adding a teaspoon of cornstarch mixed with a tablespoon of water to thicken it up.
Are there any dietary considerations I should be aware of?
Yes, definitely! While kielbasa is generally safe for most, it’s important to note that it can contain allergens like soy or wheat, depending on the brand. If you’re catering to guests with dietary restrictions, look for gluten-free sausages or turkey sausage alternatives. Always ask about specific allergies to ensure everyone can enjoy these Candied Kielbasa Bites safely!
Can pets eat kielbasa?
It’s best to keep kielbasa away from pets. Although some pets may enjoy the taste, processed meats can contain high salt levels and preservatives that aren’t healthy for them. If you’re snacking on these tasty bites, save them for yourself and opt for healthier, pet-friendly treats for your furry friends!
Irresistibly Sweet Candied Kielbasa Bites for Your Party
Ingredients
Equipment
Method
- Slice the kielbasa sausage into ½-inch thick rounds and place on a cutting board.
- In a medium saucepan, combine brown sugar, ketchup, Worcestershire sauce, and garlic powder. Stir until it begins to bubble gently.
- Add the sliced kielbasa to the saucepan. If desired, sprinkle red pepper flakes and stir well.
- Reduce the heat to low and let simmer for 20–25 minutes, stirring occasionally, until sauce thickens.
- Transfer the bites to a serving dish and garnish with chopped parsley before serving warm.
Leave a Reply