
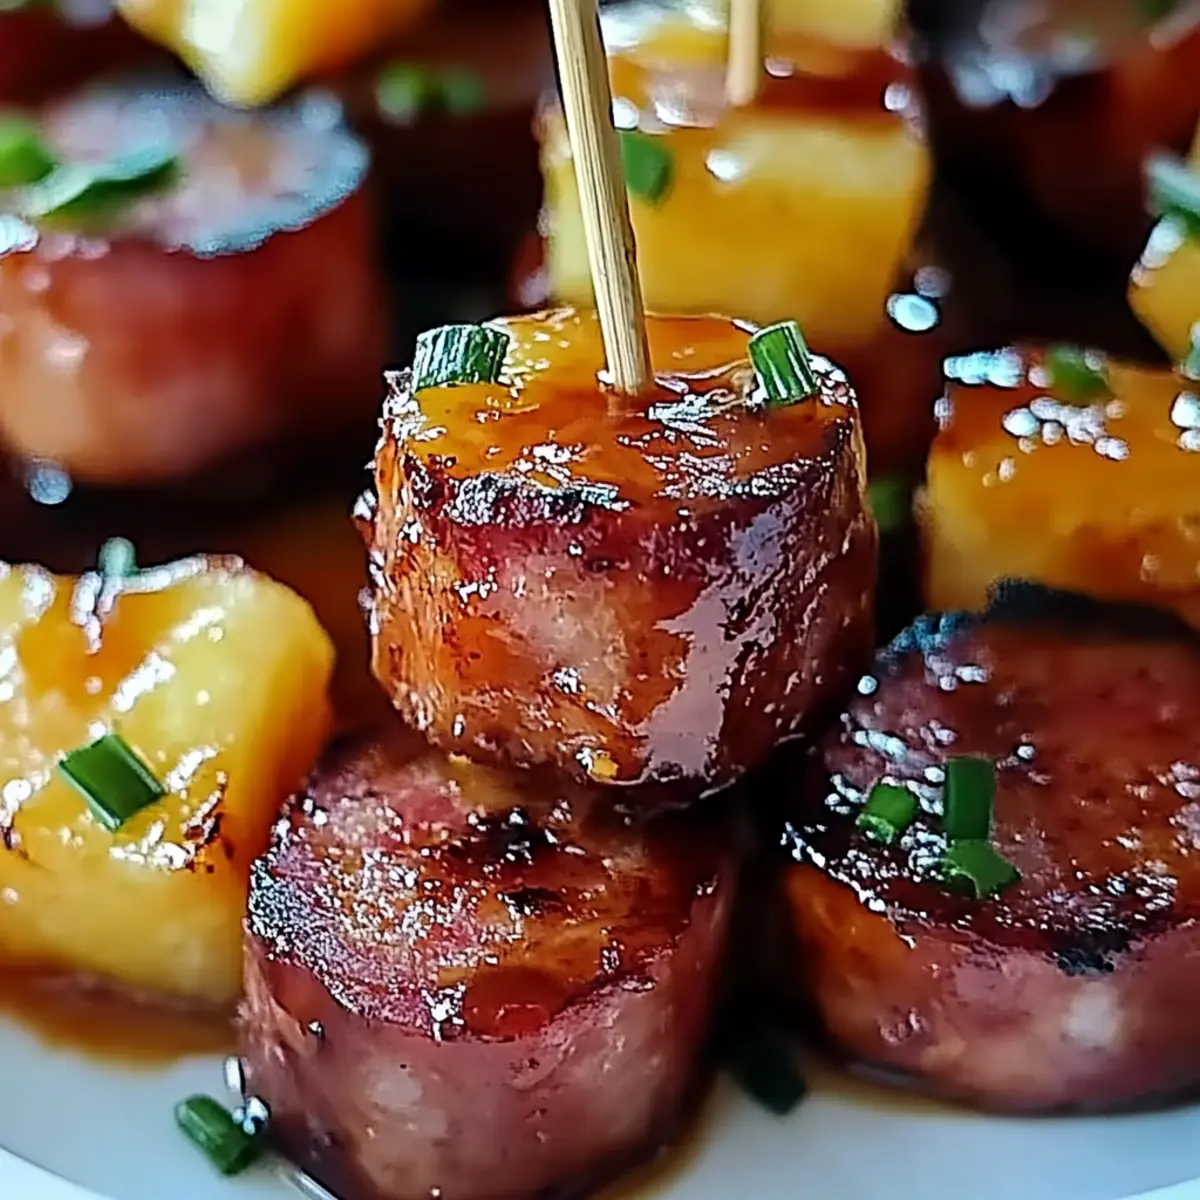
While prepping for a gathering, I overheard two friends debating the best party snacks. One exclaimed, “If it doesn’t have pineapple on it, I’m not interested!” That sent me on a mission to create a recipe that marries smoky goodness with sweet juiciness—enter my Quick and Easy Glazed Kielbasa Pineapple Bites. In just 30 minutes, you can serve up these delightful appetizers that are not only crowd-pleasers but also a breeze to whip up. The rich flavor of kielbasa pairs beautifully with caramelized pineapple, making each bite a savory-sweet experience perfect for game days or casual get-togethers. Curious about how to make these scrumptious bites your new go-to snack? Let’s dive in!
Why You’ll Love These Kielbasa Bites
Simplicity: These bites come together in just 30 minutes, making them a stress-free addition to any gathering.
Crowd-Pleaser: With a delightful mix of flavors, they’re sure to be a hit at your next game day or party.
Versatile Options: Whether you prefer sweet, spicy, or even vegetarian options, you can easily customize the recipe to cater to your guests’ tastes.
Mouthwatering Flavor: The combination of savory kielbasa and juicy pineapple creates an irresistible savory-sweet flavor explosion.
Easy Cleanup: One baking sheet is all you need, keeping your kitchen mess to a minimum—a perfect choice for busy hosts!
Don’t forget to check out our delicious Sweet and Spicy Kielbasa Bites for more flavorful variations!
Glazed Kielbasa Pineapple Bites
• • Delicious ingredients for the perfect appetizer!
For the Bites
- Beef Kielbasa – Choose high-quality kielbasa to ensure rich, savory flavors.
- Pineapple Chunks – Fresh is best for sweetness, but canned works in a pinch.
For the Glaze
- Teriyaki Sauce – This base adds depth and umami to your glazed kielbasa pineapple bites.
- Sweet Chili Sauce – Introduces a delightful sweet and spicy touch to the mix.
- Honey – Helps to elevate the sweetness and caramelize the glaze beautifully.
- Pineapple Juice – Use reserved juice to enhance the glaze’s tropical flavors.
Feel free to explore variations, such as the Sweet and Spicy Kielbasa Bites or a vegetarian alternative, that can make this recipe even more versatile!
Step‑by‑Step Instructions for Glazed Kielbasa Pineapple Bites
Step 1: Soak Toothpicks
Begin by soaking toothpicks in water for about 20 minutes. This will prevent them from burning during the baking process. While the toothpicks are soaking, you can gather and prepare the rest of your ingredients, so everything is ready to assemble the Glazed Kielbasa Pineapple Bites.
Step 2: Preheat the Oven
Preheat your oven to 425°F (220°C) and prepare a baking sheet by lining it with parchment paper. This setup will help the bites bake evenly while allowing for easy cleanup. As the oven heats, you can start arranging your kielbasa and pineapple.
Step 3: Arrange Kielbasa and Pineapple
Slice your beef kielbasa into even rounds and arrange them neatly on the lined baking sheet. Top each piece with juicy pineapple chunks, ensuring that every bite has a perfect balance of savory and sweet components. This simple arrangement creates the perfect base for the Glazed Kielbasa Pineapple Bites.
Step 4: Make the Glaze
In a medium bowl, whisk together teriyaki sauce, sweet chili sauce, honey, and reserved pineapple juice to create a rich glaze. Mix until well combined, ensuring the honey is fully dissolved. This delightful blend will enhance the flavors in your Glazed Kielbasa Pineapple Bites, adding depth and sweetness.
Step 5: Brush on the Glaze
Using a pastry brush, generously coat the kielbasa and pineapple combination with the homemade glaze. Make sure every piece gets a good amount of glaze for maximum flavor. Insert soaked toothpicks into each bite, allowing for easy serving and eating at gatherings.
Step 6: Bake the Bites
Place the baking sheet in your preheated oven and bake for 15–20 minutes. Keep an eye on the bites; they should develop crispy edges and the glaze should caramelize to a beautiful golden-brown color. This step is essential for achieving that mouthwatering finish on your Glazed Kielbasa Pineapple Bites.
Step 7: Cool and Serve
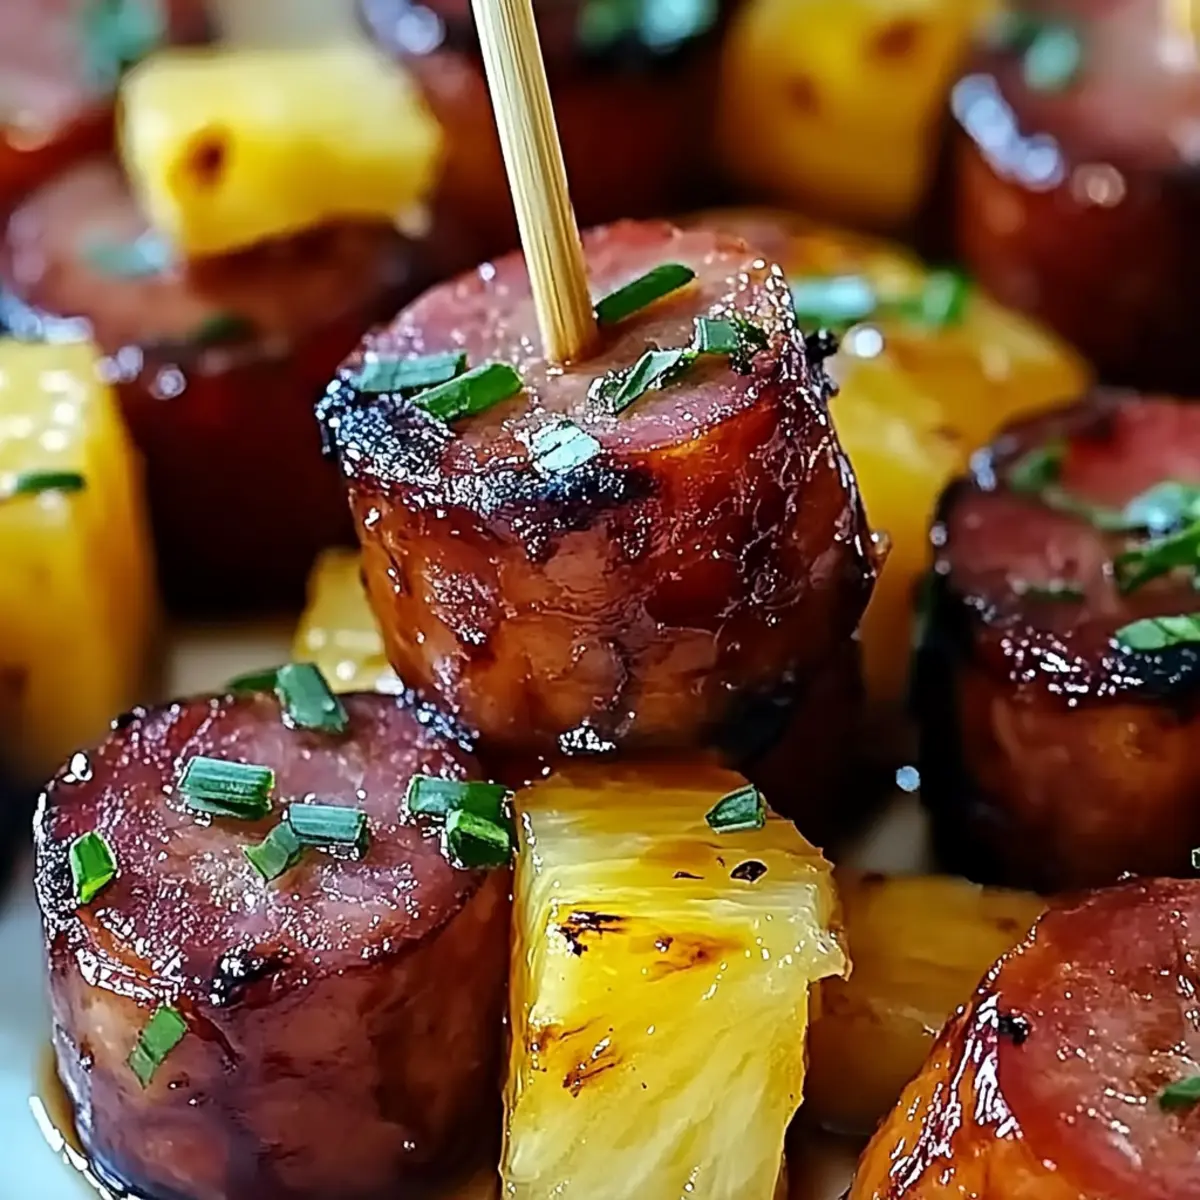
Once baked, remove the baking sheet from the oven and allow the bites to cool slightly. This will help the glaze set and make them easier to handle. Serve the warm Glazed Kielbasa Pineapple Bites on a colorful platter, and get ready to enjoy the savory-sweet explosion of flavors!
What to Serve with Glazed Kielbasa Pineapple Bites
Create a delightful spread that perfectly accentuates these savory-sweet bites.
-
Creamy Mashed Potatoes: Their smooth texture and buttery flavor balance the crispy kielbasa and juicy pineapple beautifully.
-
Garden Salad: A fresh salad filled with mixed greens, cherry tomatoes, and a light vinaigrette adds a refreshing crunch to your meal.
-
Garlic Bread: The toasty, aromatic bread serves as a satisfying accompaniment, perfect for soaking up any leftover glaze.
-
Coleslaw: The crunchy cabbage salad provides a tangy bite, cutting through the richness of the glazed bites for a delightful contrast.
-
Fruit Skewers: Complement the flavors with colorful fruit skewers, echoing the sweetness of pineapple while adding a summery essence.
-
Craft Beer: Pair with a cold craft beer; its hoppy notes will enhance the dish’s savory elements and bring a celebratory vibe.
These pairings are sure to elevate your appetizer spread, making every gathering memorable!
Make Ahead Options
These Glazed Kielbasa Pineapple Bites are a fantastic choice for meal prep that will save you time on busy days! You can prepare the kielbasa and pineapple combination and assemble the toothpick bites up to 24 hours in advance, ensuring the flavors meld beautifully. Simply refrigerate the arranged bites covered with plastic wrap. When you’re ready to serve, brush them with the glaze and bake for 15–20 minutes until crispy and caramelized. This ensures your appetizer is just as delicious and fresh, perfect for unexpected guests or last-minute gatherings! Enjoy stress-free entertaining with these delightful pineapple bites at your next event.
Variations & Substitutions for Glazed Kielbasa Pineapple Bites
Explore these fun options to make your delicious kielbasa bites uniquely yours!
-
Sweet and Spicy: Add red pepper flakes to the glaze for a flavorful kick that dances on your taste buds. Mix it with a dash of sweetness for a balanced heat, transforming every bite into an exciting experience.
-
Maple Bacon Wrap: For a richer flavor, wrap each kielbasa piece in a slice of maple bacon before baking. The bacon adds a smoky crunch, enhancing that delightful sweet-salty combo we all crave.
-
Vegetarian Twist: Swap out the kielbasa for plant-based sausage or even sturdy tofu cubes. With the right glaze, you won’t miss the meat at all, and your vegetarian friends will appreciate the inclusion!
-
Thai-Inspired Glaze: Use sweet chili sauce with a dash of soy sauce for an authentically Thai twist. This variation whispers “vacation” with every bite, transporting you to a sun-soaked island paradise.
-
Fruit Medley: Try mixing in other fruits, like mango or bell peppers, for added sweetness and color. This refreshing burst of flavor will brighten your bites and surprise your guests delightfully.
-
Pineapple Salsa Topping: Instead of sauce, top your bites with a fresh pineapple salsa made from diced pineapple, cilantro, and a squeeze of lime. This refreshing alternative can elevate your appetizer into a vibrant experience.
-
Asian-Inspired Sprinkles: Sprinkle sesame seeds on top before serving for a nutty crunch that compliments the glaze beautifully. This easy addition adds an exciting texture to your bites.
Looking for something even more satisfying? You might also enjoy our delicious Sweet and Spicy Kielbasa Bites for an extra flavor adventure!
Expert Tips for Glazed Kielbasa Pineapple Bites
-
Quality Ingredients: Always opt for high-quality beef kielbasa and fresh pineapple for the best flavor. Avoid brands with fillers to ensure savory bites.
-
Uniform Size: Cut kielbasa and pineapple into uniform pieces to ensure even cooking. This helps achieve the perfect texture in your glazed kielbasa pineapple bites.
-
Mind the Glaze: Cook the glaze over medium heat to prevent burning. A burnt glaze can ruin the taste of your delicious appetizer.
-
Toothpick Trick: Soak toothpicks in water for 20 minutes before using them. This keeps them from burning while baking, making serving safer and easier.
-
Storage Tips: Store leftovers in an airtight container for up to three days. Reheat gently in the oven to revive the flavors of your glazed kielbasa pineapple bites.
How to Store and Freeze Glazed Kielbasa Pineapple Bites
Fridge: Store leftover glazed kielbasa pineapple bites in an airtight container for up to 3 days; this keeps them fresh and flavorful.
Freezer: For longer storage, freeze the bites in a single layer on a baking sheet, then transfer to a freezer-safe bag for up to 2 months.
Reheating: To enjoy the bites again, reheat them in the oven at 350°F (175°C) for about 10-12 minutes, ensuring they stay juicy and delicious.
Thawing: If frozen, thaw in the fridge overnight before reheating to maintain the best flavor and texture of your glazed kielbasa pineapple bites.
Glazed Kielbasa Pineapple Bites Recipe FAQs
How do I choose ripe pineapple?
Absolutely! When selecting fresh pineapple, look for one that has a sweet, fragrant aroma at the base. The skin should be firm and slightly golden, with no dark spots all over. Giving it a gentle squeeze should yield a little give but not be overly soft.
How should I store leftovers?
Very! Leftover glazed kielbasa pineapple bites can be stored in an airtight container in the refrigerator for up to 3 days. This will help maintain their flavor and moisture. Make sure to allow them to cool completely before sealing them up!
Can I freeze these bites?
The more the merrier! To freeze glazed kielbasa pineapple bites, place them in a single layer on a baking sheet and freeze until solid. Once frozen, transfer them to a freezer-safe bag for up to 2 months. This method prevents them from sticking together and makes for easy portioning.
What should I do if my glaze burns?
Oh no! If your glaze burns, it’s important to monitor your cooking temperature closely. Next time, cook the glaze over medium heat instead of high to ensure it caramelizes perfectly without burning. Always whisk the glaze frequently to avoid sticking and burning on the bottom of the pan.
Are these bites pet-friendly and allergy-free?
Be mindful! These glazed kielbasa pineapple bites are not suitable for pets due to the higher sodium content in ketchup and sauces. For those with allergies, you can always substitute ingredients like honey with agave syrup and ensure the sauces are gluten-free. Always check labels for allergen warnings.
How do I serve the bites for a crowd?
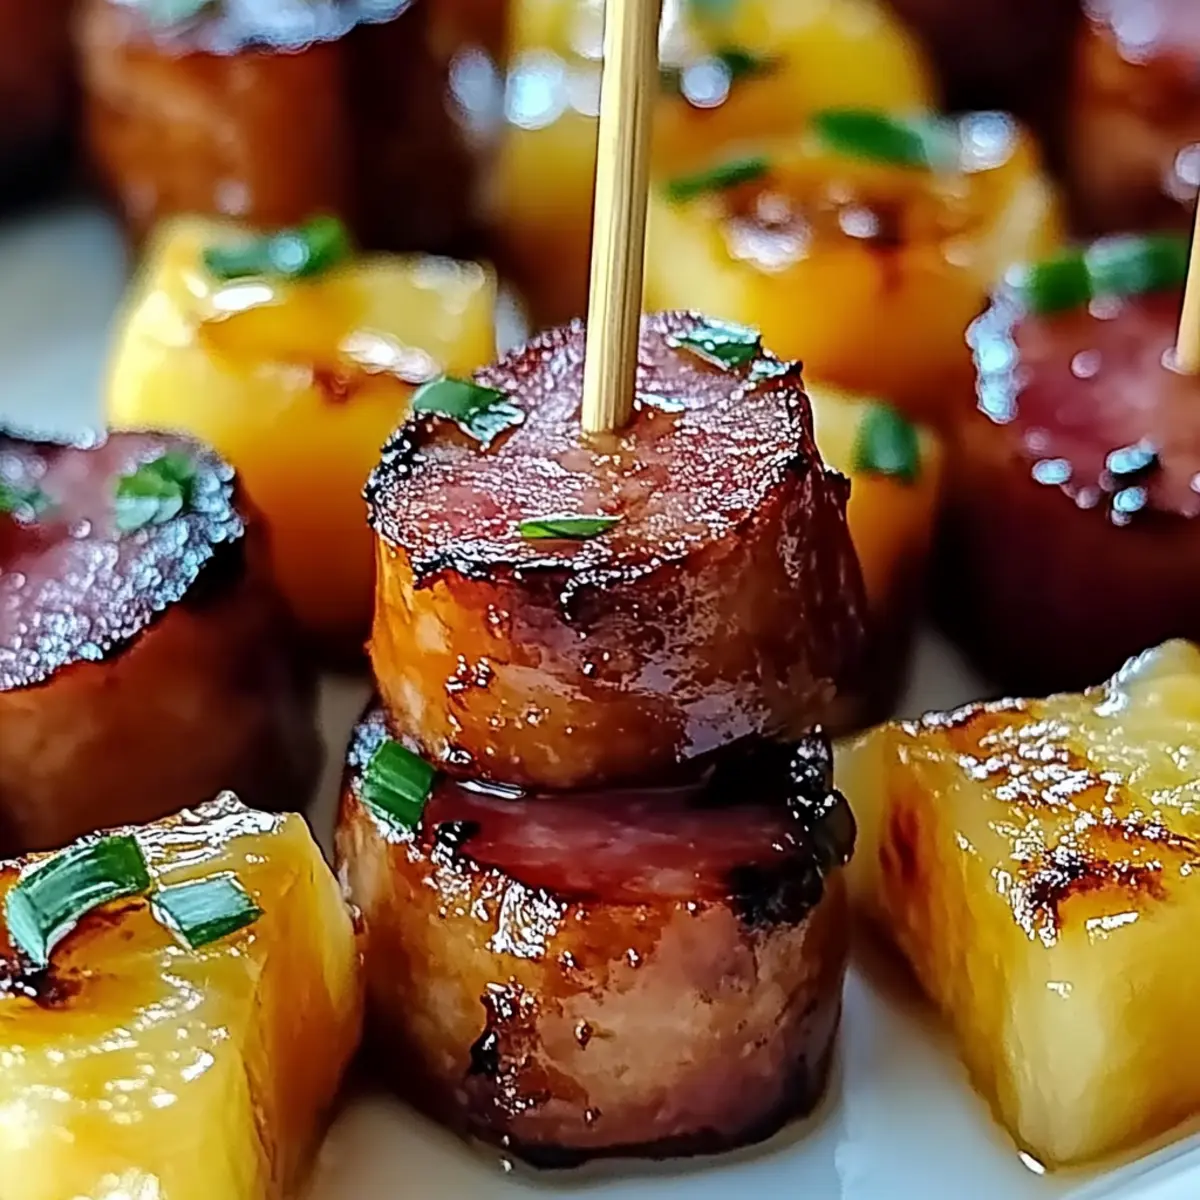
Hostess with the mostess! When serving these bites at a gathering, consider placing them on a colorful platter with a small bowl of extra glaze for dipping. You can also garnish with chopped green onions or sesame seeds for a fresh touch—your guests will love it!
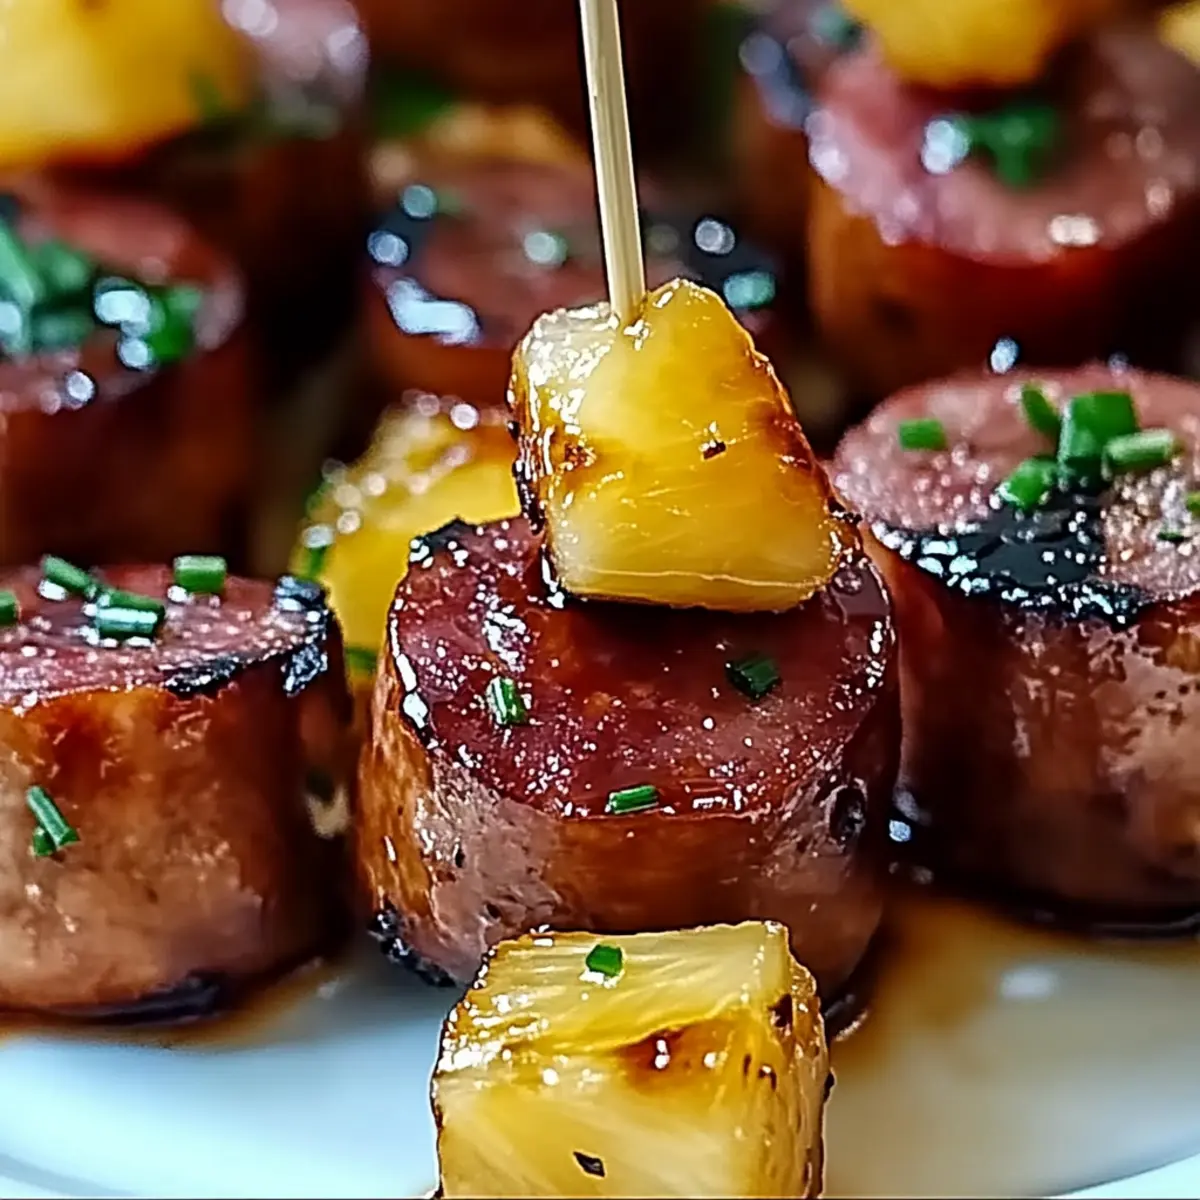
Irresistible Glazed Kielbasa Pineapple Bites in 30 Minutes
Ingredients
Equipment
Method
- Soak toothpicks in water for about 20 minutes to prevent burning while baking.
- Preheat your oven to 425°F (220°C) and line a baking sheet with parchment paper.
- Slice beef kielbasa into even rounds and arrange them on the lined baking sheet. Add pineapple chunks on top.
- Whisk together teriyaki sauce, sweet chili sauce, honey, and reserved pineapple juice in a medium bowl.
- Brush the glaze generously over the kielbasa and pineapple, then insert soaked toothpicks.
- Bake for 15–20 minutes until edges are crispy and the glaze caramelizes.
- Allow bites to cool slightly before serving on a platter.
Leave a Reply