
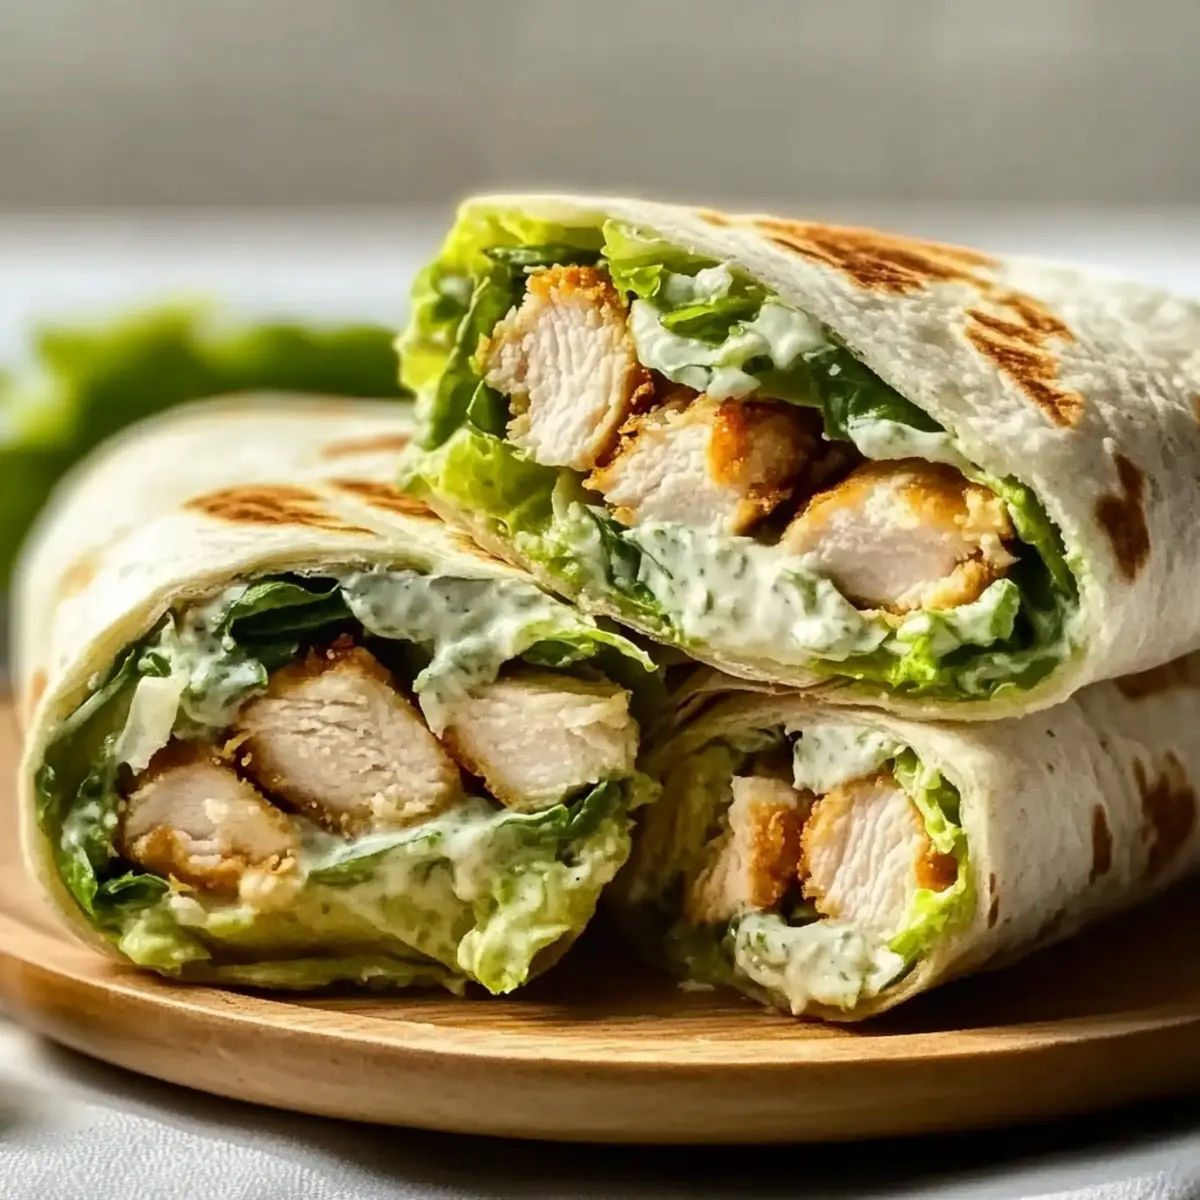
I was rummaging through the fridge, debating whether to settle for yet another boring lunch or whip up something delightful when the answer hit me like a refreshing breeze: Chicken Caesar Wraps! Perfectly creamy dressing mingles with tender chicken and crisp romaine, all snugly wrapped in a soft tortilla. It’s amazing how this Chicken Caesar Wrap comes together in just 15 minutes—ideal for those hectic weeknights when time is of the essence. Plus, not only is it a comfort food classic that can please the whole family, but it’s also a versatile option that allows for endless customization—you can easily switch up the tortillas or toss in some extra veggies for a fresh twist. Are you ready to bring this flavorful handheld delight to your kitchen?
Why choose Chicken Caesar Wraps?
Quick and Easy: This recipe takes only 15 minutes from start to finish, making it an ideal choice for busy weeknights—no more settling for fast food!
Flavorful Delight: The combination of creamy Caesar dressing, tender chicken, and crunchy romaine creates a mouthwatering experience that will have your taste buds dancing.
Family-Friendly: Kids and adults alike will love these wraps, making them perfect for family meals. Pair them with a side of Cheddar Bay Chicken for a complete feast!
Versatile Variety: Switch up tortillas or add your favorite veggies for a fresh twist. Consider making a grilled version for summer BBQs!
Convenience at Its Best: Use pre-cooked or rotisserie chicken, allowing you to enjoy delicious home-cooked meals without the hassle.
-
Ingredients
• • Chicken Caesar Wrap Ingredients -
For the Filling
• Cooked Chicken (2 cups, shredded) – Provides the main protein; use pre-cooked or rotisserie chicken for convenience.
• Romaine Lettuce (2 cups, chopped) – Adds crunch and freshness; can substitute with baby kale or arugula.
• Caesar Dressing (1/2 cup) – Provides creamy flavor and moisture; consider a lighter version by mixing Greek yogurt with the dressing.
• Grated Parmesan Cheese (1/4 cup) – Enhances savory notes; fresh Parmesan is recommended for best flavor.
• Salt and Pepper – Essential seasoning for taste; adjust to your personal preference.
• Optional Croutons – Adds extra crunch just before serving. -
For the Wrap
• Large Flour Tortillas (4) – Acts as the wrap base; warm briefly in the microwave if they feel dry for better folding.
Feel free to gather all these ingredients and bring a delightful Chicken Caesar Wrap to your table!
Step‑by‑Step Instructions for Chicken Caesar Wrap
Step 1: Preparation
In a large mixing bowl, combine the shredded cooked chicken, chopped romaine lettuce, Caesar dressing, and grated Parmesan cheese. Season with salt and pepper to taste, and gently toss everything together until well coated. This flavorful mixture serves as the heart of your Chicken Caesar Wrap, so take care to ensure all ingredients are evenly distributed.
Step 2: Tortilla Prep
Lay your flour tortillas flat on a clean, dry surface or cutting board. If they feel stiff or dry, warm them in the microwave for about 10 to 15 seconds to make them more pliable. This small step will help you easily fold and wrap your Chicken Caesar Wrap without tearing.
Step 3: Filling Assembly
Evenly distribute your creamy chicken Caesar mixture across the center of each tortilla, leaving about an inch of space on the edges. If desired, sprinkle optional croutons on top for added crunch and texture. This is where you can customize your wrap to your taste, so feel free to get creative!
Step 4: Wrapping
To secure your filling, fold the sides of the tortillas inward, then roll tightly from one edge to the other. Make sure to compress the filling slightly as you roll to prevent everything from spilling out during the process. Your Chicken Caesar Wrap should now be a neat, handheld delight ready for slicing.
Step 5: Slicing and Serving
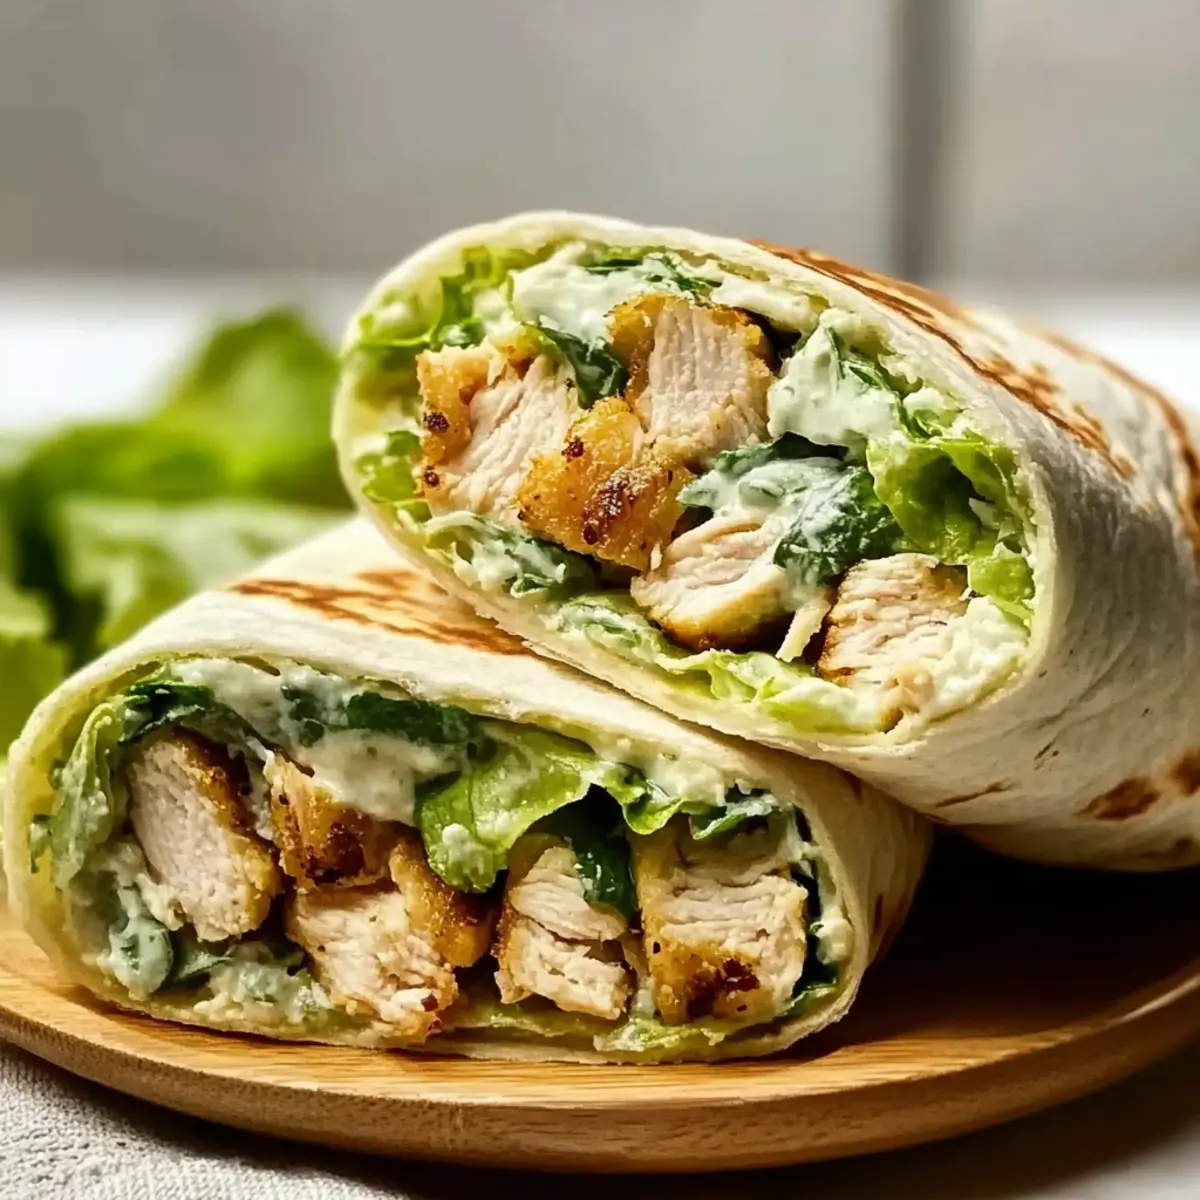
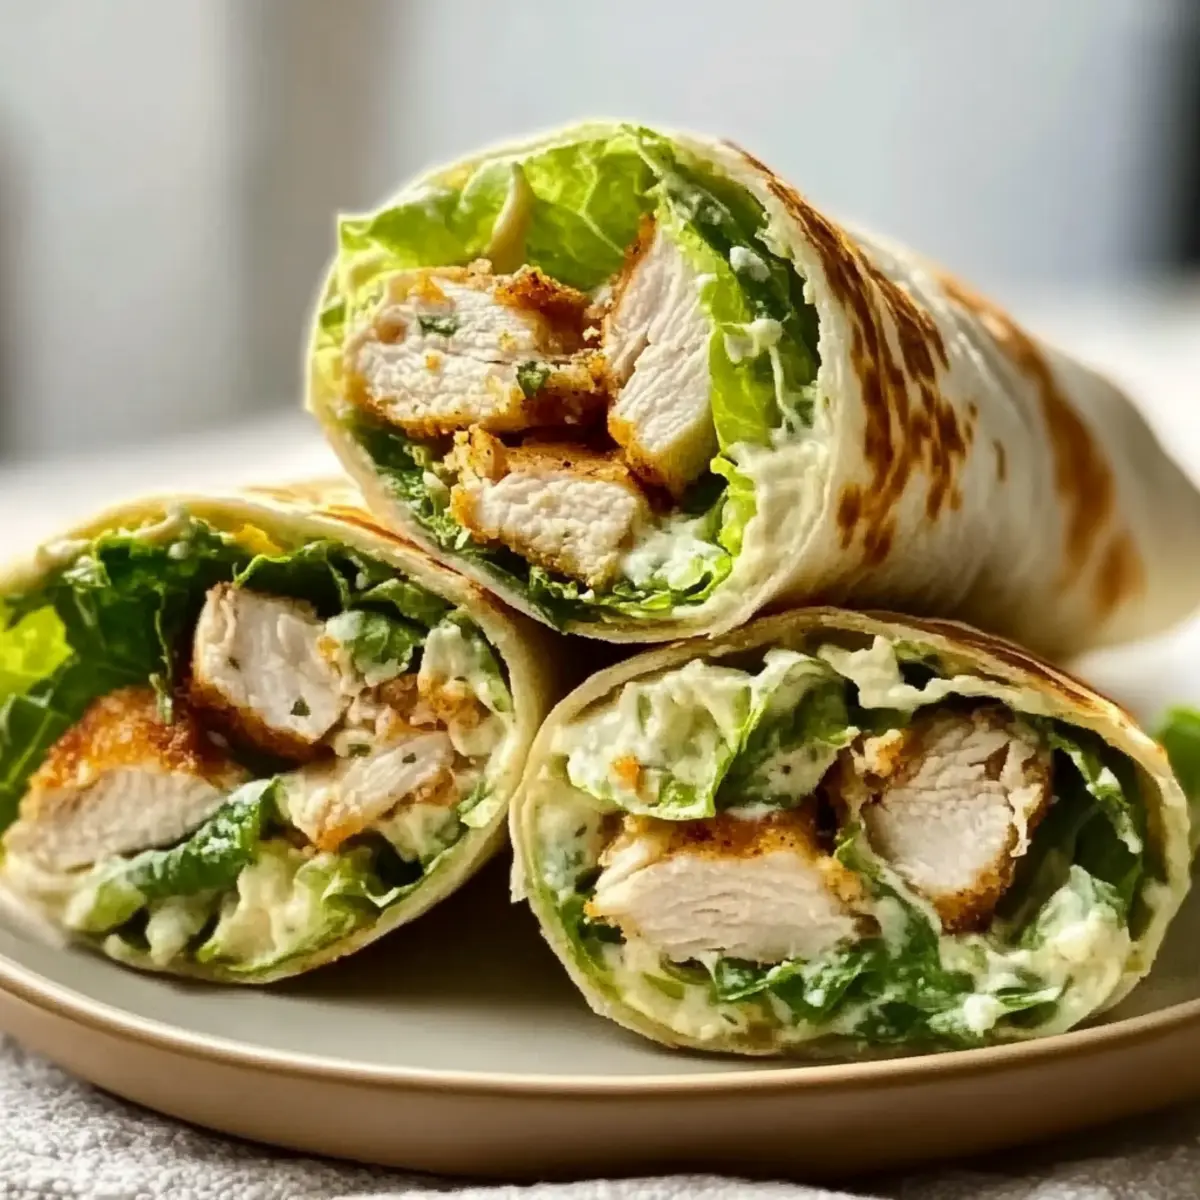
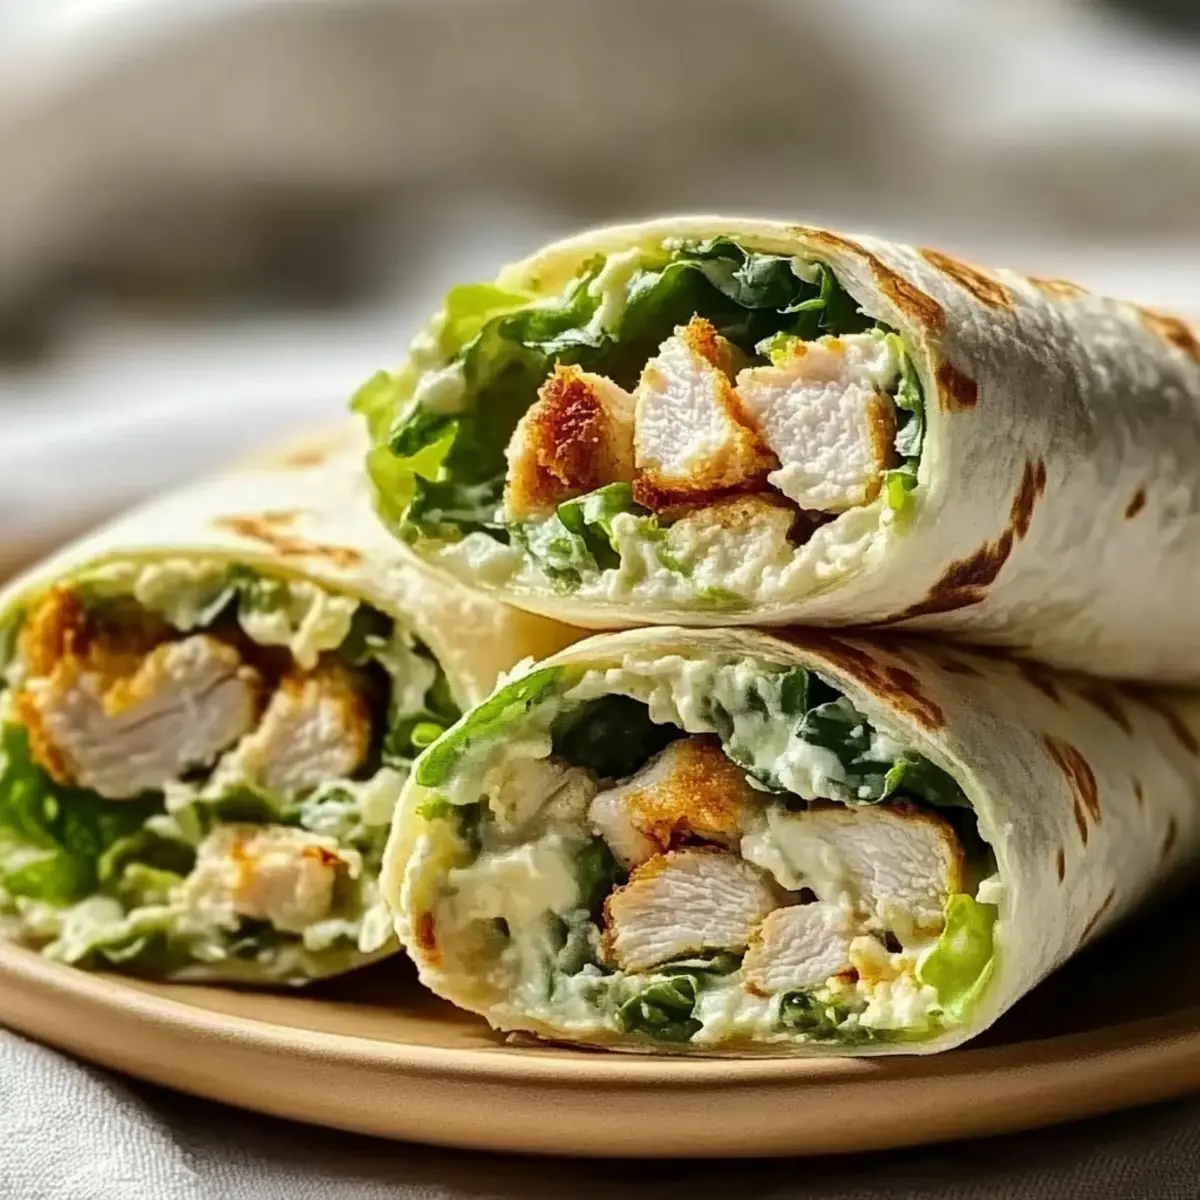
Once wrapped, slice each Chicken Caesar Wrap in half diagonally for a visually appealing presentation. Arrange them on a plate alongside your favorite dipping sauces or extra Parmesan for added flavor. These wraps make for a wonderful meal or snack that is sure to please the entire family.
Step 6: Storage
If you’re preparing these Chicken Caesar Wraps in advance, allow them to cool a bit before wrapping them in foil or cling film. Store them in an airtight container in the refrigerator to keep them fresh. For the best taste, try to keep the filling and tortillas separate until you’re ready to enjoy these delicious wraps.
How to Store and Freeze Chicken Caesar Wrap
- Fridge: Store wrapped Chicken Caesar Wraps in an airtight container for up to 2 days. For best taste, keep the fillings and tortillas separate until you’re ready to enjoy.
- Freezer: If you want to freeze the wraps, place them in a freezer-safe bag, making sure to remove as much air as possible. They can be frozen for up to 3 months.
- Reheating: To reheat, thaw in the refrigerator overnight, then warm in the microwave for about 30 seconds or until heated through. Enjoy the creamy goodness of your Chicken Caesar Wrap!
- Cooling: Always let the wraps cool slightly before storing to prevent condensation and sogginess. This keeps your wraps fresh and delightful!
Expert Tips for Chicken Caesar Wrap
-
Cool Before Wrapping: Always let the wraps cool slightly to prevent sogginess. This ensures a satisfying crunch when biting into your Chicken Caesar Wrap.
-
Customize Your Fillings: Don’t hesitate to add your favorite veggies like bell peppers or cucumbers. This will elevate your Chicken Caesar Wrap and keep it fresh!
-
Proper Storage: For best results, store the filling and tortillas separately. This keeps your Chicken Caesar Wrap intact and enjoyable for up to two days in the fridge.
-
Warm Tortillas: If using store-bought tortillas, warm them briefly in the microwave to make them pliable and easier to fold without tearing.
-
Seasoning Matters: Adjust the salt and pepper to your taste before mixing it in. A little extra seasoning can make your Chicken Caesar Wrap truly shine!
Chicken Caesar Wrap Variations
Feel free to let your creativity shine and customize your wraps to perfectly suit your taste!
-
Pita Pockets: Swap out the tortillas for pita pockets for a fun bread twist. These fluffy pockets are perfect for stuffing and add a unique touch to your wraps, making every bite memorable.
-
Add Grilled Veggies: Elevate your wrap by tossing in grilled zucchini and bell peppers. Their smoky flavor adds depth and makes every bite colorful and vibrant. You can also roast vegetables for a heartier texture!
-
Spicy Kick: Sprinkle some red pepper flakes into the dressing or add sliced jalapeños for a spicy version. This heat will energize your taste buds, making this wrap an irresistible treat for spice-lovers.
-
Greek Spin: Ditch the Caesar dressing for a tangy tzatziki sauce and swap the Parmesan for feta cheese. This version brings a fresh Mediterranean flair, turning your Chicken Caesar Wrap into a delightful Greek-inspired meal.
-
Whole Wheat Tortillas: Opt for whole wheat tortillas instead of white for a healthier version. This minor substitution adds more fiber while staying deliciously satisfying.
-
Nutty Crunch: Toss in some toasted pine nuts or slivered almonds for added texture. The buttery crunch complements the creamy Caesar dressing beautifully, enhancing your Chicken Caesar Wrap experience.
-
BBQ Flavor: Mix BBQ sauce with Caesar dressing for a tangy, smoky twist. The combination perfectly balances flavors, making it a great option for summer picnics or barbecues, evoking that home-cooked feel in every bite.
Ready to take your Chicken Caesar Wraps to the next level? Enjoy creating your own version, and don’t forget to serve them alongside some Dollys Chicken Stuffing or Chicken Enchiladas Flavorful for a comforting feast!
Make Ahead Options
These Chicken Caesar Wraps are a fantastic choice for meal prep enthusiasts! You can prepare the filling (shredded chicken, chopped romaine, Caesar dressing, and Parmesan cheese) up to 3 days in advance, storing it in an airtight container in the refrigerator to maintain freshness. Just remember to keep the tortillas separate until you’re ready to assemble; this will prevent them from becoming soggy. When you’re ready to serve, simply warm the tortillas, fill them with the prepped mixture, and roll them up. In just a few minutes, you’ll enjoy delicious, homemade Chicken Caesar Wraps that taste just as fresh!
What to Serve with Chicken Caesar Wrap
Enhance your meal experience and complement the Chicken Caesar Wrap with these satisfying sides and beverages.
-
Crispy Sweet Potato Fries: The natural sweetness and crunch provide a delightful contrast to the creamy wrap, making every bite a delicious adventure.
-
Garden Salad: A fresh mix of greens and vegetables adds a vibrant crunch, balancing the richness of the wrap. Toss with a tangy vinaigrette for extra flavor.
-
Chilled Fruit Salad: A refreshing mix of seasonal fruits brings a sweet note to the table, making it a light and healthy accompaniment that everyone will adore.
-
Garlic Bread Sticks: The buttery, garlicky goodness pairs perfectly with the savory flavors of the wrap, turning your meal into a comforting feast.
-
Lemonade or Iced Tea: A cool, refreshing beverage with a hint of citrus complements the creamy dressing and cuts through the richness—perfect for a sunny day.
-
Classic Potato Chips: Their crunch adds a delightful texture that matches well with the softness of the Chicken Caesar Wrap.
-
Zucchini Fries: Baked or fried, these crispy treats are a healthier alternative, offering a satisfying crunch that beautifully contrasts the wrap’s creamy filling.
Chicken Caesar Wrap Recipe FAQs
What type of chicken should I use for the Chicken Caesar Wrap?
Absolutely! You can use pre-cooked or rotisserie chicken for convenience—just shred it for easy mixing. If you prefer, you can also grill your chicken with some seasoning for added flavor, but the rotisserie option is a true time-saver!
How should I store Chicken Caesar Wraps?
For the best results, store your wrapped Chicken Caesar Wraps in an airtight container in the fridge. They’ll stay fresh for up to 2 days. However, to maintain optimal crispness, keep the filling and tortillas separate until you’re ready to enjoy them.
Can I freeze Chicken Caesar Wraps?
Yes, you can! To freeze, wrap the Chicken Caesar Wraps tightly in plastic wrap or aluminum foil and place them in a freezer-safe bag. They can be frozen for up to 3 months. When you’re ready to enjoy, simply thaw in the refrigerator overnight and reheat in the microwave for about 30 seconds.
What should I do if my tortillas tear while wrapping?
Very! If your tortillas tear, don’t worry. Warming them in the microwave for about 10-15 seconds before assembly can help make them more pliable. If they’re still brittle, consider switching to a softer tortilla or using larger ones to better hold your delicious filling.
Are Chicken Caesar Wraps suitable for people with dietary restrictions?
Definitely! You can make adjustments for dietary considerations. For a gluten-free version, use corn tortillas or lettuce wraps. If you’re concerned about calories, try substituting the Caesar dressing with a lighter yogurt-based dressing. Always be sure to check the ingredient labels for allergens specific to your needs.
How can I customize my Chicken Caesar Wrap?
Very! Feel free to add extra veggies like bell peppers, cucumbers, or even grilled zucchini to enhance the flavor profile and create a more colorful wrap. You can also switch up the cheese—try feta or blue cheese if you’re looking for something different!
Quick and Easy Chicken Caesar Wrap for Family Feasts
Ingredients
Equipment
Method
- In a large mixing bowl, combine the shredded cooked chicken, chopped romaine lettuce, Caesar dressing, and grated Parmesan cheese. Season with salt and pepper to taste, and gently toss everything together until well coated.
- Lay your flour tortillas flat on a clean, dry surface or cutting board. If they feel stiff or dry, warm them in the microwave for about 10 to 15 seconds.
- Evenly distribute your creamy chicken Caesar mixture across the center of each tortilla, leaving about an inch of space on the edges.
- To secure your filling, fold the sides of the tortillas inward, then roll tightly from one edge to the other.
- Once wrapped, slice each Chicken Caesar Wrap in half diagonally for a visually appealing presentation.
- If preparing in advance, allow them to cool a bit before wrapping them in foil or cling film.
Leave a Reply